
Getting Started with the Roland TD-50X
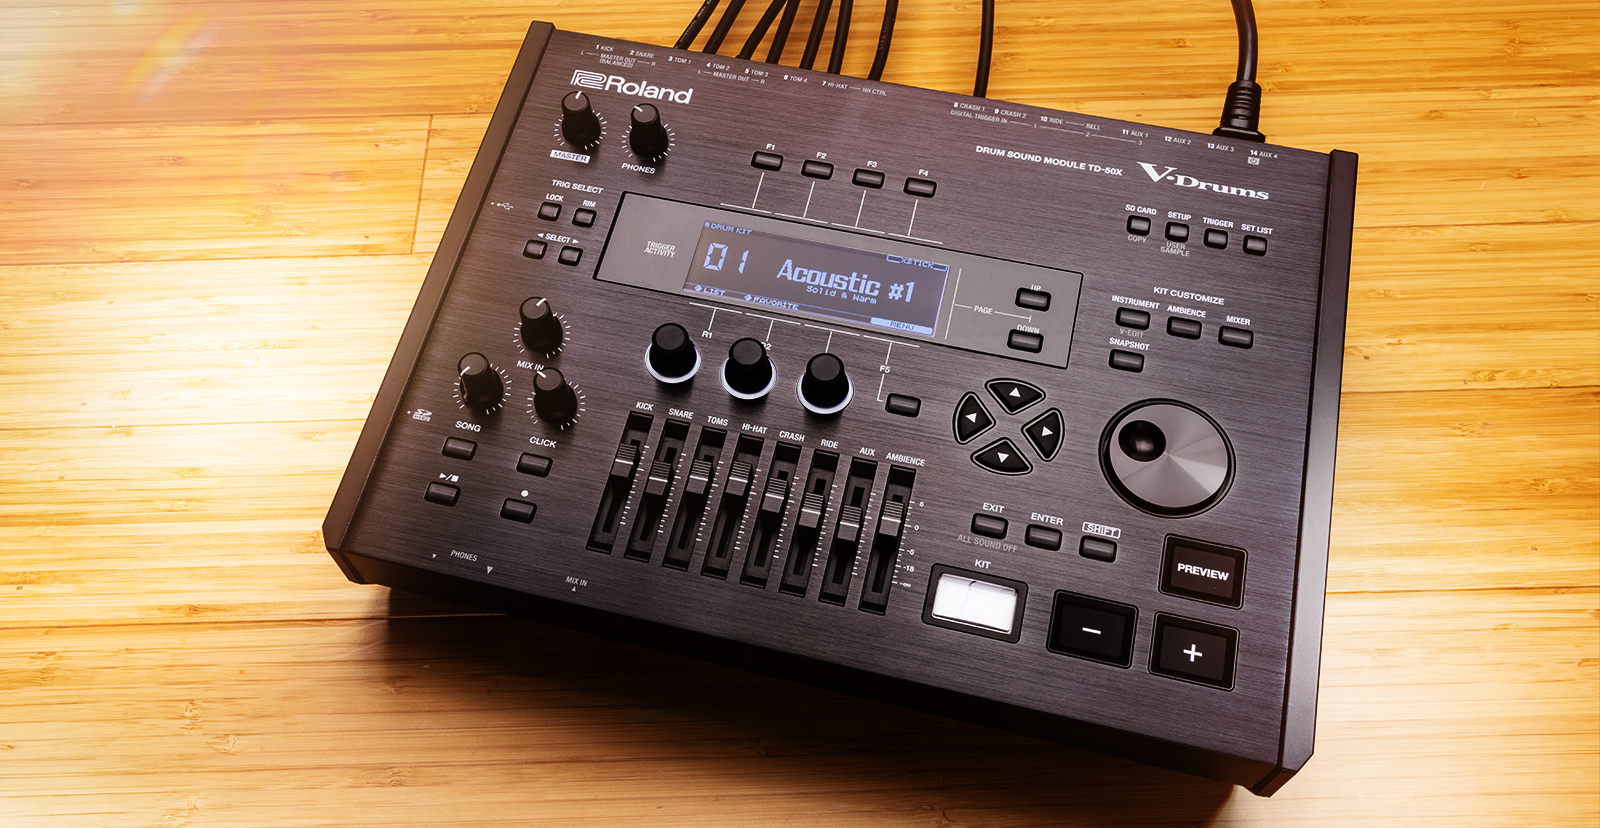
The Roland TD-50X drum module is one of the most powerful on the market, so in this guide, we will show you how to register, set up, and use it for the first time. This article shows you how to get up and running, so be sure to check out the TD-50X Reference Manual for more in-depth information! Follow the instructions below to get started.
Register the Module
Before you get up and running, you’ll first need to register the TD-50X with Roland. After registering the module, you’ll get access to Roland’s product support, an extended warranty, training videos, and clinic information. Follow the steps below to register your TD-50X.
- Log in to your Roland Backstage account. If you don’t have one yet, you can create one here.
- Roland will then send an account activation email to the registered email address so you can complete the account creation process.
- Check your spam folder if you don’t see the email.
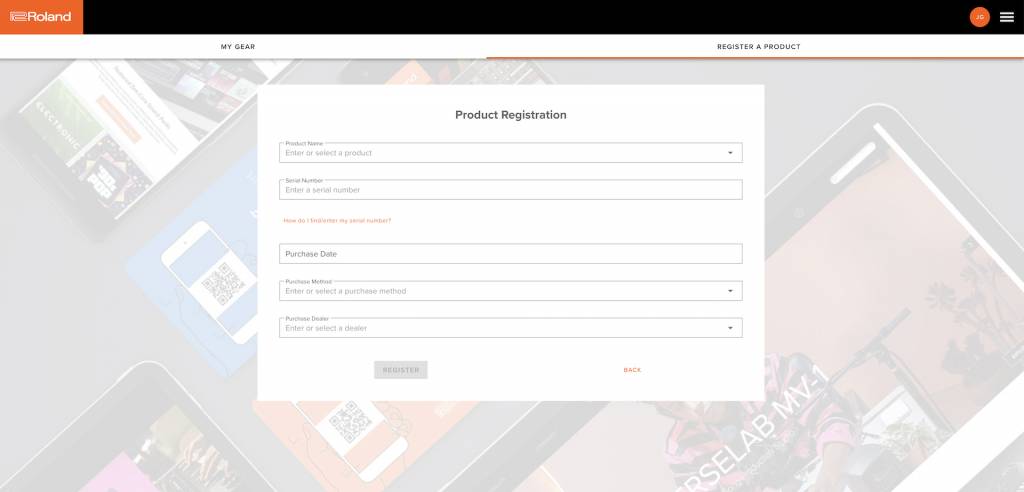
- On your account home page, click My Gear and select Register a Product.
- Fill out the required information, including the serial number on the drum module, and click Register.
- Keep your Sweetwater invoice handy, as you must enter your purchase date, purchase method, and Dealer (Sweetwater).
Download the driver and System Program
If you connect the TD-50X module to your computer without downloading the driver, it will still operate; however, it will only send MIDI signal. So, if you want both MIDI and audio to be sent, you will need to download and install the driver before connecting the module to your computer.
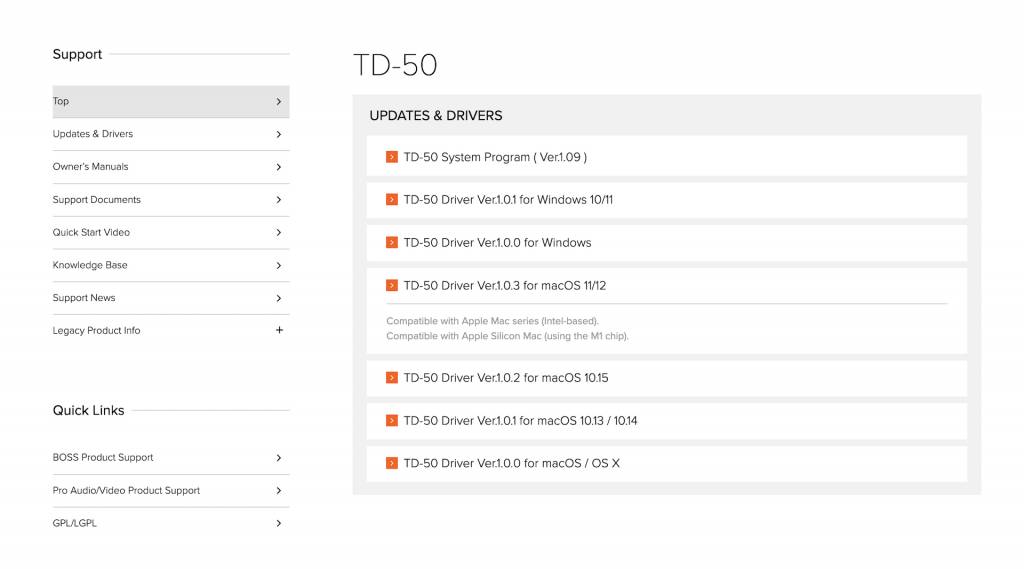
- Go to Roland’s TD-50 Update and Driver page and locate the latest version of the driver for your OS. While you’re on this page, we recommend downloading the System Program (firmware) in case your module requires an update.
- The driver will automatically be installed if you’re a Windows PC user and your computer is connected to the Internet. If your computer isn’t connected, then you’ll need to download and install the driver manually.
- PC users will still need to download the System Program manually, however.
- Navigate to your Downloads folder, then locate and launch the driver installer.
TD-50X Setup and Connections
From the studio to the stage, the Roland TD-50X has plenty of connections available so you can use it in almost every situation imaginable. Setup is simple, too. Here are a few tips for setting up your TD-50X.
- Keep the cabling tidy and use hook-and-loop straps or zip ties to secure cables to the rack. This will also help prevent any tangles.
- Since there are a decent number of connections available, we recommend labelling your cables. By doing so, you’ll know that a cable is connected to the correct drum or cymbal pad, so the right sound is triggered.
Hi-hat calibration
When you set up your hi-hat, you must first calibrate it. While the default hi-hat settings are fine, you will want to calibrate it for the best response possible. Check out our calibration guide for instructions on calibrating your Roland hi-hat with the TD-50X.
Connect to a computer
IMPORTANT: Change the USB settings below before connecting the module to your computer! Updating the settings after connecting it can result in the module not working correctly.
As mentioned above, when you connect the TD-50 module to your computer, you can strictly send MIDI data, which is good in situations where you want to use a virtual drum instrument (such as Superior Drummer). However, if you want to hear and record audio from the module, you must go into the module’s settings and update the Driver Mode.
- Press the Setup button to enter the system menu settings, then press the F2 button to enter the USB Audio settings.
- Use the cursor arrows to select Driver Mode.
- Use the + and – arrows to choose between Generic and Vendor.
- Generic: USB MIDI only.
- Vendor: USB MIDI and USB audio.
- Once the Driver Mode is selected, connect the module to your computer to a USB 2.0 (high-speed) port. USB hub connections, particularly passive hubs, with the TD-50X are not recommended, as they may not provide enough power to transmit data.
Update the Module Settings
Once everything is set up and connected, the final thing to do is update the pad settings on the TD-50X. Not only does this include sensitivity, threshold, and so on, but this also includes the pad type. This is particularly important if you’re using different model pads.
Change the pad type
As mentioned, you may need to change the pad type depending on your model. This ensures the most accurate response possible.
- Press the Trigger button, then push the Page UP button until you reach the top page.
- Press the F1 button, then select the pad you wish to configure.
- Use the dial knob or + and – buttons to specify the trigger type. Refer to page 23 of the Data List for a complete list of the trigger types you can choose from.
Adjust the pad performance
While the default performance settings are a great starting point, every drummer plays differently, so fine-tuning the pad settings will set you up for success. This process may take some time, but it’s worth it in the end.
Sensitivity
- Press the TRIGGER button, then use the UP button until you reach the top page.
- Press the F3 button to access the sensitivity settings.
- Select the pad you want to update, then use the + and – buttons or the dial knob to adjust the sensitivity.
- The Global Sensitivity will adjust all the pads connected to the module. If you’re a light player, set the global sensitivity to HIGH. If you want a broader dynamic range, set it to LOW.
Threshold
- Press the TRIGGER button, then use the DOWN button until you see the THRESHOLD tab.
- Select the pad you want to update, then use the + and – buttons or the dial knob to adjust the various threshold settings.
Crosstalk
TIP: Make sure you securely fasten the pads to the stands and rack and that the kit is on a drum rug. This will heavily reduce vibration, the primary cause of crosstalk.
Most electronic kits have a crosstalk (Xtalk) feature, but the TD-50X takes it to the next level, as it will ‘learn’ the amount of crosstalk and adjust it appropriately. The module is shipped with optimized crosstalk settings, but if you do experience any crosstalk issues, follow these steps to adjust the settings.
- Press the TRIGGER button, press the DOWN button until you see the TRIG tab, then press F2 to select XTALK.
- Strike the pad that’s experiencing crosstalk. You should see a ‘spike’ in the triggers triggering the crosstalk. You will also see an arrow underneath said pads.
- For example, if you strike the Tom 1 padand see a spike on Cymbal 1 with an arrow underneath C1, there is crosstalk and should be adjusted.
- Press F3, then press the LEFT or RIGHT button to select the pad triggering the crosstalk, then press F4 to reset it.
- If there are multiple triggers that have a crosstalk issue, you must perform the procedure for each individual pad.
When you need help, Sweetwater has the answers!
Our knowledge base contains over 28,000 expertly written tech articles that will give you answers and help you get the most out of your gear. Our pro musicians and gear experts update content daily to keep you informed and on your way. Best of all, it’s totally FREE, and it’s just another reason that you get more at Sweetwater.com.

