
Electronic Drum Terms Explained
If you have an electronic drum kit, you want to make sure it works correctly. It’s quite different from playing on an acoustic kit, so you need to take extra time and care to make it feel the way you want. If you don’t take that time, the kit may not react as you want it to, leading to disappointing results.
Then the question becomes, “What do I need to make it feel right?” The answer lies within the electronic drum module’s settings. These settings are crucial when playing, and while some modules have additional settings, this article will break down the primary settings you want to adjust and when and why you would need to change them. Follow the sections below to get started.
What is Velocity Curve
One setting you will often hear about when working with electronic drums is velocity curve, which alters the dynamic response of a drum pad. Electronic drum modules and drum virtual instruments (like Superior Drummer 3) start with what’s called a linear curve, which is a diagonal line. No one drummer plays the same, so almost every e-drum module has the capability of adjusting the velocity curve of individual pads. While this process can take time and patience, adjusting the velocity curve will allow you to play much more dynamically.
Adjusting Velocity Curve
The velocity curve is on an X-Y axis that adjusts the dynamics of MIDI Notes. The Y (or vertical) axis is the module (or virtual instrument) output level. The X (or horizontal) axis reflects the amount of attack on the pad. Almost every module will have multiple types of curves, so be sure to test those along with the X-Y settings!
X-axis
When adjusting the X-axis, you are changing the shape and point where the curve begins. For example, if you have a Logarithmic (Loud) Curve, the line begins to curve earlier, which means the sound will get gradually louder earlier on.
Y-axis
If you adjust the Y-axis (vertical), you change the minimum and maximum output levels. Simply put, you’re adjusting the velocity limits. For example, if you raise the velocity limit, the velocity floor increases, and any low-level hits will become louder.
Velocity Curve Explained
What is Threshold
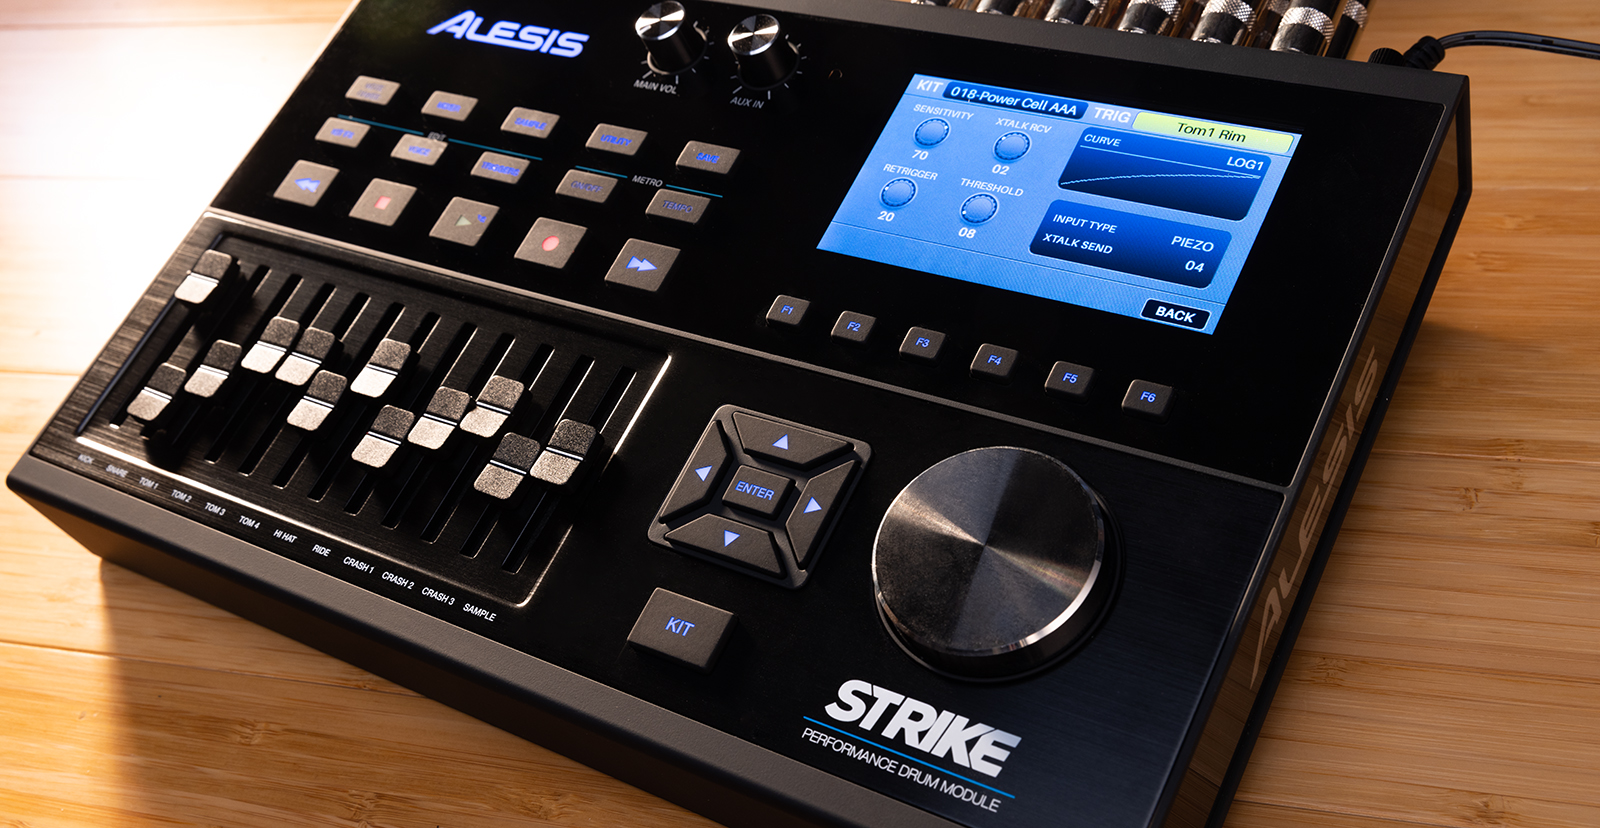
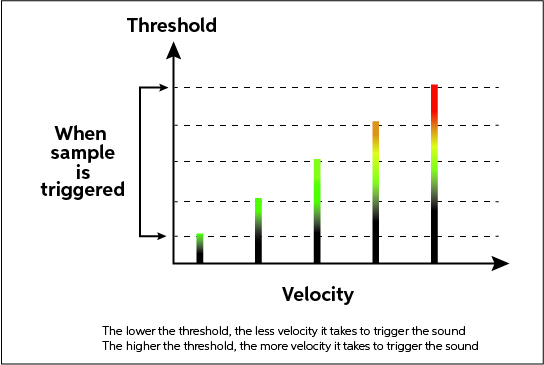
The threshold is easily one of the most important settings to adjust when playing your electronic drums. As the name implies, it essentially acts as the gate between your stick and the pad. The threshold determines the strength it takes for the pad to trigger. It has a value range of 0–31.
Adjusting Threshold
One main reason you want to adjust the threshold is that it can prevent mistriggers caused by the vibration of adjacent pads. If the threshold value is set too low, even the slightest vibration can cause the module to be triggered.
We recommend you start at a very low level and increase it until you find the right setting. The key to threshold is keeping it as low as possible without running into any mistriggering. It depends on how hard you play, but a typical threshold value is 3, so start there and adjust as required for each pad.
What is Sensitivity
Just like threshold, sensitivity is a critical setting to adjust on your electronic drum module. When you change the sensitivity, you adjust the sample’s volume based on how hard you strike the drum. Sensitivity on electronic drums ranges from 0–32. For example, if you increase the sensitivity of a pad, the sample will be louder even if you play softly.
Adjusting Sensitivity
IMPORTANT: Sensitivity and threshold work hand in hand, and while their definition may sound similar, don’t get them confused with each other! Threshold determines the input strength (striking the pad) and sensitivity determines the output strength (sound).
Similar to the velocity curve, adjusting the sensitivity on electronic drums will make or break your dynamic performance. For example, reduce the sensitivity to get a much wider dynamic range if you’re a hard-hitting drummer. And just like threshold, you want to keep the setting as low as possible without running into double triggering or mistriggering!
What about dual and triple zone pads?
Some drum pads have multiple zones (e.g., cymbals, snares). Depending on the module, there may be a separate setting for each zone, so check out the module’s Owner’s Manual to see if there are zone-specific sensitivity settings.
What is Crosstalk
Crosstalk, which is sometimes referred to as Xtalk, is the consequence of multiple pads vibrating and triggering at the same time. This problem is particularly prevalent with pads located next to each other, like rack toms. Even the slightest vibrations can cause this problem.
Many often think the module is defective if tweaking the threshold doesn’t work, which is not necessarily true! If you’ve adjusted the threshold and still have the same issue, adjusting the crosstalk will likely solve your issue.
Adjusting Crosstalk
TIP: Crosstalk issues can be magnified if the kit is on a hard surface, such as hardwood, tile, or concrete, since there’s nothing to absorb the vibrations from the drum rack. So before updating the crosstalk settings, make sure that your drum pads are fully secured to the rack and the kit is on a soft surface, such as a drum rug.
It’s impossible to get rid of all vibration because you can’t reverse physics. However, manufacturers are able to get around this issue by including crosstalk cancellation. Thankfully, newer electronic drum modules will typically have a “crosstalk learn” feature, automatically correcting any crosstalk issues that may arise. However, you may need to adjust the crosstalk on older or entry-level modules manually. When adjusting crosstalk, play just a little louder than you usually do, then adjust in small increments.
We highly recommend adjusting the crosstalk settings regularly, especially if you’re on the road or if you’re breaking down and setting up your kit on a regular basis.
Related Articles
When you need help, Sweetwater has the answers!
Our knowledge base contains over 28,000 expertly written tech articles that will give you answers and help you get the most out of your gear. Our pro musicians and gear experts update content daily to keep you informed and on your way. Best of all, it’s totally FREE, and it’s just another reason that you get more at Sweetwater.com.


Offer applies only to single-receipt qualifying purchases. Select manufacturers may require that only the manufacturer’s products qualify towards the minimum purchase amount needed to be eligible for promotional financing. Otherwise, an invoice that meets the minimum purchase amount and contains at least one qualifying manufacturer product is eligible for promotional financing. No interest will be charged on promo purchase balance, and equal monthly payments are required on promo purchase until it is paid in full. The payments equal the amount financed divided by the number of months in the promo period, rounded up to the next whole dollar. These payments may be higher than the payments that would be required if this purchase was a non-promo purchase. During the last month(s) of the promo period the required monthly payment may be reduced due to the prior months’ rounding. Regular account terms apply to non-promo purchases. New Accounts as of 07/31/2025: Purchase APR is 34.99%. Penalty APR is 39.99%. Min Interest Charge is $2. Existing cardholders: See your credit card agreement terms. Subject to credit approval.
Offer applies only to single-receipt qualifying purchases. No interest will be charged on the promo balance if you pay it off, in full, within the promo period. If you do not, interest will be charged on the promo balance from the purchase date. The required minimum monthly payments may or may not pay off the promo balance before the end of the promo period, depending on purchase amount, promo length and payment allocation. Regular account terms apply to non-promo purchases and, after promo period ends, to the promo balance. New Accounts as of 07/31/2025: Purchase APR is 34.99%. Penalty APR is 39.99%. Min Interest Charge is $2. Existing cardholders: See your credit card agreement terms. Subject to credit approval.
The estimated required monthly payment shown which excludes taxes and delivery equals the amount financed divided by the number of months in the promo period, rounded up to the next cent. During the last month(s) of the promo period the required monthly payment may be reduced due to this rounding. These payments apply only with the financing offer shown. If you make these payments by the due date each month, you should pay off this amount financed within the promo period, if it is the only balance you are paying off. If you have other balances on your account, this payment will be added to any other minimum monthly payments.
Applies only to select items from this manufacturer. Ask your Sweetwater Sales Engineer for more details.