
Getting Started With the Electro-Harmonix Big Muff Pi Hardware Plug-in Pedal
Electro-Harmonix’s Big Muff Pi Hardware Plugin pedal is a unique piece of gear. You can use it as: a standard guitar effects pedal; an audio interface for your computer; and a plug-in for effects processing in your DAW. So this guide will show you how to set up, connect, and use it for the first time. Follow the sections below to get started, and be sure to check out the User Manual for more information!
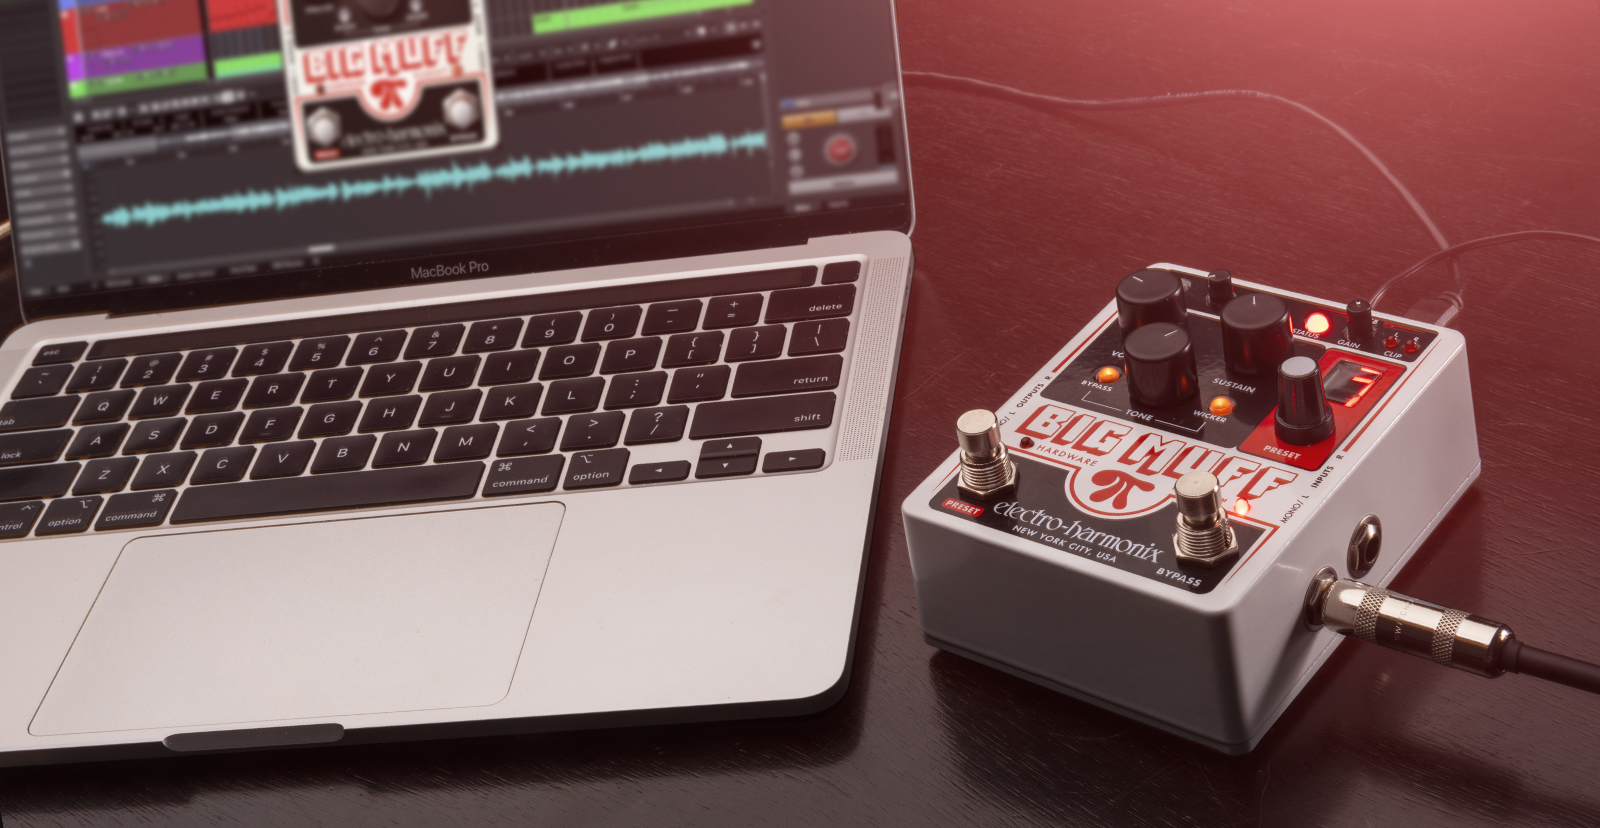
Guitar Rig Setup and Connections
IMPORTANT: The Electro-Harmonix Big Muff Pi Hardware Plugin pedal will only accept the factory-supplied power supply or a Boss or Ibanez style AC adaptor capable of delivering at least 150mA.
Incorporating the Big Muff Pi Hardware Plugin pedal into your rig is easy. Like other pedals, you need to connect your guitar to the MONO/L input and then use an instrument cable to connect from the MONO/L out to the guitar amp’s input. If you use a keyboard or other stereo instrument, use balanced TRS cables and connect via the L and R outputs.
Saving Presets on the Pedal
After you’ve found a tone you like, you can save the preset to one of 10 slots. To save the preset, use the Preset knob to choose which slot you wish to save it, then press and hold the knob. The preset number will begin flashing. The number will stop flashing once you’ve saved the preset.
Understanding Pedal Order
Connecting the Pedal to a Computer
One unique feature of the Big Muff Pi pedal is that it doubles as an audio interface. It’s class-compliant, which means no additional drivers are needed, and it’s also bus-powered, so you don’t need an external power supply. You will need to download the dedicated BMP plugin software to use it as an effects plugin, update the firmware, and adjust the buffer size
- Go to EHX’s Big Muff Pi product page, then select the installer for your OS.
- Navigate to your Downloads folder, and extract the installer file.
- Launch the installer and follow the on-screen instructions.
- The installer also includes the pedal’s control panel, where you will update the firmware and change the buffer size.
Panic button
There is a Panic button located at the rear of the pedal. Use this if the pedal control becomes unresponsive to the BMP plug-in, or if audio isn’t processing.
Updating the Firmware
IMPORTANT: You must be connected to the internet while updating the pedal’s firmware.
There may be a time when you need to update the pedal’s firmware. This is done via the plug-in software. Fortunately, Electro-Harmonix has made the firmware update process simple.
- Load the plug-in onto an audio track. If you see “Firmware Update Required…”, click OK to begin the firmware update process.
- The letter ‘b’ will display on the LED display. It will cycle through numbers 0-9.
- After the download has finished, the pedal will then restart.
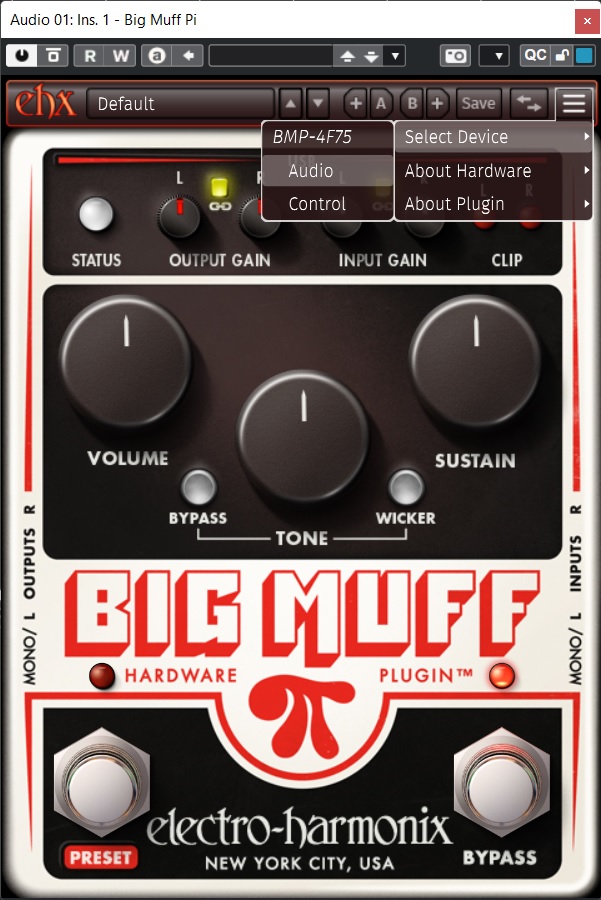
- On the plug-ins Settings (three horizontal lines) menu, hover over Select Device, then click Audio to finish the update.
Factory Reset
If the Big Muff Pi Hardware Plugin pedal begins acting erratically or you just need a fresh start, you will need to perform a factory reset. It can be done through the software or by opening the pedal if you aren’t near a computer.
Factory reset using the plug-in
- Add the plug-in onto an audio track.
- Navigate to the Settings menu, hover over About Hardware, then select Reset Factory Presets.

Click ‘Reset Factory Presets…’ to perform a factory reset within the Big Muff plug-in.
Opening the pedal
- Use a Phillips head screwdriver and remove the four screws on the bottom of the pedal.
- Hold the F/WARE FACTORY RESET button while power cycling the unit. You should see an ‘r’ on the LED display. The pedal will then restart.
- If it doesn’t reset within 20 seconds, disconnect and reconnect the power supply.
How to Use the Plug-in
IMPORTANT: Due to limitations to the driver, Windows PC users can only run one instance of the plug-in per project.
The BMP (Big Muff Pi Plug-in) effects plug-in is very versatile because you can use it as a standalone effects plug-in with the pedal and create and transfer presets to and from the pedal. This means you can get the same tones no matter the application. All you need to do is add the plug-in onto an audio track in your DAW, and you’re good to go.
- If you want to control the plug-in with the pedal, go to the Settings, hover over Select Device, then choose Control. When set to Control, audio will not be sent to the pedal and will become a hardware controller.
Switching between Audio and Control
Save and Transfer Presets
Saving and transferring presets to and from the pedal is simple. Once you’ve found the perfect tone, you can save it within the plug-in and transfer it to the pedal. You can create as many presets as you want in the plug-in but will only be able to transfer ten presets to and from the computer.
- Make all the adjustments until you’re happy with the tone.
- Once you’ve finished, click Save, then name the preset.
- Click the Preset Transfer (indicated by the left and right arrow) icon to transfer the preset.
- Click the Send tab, use the dropdown box to send any created presets within the plug-in to the pedal, then click Send to Device.
- Click the Receive tab, then use the dropdown box to receive any saved presets within the pedal, then click Receive from Device.
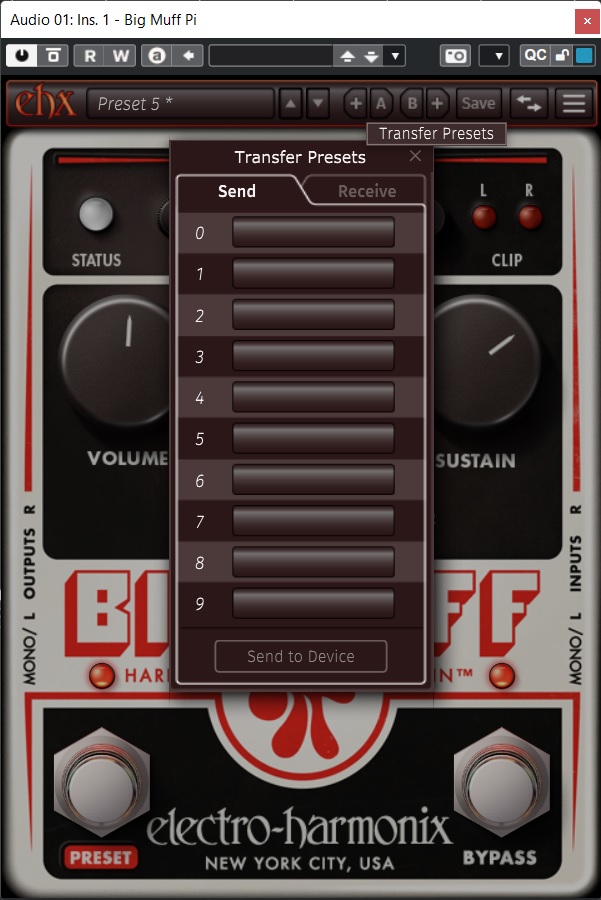
Transfer presets within the plug-in
Related Articles
When you need help, Sweetwater has the answers!
Our knowledge base contains over 28,000 expertly written tech articles that will give you answers and help you get the most out of your gear. Our pro musicians and gear experts update content daily to keep you informed and on your way. Best of all, it’s totally FREE, and it’s just another reason that you get more at Sweetwater.com.

