
Alesis Command Mesh Setup Guide
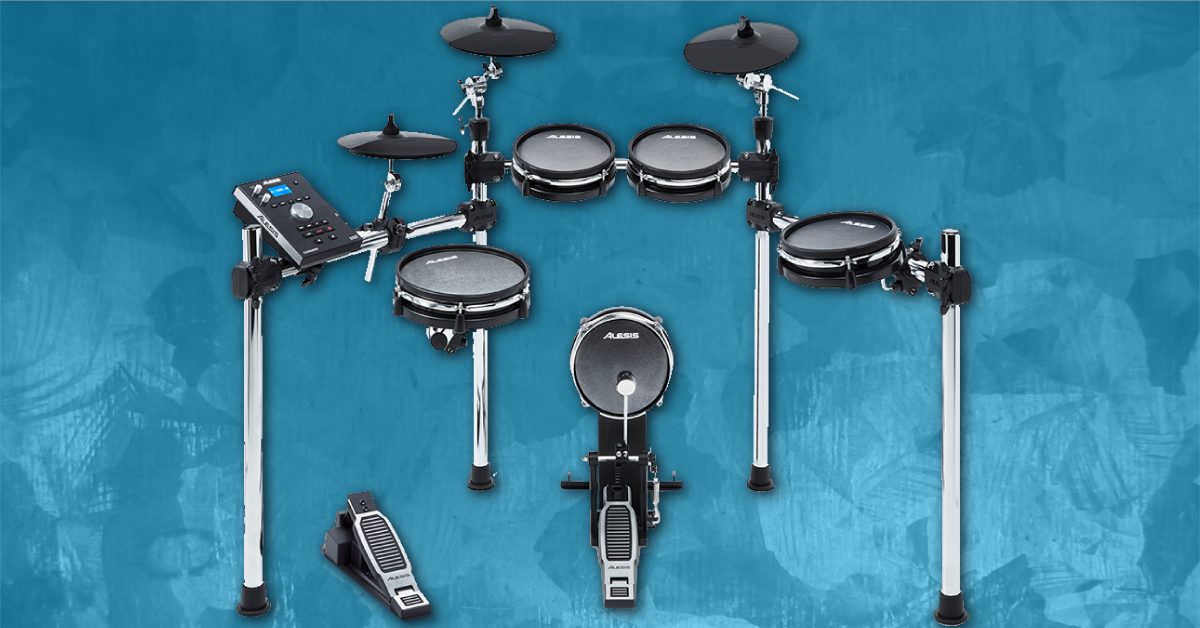
Getting started with the Alesis Command Mesh Kit
In this guide, we’ll show you how to register, set up, and connect your Alesis Command Mesh drum kit. We’ll also show you how to navigate the module. Follow the sections below to get started.
- Register the Alesis Command Mesh Kit
- Alesis Command Mesh setup and connections
- Updating the Alesis Command module settings
Register the Alesis Command Mesh Kit
The first thing you’ll want to do is to register your Command Mesh kit with Alesis. By registering your kit, you’ll get access to a coupon code for 40 free drum lessons from Melodics, additional software downloads, and an extended warranty. Make sure to have your Sweetwater invoice, as you’ll need to enter the purchase date. Follow these instructions to get registered.
- Log in to your Alesis account. If you don’t have one yet, you can create one here.
- Navigate to the Alesis registration page, use the Product drop box and select the Surge.
- Enter the serial number (located on the module packing box, underneath the module, and on the front page of the manual), enter the purchase date on your Sweetwater invoice, and then click Register My Product.
- Go to the Melodics homepage and download the free app for your OS. Once downloaded, go to your Downloads folder, run the installer, and then launch the app.
- When prompted to enter your promo code, go to your Alesis account’s My Products section, then copy and paste the code listed.
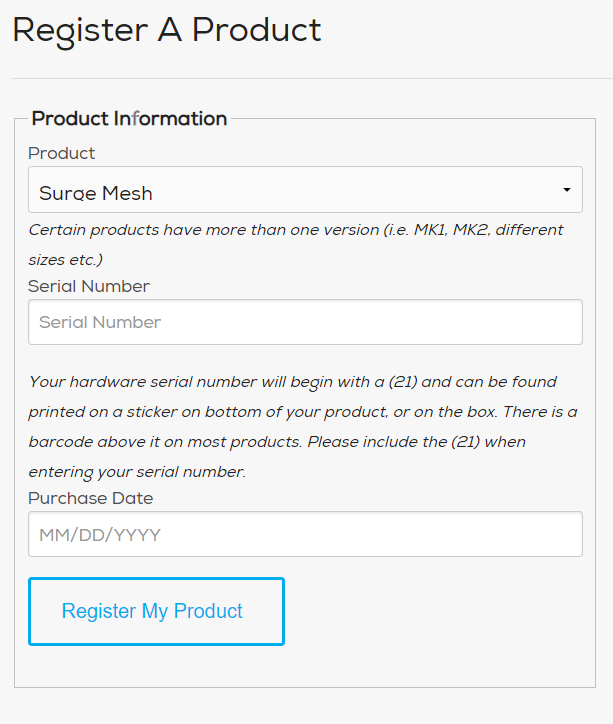
Click the image to register your Alesis Command Mesh drum kit.
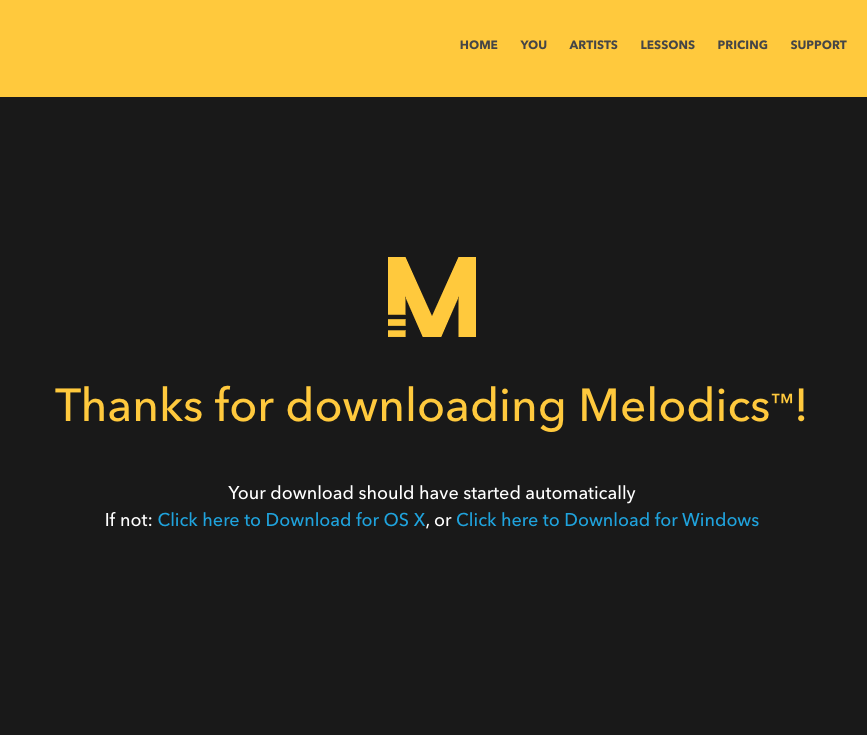
Click the image to download your free copy of Melodics.
Alesis Command Mesh Kit setup and connections
Once your Command Mesh kit has been registered, you can then assemble it and get everything connected. When you open the box, there will be smaller boxes that contain each part of the kit. To build your new Alesis Command Mesh kit, follow the included assembly guide. Also, be sure to check out this useful video from Alesis. While this shows how to assemble an Alesis Nitro kit, the instructions are the same for your Alesis Command Mesh.
Command Mesh kit pad and module connections
After the kit has been fully assembled, you’ll need to use the included wiring harness to connect your pads to the module. Each cable is labeled with the pad it should be connected to, so ensure all of the cables are connected to the right drum or cymbal pad to trigger the correct sound, especially the hi-hat connections. Also, make sure that the wiring harness is fully secured to the module.
Add additional pads to your kit
If you want to expand your Command Mesh kit even further, there are two unused connections on the back of the module. These two ports support single-zone pads and will require TS cables.
TIP: Keep your cabling neat and use the included velcro cable straps that came with your Command Mesh kit. Not only will it keep it tidy, but it’ll ensure that your cables don’t get tangled up.
Connect the Command Mesh Kit to your computer
You can connect your Command Mesh module to a computer and use it as a MIDI controller. All you need to do is use a USB B-A cable and connect it to any USB 2.0 port on your computer. The Command Mesh kit is class-compliant, so no additional drivers are necessary to perform correctly. The only thing you’ll need to do is set it up as a MIDI device in your DAW or standalone drum software and start playing!
Updating the Alesis Command module settings
Now that you have everything set up the way you want, it’s time to change the Command Mesh’s module settings. These settings include utility and trigger settings, as well as USB thumb drive and kit settings. Follow these steps to select one of the following menus:
- Press the Kit button, then press Menu.
- Use the Up and Down arrows to choose one of the menus listed below, then press Enter.
- If you are adjusting the trigger settings, you’ll need to strike the pad you want to edit.
Utility settings
The Utility menu allows you to change any global settings, like MIDI, power, and pad control settings. To get to the Utility menu, press Kit, press Menu, then use the Down and Up buttons to select Utility.
- GM Mode: When GM Mode is turned on, MIDI messages sent to your module’s MIDI In will trigger sounds from the General MIDI (GM). When turned off, all MIDI messages sent to the module’s MIDI In will trigger the module’s built-in sounds.
- Local Ctrl: When Local Control is turned on, the pads will trigger the drum module’s internal sounds. When it’s turned off, playing the pads will instead send MIDI notes from the module to a connected computer or MIDI device and trigger those sounds instead.
- Lefty Mode: If you’re a left-handed drummer, then you’re in luck. When Lefty Mode is turned on, all of the pads are reversed to accommodate left-handed drumming.
- Auto Power: While it’s common to turn the module off after you’ve finished playing, you can set the drum module to power off automatically if it is not used for a certain amount of time.
- Contrast: Changes the contrast of the display.
Trigger settings
When you go into the Trigger menu, you’ll update individual pad settings, which will help accommodate the way you play. The factory settings are a great starting point, but you may want to tweak them if you’re experiencing mistriggers, or they don’t sound dynamic enough.
- Sensitivity: The sensitivity changes the responsiveness when you strike a pad. The higher the value, the less forcefully you need to play to generate a loud hit.
- The Rim Sens (sensitivity) parameter achieves the same thing, but only with the drum pad’s rim.
- The Rim Sens (sensitivity) parameter achieves the same thing, but only with the drum pad’s rim.
- Threshold: The threshold changes how hard you have to hit the pad to generate a sound. The higher the value, the harder you have to hit it. This works hand in hand with sensitivity, so you may have to go back and forth between the two to find the right setting.
- Head-Rim Adj: This setting will determine the crosstalk between the head and rim of the drum pad. For example, if you increase this parameter, the less chance you have of triggering the Rim sound when striking the center of the pad.
- If the setting is too high, you may not be able to trigger the sound if you’re performing a rimshot.
- If the setting is too high, you may not be able to trigger the sound if you’re performing a rimshot.
- Xtalk (crosstalk): This determines the crosstalk between pads. When you hit a drum pad, others may trigger due to the vibration of the drum rack. These vibrations are magnified if your Command Mesh kit is on a hard floor. So if you’re hitting one pad, and multiple sounds are triggering, increase the crosstalk.
- Curve (velocity curve): The velocity curve will adjust the amount of playing force in relation to the sample’s volume.
Related content
Additional resources
- Alesis Command Module User Guide
- Alesis Command Mesh Kit Assembly Guide
- Alesis Command Module Voice List
Related Articles
When you need help, Sweetwater has the answers!
Our knowledge base contains over 28,000 expertly written tech articles that will give you answers and help you get the most out of your gear. Our pro musicians and gear experts update content daily to keep you informed and on your way. Best of all, it’s totally FREE, and it’s just another reason that you get more at Sweetwater.com.


Offer applies only to single-receipt qualifying purchases. Select manufacturers may require that only the manufacturer’s products qualify towards the minimum purchase amount needed to be eligible for promotional financing. Otherwise, an invoice that meets the minimum purchase amount and contains at least one qualifying manufacturer product is eligible for promotional financing. No interest will be charged on promo purchase balance, and equal monthly payments are required on promo purchase until it is paid in full. The payments equal the amount financed divided by the number of months in the promo period, rounded up to the next whole dollar. These payments may be higher than the payments that would be required if this purchase was a non-promo purchase. During the last month(s) of the promo period the required monthly payment may be reduced due to the prior months’ rounding. Regular account terms apply to non-promo purchases. New Accounts as of 07/31/2025: Purchase APR is 34.99%. Penalty APR is 39.99%. Min Interest Charge is $2. Existing cardholders: See your credit card agreement terms. Subject to credit approval.
Offer applies only to single-receipt qualifying purchases. No interest will be charged on the promo balance if you pay it off, in full, within the promo period. If you do not, interest will be charged on the promo balance from the purchase date. The required minimum monthly payments may or may not pay off the promo balance before the end of the promo period, depending on purchase amount, promo length and payment allocation. Regular account terms apply to non-promo purchases and, after promo period ends, to the promo balance. New Accounts as of 07/31/2025: Purchase APR is 34.99%. Penalty APR is 39.99%. Min Interest Charge is $2. Existing cardholders: See your credit card agreement terms. Subject to credit approval.
The estimated required monthly payment shown which excludes taxes and delivery equals the amount financed divided by the number of months in the promo period, rounded up to the next cent. During the last month(s) of the promo period the required monthly payment may be reduced due to this rounding. These payments apply only with the financing offer shown. If you make these payments by the due date each month, you should pay off this amount financed within the promo period, if it is the only balance you are paying off. If you have other balances on your account, this payment will be added to any other minimum monthly payments.
Applies only to select items from this manufacturer. Ask your Sweetwater Sales Engineer for more details.