
Ableton Push 2 Setup Guide
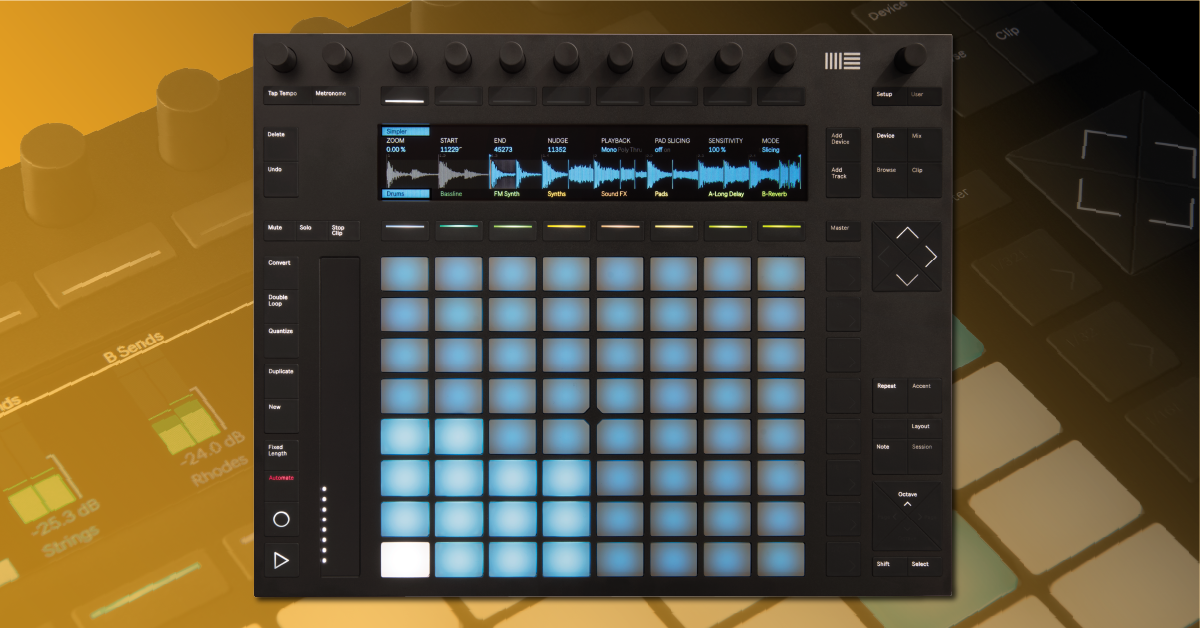
Getting started with the Ableton Push 2
In this guide, we’ll show you how to set up and connect the Push. To help you along the way, we’ve also gathered great tutorial videos from our friends at Ableton to get you making music in no time. You can also check out their Push Learning page for more information. Follow the sections below to get started.
Register the device
IMPORTANT: If you also purchased an Ableton Live upgrade, you must first register the Push 2 before activating your upgrade.
Before we get started, the first thing you need to do is register the Push with Ableton. When you register the hardware, you will get a license for a free copy of Ableton Live. Once registered, you can then activate and install Live. Follow the steps below to register and then continue to Setup and connections.
- Log in to your Ableton account. If you haven’t done so yet, you can create one at this time.
- Go to the product registration page, enter the Push registration code located on the back of the yellow envelope, then click Submit. The Live license will then be deposited into your Ableton account.
- If you also purchased an Ableton Live upgrade, you must activate it AFTER the version included with your Push is placed in your account.
- Follow Ableton’s on-screen instructions to download, install, and authorize Live.
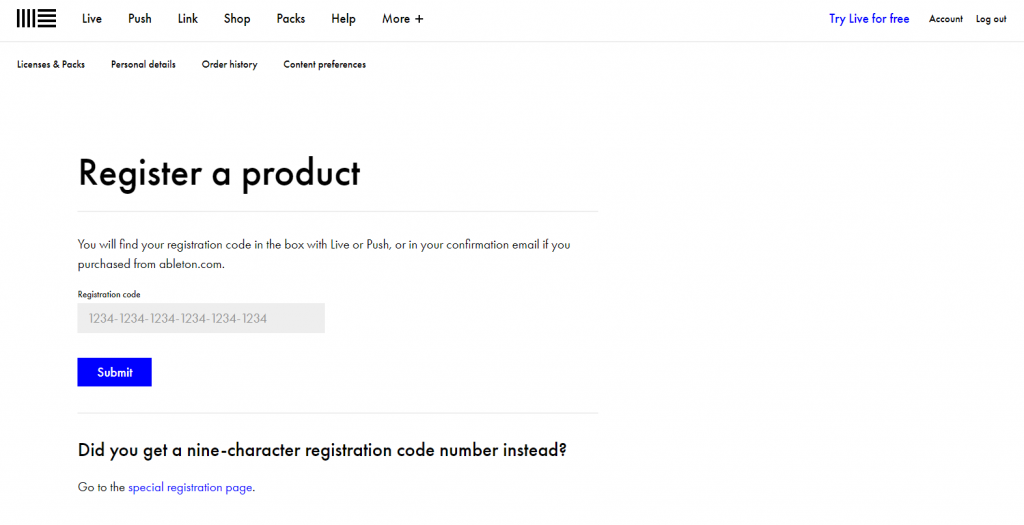
Click the image to register your Push 2 hardware.
Push 2 setup and connections
Push 2 is fully integrated with Ableton Live, meaning its plug-and-play. It’s also class-compliant, so no additional driver software is required. If you’re a Mac user, all you need to do is connect it to your computer and launch Live. If you’re a Windows user, you first need to make sure that both Windows and your computer’s graphics drivers are up to date. If you’re not sure how to do this, visit our guide on how to update drivers on Windows, and check out Ableton’s article on graphics driver updates.
- Use the power supply when possible. While the Push can be bus-powered, the display and pads will be significantly dimmer. Ableton also recommends not using USB hubs, as it can lead to performance and connectivity issues.
- If the Push 2 is stuck at the loading screen, be sure that Ableton Live is open. If the issue persists, visit Ableton’s troubleshooting guide for PC and Mac.
Foot pedals
You can connect two foot pedals to the Push via the two ¼” TRS connections on the back of the unit. The first ¼” jack is for sustain pedals. The second jack is configured for toggling the Record button. If the Push is in User Mode, you can set the pedal to control virtually any MIDI function. For more information, check out Ableton’s article on how to configure the foot pedal in User Mode.
Firmware updates
The Push will have firmware updates that correspond with software updates for Live. These typically add new features and bug fixes for the device’s internal software. When these updates are released, the firmware will automatically update when you connect the Push to your computer and launch Live. The Push screen will prompt you to restart the unit once the firmware update is completed.
Related content
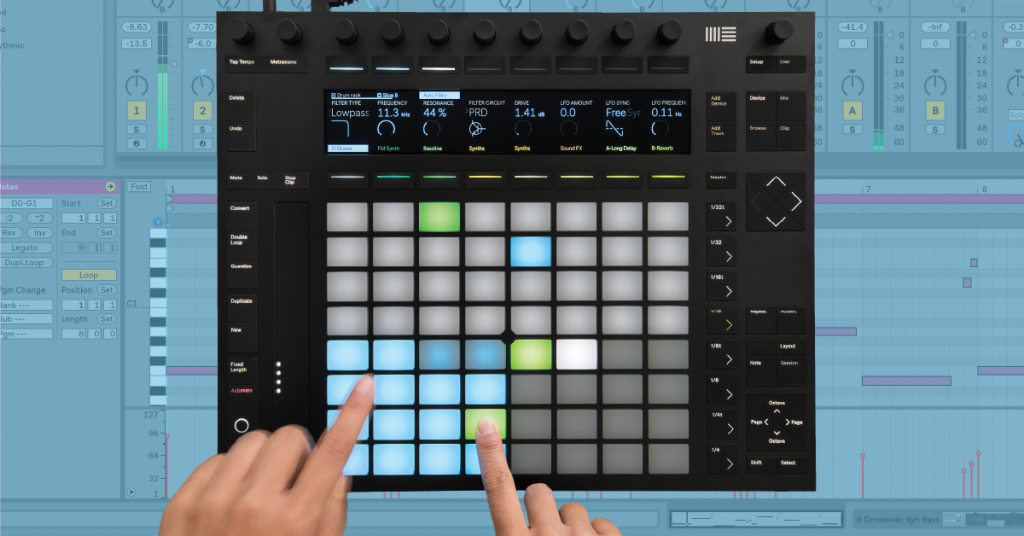
Learn how to create, load, and edit drum and instrument tracks on the Push 2.
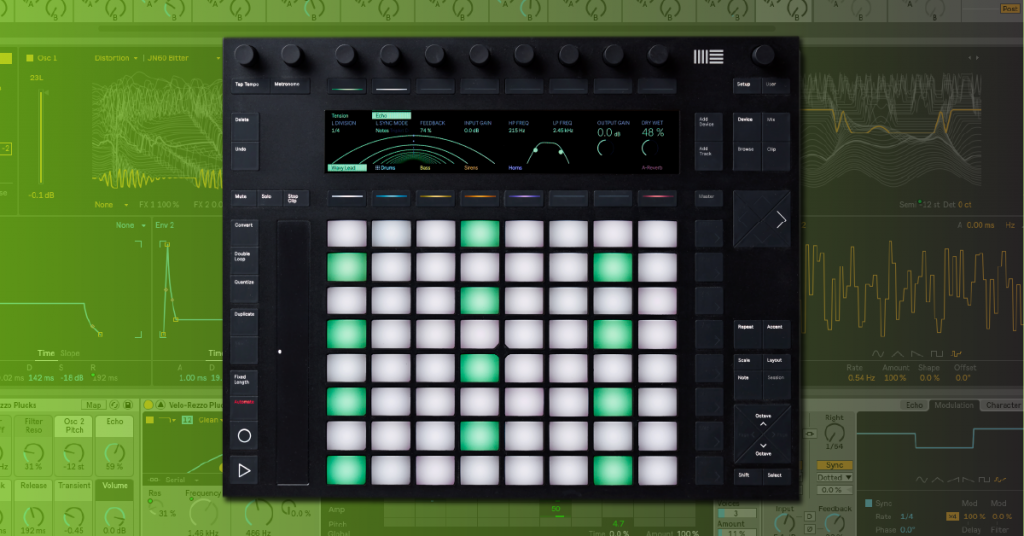

Learn more about how to get up and running with your Ableton Live software.
Learn MoreAdditional resources
Sakura Tsuruta Push 2 Performance Walkthrough
TecBeatz Push 2 Performance Walkthrough
Clockwerk Push 2 Performance Walkthrough
DJ Step1 Push 2 Performance Walkthrough
When you need help, Sweetwater has the answers!
Our knowledge base contains over 28,000 expertly written tech articles that will give you answers and help you get the most out of your gear. Our pro musicians and gear experts update content daily to keep you informed and on your way. Best of all, it’s totally FREE, and it’s just another reason that you get more at Sweetwater.com.

