
Ableton Push 2: Audio Sampling

Overview
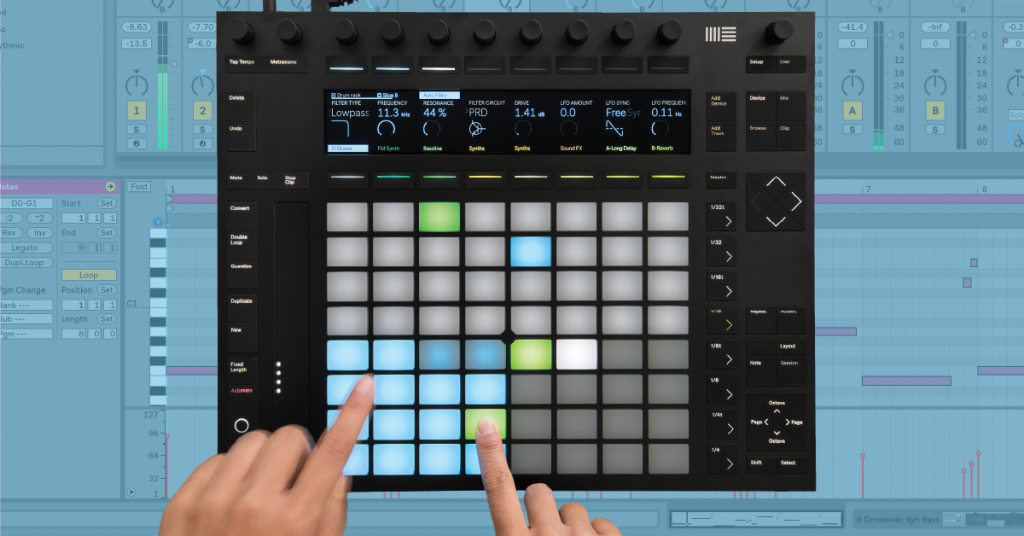
In this guide, we will show you how to work with samples and audio with the Push 2. This means you’ll learn how to record audio from your Push, edit it, and assign it to a pad to use for sampling. Be sure to check out Ableton’s video tutorial series, as well! Follow the sections below to get started.
Routing and recording audio
Ableton Live includes hundreds of audio clips to choose from. However, you can record your own samples, which you can then slice, loop, and assign to a Drum Rack. Before you can record, however, you first must set up your audio interface within Live.
Select your interface in Live
- In Live, select Options, choose Preferences, and then click the Audio tab.
- Select your audio interface from the Audio Device dropdown box and adjust the Input and Output Config, as necessary.
Record audio from the Push
Once your audio interface is set up within Live, you can then go back to the Push to begin recording. You just need to create an audio track and update its I/O. After that, it’s just a matter of pressing record.
- Press the Add Track button, select Audio track, choose Default track, and press the Load button.
- Press the Mix button twice to open the track settings, and press the button underneath the second encoder to select Input & Output.
- Use the third encoder to select Ext. In from the Input Type menu, then use the fourth encoder to select the input(s) your device is connected to.
- If you want to hear the audio playback while recording, use the first encoder and select Auto from the Monitoring menu.
- Hold the Record button and select the track, then press a pad to begin recording.
- Press the Clip button to see your sample’s waveform.
- Once the recording is complete, press the Play button to stop recording.
Routing Audio and MIDI
Select the sampling mode
After the audio is recorded, you can then select one of the three sampling modes: Classic, One-Shot, and Slicing. Depending on the sample, you may want to choose one over the other, but you can get creative with samples in each respective mode. You can adjust the start, stop, and loop points, as well as change assorted options such as warping, cropping and reversing the sample.
- Editing audio samples is non-destructive, which means that the original audio file is unaffected and your edited version will be saved as a separate file. This lets you retain the original sample and even create alternative cuts/splices.
- If you want to retain the original tempo of the sample but you still want to change the pitch, press the fourth button below the display (Warp) then use the fourth encoder to turn warping on.
- Hold the Shift button while using the Zoom, Start, and End encoders to make finer adjustments.
Sampling: Workflow Overview
Classic
Classic mode supports polyphony and plays notes as long as you hold the pad. That means that you can create both leads, as well as chords. While it’s best suited for melodic instruments, you can get unique sounds with percussive samples, as well. It’s the only sampling mode which allows you to loop.
Sampling: Classic Mode
One-Shot
One-Shot mode will play the entire sample by pressing the pad just once. While you can still edit the start and endpoints of samples, One-Shot is monophonic, and you cannot enable looping. Using the One-Shot mode is most useful for a drum break, fill, or a short sample like a reverse cymbal swell.
Sampling: One Shot Mode
Slicing
Slicing mode will automatically split different parts of the samples and assign them to pads. You can slice a sample by Transient, Beat, or region. You can also create a custom slice. Slicing mode is especially useful if, for example, you want to rearrange a drum loop in the middle of a song. Like One-Shot mode, looping is not available.
Sampling: Slicing Mode
Related content
Learn how to create, load, and edit drum and instrument tracks on the Push 2.
Additional resources
Sampling: Advanced Creative Techniques
Sampling In Depth: Warping
When you need help, Sweetwater has the answers!
Our knowledge base contains over 28,000 expertly written tech articles that will give you answers and help you get the most out of your gear. Our pro musicians and gear experts update content daily to keep you informed and on your way. Best of all, it’s totally FREE, and it’s just another reason that you get more at Sweetwater.com.


Offer applies only to single-receipt qualifying purchases. Select manufacturers may require that only the manufacturer’s products qualify towards the minimum purchase amount needed to be eligible for promotional financing. Otherwise, an invoice that meets the minimum purchase amount and contains at least one qualifying manufacturer product is eligible for promotional financing. No interest will be charged on promo purchase balance, and equal monthly payments are required on promo purchase until it is paid in full. The payments equal the amount financed divided by the number of months in the promo period, rounded up to the next whole dollar. These payments may be higher than the payments that would be required if this purchase was a non-promo purchase. During the last month(s) of the promo period the required monthly payment may be reduced due to the prior months’ rounding. Regular account terms apply to non-promo purchases. New Accounts as of 07/31/2025: Purchase APR is 34.99%. Penalty APR is 39.99%. Min Interest Charge is $2. Existing cardholders: See your credit card agreement terms. Subject to credit approval.
Offer applies only to single-receipt qualifying purchases. No interest will be charged on the promo balance if you pay it off, in full, within the promo period. If you do not, interest will be charged on the promo balance from the purchase date. The required minimum monthly payments may or may not pay off the promo balance before the end of the promo period, depending on purchase amount, promo length and payment allocation. Regular account terms apply to non-promo purchases and, after promo period ends, to the promo balance. New Accounts as of 07/31/2025: Purchase APR is 34.99%. Penalty APR is 39.99%. Min Interest Charge is $2. Existing cardholders: See your credit card agreement terms. Subject to credit approval.
The estimated required monthly payment shown which excludes taxes and delivery equals the amount financed divided by the number of months in the promo period, rounded up to the next cent. During the last month(s) of the promo period the required monthly payment may be reduced due to this rounding. These payments apply only with the financing offer shown. If you make these payments by the due date each month, you should pay off this amount financed within the promo period, if it is the only balance you are paying off. If you have other balances on your account, this payment will be added to any other minimum monthly payments.
Applies only to select items from this manufacturer. Ask your Sweetwater Sales Engineer for more details.