
Ableton Push 3 Setup and Connections
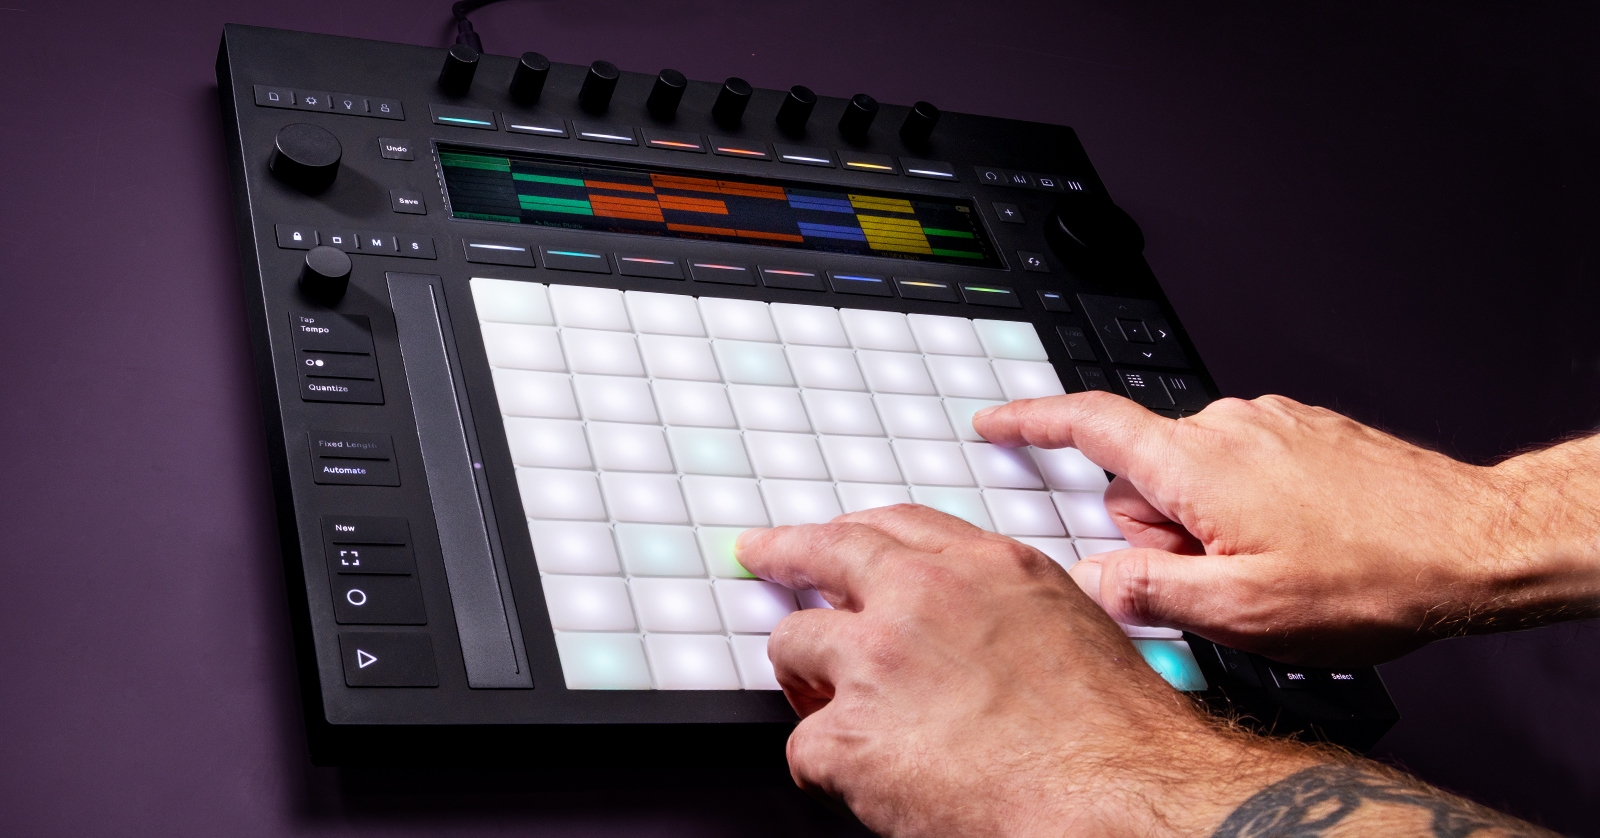
In this guide, we will show you how to set up and connect your Ableton Push 3. Our friends at Ableton have also created some great tutorial videos to help you along the way. Follow the sections below to get started!
- Register the Ableton Push 3
- Register the Ableton Push 3 Standalone
- Update the Push 3 Firmware
- Push 3 Setup and Connections
Register the Ableton Push 3
IMPORTANT: The Push 3 comes with a free copy of Ableton Live Lite. If you purchased an Ableton Live upgrade, you must register the Push 3 before activating your upgrade.
While it’s always exciting to take new gear out of the box and start playing, you first must register your Push 3 with Ableton. After registration, you’ll gain access to a free copy of Ableton Live Lite and Packs to expand the large catalog of sounds you get with Live even further.
- Log in to your Ableton account. If you don’t have one yet, you can create one now.
- Go to the product registration page, enter the serial number located on the back of the box, and click Submit. The Push 3 will now be registered, and a Live Lite license will be deposited in your account.
- If you purchased an Ableton Live upgrade, you must activate it after the Push 3 is registered.
- Follow the on-screen instructions to download, install, and authorize Ableton Live Lite.
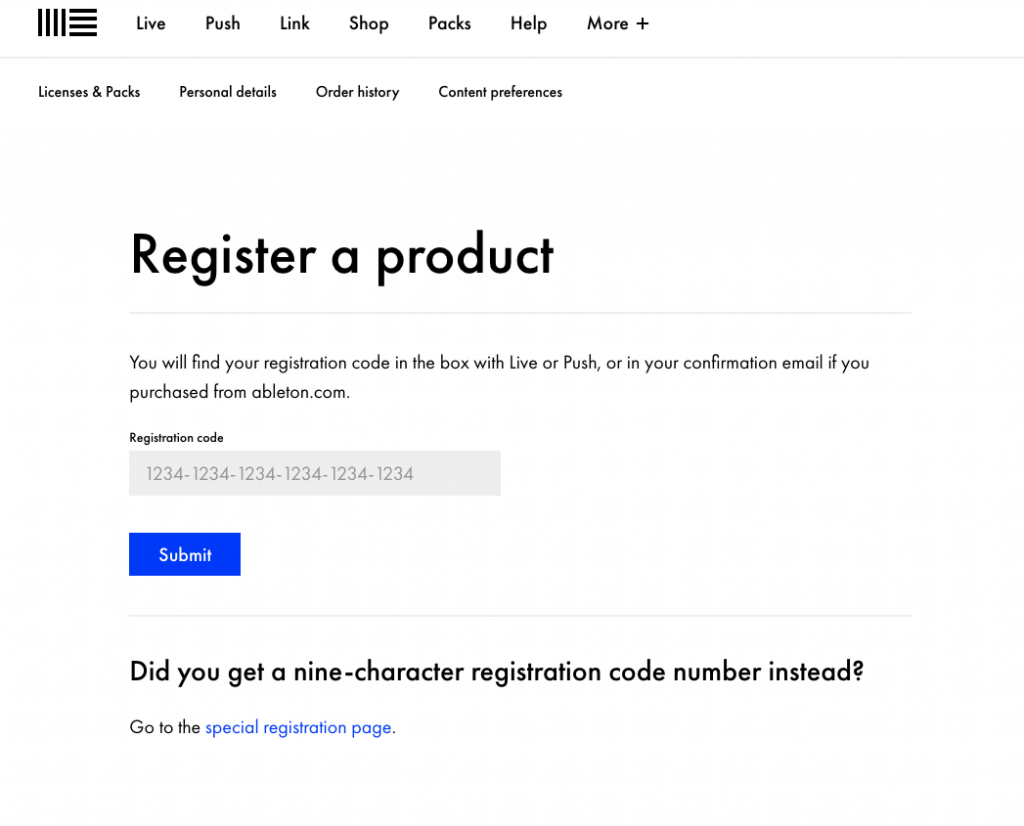
Click the image to register your Push 3 with Ableton.
Registering the Ableton Push 3 Standalone
IMPORTANT: WPA3 Wi-Fi networks are not supported.
If you own a Push 3 Standalone, you also have the availability to register the unit via Wi-Fi.
- Power on the Push 3 Standalone, press the Gear (Settings) button, press the Wi-Fi button, and use the first encoder above the display to scroll through available Wi-Fi networks.
- Find your Wi-Fi network, press Connect, and enter your Wi-Fi network’s password. Press the green Done button to connect.
- Press the Gear (Settings) button, then press Software.
- If there’s a new firmware update, press the green Update button to install the latest firmware.
- Press the blue Authorize button, open your internet browser, and enter the URL that appears on the display.
- Select the Ableton Live license you want to authorize, then click Authorize.
- If you’ve authorized Live Standard or Live Suite, you must restart the Push 3.
Installing Bonus Packs
The Ableton Push 3 comes with bonus sound packs to further expand your creativity. These bonus sound packs are available for installation after you have authorized your Push 3 and your Live license.
- Press the + button, press Packs, and look for Available Packs.
- Use the right jog wheel to highlight the Pack you want to install, then press the jog wheel to install the Pack.
Update the Push 3 Firmware
Ableton will release firmware updates for the Push 3 that will add features or address bugs that are present in the current version.
All you need to do is connect the Push 3 to your computer, launch Ableton Live, press the Gear (Settings) button, and press the Software button. If there’s a firmware update available, you will see a green Update button with the notification “An update to Push 1.2.x is available.”
- If you have a Push 3 Standalone that’s connected via Wi-Fi, there’s no need to connect the device to your computer.
Push 3 Setup and Connections
The Ableton Push 3 has plenty of connections and is fully integrated with Ableton Live, meaning it’s plug-and-play. You can use it as an audio interface, make it the centerpiece of your synth setup, or use it as a controller and sequencer!
USB
You can use the Push 3 as an audio interface not only inside Ableton Live but also in all other DAWs. During the Ableton Live installation process, all necessary drivers are installed, so you just need to connect it to your computer, launch your DAW, and set it as the default input and output device.
ADAT
The Push 3 is unique because it has ADAT connections, something you don’t typically see on a standalone sequencer! This allows you to expand the audio I/O by either four stereo or eight mono sources. You may need to update your ADAT-compatible audio interface settings or preamp. Please refer to its owner’s manual for further information.
MIDI
You can connect any class-compliant MIDI device to the Push 3’s USB-A jack. You can also use the 1/8-inch to MIDI adapter to connect to external MIDI devices. The Push 3’s MIDI Out is set to automatically send MIDI notes to your external MIDI device, so no additional setup is necessary.
However, if you connect a MIDI device via the USB-A jack, you will need to update a few additional settings so it is recognized and can be used properly.
- Connect the MIDI device to the USB-A jack on the Push 3.
- Press the Gear (Setup) button, choose MIDI, use the first encoder above the display, set the I/O to Output, and push the Track button. If your device also receives MIDI clock, also press Sync.
Pedals
You can connect pedals to Pedal 1 and Pedal 2. Pedal 1 can be used for recording functionality on the Push. For example, single-pressing the footswitch will trigger the Record options (record, overdub, and playback). Double-tapping the footswitch will toggle the New button. Pedal 2 is for sustain pedals only.
The pedal jacks work with footswitches, and you can also send CV data to modular gear. For CV functionality to work, you must update the settings, but the process is straightforward.
Press the Gear (Settings) button, press Pedals & CV, then use the encoder knob to switch to CV Out.

Pedals & CV Settings screen
Related Articles
When you need help, Sweetwater has the answers!
Our knowledge base contains over 28,000 expertly written tech articles that will give you answers and help you get the most out of your gear. Our pro musicians and gear experts update content daily to keep you informed and on your way. Best of all, it’s totally FREE, and it’s just another reason that you get more at Sweetwater.com.

