
Oaktone Oakboard MIDI Controller Quickstart Guide
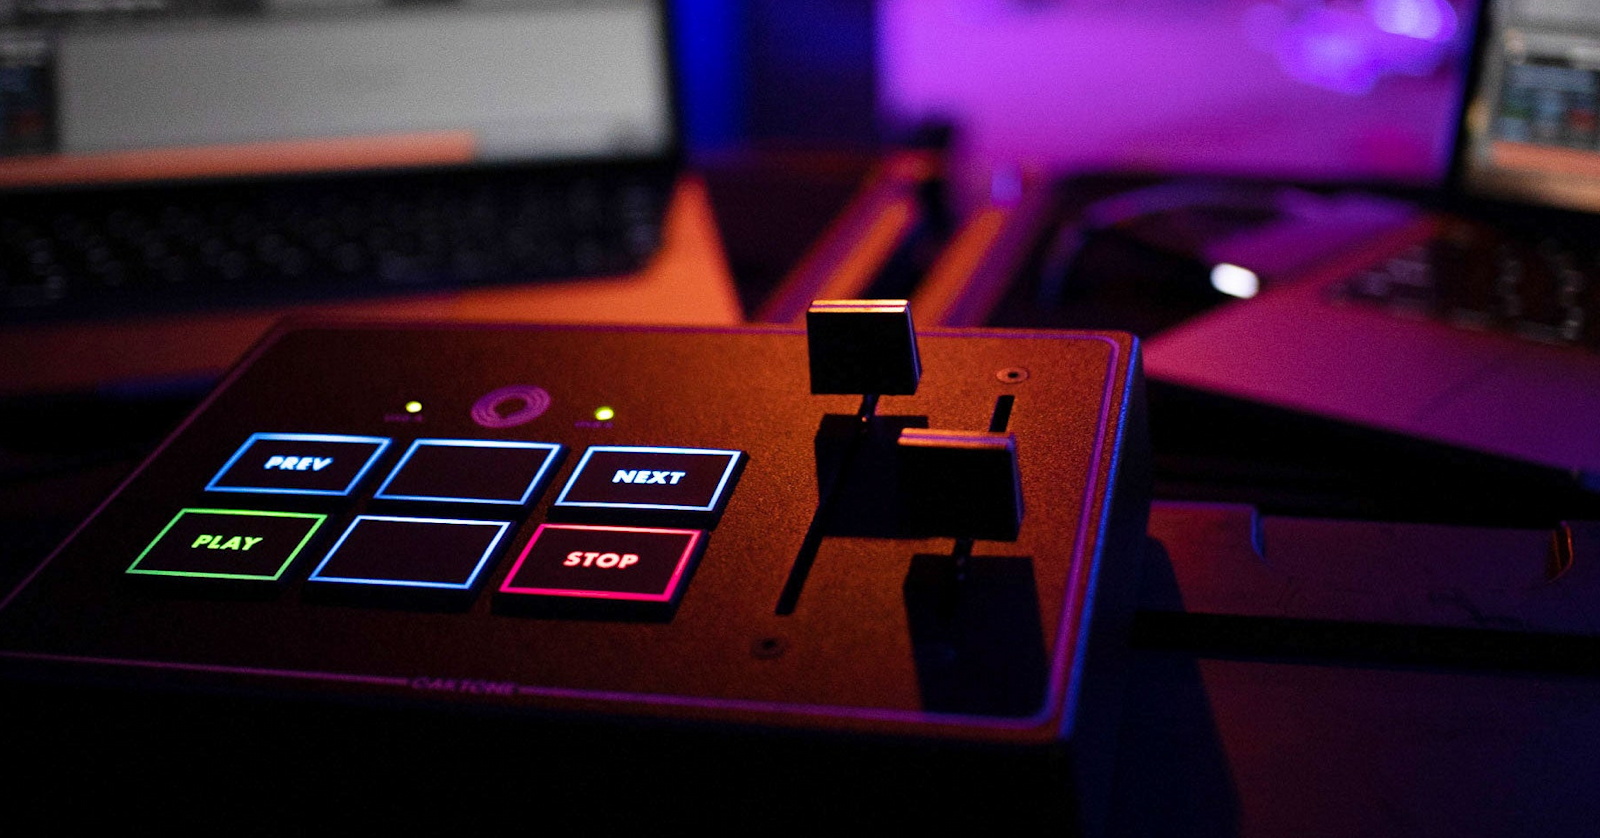
Thanks for buying an Oaktone Oakboard Mini 2, Oakboard Slide Duo, or Oakboard Floor Vista MIDI controller from Sweetwater. Here’s how to register your purchase, install the latest firmware, and get started with the Taz Lite playback cue launching app.
- Register Your Purchase
- Oaktone Owner’s Manuals
- Oakboard Mini 2 Firmware Update
- Configuring your DAW to recognize your Oakboard
- Oakboard Programmer app
- Taz Lite
Register Your Purchase
When you register your purchase on the Oaktone website, you’ll automatically receive firmware and software updates.
Go to the Oaktone Product Registration page and fill out the information.
Oaktone Owner’s Manuals
When you take your Oakboard out of the box, flip it over and scan the QR code on the bottom. This will take you to the digital guide and full documentation.
Learn more on the Oaktone Support Setup pages.
Oakboard Mini 2 Firmware Update

Oaktone Firmware Loader on macOS
If you have an Oakboard Mini 2 model, with USB-C connection, you must install a firmware update right out of the box.
If you have the Slide Duo or Oakboard Floor Vista, this procedure does not apply. Skip to the next section.
While Oaktone hardware and software work with both macOS and Windows, at this time the Oakboard Mini 2 firmware update can only be carried out on a Mac.
- On your Mac, go to the Oakboard Mini 2 – Firmware Update page.
- Find the link that says “download here” and download the .zip file with the latest firmware update package.
- In your Downloads folder, expand the .zip file.
- In the resulting folder, double-click on the Oaktone Firmware Loader .dmg file.
- Drag the Oaktone Firmware Loader to your Applications folder.
- In your Applications folder, launch Oaktone Firmware Loader.
- Position the Oaktone Firmware Loader window alongside the firmware folder in the Finder; you will need to drag and drop a file from one to the other in the next step.
Next, put your Oakboard Mini 2 into firmware update mode.
- With the unit unplugged, hold down the Stop button.
- While holding down the Stop button, connect the unit to your Mac using the USB-C cable. Wait a couple of seconds and release the button.
Next, perform the update.
- In the Oaktone Firmware Loader app on your Mac, click Scan MIDI Devices.
- The app will indicate “Oakboard detected.”
- In the Finder, in the Mini 2 firmware folder, click on the firmware file, ending in .hex. Drag-and-drop it into the Oaktone Firmware Loader app’s window.
- In the Firmware Loader app, click Install Firmware.
- Wait patiently, and do not unplug the Oaktone device until the Firmware Loader app indicates “100%.”
- Unplug the device, wait a second, and plug it back in again to reboot it.
Verify that the new firmware is installed with the Oakboard Programmer app, as we explain in the following section.
Learn more at Oaktone Support: Oakboard Mini 2 – Firmware Update. You’ll find a link to a video that demonstrates the update procedure.
Configuring your DAW to recognize your Oakboard
Your Oaktone unit receives power over the USB-C connection. Make sure you are using a USB-C data cable, not a charging cable. Connect your Oaktone directly to a USB port on your computer, or to a powered USB-C hub that is connected to your computer.
- Always start with your computer shut down.
- Connect the Oaktone unit to your computer or hub.
- Power up the computer, and when it boots up, then open your playback software.
You’ll need to configure Ableton Live or another DAW or playback software to receive MIDI commands from your Oaktone unit, and to map specific functions to the Oaktone unit’s controls. Consult your software’s instructions.

MIDI port configuration in Ableton Live
With Ableton Live, under MIDI Ports, select the Oakboard as the In device and check the Remote box. Select Oakboard as the Out device and check the Sync box.
From the factory, the Mini 2 is configured to send these MIDI notes on Channel 16.
| Button | MIDI note value |
| Prev | 39 |
| Play | 36 |
| Top Middle | 40 |
| Lower Middle | 37 |
| Next | 41 |
| Stop | 38 |
You can change these values, and other parameters on the other Oaktone models, using the Oakboard Programmer app, as explained below.
Learn more on the Oaktone Support Setup pages.
Oakboard Programmer app

Oaktone Oakboard Programmer running in Google Chrome
Oakboard Programmer is where you program your Oakboard to configure MIDI channel, program change values, continuous controller values, and other settings that are appropriate for your model.
Oakboard Programmer is not an app that you download and run on your computer. Rather, it’s a cloud-based web browser app that runs on the Oaktone website, so you need to be connected to the Internet whenever you need to run the Programmer.
To access Oakboard Programmer, you need to use a browser that supports the Web MIDI standard. These include Google Chrome, FireFox, Opera, and Microsoft Edge. (Apple Safari does not support Web MIDI.)
- Connect your Oaktone unit to your computer using the USB-C cable.
- Open your Web MIDI-compatible browser.
- Type in https://oaktone.com/pages/oakboard-programmer. Bookmark this link, as you’ll need it every time you need to change MIDI parameters.

Granting permission for Google Chrome to connect your Oaktone unit over MIDI
When the page opens, you may see a prompt asking you to permit the browser to accept MIDI data from your unit. Click Allow.
In the Oakboard Programmer window, click Rescan MIDI Devices.
Your unit will be detected and its firmware version will be displayed.
The Oakboard Programmer provides instructions for changing your MIDI configurations right there in the browser page.
Taz Lite

The Taz Lite app
When you register your purchase, as we indicated above, you’ll receive instructions via email to download a copy of Taz Lite, which is included with your purchase.
It’s the app you use to manage cue lists for Ableton Live Suite and Max for Live. Taz Lite is designed for Oakboard units, but it will also work with any hardware MIDI controller, not just those from Oaktone.
Taz Lite’s set list will display on the Oakboard Floor Vista. Learn more on the Oaktone Taz Lite product page.
Related Articles
When you need help, Sweetwater has the answers!
Our knowledge base contains over 28,000 expertly written tech articles that will give you answers and help you get the most out of your gear. Our pro musicians and gear experts update content daily to keep you informed and on your way. Best of all, it’s totally FREE, and it’s just another reason that you get more at Sweetwater.com.

