
Ableton Push 3: Building a Live Set
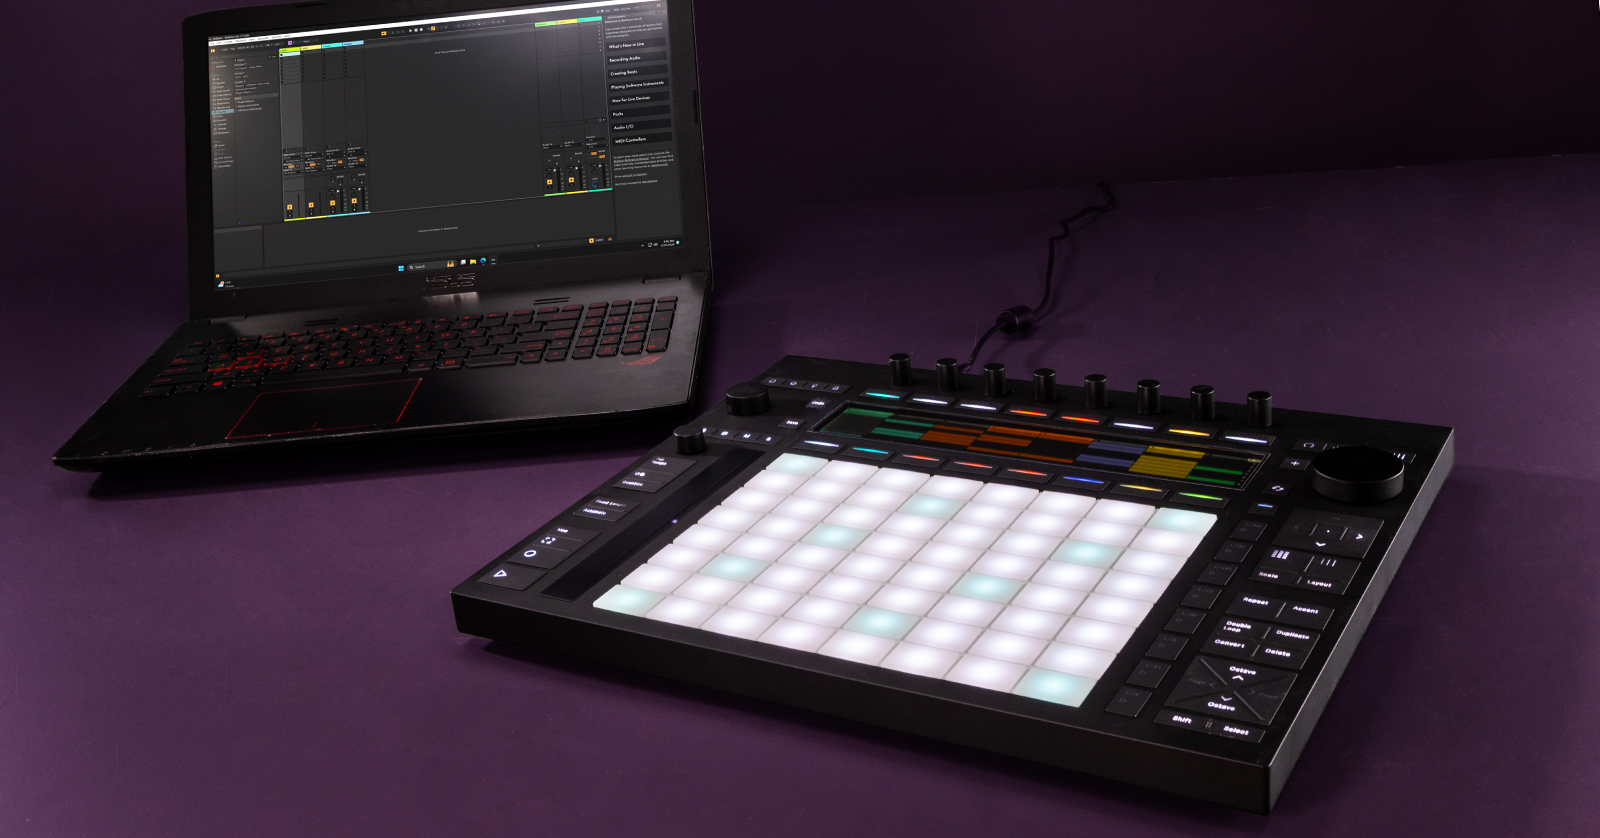
In this guide, we will show you how to create and build a Live Set from scratch on your Ableton Push 3. This article only scratches the surface, so make sure to check out the Push 3 Manual to learn more. Let’s get started.
Adding Tracks
When you turn on the Push 3, an empty Live Set is loaded with two MIDI tracks and two audio tracks. While these blank tracks are all set to use, we can also create a few different types of tracks.
To add a track, press the + button, then use the right jog wheel or the D-pad to highlight the track you’d like to create.
Device Track
Device tracks are the “shell” for content, such as the sound packs bundled with your Push 3 license, the instruments, and the MIDI and audio effects. Choosing a Device track opens a submenu with further options.
- If you want to load an instrument or drums, create a Device track, then select the preset you wish to load.
MIDI Track
TIP: If you are connecting an external synth to record MIDI, you can also create a Device track and choose External Instrument from the list of presets.
When you add a MIDI Track, it will be blank and will only be able to accept MIDI input. This is the preferred method if you are syncing MIDI from an external MIDI device (like a synth) or if you’re importing a MIDI Track to the Push 3.
Audio Track
Choose Audio Tracks when recording microphones, guitars, or line instruments. Audio Tracks on the Ableton Push 3 are set to Input 1 by default, but this can be changed at any time. Here’s how to change the audio input.
- Create an Audio Track, then press the Mixer button.
- Use the second encoder above the display to choose Input, then use the fourth encoder to change the audio input channel.
Changing the track colors
Changing the track colors is a good way to distinguish tracks from one another. This is particularly useful if you have multiple MIDI or audio tracks. Changing the track color also changes the pad color.
To change a track’s color on the Push 3, press and hold Shift, then select the track. While still holding Shift, select the new color.
Programming Drums
TIP: Hold Shift and press a pad to change its color. We recommend doing this to make it easier to distinguish samples from one another.
Now that you’ve created some tracks, it’s time to load some instruments and learn how to program tracks. First, let’s load and program a drumbeat.
You can program drums two ways: live (real-time) recording or step recording. Step recording is the preferred method if you want to be on time or if you’re adding or removing individual notes. It’s perfect for genres like EDM.
There are usually 16 samples for a drum kit, but if there are more than 16, use the Octave buttons to access the additional samples.
Choosing the Drum Pad Layout
Drum tracks on the Ableton Push 3 have three different layouts available: 16 Velocities, Loop Selector, and 64 Pads. Drum kits that are installed or included on the Push 3 have 16 samples per kit. To change layouts, just press the Layouts button.
Layouts are divided into sections. Depending on the layout, the pads will have different sections.
16 Velocities
When you select the 16 Velocities layout, the pads are laid out in three sections. The top 32 pads act as the step sequencer, the bottom-left 16 pads are assigned to the kit’s samples, and the bottom-right 16 pads are for velocities.
Although the Push 3 pads are velocity-sensitive already, using this mode gives you a more accurate and larger dynamic range than you would have otherwise. Here are a few tips for using the 16 Velocities layout.
- The brightness of the pad corresponds to the velocity of the sample.
- To change velocity, press the sample’s pad on the left, then press the pad on the right.
Loop Selector
When you choose the Loop Selector layout, the pads are split into three sections. Like the 16 Velocities layout, the top 32 pads are for the step sequencer, and the bottom-left pads are for samples, but this time, the pads on the bottom right are for the loop’s length.
Loop Selector is useful for when you want to play, step sequence, and edit the clip length all at once.
To edit the loop length, press and hold the first pad in the loop length section and press the pad you want to extend it. For example, if you want a clip to extend to eight measures, press and hold the first pad, then press the eighth pad.
64 Pads
The 64 Pads layout is self-explanatory. All 64 performance pads can be used for real-time drumming. This is useful if you have a larger drum kit.
Programming Instruments
You can program instruments by live- or step recording, just like the drum tracks. Add an instrument to a Device track, choose a layout, and start performing.
Choose the Instrument Layout
Instrument layouts are for melodic and harmonic instruments. Just like drum layouts, there are three available pad layouts for instruments: Melodic Sequencer, Melodic Sequencer + 32 Notes, and 64 Note.
Melodic Sequencer

The Melodic Sequencer layout is a two-in-one layout: step sequencer and keyboard. The vertical pads indicate the notes that can be played, and the top horizontal pads represent the steps. While you only have visual access to one octave at a time, you can always switch octaves by pressing the Octave buttons.
Melodic Sequencer + 32 Notes

Melodic Sequencer + 32 Notes layout also combines step sequencer and keyboard. The difference between the two is that the top 32 pads are the step sequencer, and the bottom 32 pads are for the notes.
This is the preferred layout when you want to record longer sequences.
64 Note
64 Note layout turns all 64 pads into notes. This is most useful when you’re capturing a complex melody. When you first create a project, the Push 3 will load the 64 Note layout in the key of C Major in fourth chords.
You can change the chord parameters at any time by pressing the Scale button, then using the first pad below the display and the first encoder above the display.
Push 3 MPE
Ableton’s Push 3 has MPE (MIDI polyphonic expression) functionality, a game-changing feature that takes your performance to the next level. Not only are the pads velocity-sensitive, but you also get advanced control over your sounds.
MPE functionality is enabled by default, but MPE pad behavior can be changed in the Expression settings tab.
You can adjust three MPE data settings: In Tune Location, In Tune Width, and Slide Height.
- In Tune Location: When this is set to Finger, the pad location where you initially place your finger will have no pitch bend. When it’s set to Pad, wherever you place your finger determines the pitch bend. Zero pitch bend is at the pad’s center.
- In Tune Width: In Tune Width will determine how fast the pitch-bend changes occur. If the In Tune Width is set to a small amount, the pitch bend will occur faster. If it’s set to a large amount, the pitch will bend gradually when you move your finger.
- Slide Height: This determines the vertical range for pads.
Related Articles
When you need help, Sweetwater has the answers!
Our knowledge base contains over 28,000 expertly written tech articles that will give you answers and help you get the most out of your gear. Our pro musicians and gear experts update content daily to keep you informed and on your way. Best of all, it’s totally FREE, and it’s just another reason that you get more at Sweetwater.com.

