
Roland JD-Xi Quickstart Guide
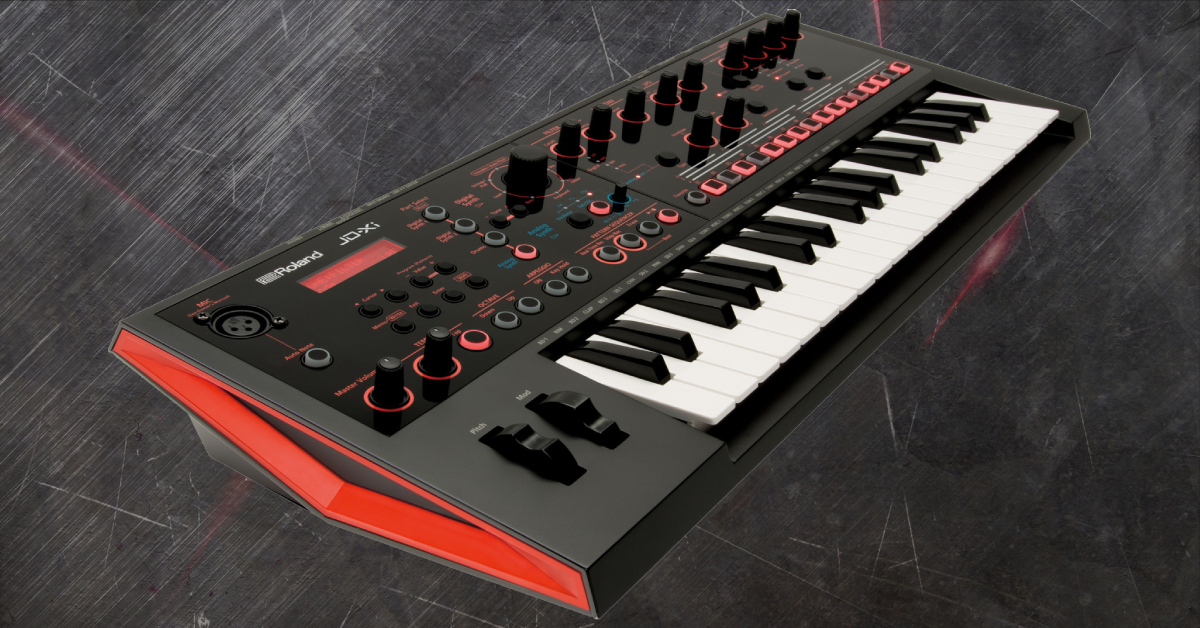
In this guide, we will show you how to register, set up, and use a Roland JD-Xi synthesizer for the first time. Follow the sections below to get started.
Register the JD-Xi
Before you get up and running, the first thing you’ll need to do is register the JD-Xi with Roland. Upon registration, you’ll get access to Roland’s product support, an extended warranty, training videos, and clinic information. Follow the steps below to register the synth.
- Log in to your Roland Backstage account. If you don’t have one yet, you can create one here.
- Roland will then send an account activation email to the registered email address to complete the account creation process.
- Check your spam folder if you don’t see the email.
- On your account home page, click My Gear, and select Register a Product.
- Fill out the required information, including the serial number located on the JD-Xi, and click Register.
- Keep your Sweetwater invoice handy because you will need to enter the purchase date, purchase method, and dealer (Sweetwater).
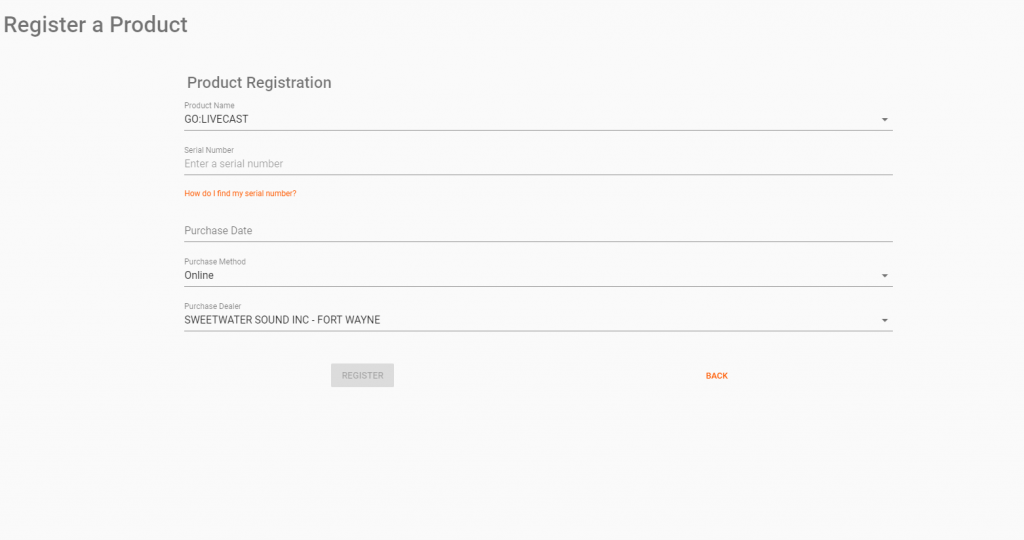
Click the image to register your Roland JD-Xi
JD-Xi setup and connections
The JD-Xi has multiple connections, which make it a great addition to your setup. You can connect guitars via the 1/4-inch inputjacks to utilize its internal effects, microphones via the XLR connection, MIDI to integrate it with external synthesizers, and USB so you can use it as an audio interface!
- Use the Line/Guitar switch to change the impedance of the input jack.
- The XLR connection will be disabled if something is connected to the rear 1/4-inch input jack.
- Condenser microphones cannot be used because the JD-Xi only provides 5V of power.
- If you’re using a microphone other than the one included, you will need to change the XLR port settings. Check out page 15 of the owner’s manual for more information.
How to Use Vocoder and Auto Pitch
How to create a Program
A Program is a combination of the four different sound generators on the JD-Xi: two Digital Synths, one Analog Synth, and Drums, plus anything you may have added, such as arpeggios, recorded patterns, and tempo changes. Think of a Program as a song. Programs are separated and stored into banks (A-H). To access different Programs, you’ll use the + and – buttons, and if you hold the Shift button while pressing the + or – button, you will then change banks.
- Use the + or – button while holding Shift to change the bank, and use the + or – button to change the patch until you see INIT PROGRAM on the display.
- Press one of the four sound generators (Digital Synth 1, Digital Synth 2, Drums, Analog Synth).
- Use the various controls on the JD-Xi to alter and record the sound to your liking.
Saving Programs and patterns
Once you’ve dialed in your sounds and before you start recording patterns, now is a great time to save your Program. If you accidentally change to a different patch, everything will revert, and any changes you made will be lost. Remember, a Program also stores sequence data, effects, and filter alterations, so all of those will be lost, too. Follow these steps to save a Program.
- Press and hold the Shift button and press the Menu/Write button.
- Use the + and – buttons to change the letter, the left and right arrow buttons to move the cursor, then press Enter.
- Use the + and – buttons to select which bank and patch number you want to save the Program to, then press Enter.
- Please note that you can’t overwrite any factory presets.
- Press Enter to confirm.
Programs, Banks, and Favorites
Recording patterns
You can record a pattern in a few different ways: step recording (TR-REC) and live recording. Depending on which sound generator you’re recording, you may choose one option over the other, but all three are straightforward. Check out the owner’s manual to get an in-depth look on recording.
Step record
Step recording allows you to record one note at a time. It’s handy for when notes need to be on time, such as synth lead or arpeggiator. While in Step Record mode, you can adjust the length of each note, adjust the velocity, and add ties and rests. Follow these steps to step record.
- Press the Part Select button to choose the sound generator you want to record.
- Press the Step Record to “arm” the track.
- Begin performing one note at a time until you’ve reached the end of the pattern.
- Add ties by pressing the ARPEGGIO button, and press Erase to add a rest or delete the data.
- Press Step Record to stop recording.
How to Use Step Recording
TR-REC
TR-REC is similar to step recording in that you will input one note at a time. However, instead of using the keys to input each note, you will press the note on the keyboard you want to trigger and use the 16 step pads to specify when the note will sound. Using TR-REC is very useful when programming drum beats.
Real-time record
Real-time recording is self-explanatory. Just press Realtime Rec, press the Play button, and start playing. Once you’re finished, press the Play button again. If you need to play to a metronome, you can enable it within the Click settings. Check out the owner’s manual for more information!
- Press Menu, go to SYSTEM, and then press Enter.
- Navigate to the CLICK settings, and select when you want the click to play:
- Play only, Record only, Play and Record, or Always
- Press Exit once you’ve changed your settings.
Pattern Sequence Erase, Basic and Real-Time Recording
Related content
Synth Clips by Daniel Fisher (Playlist)
Additional resources
JD-Xi Analog Digital Synthesizer Tutorials
Roland JD-Xi Tutorial (Playlist)
When you need help, Sweetwater has the answers!
Our knowledge base contains over 28,000 expertly written tech articles that will give you answers and help you get the most out of your gear. Our pro musicians and gear experts update content daily to keep you informed and on your way. Best of all, it’s totally FREE, and it’s just another reason that you get more at Sweetwater.com.

