

How to Record Audio Tracks in Pro Tools
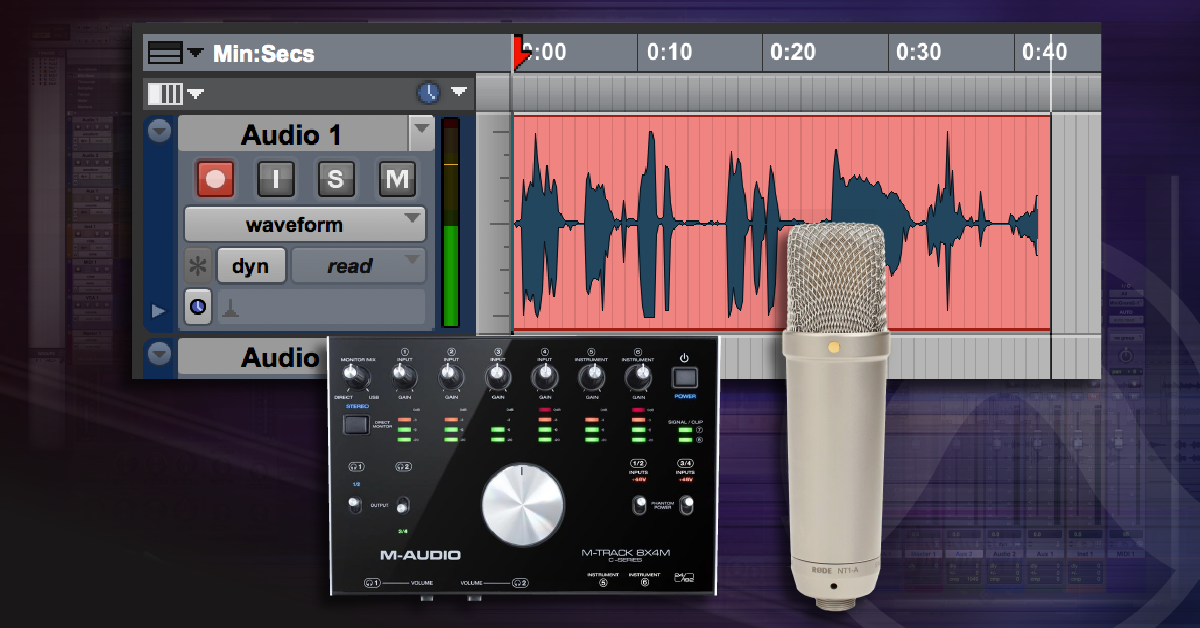
In this article, we will show you how to record audio tracks in Pro Tools. If you are new to Pro Tools, this guide will get you started with recording, but you’ll need to create a session first. This guide breaks down into three parts:
- Select Playback Engine and I/O settings
- Create audio track and select the input path
- Record audio with Pro Tools
Select Playback Engine and I/O settings
Before recording anything, you must first select the Playback Engine and configure the I/O Settings.
Playback Engine settings
In Pro Tools, the Playback Engine is just another name for your audio interface. If your audio interface is not selected as the Playback Engine, its inputs and outputs won’t show up in Pro Tools, so make sure it’s selected before continuing. You can also adjust the Hardware Buffer Size within the Playback Engine settings, which is the time used to buffer plug-in processing. When monitoring through Pro Tools, you can minimize monitoring latency by selecting the lowest buffer size possible. If that setting produces DAE errors, just increase the buffer one increment at a time until you find the optimal setting where no errors are created. Follow these steps to select and configure your Playback Engine.
- Click the Setup menu and select Playback Engine….
- Select your audio device from the drop-down menu and choose an appropriate H/W Buffer Size.
- Click OK.
My audio interface doesn’t show up!
If your audio interface isn’t showing up in the Pro Tools Playback Engine settings, try reconnecting the interface to your computer. If that doesn’t work, check out our audio interface troubleshooting guides for PC and Mac.
Selecting Playback Engine settings in Pro Tools.
I/O settings
The I/O settings in Pro Tools are for naming inputs, outputs, and sends. When recording audio tracks, you typically just need to pay attention to the Input tab. The columns (top) represent your interface’s analog and digital inputs, while the rows (left) are their names. This is similar to the other tans (Output, Bus, etc.).
You can also configure your interface’s default routing assignments to create a set of custom I/O settings. While face input can be renamed and rerouted to your liking, we recommend getting started with the Default button.
How to restore default input settings in Pro Tools
- Click the Setup menu and select I/O Settings….
- In the Input tab, click Default. This will force Pro Tools to default your interface’s input paths.
- Click OK.
Saving I/O settings
If you customize your I/O settings, save a backup to another location (e.g. USB hard drive or cloud storage). Hold the Alt (Windows) or Option (Mac) key and click Export Settings… to save the settings from all the tabs at the same time.
Default Input paths in the I/O Setup window.
Create audio track and select the input path
Now that your Playback Engine and I/O settings are configured, brand-new audio tracks will be able to record audio from the interface. All that’s left to do is create them and select the input path. The output path will typically be your mains or whatever you use to monitor Pro Tools.
Watch out for recording “too hot.” We’re not talking about hot beats; we mean overdriving the preamp or causing digital clipping in Pro Tools. We recommend staying under -12dBU in Pro Tools. A quick reference is to record in the green so that peaks reach right below yellow. Watch out though, recording too low will increase the signal-to-noise ratio of the audio track and make it noisier when turned up. Learn more about signal levels in audio gear.
Create an audio track
- Click the Track menu and select New….
- Select a Mono or Stereo Audio Track and click Create.
- Name the new audio track.
- Select the Input and Output Paths.
- Click Track Record Enable and set the level on your preamp/device.
Mix groups
When recording multiple tracks together, consider using a Mix Group. This means clicking Record Enable on one track will record enable the entire group. You can also customize groups for editing too.
Create and configure an audio track in Pro Tools.
Record audio with Pro Tools
Pro Tools is ready. Your audio track is ready. Now what? All you have to do is select the start location by moving the Timeline’s Playhead. Once you record enable the track(s) and transport, clicking Play will begin recording. Follow the steps below to start recording in Pro Tools.
Record enable and play
- Move the Timeline’s Playhead to the start location.
- Click the Track’s Record Enable button.
- Click the Transport’s Record Enable button and click Play. Stop recording by clicking Play again.
Pre/Post roll
Turn on pre-roll/post-roll to start/end playback a defined distance before/after your recording. This can be helpful when you want to hear the measure or two before/after the recording starts/ends. When in doubt, don’t worry; you can always edit the audio with the Trim tool.
Recording audio in Pro Tools.
Related Articles
When you need help, Sweetwater has the answers!
Our knowledge base contains over 28,000 expertly written tech articles that will give you answers and help you get the most out of your gear. Our pro musicians and gear experts update content daily to keep you informed and on your way. Best of all, it’s totally FREE, and it’s just another reason that you get more at Sweetwater.com.


Offer applies only to single-receipt qualifying purchases. Select manufacturers may require that only the manufacturer’s products qualify towards the minimum purchase amount needed to be eligible for promotional financing. Otherwise, an invoice that meets the minimum purchase amount and contains at least one qualifying manufacturer product is eligible for promotional financing. No interest will be charged on promo purchase balance, and equal monthly payments are required on promo purchase until it is paid in full. The payments equal the amount financed divided by the number of months in the promo period, rounded up to the next whole dollar. These payments may be higher than the payments that would be required if this purchase was a non-promo purchase. During the last month(s) of the promo period the required monthly payment may be reduced due to the prior months’ rounding. Regular account terms apply to non-promo purchases. New Accounts as of 07/31/2025: Purchase APR is 34.99%. Penalty APR is 39.99%. Min Interest Charge is $2. Existing cardholders: See your credit card agreement terms. Subject to credit approval.
Offer applies only to single-receipt qualifying purchases. No interest will be charged on the promo balance if you pay it off, in full, within the promo period. If you do not, interest will be charged on the promo balance from the purchase date. The required minimum monthly payments may or may not pay off the promo balance before the end of the promo period, depending on purchase amount, promo length and payment allocation. Regular account terms apply to non-promo purchases and, after promo period ends, to the promo balance. New Accounts as of 07/31/2025: Purchase APR is 34.99%. Penalty APR is 39.99%. Min Interest Charge is $2. Existing cardholders: See your credit card agreement terms. Subject to credit approval.
The estimated required monthly payment shown which excludes taxes and delivery equals the amount financed divided by the number of months in the promo period, rounded up to the next cent. During the last month(s) of the promo period the required monthly payment may be reduced due to this rounding. These payments apply only with the financing offer shown. If you make these payments by the due date each month, you should pay off this amount financed within the promo period, if it is the only balance you are paying off. If you have other balances on your account, this payment will be added to any other minimum monthly payments.
Applies only to select items from this manufacturer. Ask your Sweetwater Sales Engineer for more details.