
Raven MTi MAX Setup Guide

In this guide, we will show you how to register, set up, and connect your Slate Raven MTi MAX for the first time. Follow the sections below to get started.
- Connect the Raven
- Create iLok & Steven Slate Audio Accounts
- Register the Raven MTi MAX
- Download & Install Steven Slate Audio Center
- Install Raven Software
- Raven MTi MAX DAW Setup Guide
Connect the Raven
When you take your Raven MTi MAX out of the box, you must first set up and connect it to your computer using the cables included in the box.
If your computer doesn’t have the required ports, use only high-quality, brand-name adapters. Also, if you don’t have enough connections on your computer and use a hub, make sure it’s powered. Passive hubs do not provide enough power to transfer data to and from your Raven.
- Connect the HDMI and USB cables from the Raven to your computer, ensuring the connections are secure.
- Power on the Raven.
- If the power light is green, you’re good to go. If the power light is orange, there may be a connection issue with your graphics card, or your graphics driver may be out of date.
Create iLok & Steven Slate Audio Accounts
Before setting up the Raven MTi MAX, you must first register the device with Slate Media Technology and iLok. Once it’s registered, you will get access to the drivers and Raven software necessary to use your device within your DAW.
NOTE: If you already have an iLok account, skip this section and continue to Create a Steven Slate Account.
Create an iLok Account
The Raven MTi MAX software is licensed with iLok. You’ll need to link its iLok license to your iLok account to use it. If you don’t have an iLok account, you must create one and install the iLok License Manager app. Follow the steps below to get started. If you’re new to iLok, learn more about iLok licensing in our iLok Setup Guide.
- Visit iLok’s registration page and complete the registration form. Note your User ID and password; both are case-sensitive.
- Download and install the latest version of the iLok License Manager application.
- Launch the software and sign in to your iLok account.
- (Optional) Connect an iLok USB dongle. When prompted, click Yes to register it to your account.
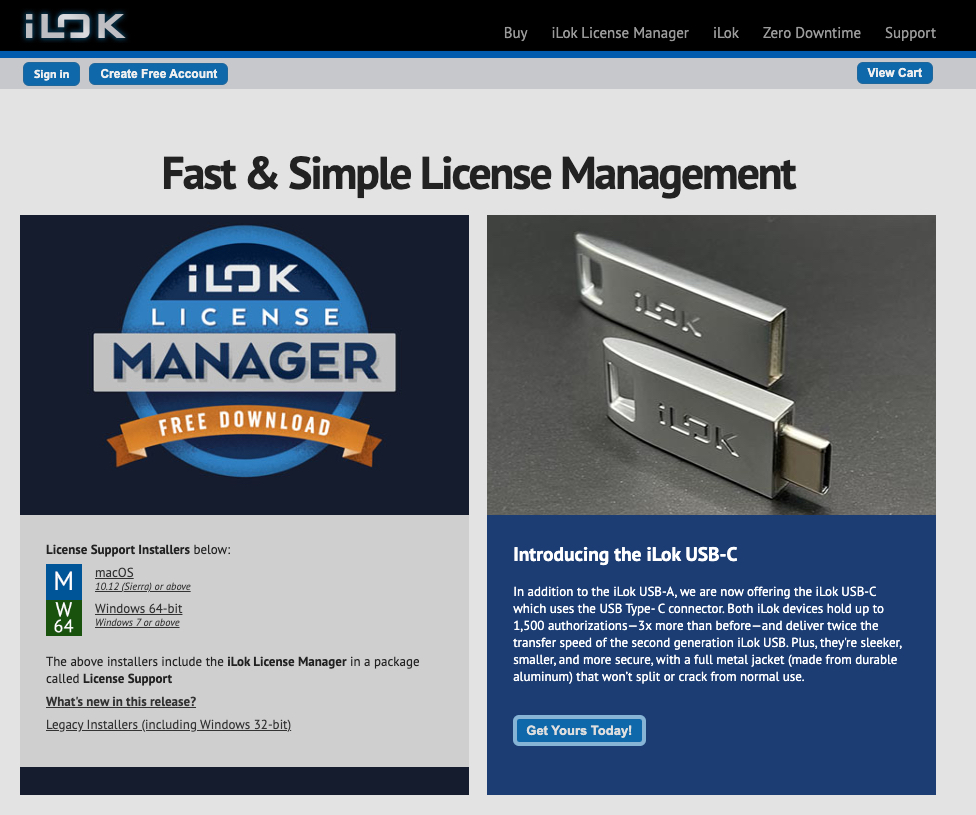
Click the image to create an iLok account.
Create a Steven Slate Audio Account
After creating an iLok account, you must create a Steven Slate Audio account and link your iLok ID.
- Log in to your Steven Slate Audio account. If you don’t have an account yet, click SIGN UP and follow the account registration instructions.
- Check your spam folder if you don’t receive an account verification email!
- Once you’re logged in, hover over your name on the top right, click Account Settings, then click iLok.
- Enter your iLok User ID, then click Verify. Steven Slate Audio will email you a verification code.
- Make sure you enter the iLok User ID exactly as you created it, or the license will be sent to the wrong iLok account.
- Open your email inbox in a new tab, copy the verification code you received, then go back to the Steven Slate Audio account tab and paste it into the Verification Code field.
Activating the iLok License
After registering the Raven MTi MAX to your account, Steven Slate Audio will deposit an iLok license to the iLok account you entered during the registration process. The license will be listed as Slate RAVEN 4.0 (DAW).
- You can either activate it directly from the iLok License Manager application or during the Raven software installation process outlined below. Check out our guide about iLok Licenses and Activation Codes to learn more.
Register the Raven MTi MAX
After creating your iLok and Steven Slate Audio account, you must register the Raven using the included Passcode Card.
- Go to your Steven Slate Audio account page. Click Add Products.
- Enter the Passcode which is located on the Passcode Card, click Submit, then select the DAW you want to authorize.
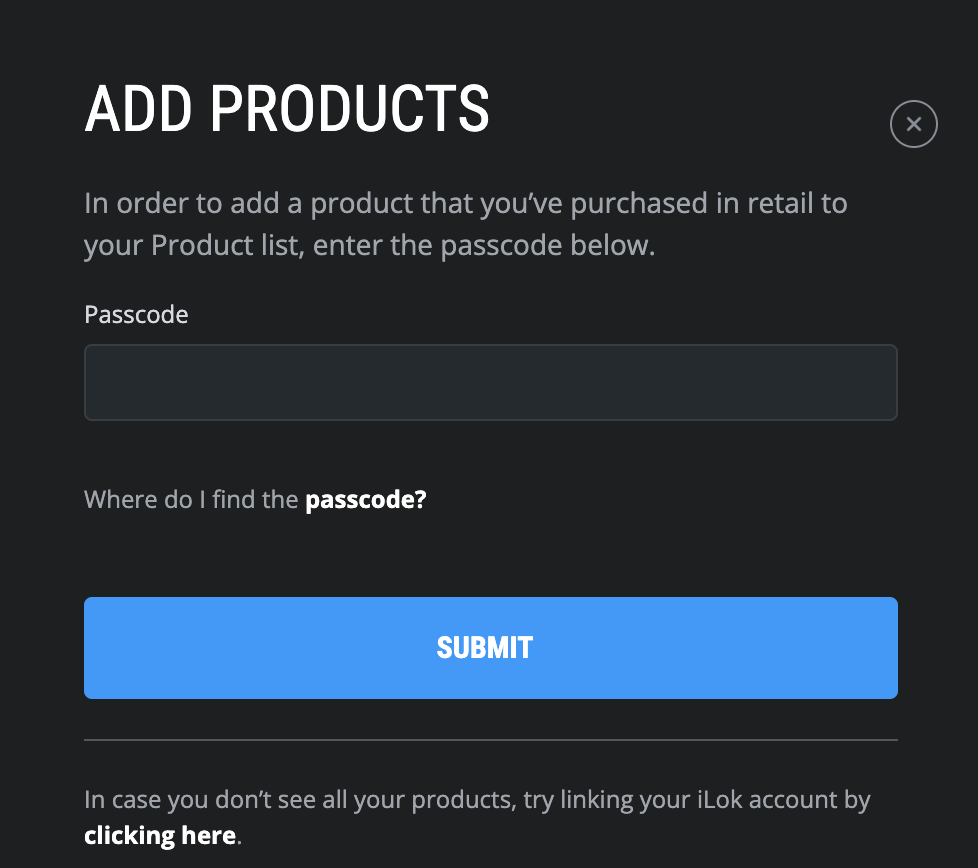
Click the image to register the Raven
Update to RAVEN 4.0
If you are upgrading your existing Raven MTi 2 or MTi MAX to RAVEN 4.0, you will first need to add the update to your Steven Slate Audio account before installing.
- Go to your Steven Slate Audio account page and click Raven.
- Under the OS Installer buttons, use the dropdown to select your DAW, then click Upgrade to RAVEN 4.0. It will then be added to your shopping cart.
- Click Checkout, enter all required information, then click Continue to payment.
- Don’t worry! This is a free upgrade for registered Raven users, so you will not be charged.
- Click Complete order and then go back to your account home page. RAVEN 4.0 will now be added to your account.
How to upgrade from RAVEN 3.0 to 4.0
Download & Install Steven Slate Audio Center
Steven Slate Audio Center is a standalone application where you will download and install all Steven Slate Audio software, including drivers, Raven graphics driver, Neyrinck, and UPDD.
- Go to your Steven Slate Audio account.
- Click RAVEN, then select the installer for your OS.
- Navigate to your Downloads folder, then locate and launch the installer.
- PC users: don’t reboot your computer when prompted during installation. Only reboot it from the Start menu after the software installation is complete.
- Mac users: macOS users may be required to enable the Override Malware Protection setting for the Raven application.
Install Raven Software
Now that Steven Slate Audio Center is installed, you can install the software for your Raven MTi MAX or MTi 2. If you’re a Mac user, follow these instructions.
- If you’re a Windows PC user, click here to follow the PC installation procedure.
MacOS
If you are using a Raven on Mac, you will be asked to grant access and allow permissions for various drivers and software throughout the installation process. Be sure to follow the on-screen instructions!
TIP: Clicking the icons in the installation window opens the correct system menu you need to be in.
- Open Steven Slate Audio Center, sign in with your account, and click INSTALL under RAVEN 4.0. You’ll see a prompt asking you to give Slate Audio Center Full Disk Access.
- Learn more about granting full disk access, privacy, and security settings in our MacOS Security Warnings and Gatekeepers guide.
- Follow the on-screen instructions and go through each step carefully!
- The Raven Dashboard will automatically open once installation is complete.
Windows PC
Installing the Raven software on a Windows PC is straightforward. All necessary UPDD and V-Control drivers are included, so no additional software or installation is needed. You will need to update a few system settings, however.
- Open Steven Slate Audio Center, sign in with your account, and click INSTALL under RAVEN 4.0.
- Run the installer and follow the on-screen instructions.
- Right-click anywhere on your desktop and select Display Settings.
- Click Identify, click the MTi2, then scroll down and select Make this my main display.
- Open the system tray on the taskbar, right-click the UPDD Console hand icon, and select Calibrate.
- Follow the on-screen prompts on the MTi MAX to configure the touch settings.
- If the configuration display doesn’t appear after touching the center, open Configure again to complete the process.
- Right-click anywhere on the taskbar, select Taskbar settings, and within Taskbar behaviors, check Automatically hide the taskbar.
- Locate your DAW’s shortcut, right-click, and choose More options.
- Click Properties, choose the Compatibility tab, and then check “Run this program as an administrator”.
Raven MTi MAX DAW Setup Guide
Once you have the Raven set up and connected, visit our Raven MTi MAX DAW Setup Guide to learn how to get it up and running inside your DAW!
When you need help, Sweetwater has the answers!
Our knowledge base contains over 28,000 expertly written tech articles that will give you answers and help you get the most out of your gear. Our pro musicians and gear experts update content daily to keep you informed and on your way. Best of all, it’s totally FREE, and it’s just another reason that you get more at Sweetwater.com.

