
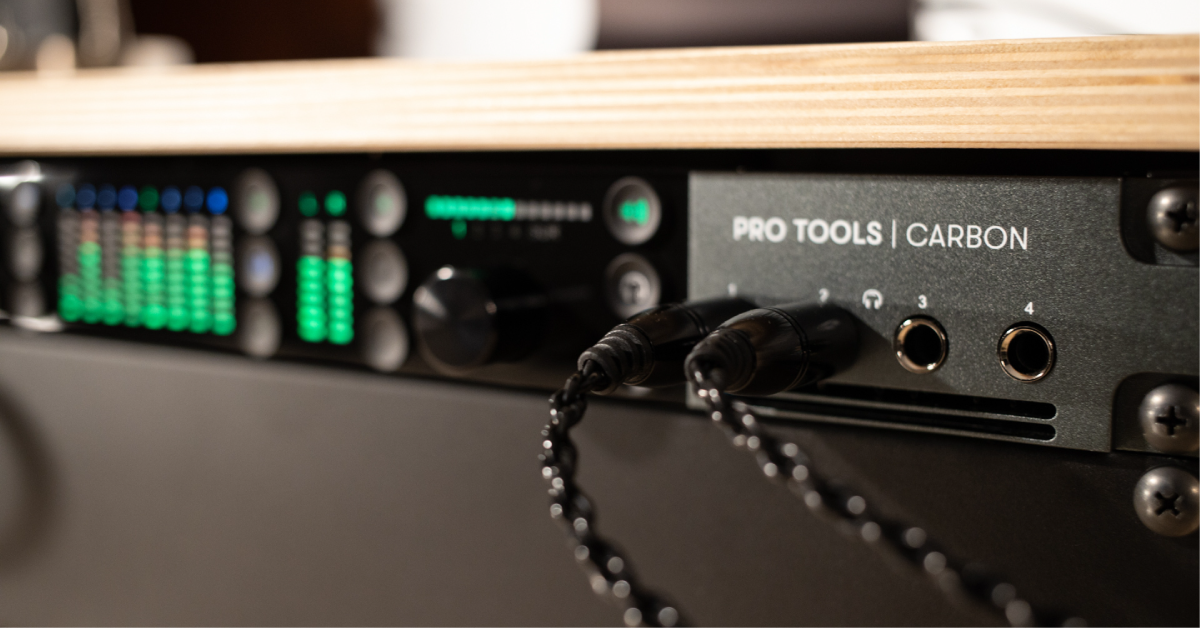
Pro Tools | Carbon Setup Guide
Getting started with the Pro Tools | Carbon
The Pro Tools | Carbon is a very powerful audio interface and is an excellent addition to your Pro Tools setup. So in this guide, we’ll show you how to set up and connect the Carbon for the first time. Follow the sections below to get started.
- How to set up and connect the Pro Tools | Carbon
- How to set up the routing within Pro Tools
- How to set up the monitors
Before you set up your Pro Tools | Carbon
There are a few necessary things you’ll need in order to get up and running with your Pro Tools | Carbon.
- Cat5e cable or better (Avid recommends using the cable provided)
- An available Ethernet port or AVB compatible adapter (Apple Thunderbolt to Ethernet adapter).
- Please note that most Ethernet adapters don’t support AVB.
- A Mac running macOS 10.15.6 or higher.
- Pro Tools version 2020.11 or higher.
How to set up and connect the Pro Tools | Carbon
Once you’ve registered your Carbon, it’s time to get it integrated into your studio setup. We’ll cover the basics on how first to connect it to your computer and then how to set up the routing within Pro Tools.
To connect the Pro Tools | Carbon to your computer, you’ll need to use the included Ethernet cable and connect it to an Ethernet port on your computer, then update the system’s network and sound settings.
- Connect an Ethernet cable (or Ethernet cable to a certified Apple Thunderbolt to Ethernet adapter) from Carbon to your computer.
- The Carbon MUST be connected directly to the computer, not through Ethernet switches or hubs.
- Go to your Network settings, and check to make sure it’s connected. It should be orange with a self-assigned IP.
- Open Audio MIDI Setup, click Window, then select Show Network Device Browser.
- Click the checkbox next to the Carbon. The NET LED located above the power button on the Carbon should illuminate.
- After the NET LED illuminates, two sets of audio I/O will appear in both the Audio MIDI setup window and the System Sound Preferences: Pro Tools Carbon and Pro Tools Carbon: Reserved for Pro Tools. This means that your Carbon is successfully connected.
- Select the Pro Tools Carbon as your default system audio device.
Getting Started with Pro Tools | Carbon: Connecting to Your Computer
How to set up the routing within Pro Tools
Once the Carbon has been configured as your computer’s audio input and output device, you’ll need to then update the Playback Engine (as well as the H/W Buffer Size) within Pro Tools. After that, you’ll be ready to record!
- Launch Pro Tools, Click Setup, navigate to Playback Engine, then change the Playback Engine to Pro Tools Carbon. If there’s a firmware update, it will be applied at this time.
- Click the Hardware tab to view the Carbon’s miscellaneous controls such as monitoring, Line in gain, Line out reference level.
- Navigate to the I/O settings, and check that all input and output channels are routed correctly.
- The colored boxes in the Output indicate which outputs are currently in use.
- Click the Bus tab and confirm that all of the output buses are routed correctly. If a bus (or buses) are missing, select all, click Delete Path, then click Default.
- Click Export Settings to save your I/O changes as a preset for later recall.
Getting Started with Pro Tools | Carbon: Configuring Pro Tools
How to set up the monitors
You can attach up to three pairs of monitors to the Pro Tools | Carbon: The Main set labeled A is assigned to the TRS connectors. B and C can be enabled by going to the Hardware Setup window, then check the boxes Alt 1 (LINE 1-2) and Alt 2 (LINE 3-4). These are assigned to hardware connections on the D’Sub LINE OUT 1-8 (ALT) connector on the unit’s back. Here are a few monitor setup tips to get you up and running.
- To switch between the speaker setups, press the A, B, and C buttons on the front.
- The Main and Alt 1 monitor setups are assigned to the Main Mix output.
- If the third pair of monitor setups (Alt 2) isn’t being used, you can assign them as a standard output for routing in the I/O setup menu.
- When selected, use the jog wheel to adjust the volume. Alternatively, you can press the jog wheel switch between the speaker sets.
- Press the Speaker button on the active setup to mute the speakers.
- Toggle between the speaker and headphone level by pressing their respective button.
- Go to the Bus tab in the I/O setup menu to update the monitor output routing. Alt 1 will be unavailable since it’s already assigned to the Main mix.
- Press the DIM button, then go to the Hardware Setup window to adjust the active speaker set’s DIM level.
Getting Started with Pro Tools | Carbon: Configuring Speaker Sets
Related content

Learn more about how to get up and running with Pro Tools!
Learn More
Learn more about how to optimize your Mac for music production!
Learn MoreAdditional resources
Getting Started with Pro Tools | Carbon: Configuring Headphone Mixes
Getting Started with Pro Tools | Carbon: Introducing the Hybrid Engine
Getting Started with Pro Tools | Carbon: Recording Basics
Getting Started with Pro Tools | Carbon: Advanced Workflows
When you need help, Sweetwater has the answers!
Our knowledge base contains over 28,000 expertly written tech articles that will give you answers and help you get the most out of your gear. Our pro musicians and gear experts update content daily to keep you informed and on your way. Best of all, it’s totally FREE, and it’s just another reason that you get more at Sweetwater.com.


Offer applies only to single-receipt qualifying purchases. Select manufacturers may require that only the manufacturer’s products qualify towards the minimum purchase amount needed to be eligible for promotional financing. Otherwise, an invoice that meets the minimum purchase amount and contains at least one qualifying manufacturer product is eligible for promotional financing. No interest will be charged on promo purchase balance, and equal monthly payments are required on promo purchase until it is paid in full. The payments equal the amount financed divided by the number of months in the promo period, rounded up to the next whole dollar. These payments may be higher than the payments that would be required if this purchase was a non-promo purchase. During the last month(s) of the promo period the required monthly payment may be reduced due to the prior months’ rounding. Regular account terms apply to non-promo purchases. New Accounts as of 07/31/2025: Purchase APR is 34.99%. Penalty APR is 39.99%. Min Interest Charge is $2. Existing cardholders: See your credit card agreement terms. Subject to credit approval.
Offer applies only to single-receipt qualifying purchases. No interest will be charged on the promo balance if you pay it off, in full, within the promo period. If you do not, interest will be charged on the promo balance from the purchase date. The required minimum monthly payments may or may not pay off the promo balance before the end of the promo period, depending on purchase amount, promo length and payment allocation. Regular account terms apply to non-promo purchases and, after promo period ends, to the promo balance. New Accounts as of 07/31/2025: Purchase APR is 34.99%. Penalty APR is 39.99%. Min Interest Charge is $2. Existing cardholders: See your credit card agreement terms. Subject to credit approval.
The estimated required monthly payment shown which excludes taxes and delivery equals the amount financed divided by the number of months in the promo period, rounded up to the next cent. During the last month(s) of the promo period the required monthly payment may be reduced due to this rounding. These payments apply only with the financing offer shown. If you make these payments by the due date each month, you should pay off this amount financed within the promo period, if it is the only balance you are paying off. If you have other balances on your account, this payment will be added to any other minimum monthly payments.
Applies only to select items from this manufacturer. Ask your Sweetwater Sales Engineer for more details.