
PreSonus Quantum: Setup and Configuration
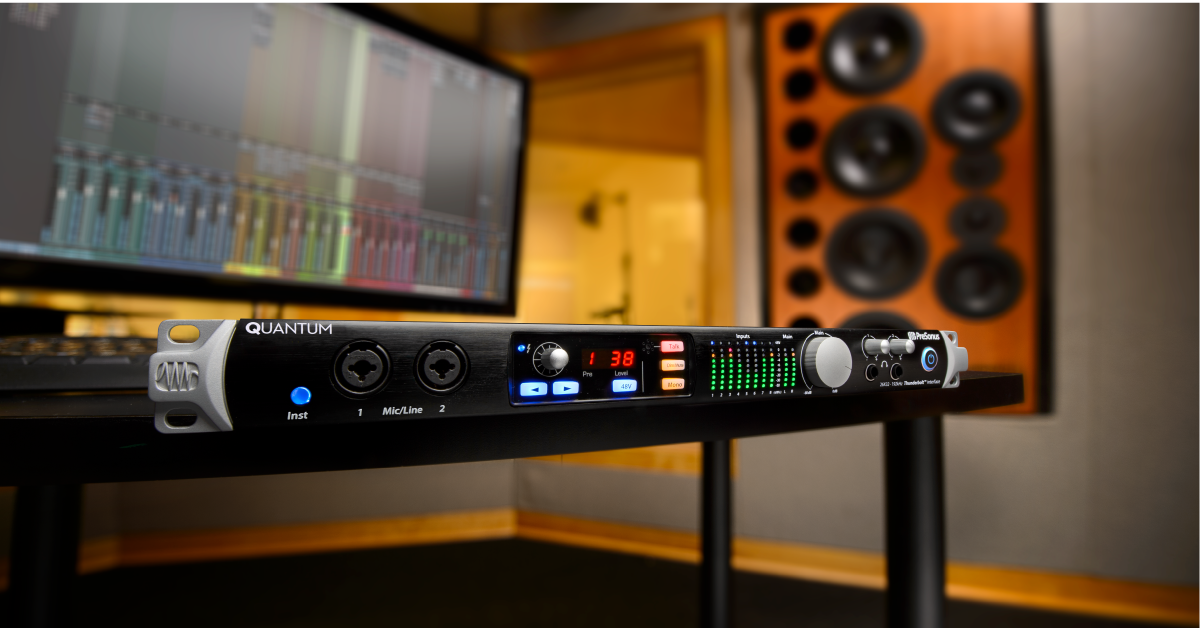
In this guide, we will show you how to set up the PreSonus Quantum audio interface and get started. Then you’ll learn how to configure Universal Control software with the rest of your system.
Getting Started
Get started with your new Quantum interface by registering it with PreSonus. Use your current PreSonus account if you already have one, or create one for the first time. You can register your Quantum’s serial number to your PreSonus account. Registering your serial number is how you’ll get access to the Studio One Artist DAW software and Studio Magic Plug-in Suite included with your Quantum interface.
PreSonus Account
- Go to PreSonus.com.
- Sign in using your PreSonus login if you already have one.
- If you don’t have a PreSonus account, then you can create one on that page.
Register Serial Number
- Sign in using your PreSonus login.
- On your PreSonus account page, select the Register a Product button.
- Register your new Quantum hardware with PreSonus:
- Select Hardware.
- Enter the purchase date.
- Enter your Quantum’s serial number.
- Click Register.
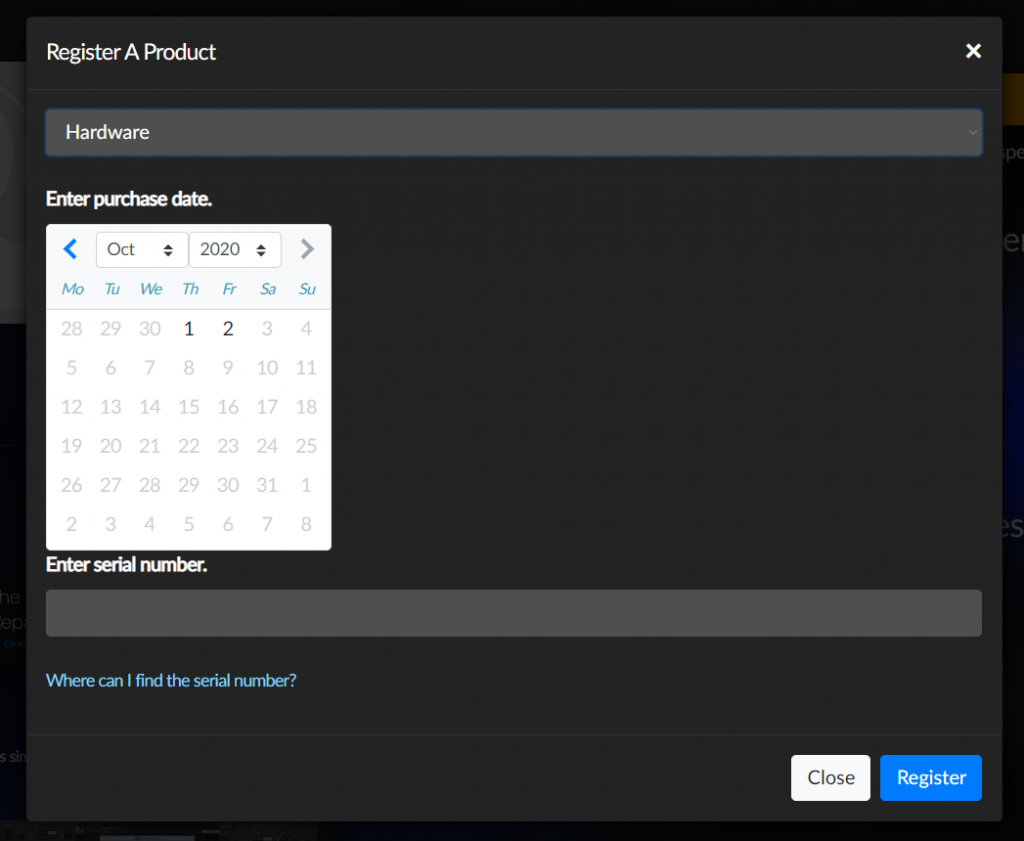
Click the image to register your Quantum
Input and Output Connections
Quantum interfaces are equipped with lots of input and output connections. The interface’s Thunderbolt 2 port connects directly to your computer, but you can also connect up to three additional Quantum devices (four total) to increase the quantity of input/output channels.
PreSonus — Rick Naqvi Shares Some Quantum Series Tips
Connection/Power-On Sequence
- Connect all inputs and outputs to Quantum.
- Use the included Thunderbolt 2 cable to connect Quantum’s Thunderbolt 2 port to a Thunderbolt 2 port on your computer.
- Power on the Quantum interface first, then power on your computer.
- Install Universal Control Software.
- Power off the computer, then power off your Quantum interface.
- Next, power on the computer, then power on your Quantum interface.
Thunderbolt 2
- Additional Thunderbolt 2 ports can be used to connect additional Quantum interfaces.
Inputs
- Mic/Line Inputs: These connect to a microphone or device’s line output
- S/PDIF IN: Connects to another digital audio device’s S/PDIF output
- ADAT IN: Connects to another digital audio device’s ADAT output
- MIDI: Connects to a MIDI OUT or MIDI THRU port on another MIDI device
- WORD CLOCK IN: Connects to another digital audio device’s Word Clock Out or a Master Clock
Outputs
- Main Out: Connects to monitor speakers or monitor controller
- Line Outputs (TRS Balanced): Connect to an audio device’s line inputs
- S/PDIF: Connects to another digital audio device’s S/PDIF input
- ADAT: Connects to another digital audio device’s ADAT input
- MIDI: Connects to a MIDI IN port on another MIDI device
- WORD CLOCK: Connects to another digital audio device’s Word Clock In
Universal Control Software
Quantum interfaces use Universal Control Software to connect with your computer. Download and install it from your PreSonus account, and then restart your system. Once done, you can use the Studio One 5 DAW software to configure input, outputs, and headphone and monitor mixes. Check out the videos below for more information about configuring cue mixes and Studio One software.
Download and Install
- Sign in using your PreSonus login.
- On your PreSonus account page, select the Products menu.
- Use the Software, Hardware, and Add Ons tabs to find your Quantum interface’s details.
- Select to download the Universal Control Software.
- Once the download completes, launch the installer file and follow the on-screen instructions.
Quantum interface not showing up in Universal Control on MacOS? Here’s the fix!
Setup and Configuration
- Launch Universal Control and configure the Quantum’s settings.
- Select Quantum as your Audio Device or configure a multi-Quantum system.
- Select the audio interface’s Sample Rate and Clock Source:
- Sample Rate: Setting for digital and analog audio conversion
- Clock Source: Audio device to which connected digital audio devices synchronize
- Review that all audio devices are synchronized.
- Blue: Quantum is correctly synced via Thunderbolt, word clock, ADAT, or S/PDIF
- Flashing red and blue: Quantum is trying to sync to a received clock signal
- Red: Quantum is not synced
- Flashing purple: UC Surface’s Identify button is active
- Launch Studio One or your favorite DAW.
- Select the Quantum interface as your Playback Device and Recording Device.
- PC/Windows: (Studio One > Configure Audio Device… > select Quantum from Audio Device drop-down box)
- Mac/macOS: (Studio One > Preferences… > Audio Setup > Audio Device)
- Play back a pre-existing project or create new audio tracks, and get started recording.
If you have a Mac with Apple silicon
If you have a Mac with Apple silicon, there is an additional configuration step that must be performed before you install PreSonus Universal Control. It requires booting into Recovery mode and making a change to your Mac Security Policy.
Learn more in the PreSonus support article Quantum: Installing the Quantum driver on macOS.
Here’s our SweetCare guide Enabling Kernel Extensions on Mac with Apple silicon.
PreSonus Quantum: Basic Functionality and Overview of Universal Control
Input Monitoring and Cue Mixes
Quantum interfaces use Universal Control software to connect to your computer but work a little differently than the Studio series interfaces. The main difference is that all input monitoring and cue mixes are controlled via Studio One software. This means that while you can adjust preamp gain and interface settings with Universal Control, you’ll need to launch the Studio One DAW to access cue mix controls and input monitoring. We recommend using the Quantum settings included in Studio One’s New Song templates (under Interfaces).
Clock Source and Synchronization
When multiple Quantum interfaces are connected to your computer, they must share the same Sample Rate and Clock Source. Word clock (via the BNC connector) is the most accurate sync option and is required for PC/Windows. Mac/macOS users have an alternate option and can use the Audio MIDI Setup app to configure an Aggregate Audio Device. That means the Quantum devices will synchronize over their shared Thunderbolt connection.
Stacking (Cascading) Multiple Quantum Interfaces for Additional I/O
PreSonus Quantum FAQ
- Will Quantum work with my Windows 10 machine?
- Connecting Quantum series to Windows 10
- Connecting Quantum, Quantum 2, or Quantum 4848 to Quantum 2626
- Which Mac models does Quantum support?
- Does Quantum come with a Thunderbolt cable?
- Pops and clicks on Windows 10 with Quantum and StudioLive Series III
- Connecting Thunderbolt with Quantum 2626
- Can I connect other Thunderbolt devices to Quantum?
- Problem with audio distortion when daisy-chaining 2 Quantums together on a Mac
- Does Quantum support Display Port or HDMI Display connections?
- Windows 10 system Quantum update doesn’t seem to work
When you need help, Sweetwater has the answers!
Our knowledge base contains over 28,000 expertly written tech articles that will give you answers and help you get the most out of your gear. Our pro musicians and gear experts update content daily to keep you informed and on your way. Best of all, it’s totally FREE, and it’s just another reason that you get more at Sweetwater.com.

