
Moog Muse Quickstart Guide
The Moog Muse 8-voice polyphonic bi-timbral analog synthesizer gives you tremendous sound-design power, flexibility, and programmability; an innovative sequencer; and an arpeggiator. It also provides Moog’s unique Diffusion Delay for a 21st-century update to classic, 20th-century digital signal processing. Let’s help you get started and introduce you to the basic features.
- Register Your Purchase and Download the User’s Manual
- Update the Firmware
- Setting Up Your Moog Muse: Connections
- Playing Through the Presets
- Creating and Saving Sounds
- Moog Muse Modules and Sound Structure
- Moog Muse Tutorial Videos
- New to Synthesis?
Register Your Purchase and Download the User’s Manual
Register your purchase by creating an account on the Moog Music registration page.
In the box with your Muse, you’ll find Moog’s exceptionally helpful foldout quick-start chart. However, you will also want to go to the Muse product page on the Moog website to download the Muse User’s Manual and learn about all the deeper functions.
Update the Firmware
From time to time Moog will release a firmware update for the Muse which will add new features and capabilities to the digital control section of this analog sequencer. Check to see if there’s a new firmware, and install it, following the instructions in our SweetCare Moog Muse Firmware Update guide.
When you are done, return here, and let’s get to playing your new synth.
Setting Up Your Moog Muse: Connections
Before you make any connections, make sure the power is turned off and that the Main Out and Headphones volume knobs on the front panel are turned all the way down.
The Headphone jack is on the front edge of the instrument on the left, below the Pitch Bend and Mod wheels. Use a 1/4-inch TRS connection.
Back Panel

Moog Muse back panel connections
Output
Main Out Left (Mono) and Main Out Right. Connect cables with balanced 1/4-inch TRS connections to a mixer, speakers, or an audio interface. You can use only the left output for a monaural signal, but the Muse is a stereo synth in its analog sound generation and its Diffusion Delay.
Pedal Input
Connect a sustain pedal and an expression pedal (sold separately). You can assign their functions to any number of parameters. Learn more in the Moog Muse User’s Manual > Muse Modules > Assignable Controllers.
Control Voltage
For analog control to and from external modular synthesizers, the Muse provides 1/8-inch TS connections for Clock In, Clock Out, and two channels of Control Voltage In and Control Voltage Out. Learn more in the Moog Muse User’s Manual > Muse Modules > Rear Panel and Connectors.
MIDI
Connect standard 5-pin DIN cables for MIDI In, Thru, and Out.
USB
USB Type B. For sequencing, connect a USB data cable to your computer for MIDI over USB into your DAW. This is also how you update the firmware.
USB A (Host). Connect a flash drive to back up patch data.
Playing Through the Presets
TIP: The Muse takes about 70 seconds to boot up. Wait another five minutes or so before you start playing. The instrument needs to warm up so that its analog oscillators will stabilize and stay in tune.
With the Main Volume and Headphone knobs turned all the way down, turn on the power switch on the back panel.
Turn up the Headphone or Main Out knobs gradually, then start playing.
The Muse provides 16 banks, and there are 16 patches per bank. Press the Bank button below the display screen, and use one of the 16 numbered white buttons to select a bank. The name of the bank will appear on the display. Then press the Patch button, and use the numbered buttons to page through the 16 patches within that bank. Each patch’s name is displayed.
Banks 15 and 16 are the User banks, where you can store your own sounds without overwriting the patches that came from the factory.
A Patch may be programmed for one timbre or for two timbres with a layer or a split. Some patches may also be set up for unison or monophonic mode rather than polyphonic.
With each patch you select, play some notes on the keyboard. All the factory patches are programmed for velocity sensitivity and aftertouch, so try that out. Use the Mod Wheel and listen to the modulation programmed into each patch. Also try the Macro knob in the Assignable Controllers module. The Macro knob functions as a secondary Mod Wheel; the parameters it affects are different for each patch.
You can also turn the Arpeggiator on, hold down a chord with your right hand, and press the Hold button above the Mod Wheel to latch the arpeggiator. With an arpeggiator pattern playing, have a go at turning some knobs and moving sliders on the different modules to see how they shape the sound.
Creating and Saving Sounds
Here are two ways to get started creating a sound.
Panel Mode
In the Programmer section, press the Panel button. This overrides the current patch and changes every parameter on the Muse’s panel to the physical position of every knob, slider, and button. Start turning knobs.
Initial Patch
In the Programmer section, press the Init button. On the display, click Patch to initialize the entire patch. This will create a basic patch with a simple oscillator setting. You can start programming from here.
Saving Your Patch
In the Programmer section, press the Save button. The display will prompt you to select a location to overwrite an existing patch with your new patch. Using the Programmer buttons, select a location in Bank 15 or 16, the user banks.
In the Edit Name view on the display, use the Select and Value encoder knobs to spell out a name for your patch. Press Save Name to return to the Save Patch view. Press Confirm to save your patch to the currently selected location.
Learn more in the Moog Muse User’s Manual > Playing Muse > Creating and Saving Sounds.
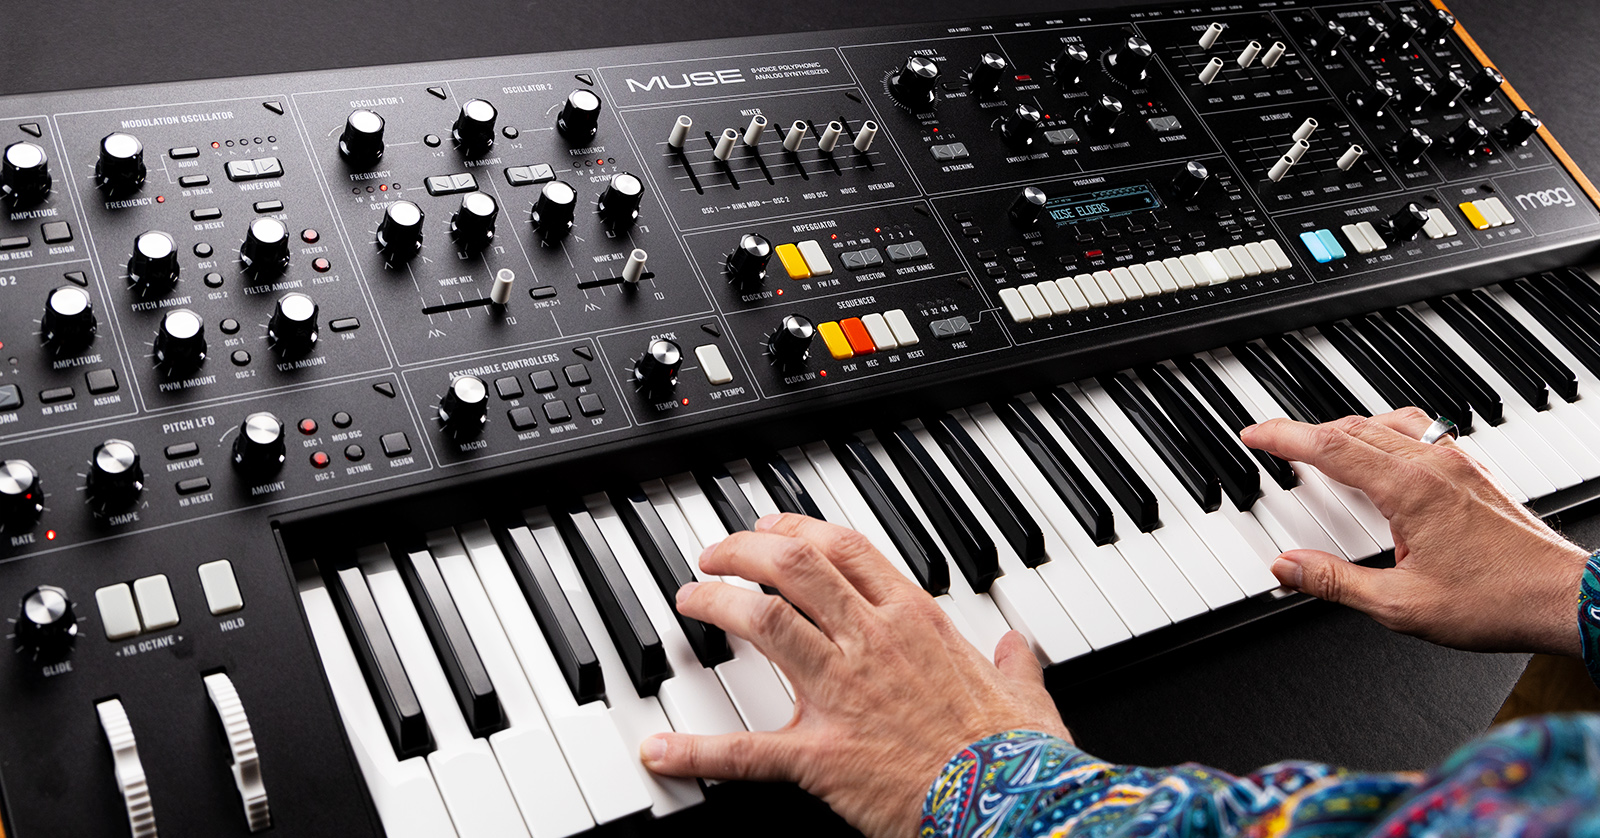
Moog Muse Modules and Sound Structure

The Moog Muse modules as shown in the Moog quick-start guide in the box
Analog Modules
When you program a patch on the Muse, you move from one module to another, following the traditional analog signal path.
We will refer you to the giant, printed foldout guide that comes in the box; it’s excellent.
Start by selecting settings in the voltage-controlled Oscillators. Move to the Mixer to set the relative levels of the oscillators, to engage ring modulation between the two main oscillators, and to warm overdrive through the Clipping slider.
There are two filters in the Filter section. Next, you can set attack, decay, sustain, and release for the Filter Envelope and the VCA Envelope (voltage-controlled amplifier).There’s a separate module labeled VCA that provides a per-timbre volume setting and the ability to spread the Muse’s eight voices across the stereo field.
Over on the left-hand side are the two LFOs (low-frequency oscillators) and the Modulation Oscillator, which can also be raised into the audio range. On the bottom is the Pitch LFO module.
Programmable Control Functions
Regarding digital control and processing over the analog signal path, the Muse provides the Programmer section. Access functions on the display screen using the function buttons and the Select and Value knobs. This is where you assign modulation sources and destinations via the Mod Map function, dive deep into additional sound parameters, save patches, find parameters for the sequencer and the arpeggiator, and more.
Other control modules include Sequencer, Arpeggiator, Chord, and Clock. Voice Control has buttons for setting a patch to be polyphonic, unison, or monophonic and for stacking or splitting the two timbres.
The Chord Module
The Chord memory function is practical and fun; you can program a chord to be triggered by a single key. In Key mode, you can store a different chord for each key you assign it to, while the remaining keys are available for you to play bass or lead. Learn more in the Moog Muse User’s Manual > Muse Modules > Chord.
Assignable Controllers
To the left of the keyboard is the Assignable Controllers module. There you will find the Macro knob, the Glide knob, the Octave buttons, and the Hold button, used with the Arpeggiator. Beneath these are the familiar Pitch Bend and Modulation wheels, which can be assigned to many functions in the Mod Map.
Learn more in the Moog Muse User’s Manual > Muse Modules >Programmer > Mod Map.
Diffusion Delay
The Moog Diffusion Delay is a digital signal processor with dedicated knobs and buttons and a great deal more parameters accessible in the Programmer section. You can program different effects with the Diffusion Delay and save one with each patch. Many of the factory presets show off what the Diffusion Delay can do.
Learn more in the Moog Muse User’s Manual > Muse Modules > Diffusion Delay.
Meet the Moog Muse’s More Buttons

In the upper-right corner of each module there’s a triangular More button.
Unique to the Muse are the More buttons. While you have dedicated knobs, buttons, and sliders for all the traditional functions per module, each module or section also has a small, triangular More button in the upper-right corner. Press a More button, and you call up advanced settings for deeper sound design on that module. The additional More parameters are accessed through the More menu on the display screen in the Programmer section. As you learn to program the Muse and you’re going module to module, press each More button to learn what additional capabilities are revealed.
Output
Finally, there’s the Output module, with the Main Out and Headphones knobs, the Mute button, and a Low Cut filter which acts as a master tone control.
Moog Muse Tutorial Videos
Moog provides a YouTube playlist, Muse Moog Demo Library. It’s a series of short videos explaining how to use Chord Mode, the Arpeggiator, Diffusion Delay, the Sequencer, and more.
Sweetwater’s Daniel Fisher has a Moog Muse Demo video, too.
New to Synthesis?
You’ve got a great learning platform in the classic architecture of the Moog Muse. Sweetwater has you covered with our Synthesizer Fundamentals and Synth Clips video series. Check them out.
inSync: How Synthesizers Work
inSync: Synthesizer Basics Explained
Sweetwater Synth Clips with Daniel Fisher
Related Articles
When you need help, Sweetwater has the answers!
Our knowledge base contains over 28,000 expertly written tech articles that will give you answers and help you get the most out of your gear. Our pro musicians and gear experts update content daily to keep you informed and on your way. Best of all, it’s totally FREE, and it’s just another reason that you get more at Sweetwater.com.


Offer applies only to single-receipt qualifying purchases. Select manufacturers may require that only the manufacturer’s products qualify towards the minimum purchase amount needed to be eligible for promotional financing. Otherwise, an invoice that meets the minimum purchase amount and contains at least one qualifying manufacturer product is eligible for promotional financing. No interest will be charged on promo purchase balance, and equal monthly payments are required on promo purchase until it is paid in full. The payments equal the amount financed divided by the number of months in the promo period, rounded up to the next whole dollar. These payments may be higher than the payments that would be required if this purchase was a non-promo purchase. During the last month(s) of the promo period the required monthly payment may be reduced due to the prior months’ rounding. Regular account terms apply to non-promo purchases. New Accounts as of 07/31/2025: Purchase APR is 34.99%. Penalty APR is 39.99%. Min Interest Charge is $2. Existing cardholders: See your credit card agreement terms. Subject to credit approval.
Offer applies only to single-receipt qualifying purchases. No interest will be charged on the promo balance if you pay it off, in full, within the promo period. If you do not, interest will be charged on the promo balance from the purchase date. The required minimum monthly payments may or may not pay off the promo balance before the end of the promo period, depending on purchase amount, promo length and payment allocation. Regular account terms apply to non-promo purchases and, after promo period ends, to the promo balance. New Accounts as of 07/31/2025: Purchase APR is 34.99%. Penalty APR is 39.99%. Min Interest Charge is $2. Existing cardholders: See your credit card agreement terms. Subject to credit approval.
The estimated required monthly payment shown which excludes taxes and delivery equals the amount financed divided by the number of months in the promo period, rounded up to the next cent. During the last month(s) of the promo period the required monthly payment may be reduced due to this rounding. These payments apply only with the financing offer shown. If you make these payments by the due date each month, you should pay off this amount financed within the promo period, if it is the only balance you are paying off. If you have other balances on your account, this payment will be added to any other minimum monthly payments.
Applies only to select items from this manufacturer. Ask your Sweetwater Sales Engineer for more details.