
IK Multimedia AXE I/O Setup Guide
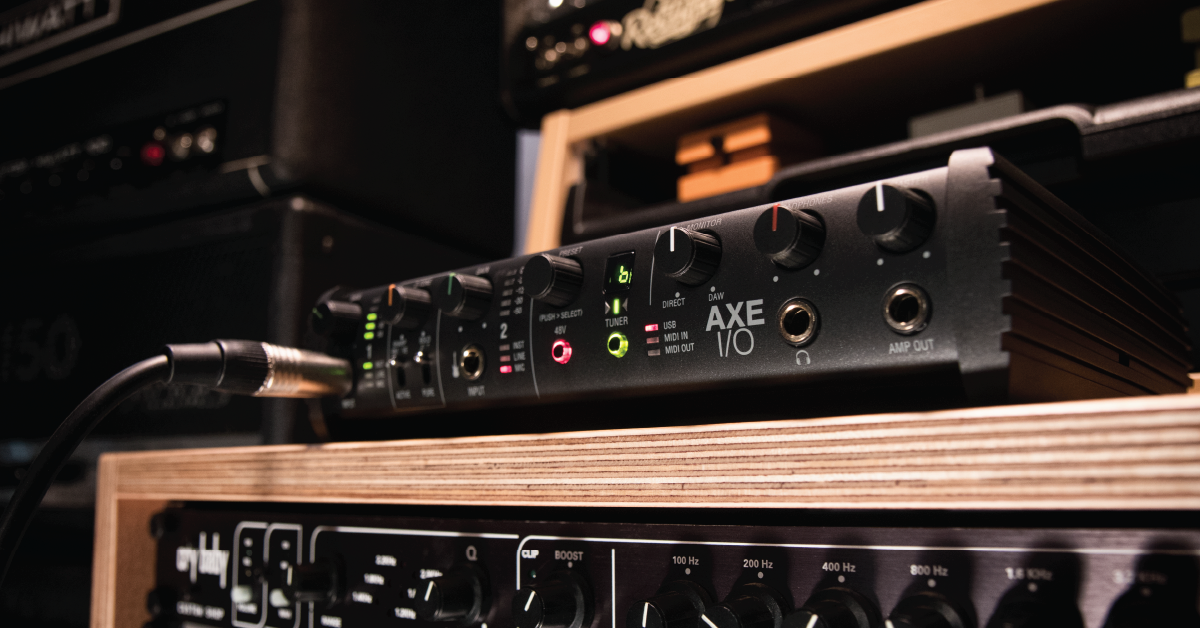
Getting started with the AXE I/O interface
In this guide, we will show you how to register, set up, and connect the IK Multimedia AXE I/O interface for the first time. Follow the sections below to get started.
- Register the AXE I/O with IK Multimedia
- Download and install AXE I/O software
- How to set up and connect the AXE I/O
- Navigate the AXE I/O Control software
Register the AXE I/O with IK Multimedia
Before we get everything connected, the first thing you’ll want to do is register your AXE I/O interface with IK Multimedia. When registering the device, you get access to a free copy of AmpliTube 4, T-Racks plug-ins, a license for Ableton Live Lite, and also an extended warranty.
- Log in to your IK Multimedia account. If you don’t have an account, click the red Register button on the right, fill out the required information, and then click Register again.
- Go to the registration page, enter the serial number, then click Register.
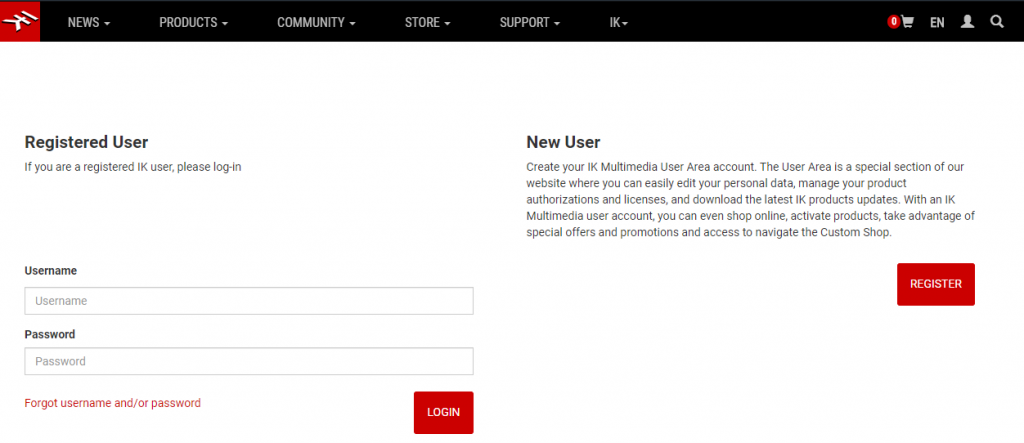
Click the image to register your AXE I/O interface.
Download and install AXE I/O software
Now that the AXE I/O is registered, the next step is to download and install the drivers and AXE I/O Control Software, which is necessary for your interface to run correctly. You’ll also be able to install the free bonus software, as well.
AXE I/O Control software and drivers
- Go to the AXE I/O drivers and Control software page, and download the installer for your OS.
- Open your Downloads folder, double-click the installer, and follow the on-screen instructions.
Ableton Live Lite
- Go to the AXE I/O software download page and scroll all the way to the bottom to download Ableton Live Lite.
Amplitube and T-Racks
- Log in to your IK Multimedia account and click User Area on the top bar of the window. A popup window displaying your free content should appear.
- In the User Area window, click My Products, and download the latest version of the software.
- Download, install, then launch the newest version of Authorization Manager.
- Copy and paste the serial number listed on the My Products page, then follow the on-screen instructions.
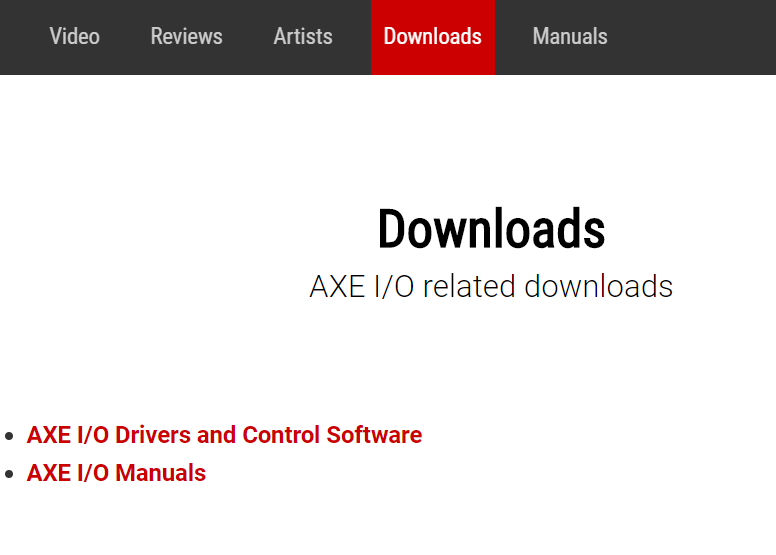
Click the image to download the AXE I/O Drivers and software.

Click the image to get your free Bonus content.
How to set up and connect the AXE I/O
The AXE I/O is unique as it has many features that other audio interfaces don’t. These include being able to change the pickup style, reamp, and connecting external expression pedals via ¼” inch TRS cable to send MIDI CC messages that can control effects such as wah, volume, and FX depth. Let’s show you how to set up and connect the AXE I/O for the first time.
After everything has been set up and connected, the last thing you’ll need to do is update your computer’s sound settings. Most apps that aren’t DAWs are done from Sound Settings (Windows) or Sound Preferences (Mac).
Update computer sound settings
DAWs like Pro Tools, Cubase, Studio One, etc. have their own sound settings for selecting an audio device. When using your interface with a DAW, make sure to choose your AXE I/O interface from the Playback Engine or Audio Settings window within your DAW. Follow these steps to select the AXE I/O as your computer’s audio playback device.
Windows
- Right-click the sound icon on the Windows taskbar, then select Open Sound Settings.
- Use the dropdown boxes in the Input and Output sections to select the interface as the default input and output device.
- While in the Sound Settings menu, we highly recommend disabling Exclusive Mode to ensure the best performance possible. Check out our guide to learn how to disable Exclusive Mode.
macOS
- From the Menu Bar, click the Apple icon and select System Preferences.
- Click Sound.
- Under the Input and Output tabs, select your AXE I/O.
Reamping
Reamping with the AXE I/O will allow you to send your DI recorded guitar signal out to a microphone you’re using on an amp or effects pedalboard, then record the reampped signal as a new track. Follow these steps to reamp your audio track.
- Connect from the AMP OUT of the AXE I/O to the INPUT of your guitar amplifier or effects pedalboard with a standard ¼” inch TS cable.
- Connect from the guitar amp or pedalboards output or microphone being used to mic the amp the MIC/LINE IN.
Recording wet and dry signal at the same time
If you want to record both the dry and wet signals at the same time, launch the AXE I/O Control software and click the TO AMP OUT button. Next, connect your guitar to INPUT 1 and set the track as Input 1, then connect the reamped signal to INPUT 2 and create a new track using Input 2.
How to reamp with AXE I/O audio interface
Navigate the AXE I/O Control software
The standalone AXE I/O software is the central hub for updating settings for your interface. This includes sample rate, levels, and Controller assignments.
Interface
The interface window is where you can update the sample rate, bit depth, and tuner settings. You will also control the Output levels, including the reamp. When the Mirror button is lit, the signal from outputs 3 and 4 will be the same as outputs 1 and 2. This is particularly useful in live situations when you need your in-ears and monitors to output the same signal.
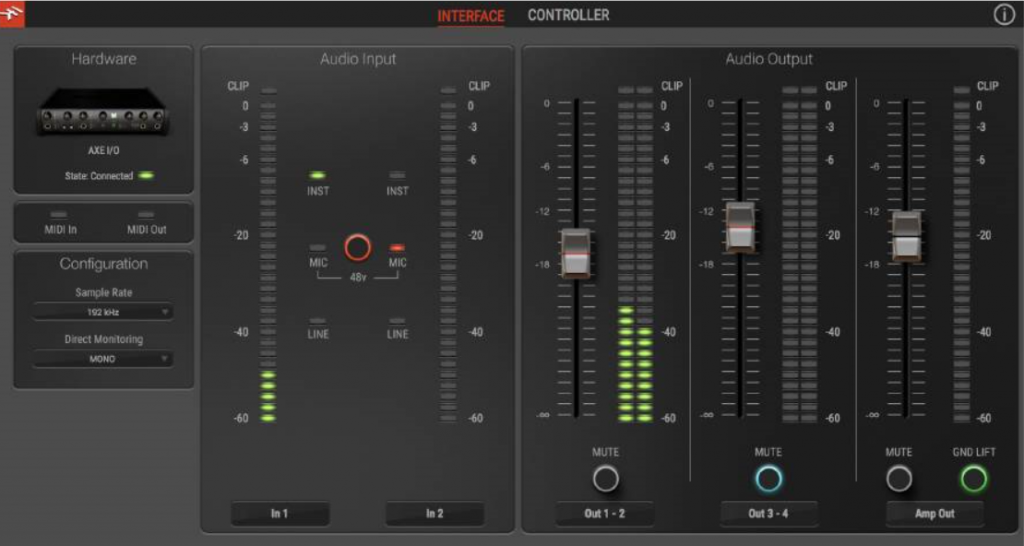
AXE IO Interface window
Controller
The Controller window is where you will change the MIDI CC values for the Preset knob (Not available on the AXE I/O Solo), your expression pedals, and your footswitches. To change a specific function, you can either use the MIDI Learn in the software you’re using. However, if you want to control a particular MIDI function, you’ll want to update the MIDI CC#. For example, MIDI CC#11 controls volume. If you’re going to change it to, let’s say, control the wah, you’d change it to MIDI CC#12 or 13. For more information on MIDI CC#, check out the owner’s manual of the software.

AXE IO Controller window
How to re-amp with AXE I/O, Z-TONE DI, or Z-TONE Buffer Boost
Related Articles
When you need help, Sweetwater has the answers!
Our knowledge base contains over 28,000 expertly written tech articles that will give you answers and help you get the most out of your gear. Our pro musicians and gear experts update content daily to keep you informed and on your way. Best of all, it’s totally FREE, and it’s just another reason that you get more at Sweetwater.com.

