
Getting Started With the Elektron Syntakt
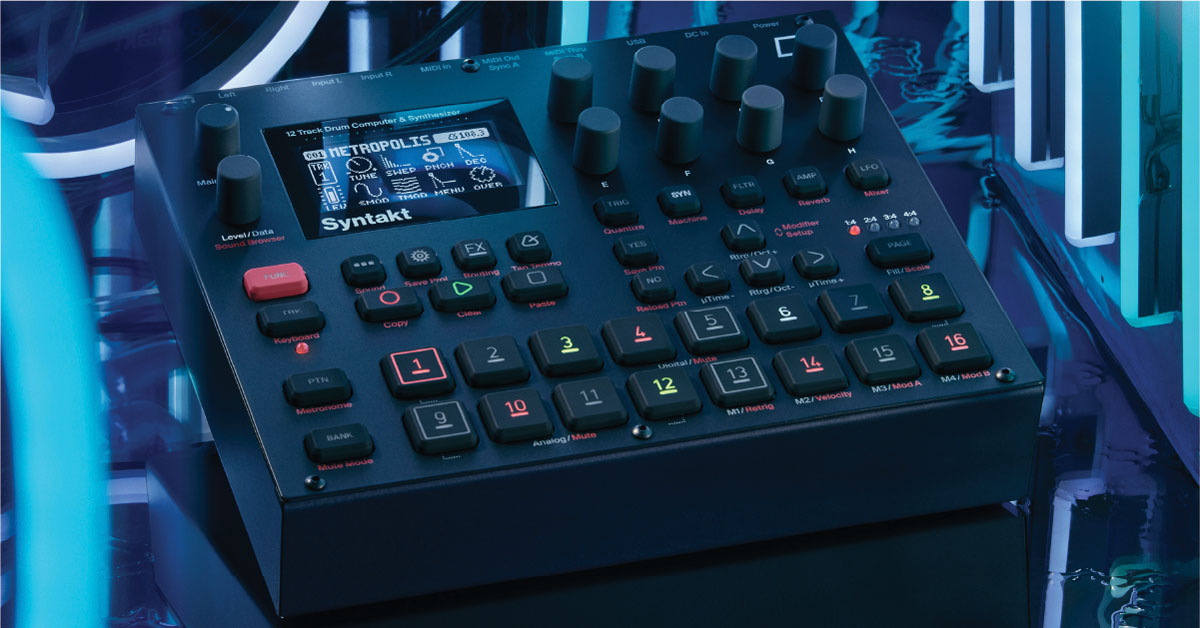
In this guide, we will show you how to get up and running with the Elektron Syntakt. You’ll learn how to register the Syntakt as well as how to create a sound and pattern. This article just scratches the surface, so be sure to check out the Syntakt User Manual and Syntakt Quick Guide for more information! Follow the sections below to get started.
Register the Syntakt
Before we get started, we’ll first show you how to register the Syntakt with Elektron. Upon registration of your unit, you’ll receive an extended three-year warranty and product support.
- Log into your Elektron account. If you don’t have an account yet, you can create one here.
- Click the person icon at the top right of the page, then select My Registered Machines.
- Enter the Serial Number (located on the bottom of the Syntakt), then click Register.
Download and install software
Once registered, you’ll next want to download and install the Elektron Overbridge and Elektron Transfer apps. You’ll need the Elektron Transfer app to transfer sounds to and from your Syntakt, as well as performing firmware updates. Overbridge is a free software that allows you to control and integrate your Syntakt in your DAW.
Simply go to the Syntakt product download page and download the latest version of the app for your respective OS.
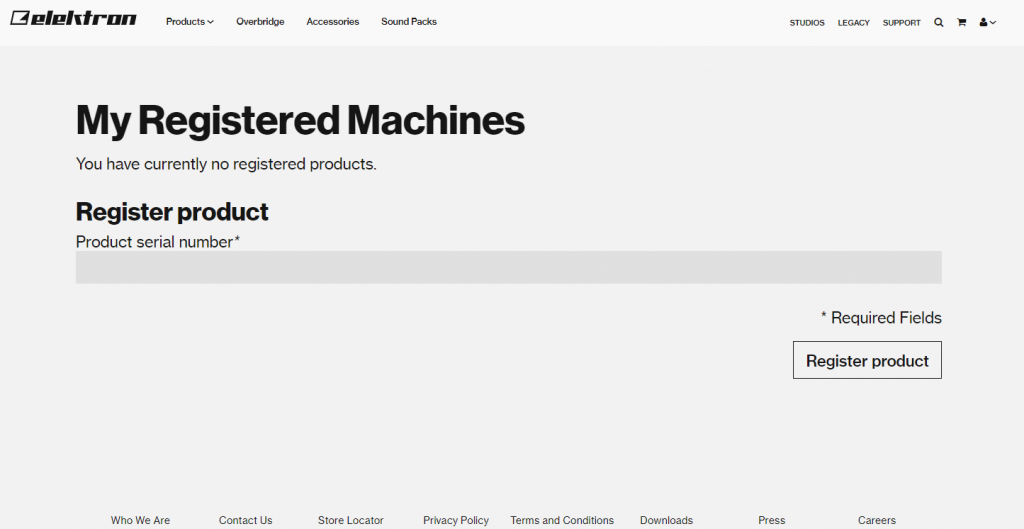
Click the image to register your Elektron Syntakt
Setup and connections
The Syntakt has three primary connections: Audio, MIDI, and USB. The USB connection is great in that it not only sends MIDI, but it can also send audio! This makes it a perfect workaround if you don’t have an audio interface on hand. You can access all settings by pressing the GEAR icon, using the DATA knob to highlight that setting, then pressing the YES button. Pressing the NO button will take you back to the previous menu.
- You can access the USB settings within the SYSTEM menu.
Selecting and editing sounds
Now that you’ve registered the Syntakt, let’s go over how to select and create sounds. These are the building blocks of the Syntakt, so once you know how to do this, you can create some patterns! Selecting sounds couldn’t be easier, either.
All you need to do is press the track button you want to load (1–12), hold the red FUNC button, then use the DATA wheel to select the sound. After that, press YES to load the sound. Alternatively, follow the steps below to select a sound.
- Press and hold the TRK button (1–16) for the sample you want to replace.
- The TRK number on the display should reflect that channel selection.
- Hold the FUNC button and press the … (Sound) button to access the track’s sound settings.
- Highlight Sound Browser, press the YES button, use the Level/Data knob (or UP and DOWN buttons) to select the sample you want to load, then press the YES button to load the sample.
- Press the NO button to exit to the main page.
Editing sounds
Once you have your samples loaded, you can then edit the parameters of the tracks, such as delay, LFO, and amplitude. Elektron has made this very easy, meaning you can spend less time menu diving and more time creating music!
Just like selecting a sound, editing couldn’t be easier. Select the track (1–12), then use the TRIG, SYN, FLTR, AMP, and LFO buttons to edit sounds. Be sure to use the red FUNC buttonto access the other effects, too!
Create and edit patterns
Now that you have the perfect set of samples loaded, it’s time to create some patterns! There are two ways you can record patterns: step or live. When you step record, you will enter a pattern one sample and one step at a time. This is perfect for patterns that require more complexity (16th notes, swing, etc.). Live recording is straightforward and is perfect for finger drumming. Please note that the trigger buttons are velocity sensitive!
Step record
- Press the track button you want to record.
- Press the RECORD button, then press each step you want to trigger (1–16).
- Press the RECORD button to exit step record mode.
- Press the STOP button, select the next track you want to record, then follow steps 1–3.
Live record
- Press the track button you want to record.
- Press the RECORD button, then press the PLAY button.
- You will get a four-count before the recording begins.
- Perform your pattern, then press the STOP button once you’re finished.
- Hold FUNC and press TRIG to quantize the recorded pattern.
Additional resources
When you need help, Sweetwater has the answers!
Our knowledge base contains over 28,000 expertly written tech articles that will give you answers and help you get the most out of your gear. Our pro musicians and gear experts update content daily to keep you informed and on your way. Best of all, it’s totally FREE, and it’s just another reason that you get more at Sweetwater.com.

