
How to Create Your First Pro Tools Session
Overview
In this article we will show you how to create a new Pro Tools session. Whether you’re songwriting, mixing, or creating a voice-over, this guide will explain everything you need to know to get a new session started.
Pro Tools Sessions
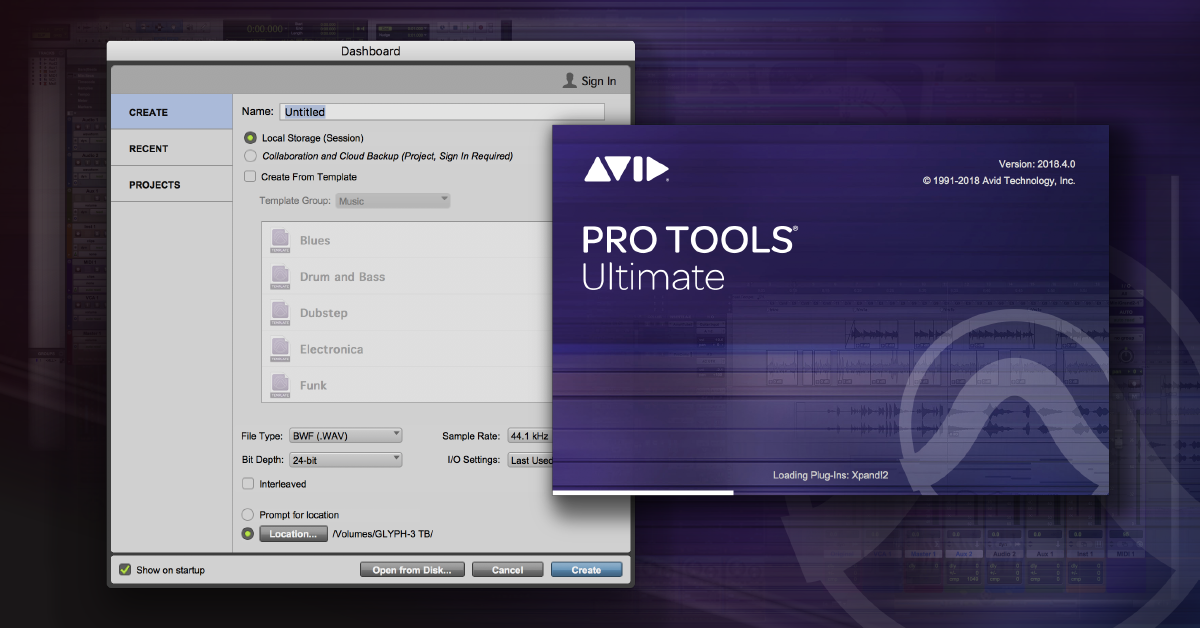
The Dashboard window appears by default after launching Pro Tools and is where you create and open sessions (your songs). If you don’t want the Dashboard to appear every time Pro Tools is launched, check the Show on startup box in the bottom left corner. You can also toggle this setting in the Pro Tools Preferences window (Pro Tools > Preferences… > Display > Warnings & Dialogs). Bring up the Dashboard at anytime via hotkey (CMD + N) or the file menu (File > Create New…).
Create a Pro Tools Session
To create a new session, select the audio settings you’d like to use and click Create. That sounds so simple, but what about all those settings? File type? Bit Depth? Huh? We recommend creating sessions that work well for your purposes. Follow the steps below to create a new session.
1. In the Pro Tools Dashboard, click the Create tab.
2. Choose Local Storage to save your session on your computer or external hard drive. If you want the session on the cloud and work with others online, choose Collaboration and Cloud Backup (Project).
3. The next step is to select your Session Settings (below). This includes the File Type, Bit Depth, and Sample Rate. In addition to the audio format settings, Pro Tools uses I/O settings to determine the input & output titles and routing configuration of your audio device. See the note below for more information.
4. Click Location… to select where this session’s files will be created. Consider storing them in a practically named folder like “Song Ideas” or “2018_0704_Band Rehearsals”.
Session Settings
Think about your situation before selecting settings. Are you collaborating with others? Do they have preferred settings? Should you record with some settings but then export with different ones? Selecting the highest quality may seem like an obvious choice, but is sometimes not necessary and may increase the processing load on your computer. Communicate with everyone involved prior to starting the session and consider the settings below.
File Type (.WAV or .AIFF)
Select the default audio file format for recorded tracks. Pro Tools can use both simultaneously, so don’t worry about starting in one format and then importing from the other. Learn more about .WAV and .AIFF.
Bit Depth (16-bit, 24-bit, or 32-bit float)
This is the dynamic resolution of recorded audio. We recommend 24-bit for most music production users. While all three will sound great, just remember that the larger the bit depths will always produce a larger file size. Learn more about bit depth.
Sample Rate (44.1 – 192 kHz)
The amount of times per second audio is digitally sampled/recorded. We recommend 44.1 kHz(for CD) or 44.8 kHz (for DVD) to most new music production users. Learn more about sample rates.
I/O Settings (Last Used or Presets)
These are the settings Pro Tools uses for labeling and routing signal in and out of your audio interface. Learn more about audio and MIDI settings.
Selecting settings before creating a new Pro Tools session.
Moving Session Folders
Once you click Create, a folder will be created that contains a few other folders and your new .ptx session file. It is critical that everything in that folder stays in the folder. Saving audio files, MIDI files, or plug-in settings in a different location may cause the session to be incomplete when launched from another hard drive or computer.
Move or transfer your session to a different system
Let’s say you want to take your session to another recording system to work on. If you move your entire project folder to an external hard drive (or cloud service) to transfer it, but the audio files are not in the session’s Audio folder, you’ll get an error message upon launching the session on the new system. This is because although the .ptx session file is there, the actual recorded audio is not. It’s likely that the audio files were saved in a different folder or hard drive on your original computer. Find and return the audio files to the session’s Audio folder and relaunch it to get your project back to normal.
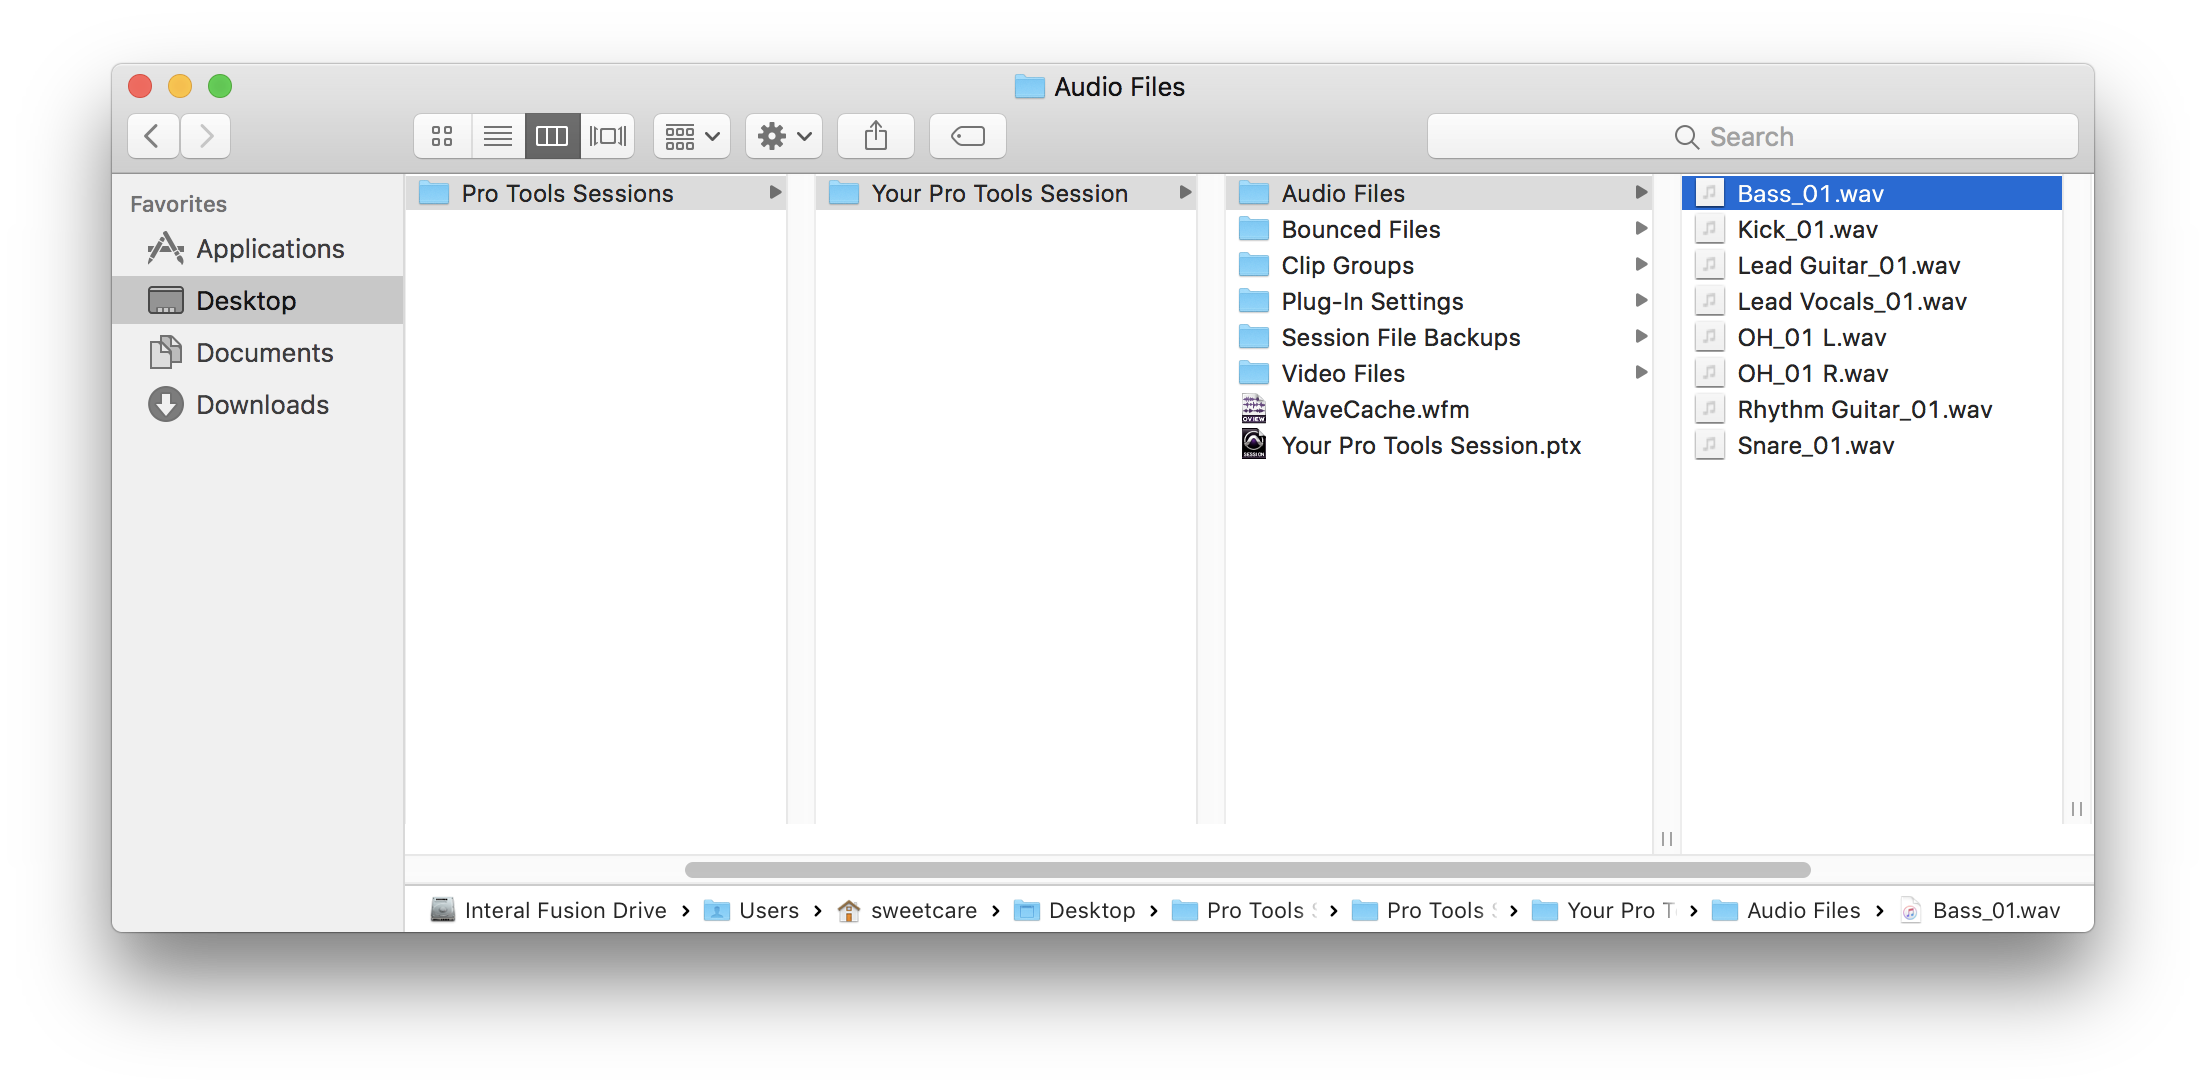
Pro Tools session folder example with the Audio Files folder selected.
Helpful Links
How to Import Audio in Pro Tools
How to Use Playlists in Pro Tools
How to Create Tracks in Pro Tools
How to Configure Pro Tools 12 & 2018 Audio & MIDI Settings
How to Download and Install Avid’s Pro Tools 12 & 2018
When you need help, Sweetwater has the answers!
Our knowledge base contains over 28,000 expertly written tech articles that will give you answers and help you get the most out of your gear. Our pro musicians and gear experts update content daily to keep you informed and on your way. Best of all, it’s totally FREE, and it’s just another reason that you get more at Sweetwater.com.

