
Casio CT-S1000V: How to Use the CT-S1000V
In our companion article, Casio CT-S1000V Setup Guide, you learned the different types of connections available on the keyboard, so in this guide, you’ll learn some of the great features and how to use them! Follow the sections below to get started.
Power settings
IMPORTANT: You must use the included 12v power supply. Using a third-party power supply can result in keyboard malfunction and non-warranty repair.
Before turning the unit on, you first need to handle the power settings. More often than not, you’ll use the included 12v power supply, but the great thing is that you can also power the keyboard using six AA batteries. For optimal battery life and functionality, you may have to change the battery settings depending on the type of batteries you use (alkaline or Ni-MH).
- Press the MENU button, then press the RIGHT ARROW button until you see SETTINGS.
- Press the SETTINGS button, followed by the RIGHT ARROW button until you get to the BATTERY menu, then press the + or – button to switch between Alkaline and Ni-MH.
- Press EXIT to get back to the main screen.
Working with the instrument presets
There are plenty of features on the CT-S1000V, but this guide only scratches the surface and discusses the most common settings you’ll work with when playing with instruments CT-S 1000V. Be sure to check out the CT-S1000V User’s Guide for more information!
- Press the INSTRUMENT button, then use the encoder knob to change between instruments.
- Press the CAT + and CAT – switch between instrument categories (e.g., piano, bass, choir, brass).
- Press the SPLIT, LAYER, TOUCH, SUS, and ARP buttons to adjust their corresponding functions.
- SPLIT: The split function allows you to load two different sounds separate from your desired note of the keyboard. Press the SPLIT button to select the second instrument, then use the encoder knob to select the desired tone. Press and hold the SPLIT button to set the split note, then press the + and – to choose the note.
- LAYER: As the word implies, layering lets you play two instruments simultaneously. This is particularly useful if you want a unique or full sound. To add the layered instrument, simply press the LAYER button, then use the encoder knob to select the second instrument.
- TOUCH: The TOUCH button allows you to adjust the keypress velocity (Off, Light, Medium, Heavy). Different players have different preferences, so test each one out to see what’s most comfortable.
HOW TO ADJUST KEY VELOCITY
- SUS: Pressing SUS allows you to enable sustain when pressing a key. This does not replace the use of a sustain pedal, however. Instead, to adjust the length of the note after you release the key, press and hold the SYS key, then use the + and – to adjust the length.
- ARP: This will turn the arpeggiator on and off. Press and hold the ARP button, then use the encoder knob to switch between arpeggiated rhythms.
How to program lyrics on the CT-S1000V
IMPORTANT: You must use the micro-USB port located on the back of the unit to transfer lyrics to and from the Casio Lyric Creator app. It is not compatible with Bluetooth.
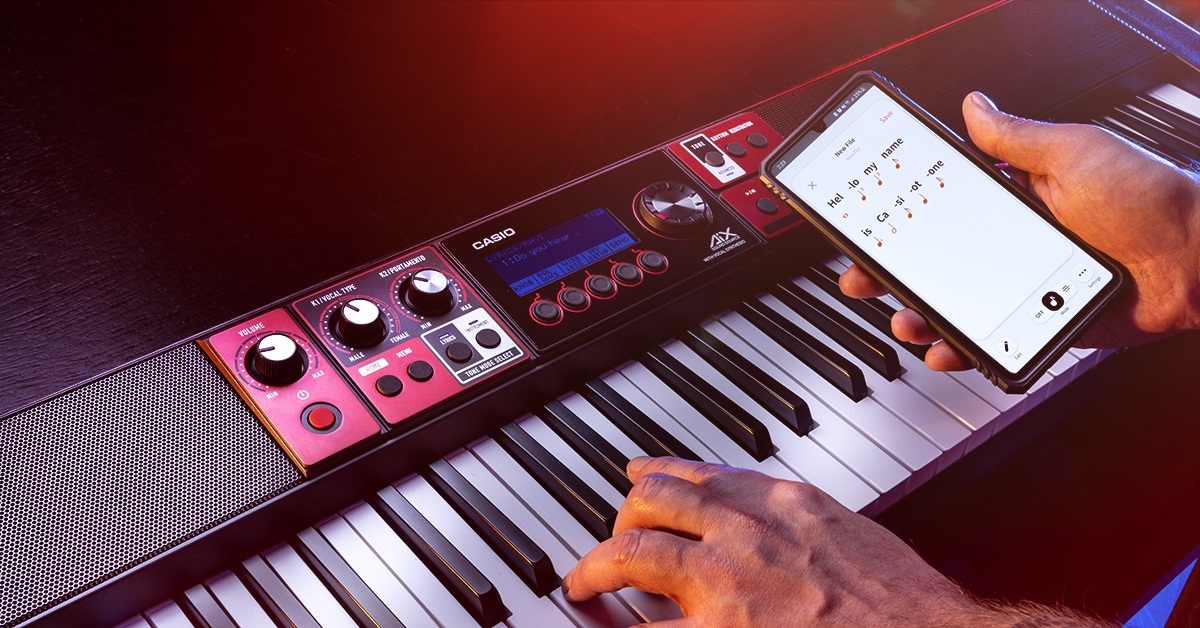
One unique feature of the CT-S1000V is the ability to program and playback custom lyrics created in the Casio Lyric Creator app. You can do so much, so we’ll cover the basics in this guide. For more information, check out the Lyric Creator app guide both on the Casio website and the app!
The app is available on Android and iOS devices, and the connections could not be easier. Just use a cable with the correct connections as mentioned in the connectivity guide, launch the app, and start creating!
Having connectivity issues?
If you’re receiving connectivity errors, check and ensure the cable is fully connected. If it is and you’re still having issues, you may have an incompatible or faulty cable. If it’s still not working, it could be that the device is incompatible with MIDI over USB. Please note that even some newer Android devices are not MIDI compatible, so if you receive the following error “Android device: Your device is not compatible with MIDI”, you will not be able to use the device.
Programming lyrics in the app
From changing the length of a word to the rhythm of a lyrical pattern, there are plenty of things you can do to make your lyrics sound perfect. You can program them from scratch or import them via an .xml and .lyj file.
- Launch the app and accept the privacy terms. If prompted, be sure to allow permissions for the mobile device’s microphone and audio.
- Press Lyrics, press the + button, then press New. Alternatively, press Import to load an .xml or .lyj file.
- Press the keyboard or microphone icon to input the lyrics. Each lyric can be 100 syllables long if all syllables are eighth notes.
- Once you’ve completed entering the lyrics, press Done.
- You can edit the lyric at any time by pressing the Pencil (Edit) icon.
- To change the length of a syllable, press the note or bar icon located at the bottom center of the app, then tap the length located directly under the syllable.
- If you press the note icon, the syllables will be displayed in note form. If you press the bar icon, the syllables will be displayed in length form.
- Once you’re finished, press Save.
Transfer and play custom lyrics
Once you’re happy with your work, you can now transfer them from the app to your CT-S1000V. There are a total of 150 vocal tone destinations: the first 100 are factory preset destinations, and destinations 101-150 are dedicated for user tones. While you can overwrite the factory destinations if you want, the app will default to user slot 1 (101).
Transferring lyrics files
- Press the Options (three dots) to the right of the lyric file you want to transfer, then press Transfer.
- Press Destination, then select the destination you want to send your lyric file.
- If there’s a file loaded on the selected destination, you will receive an overwrite warning. This includes factory destinations.
- Select the Vocalist style (e.g., choir, vocoder, male or female), adjust the attack range, then press Transfer.
- On the display that appears, select the CT-S1000V, then press OK.
Playing custom lyrics
Now that you’ve created your lyrics and uploaded them to the CT-S1000V, it’s time to start playing! There are two different modes you can choose from: Note and Phrase. Depending on the situation, you may choose one over the other, but both have advantages.
When you’re in Note mode, the phrase will continue with every key you press, note for note. This means it will ignore the rhythmic pattern you input in the Lyric Creator app. When you’re in Phrase mode, the phrase will continue for as long as you hold the key down. This means it will follow the rhythmic pattern you input in the Lyric Creator app.
- Press the Lyric button, then use the encoder knob to select the vocal phrase.
- Press the PLAY MODE button. This will switch between Note and Phrase mode.
- Start playing!
Chapter 1: Creating Vocals
Chapter 2: Working with Lyrics
Related Articles
When you need help, Sweetwater has the answers!
Our knowledge base contains over 28,000 expertly written tech articles that will give you answers and help you get the most out of your gear. Our pro musicians and gear experts update content daily to keep you informed and on your way. Best of all, it’s totally FREE, and it’s just another reason that you get more at Sweetwater.com.

