

Akai MPC Live III Quickstart Guide
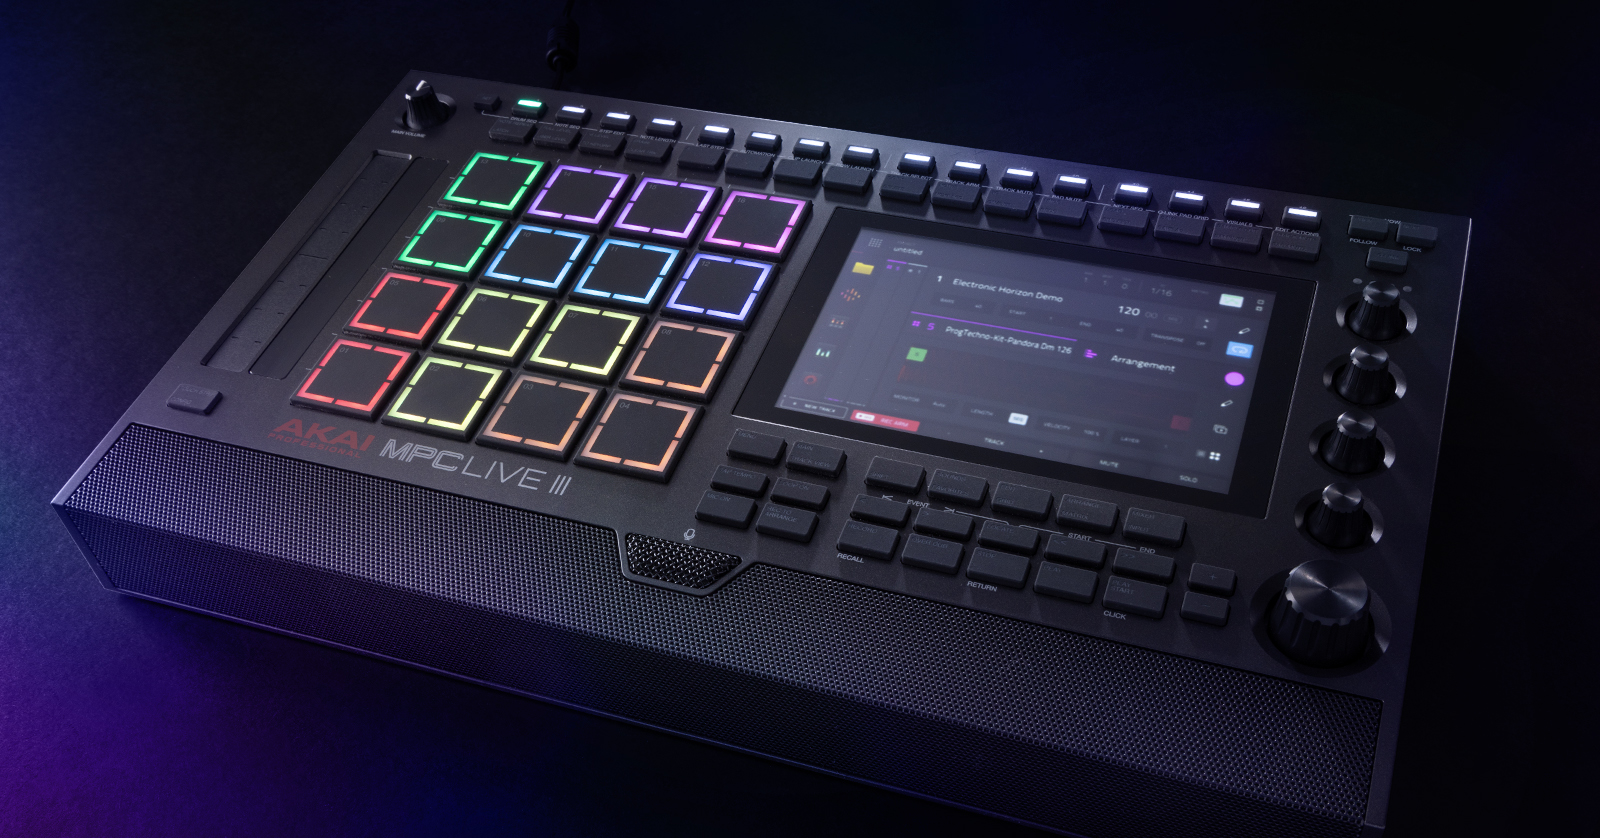
The Akai MPC Live III is the perfect standalone sampler controller, ideal for use wherever you go. Its intuitive workflow makes it easy to use for musicians of any skill level. In this guide, we will show you how to register, set up, and perform in no time. This article only scratches the surface so be sure to check out the MPC Live III User Manual and YouTube channel for some fantastic in-depth tutorials!
Register the MPC Live III
While it’s always exciting to take gear out of the box and start playing, you must register the MPC Live III beforehand. Upon registering the unit, you will receive free licenses to software and plug-ins as well as a three-year extended warranty.
- Log in to your inMusic account. If you don’t have an account yet, then you can create one here.
- On your account home page, click “REGISTER NEW PRODUCT,” enter the serial number located on the unit (excluding the “21”), and complete the registration process.
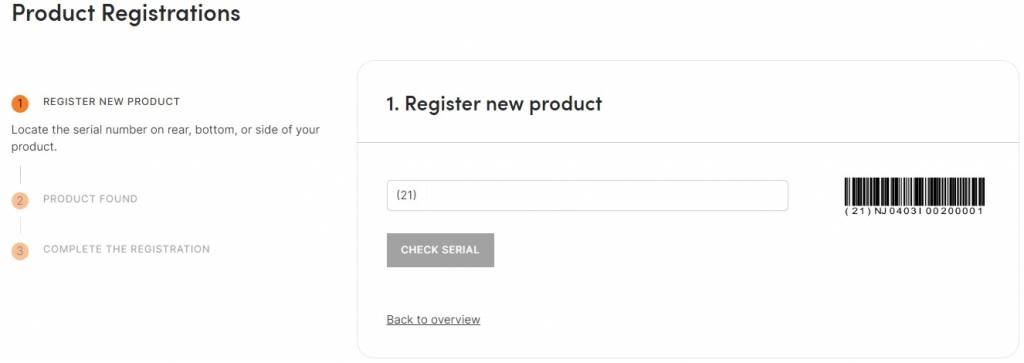
Click the image to register your MPC Live III.
Activating MPC Software
Your MPC Live III comes with a free copy of the MPC software, which requires the iLok License Manager to be activated. If you already have an iLok User ID for registering your new software, then please verify the login and sign in before proceeding. If this is your first iLok licensed software, then create a new iLok User ID to deposit your licenses.
Check out Akai’s video below to learn how to activate your MPC software. Also, be sure to check out our “iLok Setup Guide” to learn more about iLok!
Akai Pro MPC 2 Software | How to Download, Install & Activate
MPC Firmware Update
Akai will release firmware updates to your MPC Live III periodically. This will often add new features or address bugs that are currently present. Check out our article below to learn how to update the firmware on your MPC Live III.
Setup and Connections
NOTE: The MPC Live III has approximately three hours of battery life under normal working conditions.
The Akai MPC Live III has plenty of connections, making it the perfect centerpiece for your studio and live rig. From CV to MIDI and audio, possibilities abound.
Audio
You can connect virtually any instrument to the MPC Live III. Here are a few tips to get you started.
- You can choose to record the audio channel(s) in either stereo or mono while in both Sampler and Looper modes. This includes the 1/4-inch/XLR connections as well as the RCA connections.
- You must activate the input type when you connect an instrument.
- For example, if you connect a 1/4-inch cable to the combo jack, then you must change the input type to Combo.
- To change the input type, press and hold SHIFT and press MIXER/INPUT. Alternatively, press MENU and then tap INPUT.
- If you use an instrument that requires a phono connection and has a grounding wire, then make sure you connect it before powering on the MPC Live III.
- When connecting a condenser microphone, turn on phantom power from the INPUT menu.
- Turn on phantom power after connecting a condenser microphone and turn it off before disconnecting the condenser microphone.
- Master Outputs 1 and 2 are identical to Outputs 1 and 2 on the audio routing page.
- You must turn off the internal speakers to use the built-in microphone. The speaker switch is next to the headphone jack on the rear of the unit.
MIDI
External MIDI devices can send and receive MIDI data to/from the MPC Live III with the 5-pin MIDI connection or USB ports.
- You can connect bus-powered MIDI controllers directly to the MPC Live III. Powered devices must be connected to the manufacturer’s power supplies, however.
- You can use Bluetooth MIDI devices with your MPC Live III. Press Preferences (at the bottom of the display), select Bluetooth, then press Pair. Tap Connect once it has been added to the list of paired devices.
- Make sure the MIDI device isn’t paired to another device; Bluetooth devices can only be paired with one device at a time.
- Navigate to the MIDI/Sync options in Preferences to update MIDI hardware settings such as MIDI I/O, MIDI Sync, and MMC.
Working with the MPC Live III
The MPC Live III runs on the latest groundbreaking MPC OS. Our friends at Akai Professional have created a fantastic overview video to get you up and running. Also, make sure to check out our “Akai MPC III Quickstart Guide” to learn more.
MPC 3 Overview
Touch Strip Expression
One game-changing feature of the MPC Live III is the customizable touch strip expression. You can assign various parameters that you can adjust using the touch strip!
- Press the TOUCH STRIP button and select Touch FX.
- Select the track to which you want to apply the touch strip expression.
- Press and hold SHIFT and press the TOUCH STRIP/CONFIG button.
- Double-tap the touch FX destination (track, return, submix, output) and choose the effect you wish to apply.
- Press TOUCH FX SETUP and edit the effect parameters. Press MAIN after you’ve edited the effect to your liking.
Getting Started with MPC LIve III | Touchstrip
Expressive Pads
Another fantastic feature is expressive performance pads. Similar to touch strip expression, you can assign effects and sounds to each corner, making it easier to perform on the pads. How you edit the expressive pads will depend on the track type you have loaded.
Melodic tracks
- Select the melodic track you wish to work with, press EDIT,and then press the pad you wish to edit.
- Scroll all the way to the right and select Mod Matrix.
- Set two sources to effects and set VIA Source to Pad dY and Pad dX. This will link them together.
Drum tracks
- Select the drum track you wish to work with, press EDIT, and double-tap EFFECTS on the display.
- Turn on Articulations, press the corner of the pad you wish to edit, then use the drop-down above the three virtual knobs to choose what parameter you want to load.
Getting Started with MPC Live III | MPCe Pads Deep Dive
Related MPC Live III Content
Akai Professional MPC Live III | Overview
The New Akai MPC Live III | Deep Dive Review & Features
When you need help, Sweetwater has the answers!
Our knowledge base contains over 28,000 expertly written tech articles that will give you answers and help you get the most out of your gear. Our pro musicians and gear experts update content daily to keep you informed and on your way. Best of all, it’s totally FREE, and it’s just another reason that you get more at Sweetwater.com.


Offer applies only to single-receipt qualifying purchases. Select manufacturers may require that only the manufacturer’s products qualify towards the minimum purchase amount needed to be eligible for promotional financing. Otherwise, an invoice that meets the minimum purchase amount and contains at least one qualifying manufacturer product is eligible for promotional financing. No interest will be charged on promo purchase balance, and equal monthly payments are required on promo purchase until it is paid in full. The payments equal the amount financed divided by the number of months in the promo period, rounded up to the next whole dollar. These payments may be higher than the payments that would be required if this purchase was a non-promo purchase. During the last month(s) of the promo period the required monthly payment may be reduced due to the prior months’ rounding. Regular account terms apply to non-promo purchases. New Accounts as of 07/31/2025: Purchase APR is 34.99%. Penalty APR is 39.99%. Min Interest Charge is $2. Existing cardholders: See your credit card agreement terms. Subject to credit approval.
Offer applies only to single-receipt qualifying purchases. No interest will be charged on the promo balance if you pay it off, in full, within the promo period. If you do not, interest will be charged on the promo balance from the purchase date. The required minimum monthly payments may or may not pay off the promo balance before the end of the promo period, depending on purchase amount, promo length and payment allocation. Regular account terms apply to non-promo purchases and, after promo period ends, to the promo balance. New Accounts as of 07/31/2025: Purchase APR is 34.99%. Penalty APR is 39.99%. Min Interest Charge is $2. Existing cardholders: See your credit card agreement terms. Subject to credit approval.
The estimated required monthly payment shown which excludes taxes and delivery equals the amount financed divided by the number of months in the promo period, rounded up to the next cent. During the last month(s) of the promo period the required monthly payment may be reduced due to this rounding. These payments apply only with the financing offer shown. If you make these payments by the due date each month, you should pay off this amount financed within the promo period, if it is the only balance you are paying off. If you have other balances on your account, this payment will be added to any other minimum monthly payments.
Applies only to select items from this manufacturer. Ask your Sweetwater Sales Engineer for more details.