
Behringer X AIR Effects Inserts and Sends Guide
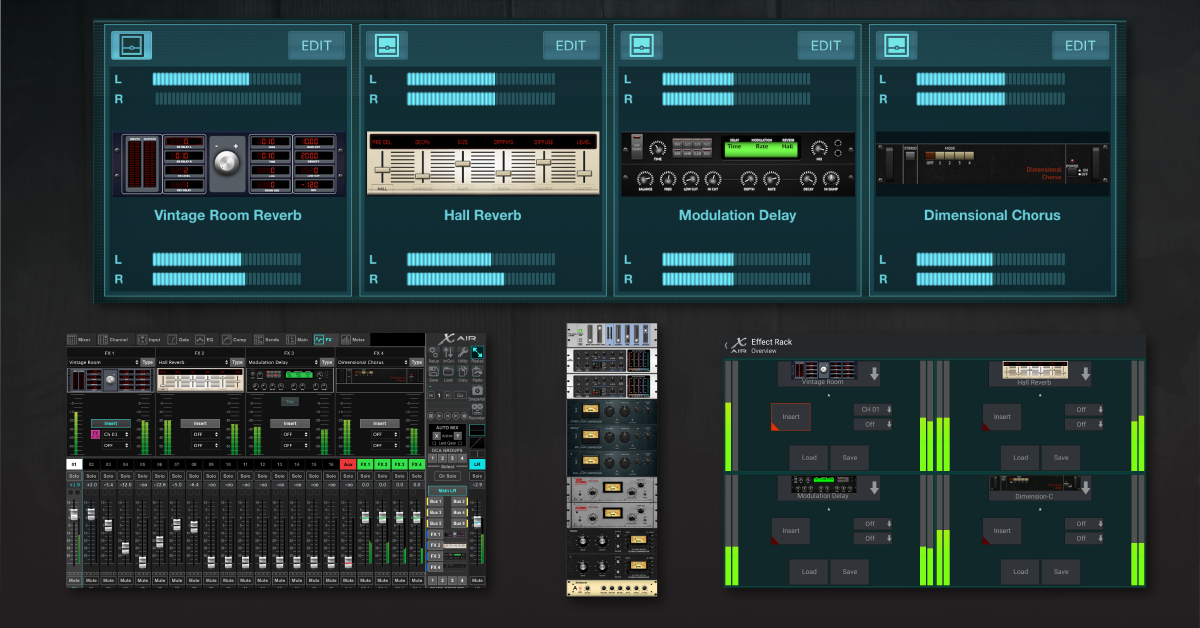
On the Behringer X Air series of mixers, here’s how to use built-in effects like reverb or delay. Let’s get started.
There are two ways to use effects on X AIR mixers: inserts and busses. An insert effect only applies to a single channel while busses apply an effect to one or more channels mixed together. Since each of the four FX slots can only be used as either an insert or FX bus at any given time, you’ll need to decide what to do with each one. Perhaps two are for inserts, and the other two are for effects busses. Keep in mind that individual channels and busses will still have their own EQ and compression settings. You make the call, but remember that you can save your settings so that each song has different effects.
Insert effects on a channel
The most direct way to add effects to a channel is to use an insert. An insert is kind of like an effects loop for a channel. That means before a channel goes to the main mix, it’s first processed by an effect. This makes adding an effect as simple as selecting a channel, choosing the effect, and then enabling the insert feature. Without the insert feature enabled, the FX will act as a standard FX bus. For example, if you want to add reverb to a vocalist on channel 1: choose a reverb for FX1 and then enable the FX1 as channel 1’s insert. After that, it just comes down to fine-tuning the reverb settings to compliment the performer and venue.
- Select a channel and choose its Input tab.
- For Channel Insert, select an FX’s A or B (left or right) channel.
- If prompted to switch to Insert mode, click Insert on. Otherwise, choose the FX tab, and verify the selected FX’s Insert button is enabled (teal highlight).
- View the FX tab and select your effect to adjust its parameters.
Here’s Behringer’s tutorial video:
Behringer: X Air How To: Channel Insert (X Air Edit)
Send channels to an effects bus
While FX inserts are effect-ive (see what we did there?) for adding effects to a single channel, you’ll need to use an FX Bus when you want multiple channels to share the same effect. Applying reverb to a few vocalists is a good example of when and how to use an effects bus. Select a reverb effect for an FX Bus and then increase its FX Send level for each channel you want to send into the reverb. Keep in mind that, while the FX Send level is essentially the “reverb level” for each respective channel, the FX Bus level fader will control the overall reverb level.
- Select a channel and view the Sends tab.
- Adjust each FX Send level to control how much of the channel is sent to each respective FX bus.
- (optional) Select Input, Pre/Post EQ, and Pre/Post Fader to determine when the signal is sent to the FX bus. For example, Pre Fader sends the signal before it reaches the volume fader (e.g. the volume fader doesn’t affect it).
- Control the level of the FX bus with its volume fader. Keep in mind that this level fader controls the “master volume” of the FX bus, and thus each channel which was sent to it.
FX Bus Tips:
- When using multiple vocalists, consider sending them to the same FX bus. Whichever effect you select will be applied to each channel sent there.
- Saving a scene will save the FX and their parameters, too. If you don’t want the FX to change when loading scenes, select them in the Show menu as channel safe.
Here’s Behringer’s tutorial video:
Behringer: X Air How To: FX Rack (X Air Edit)
Related Content
When you need help, Sweetwater has the answers!
Our knowledge base contains over 28,000 expertly written tech articles that will give you answers and help you get the most out of your gear. Our pro musicians and gear experts update content daily to keep you informed and on your way. Best of all, it’s totally FREE, and it’s just another reason that you get more at Sweetwater.com.

