
Shure MV7 Quickstart Guide
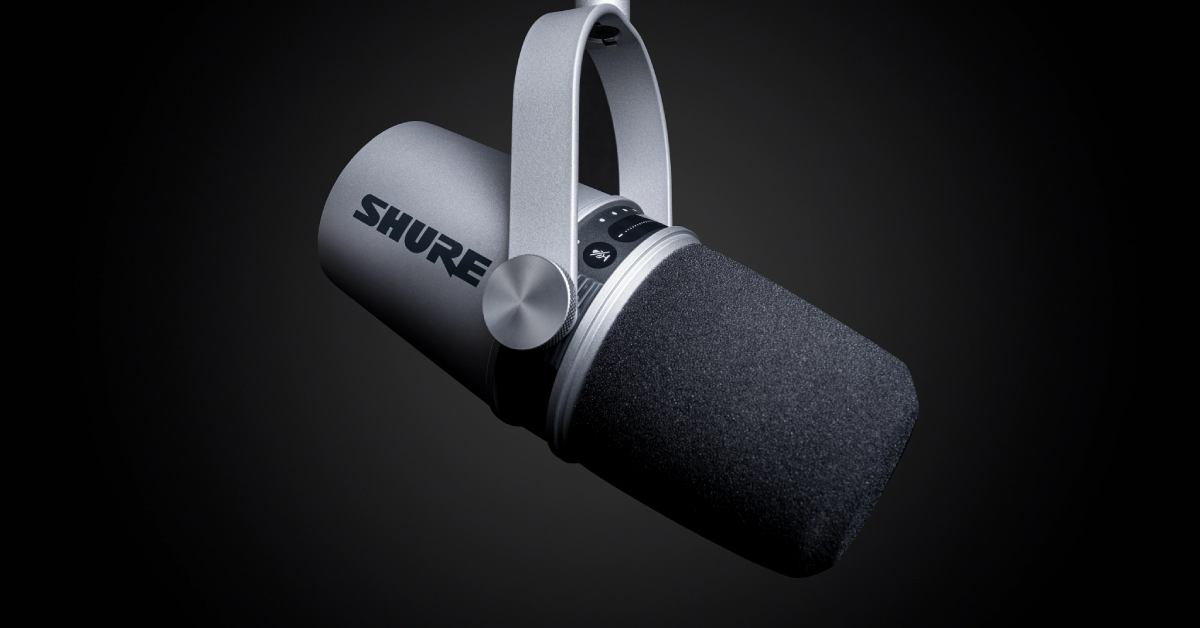
Getting started with the Shure MV7
In this guide, we will be showing you how to register, set up, and connect the Shure MV7 USB microphone for the first time. Follow the instructions below to get started.
Register the Shure MV7
NOTE: Keep your Sweetwater invoice handy, as you’ll need that to fill out some information and also upload it to your account.
The first step in the setup process is to register your MV7 mic with Shure. By registering the MV7, you’ll receive in-depth product support as well as an extended two-year warranty. Follow these steps to register your MV7.
- Log into your Shure account. If you don’t have an account, you can create one here.
- Make sure to enter a valid email address during the account creation process, as Shure will send an account activation link needed to complete the account creation process.
- Click the Register my Products button, then click the green REGISTER PRODUCT button on your account homepage.
- Enter the MV7 serial number, then click FIND MY PRODUCT.
- Enter all of the purchase information, drag a copy of your interface from your desktop, then click SUBMIT.

Click the image to register your Shure MV7
Connecting your MV7
The MV7 is very versatile in that you can use it on every platform: PC, Mac, Android, and iOS. While some features are limited on Android and iOS, the MV7 still provides a powerful punch when needed.
How to connect to Android or iOS devices
Connecting the MV7 to your mobile device is a straightforward process. Just use the included cables and connect it straight to the device. There are a few things to note when using your Shure MV7 with a mobile device:
- Not all Android devices are capable of providing enough power that the MV7 needs. Shure has tested quite a few devices and will continue to do so, so check out the Android compatibility page frequently to see if your device is listed.
- The MV7 can’t be used to make phone calls on Android and iOS devices.
- Only iOS devices with Lightning connections are compatible. iPads with USB-C connectors are not.
How to connect to your computer
Just like connecting to your mobile device, connecting the MV7 to your PC or Mac is straightforward. Just connect it using the included cable, and you’ll be all set. The MV7 is class-compliant on both OS’s, which means no additional driver software is necessary for it to work correctly.
Pitch shifting on your PC?
If your voice sounds higher-pitched or lower-pitched after connecting the MV7 to your PC, this means there’s a sample rate mismatch in the Windows Sound settings. Follow these steps to solve this issue:
- Right-click the Speaker icon on the taskbar, then select Sound.
- Click the Playback tab, locate the MV7, right-click Headphones, then select properties.
- Click the Advanced tab, and take note of the Default Format (i.e., 2 channel, 24 bit, 48000 Hz).
- Close the Headphones Properties window, click the Recording tab and locate the MV7.
- Right-click Microphone, select properties, then click the Advanced tab.
- Take note of the Default Format. If it’s different from the Headphones, update it, then apply the changes.
Download the ShurePlus MOTIV software
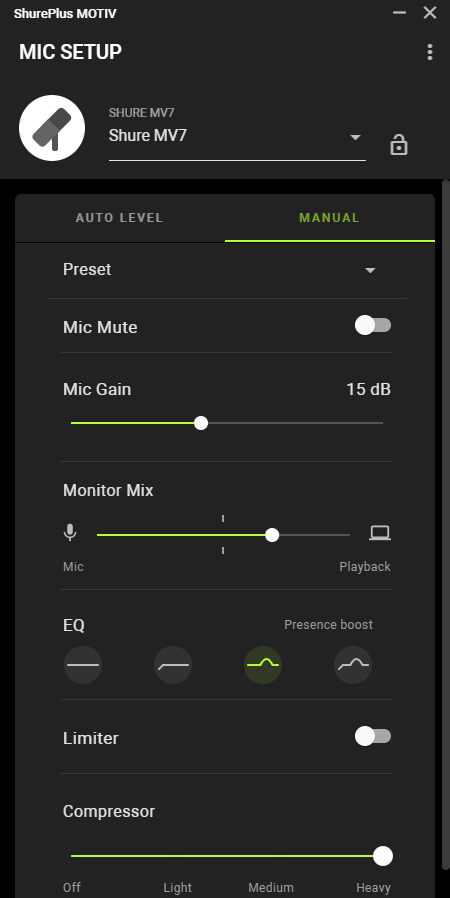
The ShurePlus MOTIV software is the core of your MV7, and is where you’ll make all of your EQ, compression, gain changes and more. You’ll also perform MV7 firmware updates using the software, as well.
- Go to the ShurePlus MOTIV webpage and click the download for your OS.
- If you’re on a mobile device, you can download it on the Google Play Store or the App Store.
- Navigate to your Downloads folder, launch the installer then follow the on-screen instructions.
- Your Shure MV7 should automatically be recognized. If not, click the Dropdown box and select it.
- Play around with the settings until you find the right sound. Once you’ve seen it, you can save it as a Preset for future recall. Just click the arrow to the right of Preset, rename it, then click Save.
How to perform firmware updates
To perform firmware updates on your Shure MV7, you’ll need to connect it to your computer and use the ShurePlus MOTIV desktop app for your OS. Follow these instructions to perform a firmware update.
- Click the three dots at the top of the ShurePlus MOTIV window, then click About MOTIV.
- Navigate to Firmware, which is in the middle of the screen.
- If you see a green dot next to Updates Available, click that, use the dropdown box to select the firmware version you want to install, then click Send to device.
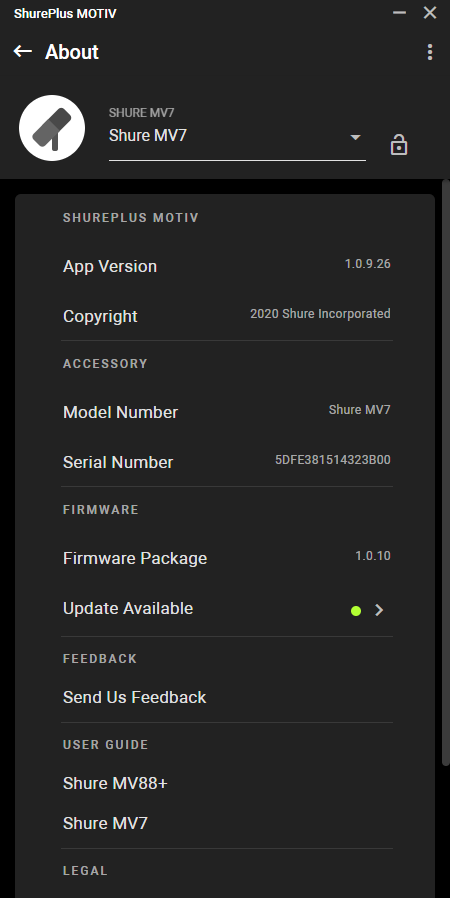
Update the firmware via the About page
Related content

Learn more about optimizing your Windows 10 computer for music production!
Learn More
Learn more about optimizing your Mac computer for music production!
Learn More
Learn more about how to reduce latency, clicks, and pops while recording.
Learn More
Learn more about how to avoid common podcast mistakes!
Learn MoreThree Ways to Use Your Shure MV7 Podcast Microphone
When you need help, Sweetwater has the answers!
Our knowledge base contains over 28,000 expertly written tech articles that will give you answers and help you get the most out of your gear. Our pro musicians and gear experts update content daily to keep you informed and on your way. Best of all, it’s totally FREE, and it’s just another reason that you get more at Sweetwater.com.

