
Samson G-Track Pro Quickstart Guide
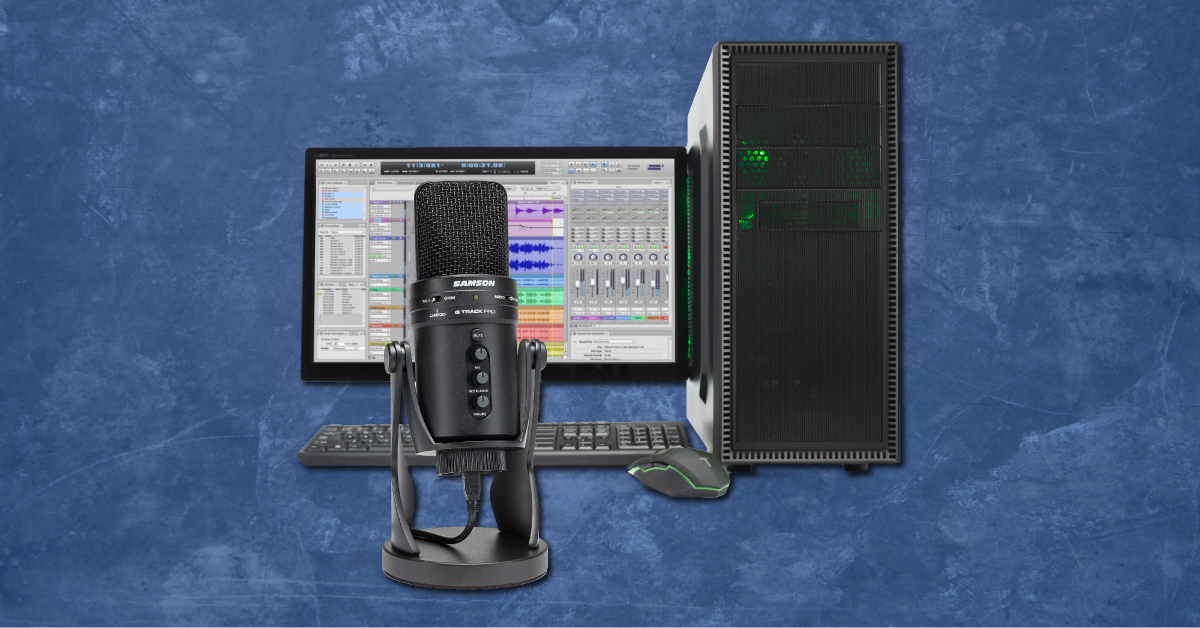
Getting started with the G-Track Pro
We here at Sweetwater are here to give you the best experience possible, so in this guide, we will show you how to register, set up, and connect a Samson G-Track Pro USB mic for the first time. Follow the sections below to get started.
Register the G-Track Pro
The first step in the setup process is to register the G-Track Pro with Samson. By registering the G-Track Pro, you’ll receive in-depth product support as well as an extended warranty. Follow these steps to register your microphone.
- Go to the Samson Tech product registration page.
- Use the dropdown box, select Samson Audio, then fill out the required information.
- Click Register Product to complete the process.
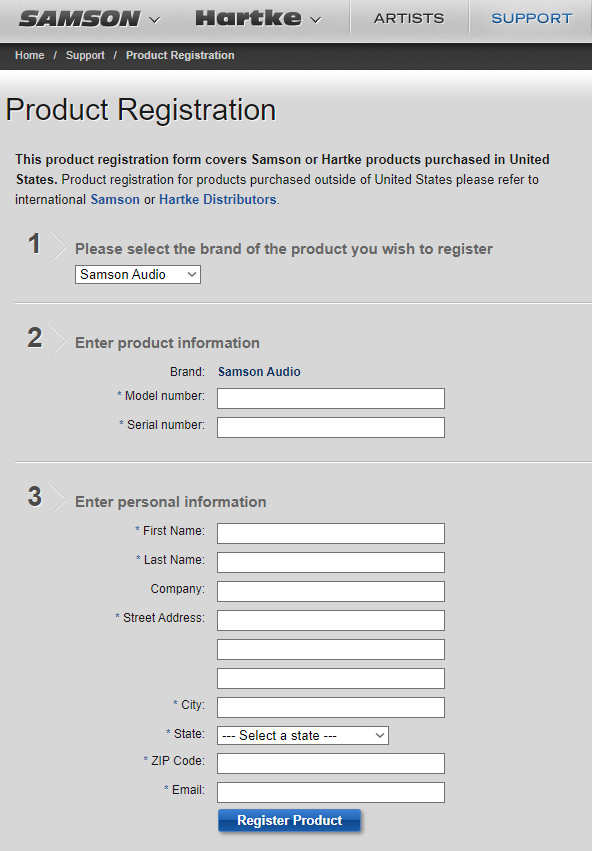
Click here to register your G-Track Pro
Setup and connections
The G-Track Pro must be selected as the operating system’s primary audio device to get it to work correctly. Most streaming and recording software have their own sound settings, so when using the mic, you’ll need to make sure that it’s selected as the software’s primary input and output device.
This means your streaming software or other audio software needs to know what the computer’s audio device is and which inputs and outputs are which. The G-Track Pro is class-compliant on both Windows and macOS, so no additional driver installation is necessary. Once you’ve connected the G-Track Pro to your computer, follow these steps to update your Windows or macOS sound settings.
G-Track Pro setup for Windows
- Right-click the speaker icon on the Windows toolbar, then click Sound.
- Click the Playback tab, right-click the Samson mic, click Set as Default Playback Device, and then select Set as Default Communication Device.
- Right-click the Samson mic again, select Properties and then click on the Advanced tab.
- Uncheck the “Allow applications…” box within the Exclusive Mode section, click Apply, then click OK.
- You’ll also need to open the Advanced window to change your sample rate when updating your software’s sound settings.
G-Track Pro setup for macOS
- From the Menu bar, click the Apple icon, then select System Preferences.
- Click Sound.
- Under the Input and Output tabs, choose your G-Track Pro.
- You’ll also need to use the Format dropdown box to change the sample rate when updating your software’s sound settings.
Is the mic not working correctly?
If the G-Track Pro isn’t showing up when connecting it to your computer, reconnect the mic by unplugging and plugging it back in. If you have not done so yet, try reconfiguring the USB connections so that the microphone is connected directly to your computer. If the problem persists, try a different USB port or cable. Visit our Windows and Mac guides for more tips on resolving audio device connectivity.
Learn more about how to troubleshoot audio interface issues on PC!
Learn More
Learn more about how to troubleshoot audio interface issues on Mac!
Learn MoreSet up the Samson G-Track Pro for recording
The G-Track Pro is a unique microphone in that it’s both a USB mic and an audio interface. This means that not only will you be able to record vocals, but you can also connect a guitar, bass, keyboard, or any other line-level instrument!
- Launch your DAW software and go to its Audio Settings.
- Select the Samson G-Track Pro as both the Input and Output device.
- Create two MONO tracks, then use the Mono-2-track switch to choose how it will be recorded.
- MONO will sum both the microphone and line-level instrument into one track.
- 2-track will record the microphone on one track and the line-level instrument onto the other.
- Use the top two front knobs to adjust the mic and instrument levels, use the bottom knob to adjust the master playback volume, and then start recording!
- If you want to hear yourself while you’re recording, flip the Monitor switch on the back to ON.
Related content

Learn more about optimizing your Windows 10 computer for music production!
Learn More
Learn more about optimizing your Mac computer for music production!
Learn More
Learn more about how to reduce latency, clicks, and pops while recording.
Learn More
Additional resources
When you need help, Sweetwater has the answers!
Our knowledge base contains over 28,000 expertly written tech articles that will give you answers and help you get the most out of your gear. Our pro musicians and gear experts update content daily to keep you informed and on your way. Best of all, it’s totally FREE, and it’s just another reason that you get more at Sweetwater.com.

