
How to Trigger EZdrummer 2 with Electronic Drums

In this guide, we will walk you through the step-by-step process of how to use an electronic drum set with EZdrummer 2. You’ll learn how to connect and configure the software and then how to use it in both the standalone application and within your DAW. Follow the sections below to get started.
Setting up the module
EZdrummer 2 is a drum sampling virtual instrument that you can use either on its own (standalone application) or within a DAW (virtual instrument plug-in). You can trigger these drum samples with an electronic drum set when it’s connected to your computer. Before you can trigger the samples, though, you’ll need to link the hardware and software via MIDI or USB. Depending on your setup, you may prefer one connection over the other. Learn more in our connection setup guide.
Enable the module as a MIDI device
The first step to using your electronic drum module with EZdrummer 2 is to enable the drum module as a MIDI device within the software. Once enabled, you’ll be able to play and record your electronic drums. Follow the steps below to enable it in either the standalone program or your DAW.
Standalone application
- Launch the EZdrummer 2 application.
- Navigate to Settings on the top toolbar of EZdrummer 2, then click Audio/MIDI Setup.
- Click MIDI Device, select your drum module, then click Apply.
- Click MIDI Channel, and set the correct MIDI input channel. Unless you’re using a keyboard or any other MIDI device to control EZdrummer, you can leave this set as Any.
Within a DAW
- Launch your DAW and navigate to its MIDI Settings menu.
- Locate the drum module and enable its MIDI input and output ports. If your electronic drum module is connected to an interface via MIDI cable and not USB, you will need to enable that device’s MIDI input and output ports.
- Hit a drum pad and look at the MIDI output meter to confirm it’s transmitting MIDI data.
Electronic drums not showing up?
If your device isn’t recognized within EZdrummer or your DAW, ensure you have the proper drivers installed, and also visit our MIDI device troubleshooting guide for Mac and PC. If you’re running the standalone application and it’s not showing up, click the Rescan button in the Audio/MIDI Setup window as well.
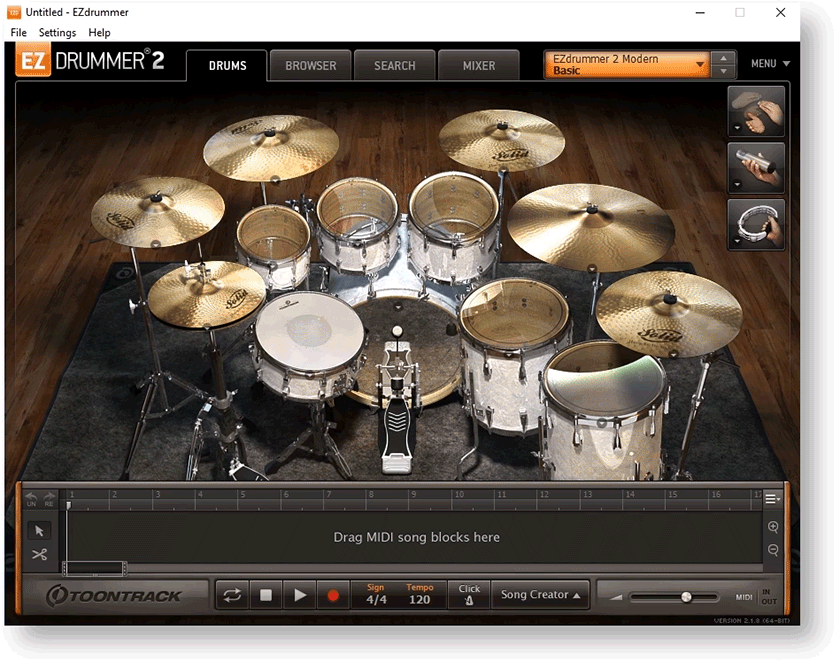
Enabling the module as a MIDI device.
Select the MIDI mapping preset
EZdrummer has MIDI mapping presets for most of the popular electronic drum brands. These presets automatically assign the correct MIDI notes to the corresponding drum pads. While you cannot tweak the presets or create custom drum maps within EZdrummer, these presets should work perfectly with your module. Follow these steps to load the MIDI mapping preset.
- Navigate to Menu in the right-hand corner of EZdrummer, click Settings, then click E-Drums.
- Click the drop-down box in the MIDI Mapping section, and select the brand of your drum module. If your manufacturer isn’t listed, select Generic.
Generic or Generic (CC Hi-Hat)?
CC (continuous controller) is a MIDI message that changes a specific trigger parameter. In the case of EZdrummer, this message is for hi-hat control. Generally, you will select Generic (CC Hi-Hat) if you have a name-brand module. If you’re using a generic-brand foot pedal, however, you will need to choose Generic.
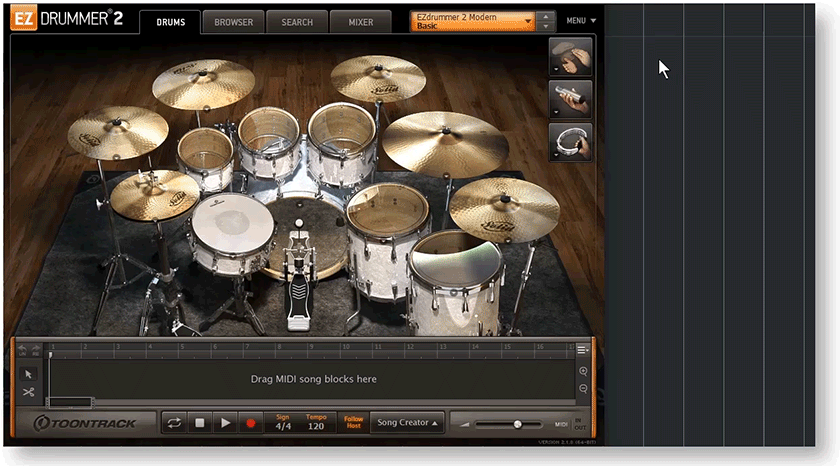
Selecting the MIDI mapping preset.
Recording drums with EZDrummer
After the drum module has been enabled as a MIDI device and a MIDI mapping preset has been selected, update the computer’s sound settings to control and record audio and MIDI tracks using your electronic drum set. Whether you’re using the computer’s built-in sound card or an external audio interface, you have to choose that device in the audio settings before you can record.
Configure the audio settings
To configure the sound settings, you will need to go into your DAW or the standalone application and select an audio driver. While you can use the computer’s built-in sound card for playback, it is recommended to use a low-latency audio driver for optimal performance. Follow these steps to configure the sound settings.
Standalone application
- Navigate to Settings on the top toolbar of EZdrummer, then click Audio/MIDI Setup.
- Select the correct device type and audio output device, and click Apply.
- Windows (PC) users: If you don’t own an audio interface, consider using the third-party audio driver ASIO4All for the best results.
Within a DAW
- Navigate to the DAW’s Audio Settings menu and select your audio device.
- Configure the input and output settings so the physical inputs and outputs match those of your DAW.

Enabling the audio device.
Record electronic drums
Now that the module is set up and your computer’s sound settings have been updated, you’re ready to play and record using EZdrummer. While there are multiple ways to route and export any MIDI track you record, such as multichannel, the simplest way is to record EZdrummer on a single track. It’s an easy process, so follow the steps below to begin recording your electronic drum set.
Standalone application
- Press the Record button, then click the blinking Play button to begin recording.
- Press the Stop button once you’ve finished.
Within a DAW
- Load EZdrummer in a MIDI or virtual instrument track.
- Update the MIDI track so that the drum module is set as the MIDI input and EZdrummer is set as the output.
- Record enable the track, then press the DAW’s Record button.

Recording in standalone mode.
Related Articles
When you need help, Sweetwater has the answers!
Our knowledge base contains over 28,000 expertly written tech articles that will give you answers and help you get the most out of your gear. Our pro musicians and gear experts update content daily to keep you informed and on your way. Best of all, it’s totally FREE, and it’s just another reason that you get more at Sweetwater.com.

