
How to Reset Universal Audio Apollo Interfaces
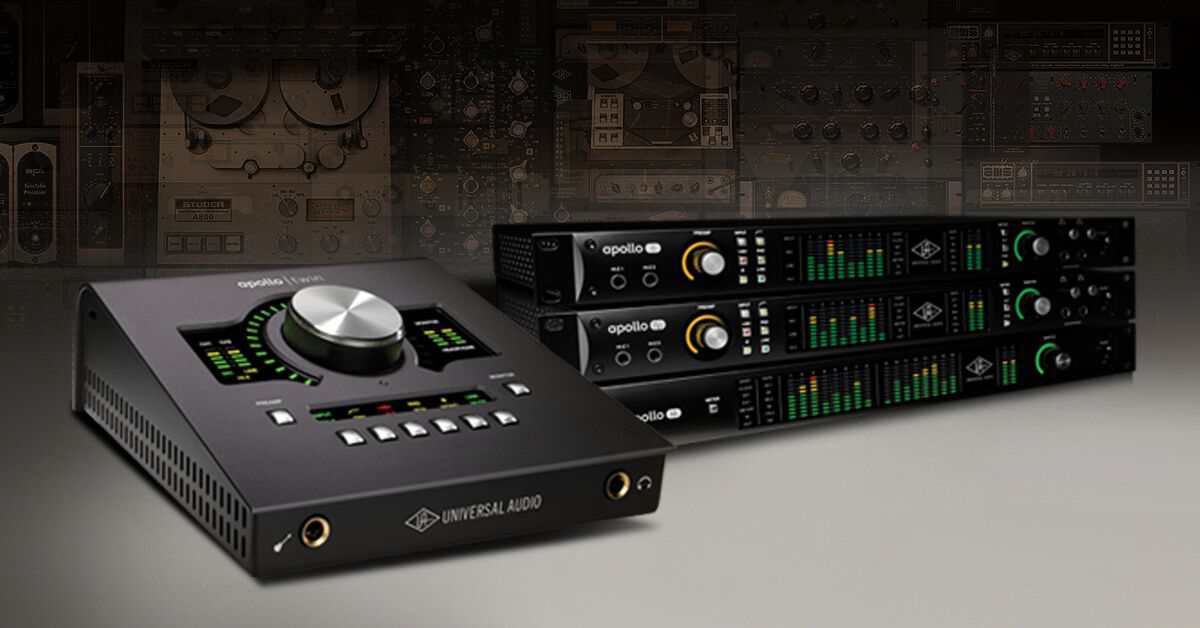
You may need to reset your Apollo interface to get it back to its default settings. If resetting Apollo does not resolve the issue, the problem is likely caused by something else and requires further troubleshooting. Find your Apollo below to reset it.
Back up Console routing settings
Resetting Apollo will erase all its current settings. If you haven’t done so yet, check that your Console settings are saved or backed up. Follow these steps then follow the Apollo reset procedure.
- Launch the Console app.
- Click Save.
- Name your Console preset and click OK.
Apollo reset procedure
Resetting Universal Audio Apollo (and Arrow) interfaces gets them back to their default settings. This is useful when setting up from scratch or troubleshooting an issue. The reset will clear any settings currently saved to Apollo, so make sure to back them up in the Console app before resetting. Once reset you can reload the Console configuration to Apollo.
- Power down your system and anything else connected to Apollo.
- Disconnect the Thunderbolt cable (or Firewire/USB)form Apollo and follow its reset directions below.
- Reconnect everything and power on your system starting with Apollo.
Apollo troubleshooting resources
- Apollo Basic Troubleshooting
- Troubleshooting “No Devices Found” & Other Connection Issues
- Universal Audio Support Resources
Arrow or Solo
- Power off your computer so that Arrow powers off.
- Hold the LEVEL, LOW CUT, and POLARITY buttons and power on the computer.
- After all front panel LEDs flash rapidly (after several seconds), release the controls allow Arrow to restart.
- Disconnect and then reconnect Arrow to complete the reset.
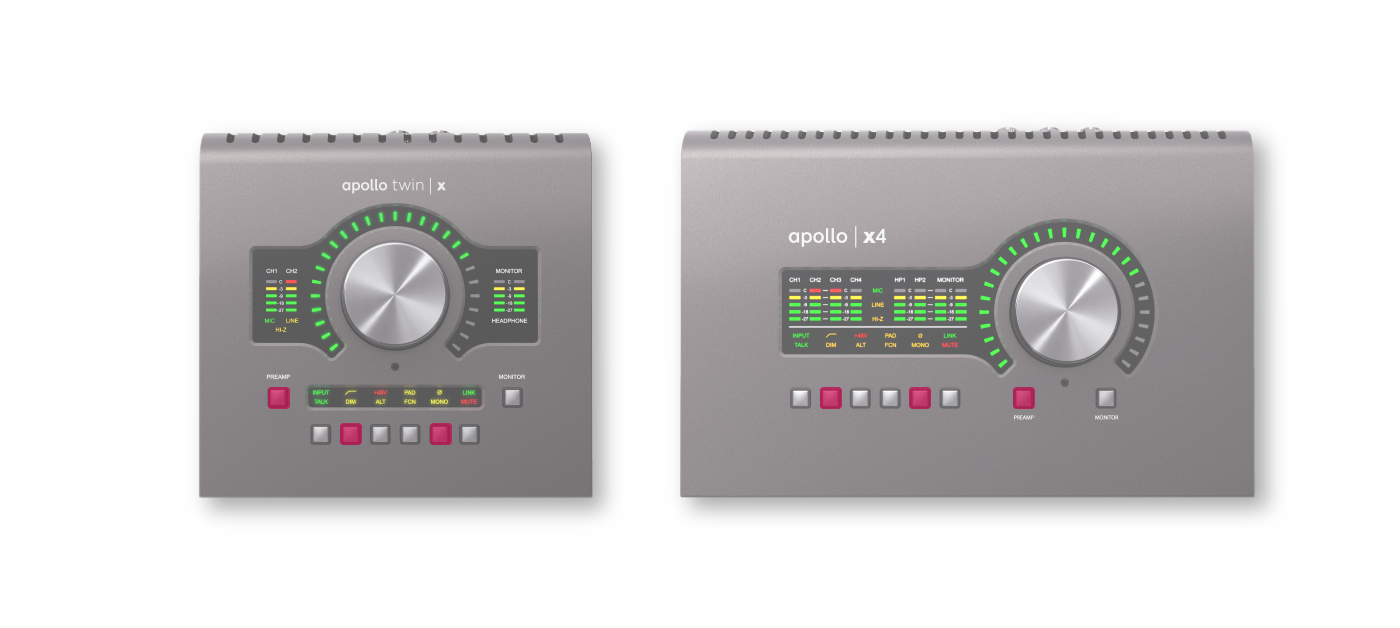
Apollo Twin MkII, Apollo Twin X, Apollo x4
- Power off your system and disconnect the Thunderbolt/USB cable from the computer.
- Hold the PREAMP, LOW CUT, and POLARITY buttons and power on Apollo Twin MkII.
- After all front panel LEDs flash rapidly (after several seconds), release the controls and power off Apollo Twin.
- Reconnect and power on your system starting with Apollo Twin.
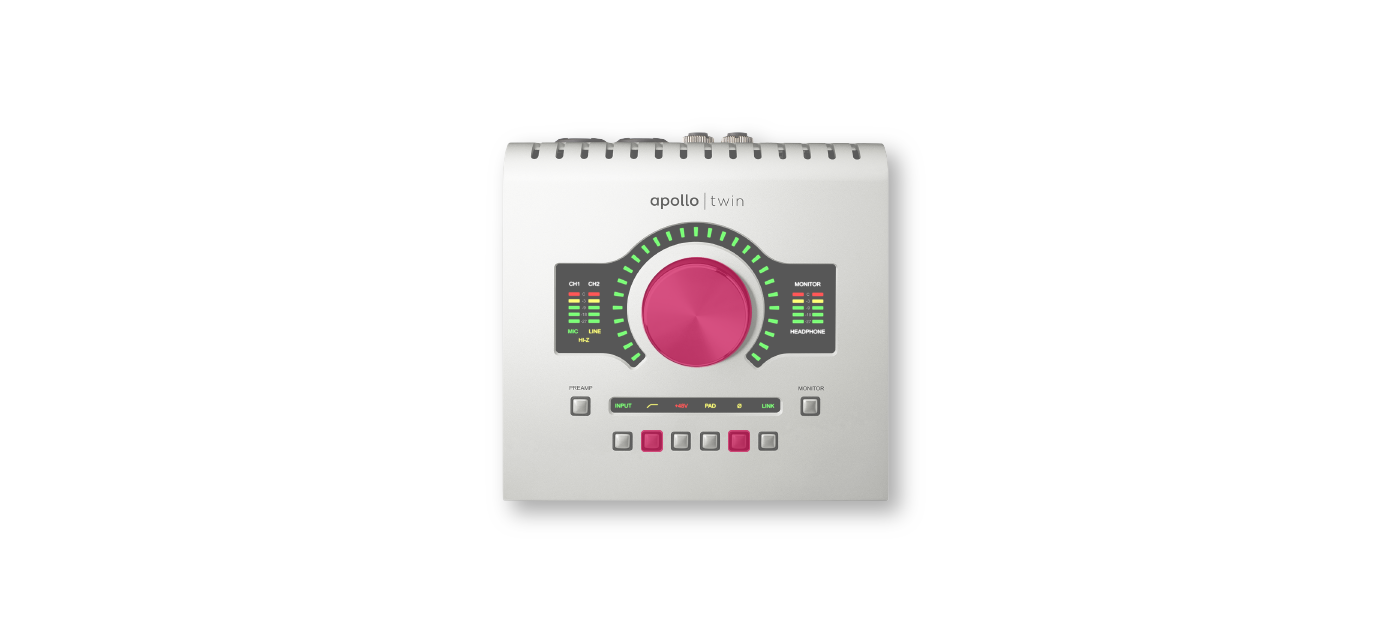
Apollo Twin & Apollo Twin USB
- Power off your system and disconnect the Thunderbolt/USB cable from the computer.
- Hold the LEVEL KNOB, LOW CUT, and POLARITY controls and power on Apollo Twin.
- After all front panel LEDs flash rapidly (after several seconds), release the controls and power off Apollo Twin.
- Reconnect and power on your system starting with Apollo Twin.
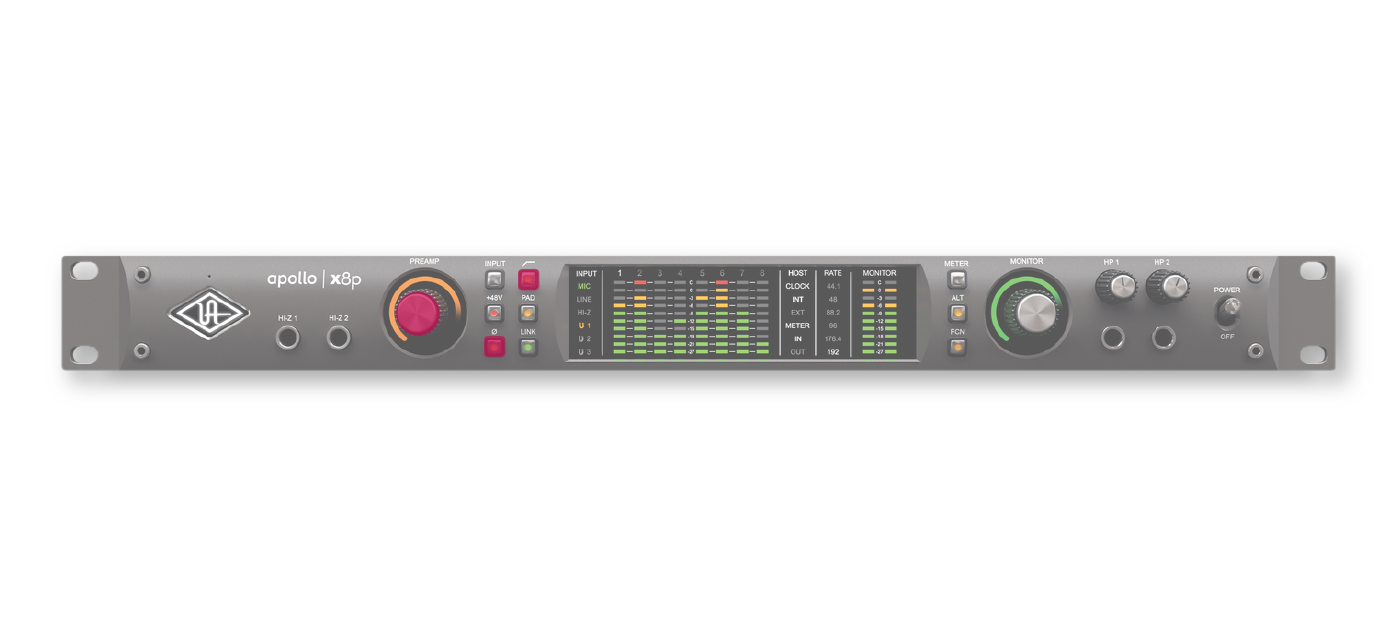
Apollo 8, Apollo 8p, Apollo x6, Apollo x8, & Apollo x8p
- Power off your Apollo, then press and hold the PREAMP, LOW CUT, and POLARITY controls.
- Power on your Apollo while holding all three buttons.
- Once all of the front panel LED’s flash, release the controls.
Apollo 16, Apollo 16 MkII, & Apollo x16
- Power off your system and disconnect the Firewire/Thunderbolt cable from the computer.
- Hold the METER and MONITOR controls and power on Apollo 16.
- After all front panel LEDs flash rapidly (after several seconds), release the controls and power off Apollo.
- Reconnect and power on your system starting with Apollo.

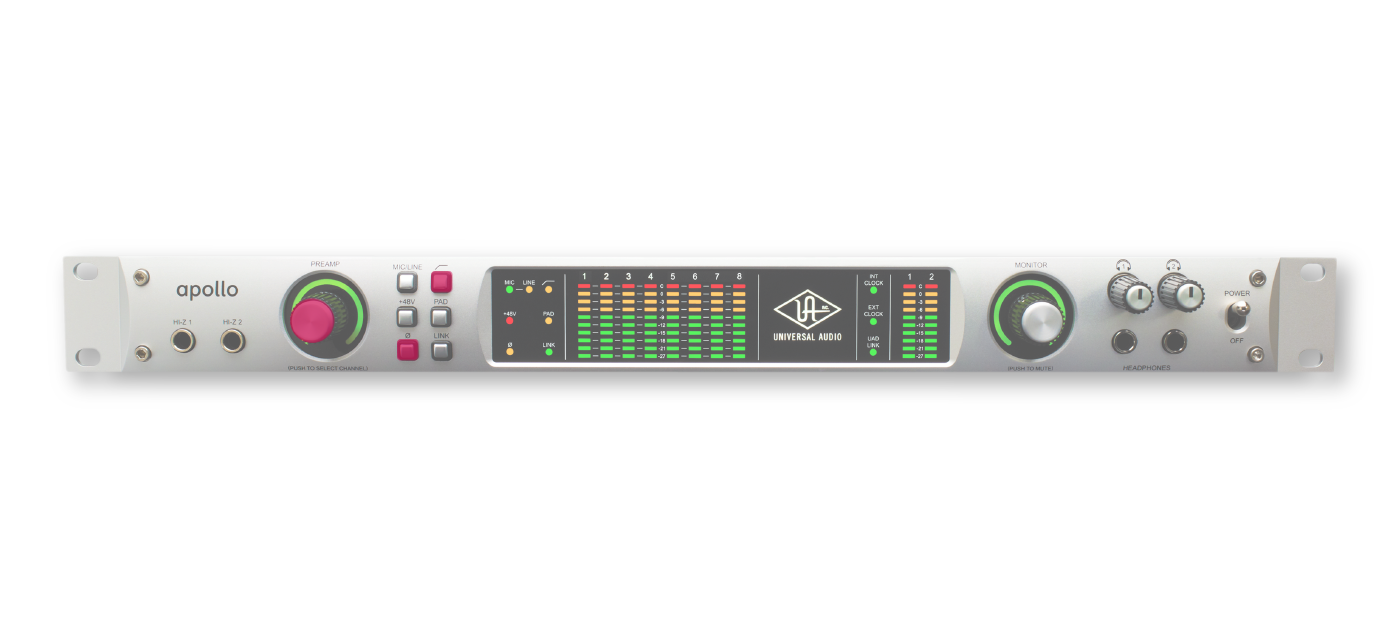
Apollo Firewire
- Power off your system and disconnect the Firewire cable from the computer.
- Hold the PREAMP, LOW CUT, and POLARITY controls and power on Apollo Firewire.
- After all front panel LEDs flash rapidly (after several seconds), release the controls and power off Apollo.
- Reconnect and power on your system starting with Apollo.
Related Content
- Universal Audio Apollo, UAD, and Arrow Setup
- Universal Audio Apollo Console Routing Explained
- Apollo Headphone and Cue Outputs Setup
- Universal Audio Apollo Thunderbolt Windows Setup
- Universal Audio UAD Plug-In DSP
When you need help, Sweetwater has the answers!
Our knowledge base contains over 28,000 expertly written tech articles that will give you answers and help you get the most out of your gear. Our pro musicians and gear experts update content daily to keep you informed and on your way. Best of all, it’s totally FREE, and it’s just another reason that you get more at Sweetwater.com.


Offer applies only to single-receipt qualifying purchases. Select manufacturers may require that only the manufacturer’s products qualify towards the minimum purchase amount needed to be eligible for promotional financing. Otherwise, an invoice that meets the minimum purchase amount and contains at least one qualifying manufacturer product is eligible for promotional financing. No interest will be charged on promo purchase balance, and equal monthly payments are required on promo purchase until it is paid in full. The payments equal the amount financed divided by the number of months in the promo period, rounded up to the next whole dollar. These payments may be higher than the payments that would be required if this purchase was a non-promo purchase. During the last month(s) of the promo period the required monthly payment may be reduced due to the prior months’ rounding. Regular account terms apply to non-promo purchases. New Accounts as of 07/31/2025: Purchase APR is 34.99%. Penalty APR is 39.99%. Min Interest Charge is $2. Existing cardholders: See your credit card agreement terms. Subject to credit approval.
Offer applies only to single-receipt qualifying purchases. No interest will be charged on the promo balance if you pay it off, in full, within the promo period. If you do not, interest will be charged on the promo balance from the purchase date. The required minimum monthly payments may or may not pay off the promo balance before the end of the promo period, depending on purchase amount, promo length and payment allocation. Regular account terms apply to non-promo purchases and, after promo period ends, to the promo balance. New Accounts as of 07/31/2025: Purchase APR is 34.99%. Penalty APR is 39.99%. Min Interest Charge is $2. Existing cardholders: See your credit card agreement terms. Subject to credit approval.
The estimated required monthly payment shown which excludes taxes and delivery equals the amount financed divided by the number of months in the promo period, rounded up to the next cent. During the last month(s) of the promo period the required monthly payment may be reduced due to this rounding. These payments apply only with the financing offer shown. If you make these payments by the due date each month, you should pay off this amount financed within the promo period, if it is the only balance you are paying off. If you have other balances on your account, this payment will be added to any other minimum monthly payments.
Applies only to select items from this manufacturer. Ask your Sweetwater Sales Engineer for more details.