

Getting Started With the Meris LVX Modular Delay System
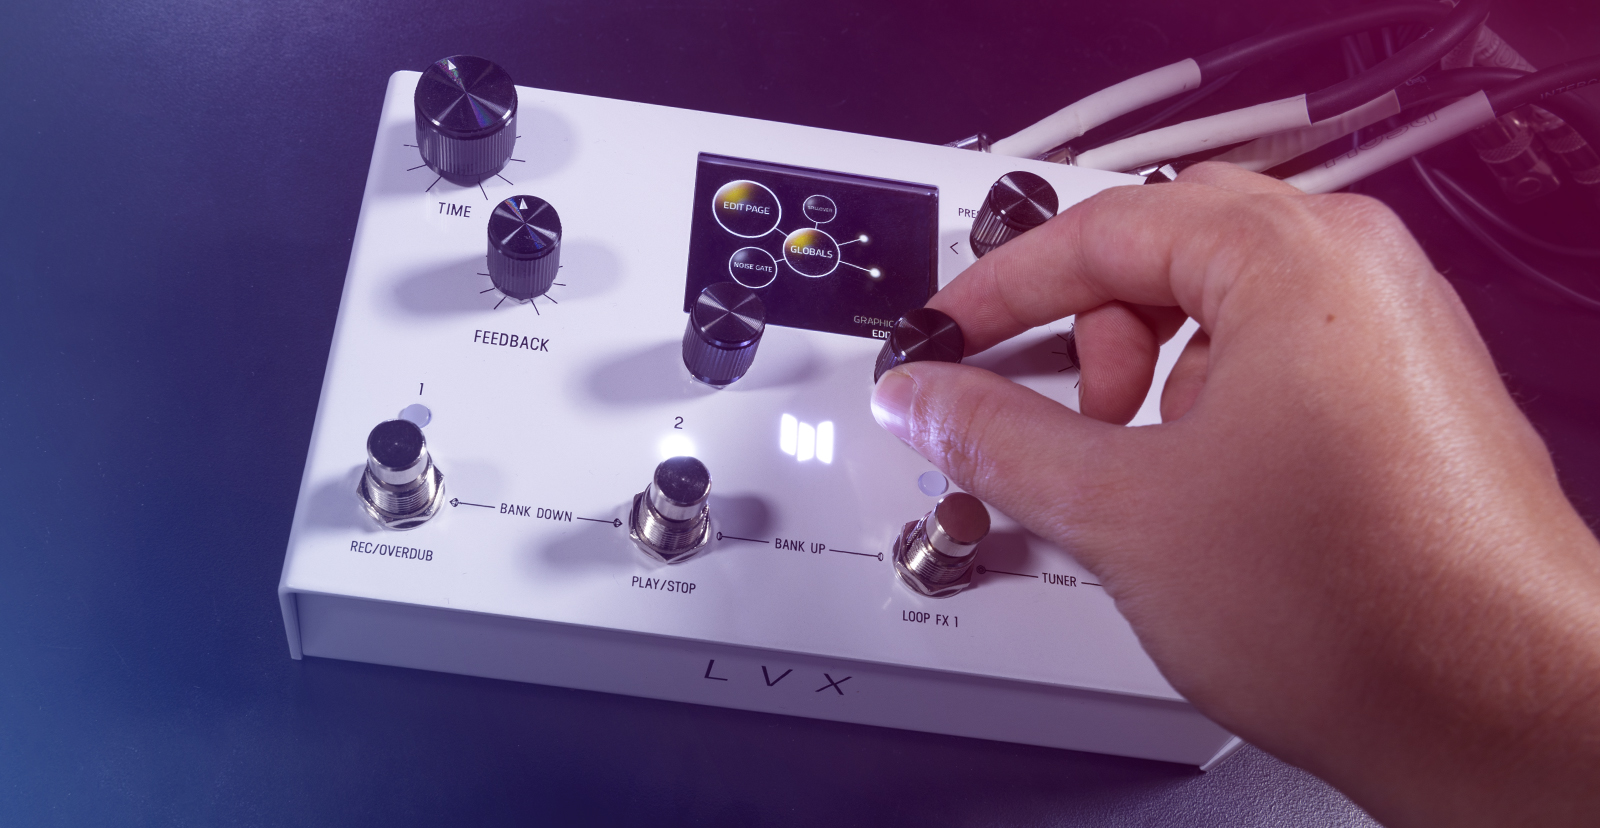
From guitars and basses to keyboards, the Meris LVX modular delay system is the perfect pedal for your rig, so in this guide, we will show you how to set up, navigate, and use the pedal for the first time. This guide only scratches the surface, so refer to the LVX Owner’s Manual for more information!
Setup and connections
IMPORTANT: Always use a power supply compatible with your pedal. In the case of the Meris LVX, you must use a 9V DC center-negative power supply with at least 300mA of current. Check out our Guitar Pedal Power guide to learn more.
The Meris LVX connects to any mono or stereo live or studio setup you have. Once plugged into the connections on the unit, connect the mono output to your amp for live settings or connect the stereo outputs to an interface or mixer for studio applications.
Here are a few tips when connecting your gear to the Meris LVX.
- Use the MIDI I/O jacks to program Control Change parameters (CC). Check out the LVX manual to view the complete list of MIDI CC parameters.
- Press the C3 encoder, then turn the knob clockwise until you reach Globals to enable MIDI Thru. This will send all MIDI signal from MIDI In directly to MIDI Out.
- Depending on what’s connected, you may need to change the input gain setting within the Global Settings menu.
- If your guitar signal is clipping, switch the input to Line/Synth.
- The USB-C port is only used for firmware updates.
Navigate the Meris LVX
From delay and chorus to preamp and overdrive, the Meris LVX delay pedal features tones and effects that are fully editable. You will use three knobs to navigate and edit these effect parameters: C1 and C2, located under the display, and C3, located to the right.
Here are a few tips when navigating the menus:
- Use the C3 encoder to scroll through presets.
- Press the C3 encoder to enter Edit Mode, then turn it clockwise to cycle through categories (e.g., delay, chorus, preamp) and elements.
- Check out the Category and Elements chapter in the LVX Manual to learn more.
- Press and hold the C3 encoder to save a preset.
- Alternatively, press and hold the footswitch where you want to save it (preset 1, 2, 3, or 4).
- Use the C1 and C2 encoders to edit specific (‘favorited’) parameters of the preset.
- Use C1 to select a parameter and C2 to change the parameter’s value.

Meris LVX edit page
How to access pedal system settings
There are tons of different effects and presets you can work with on the Meris LVX, so many that we could talk about it all day! In this guide, we’ll only cover the basics and show you how to access global settings, which are critical to the overall behavior of the pedal.
For the complete list of Global settings, check out page 22 of the LVX Manual.
- Press the C3 encoder to enter Edit Mode, then turn it clockwise until you see Global.
- Turn the C1 encoder to select an option such as Tempo, Brightness, or Input Level.
- Turn the C2 encoder to change the value.
How to change the display view
The Meris LVX has a unique graphical (bubble) display, allowing you to have a focused approach when editing parameters. However, you can switch it to a text-based display if you prefer.
To do this, access the Global settings outlined above, use the C2 encoder to select Edit View, then use the C3 encoder to switch to Text View.

Meris LVX Global page
Firmware update and factory reset
Meris LVX firmware updates typically add new features and bug fixes to the internal software. You may need to perform a firmware update or a factory reset if you’re running into issues and need to reload the device’s software.
Firmware update
IMPORTANT: Perform a factory reset after the firmware update to be sure your presets are up-to-date.
Firmware updates are done by connecting the pedal to your computer using a USB-C cable. We recommend using a high-quality, name-brand cable to ensure the firmware update, as off-brand cables are often unreliable and may lose connectivity.
- Press and hold the 1 and 3 footswitches while turning on the pedal. The pedal will enter Firmware Update mode.
- Connect the pedal to your computer. It will show up as an external USB storage device.
- Go to the Meris LVX product page and download the latest firmware image.
- Navigate to your Downloads folder, then drag the firmware file onto the LVX storage drive. Once copied over, you will see a loading screen.
- Once the firmware has been transferred over, safely eject the pedal from your computer.
- Disconnect and reconnect the power supply to complete the firmware update process.
- Perform a factory reset. See instructions below.
Factory reset
IMPORTANT: All user presets will be deleted after performing a factory reset.
There may be a time when you may experience an issue or just want to start from scratch. Meris has made the process very simple to perform a factory reset. You just need to press and hold the C3 encoder while you turn the device on.
Related Articles
When you need help, Sweetwater has the answers!
Our knowledge base contains over 28,000 expertly written tech articles that will give you answers and help you get the most out of your gear. Our pro musicians and gear experts update content daily to keep you informed and on your way. Best of all, it’s totally FREE, and it’s just another reason that you get more at Sweetwater.com.


Offer applies only to single-receipt qualifying purchases. Select manufacturers may require that only the manufacturer’s products qualify towards the minimum purchase amount needed to be eligible for promotional financing. Otherwise, an invoice that meets the minimum purchase amount and contains at least one qualifying manufacturer product is eligible for promotional financing. No interest will be charged on promo purchase balance, and equal monthly payments are required on promo purchase until it is paid in full. The payments equal the amount financed divided by the number of months in the promo period, rounded up to the next whole dollar. These payments may be higher than the payments that would be required if this purchase was a non-promo purchase. During the last month(s) of the promo period the required monthly payment may be reduced due to the prior months’ rounding. Regular account terms apply to non-promo purchases. New Accounts as of 07/31/2025: Purchase APR is 34.99%. Penalty APR is 39.99%. Min Interest Charge is $2. Existing cardholders: See your credit card agreement terms. Subject to credit approval.
Offer applies only to single-receipt qualifying purchases. No interest will be charged on the promo balance if you pay it off, in full, within the promo period. If you do not, interest will be charged on the promo balance from the purchase date. The required minimum monthly payments may or may not pay off the promo balance before the end of the promo period, depending on purchase amount, promo length and payment allocation. Regular account terms apply to non-promo purchases and, after promo period ends, to the promo balance. New Accounts as of 07/31/2025: Purchase APR is 34.99%. Penalty APR is 39.99%. Min Interest Charge is $2. Existing cardholders: See your credit card agreement terms. Subject to credit approval.
The estimated required monthly payment shown which excludes taxes and delivery equals the amount financed divided by the number of months in the promo period, rounded up to the next cent. During the last month(s) of the promo period the required monthly payment may be reduced due to this rounding. These payments apply only with the financing offer shown. If you make these payments by the due date each month, you should pay off this amount financed within the promo period, if it is the only balance you are paying off. If you have other balances on your account, this payment will be added to any other minimum monthly payments.
Applies only to select items from this manufacturer. Ask your Sweetwater Sales Engineer for more details.