
Getting Started with the Arturia MicroFreak
Arturia MicroFreak setup guide
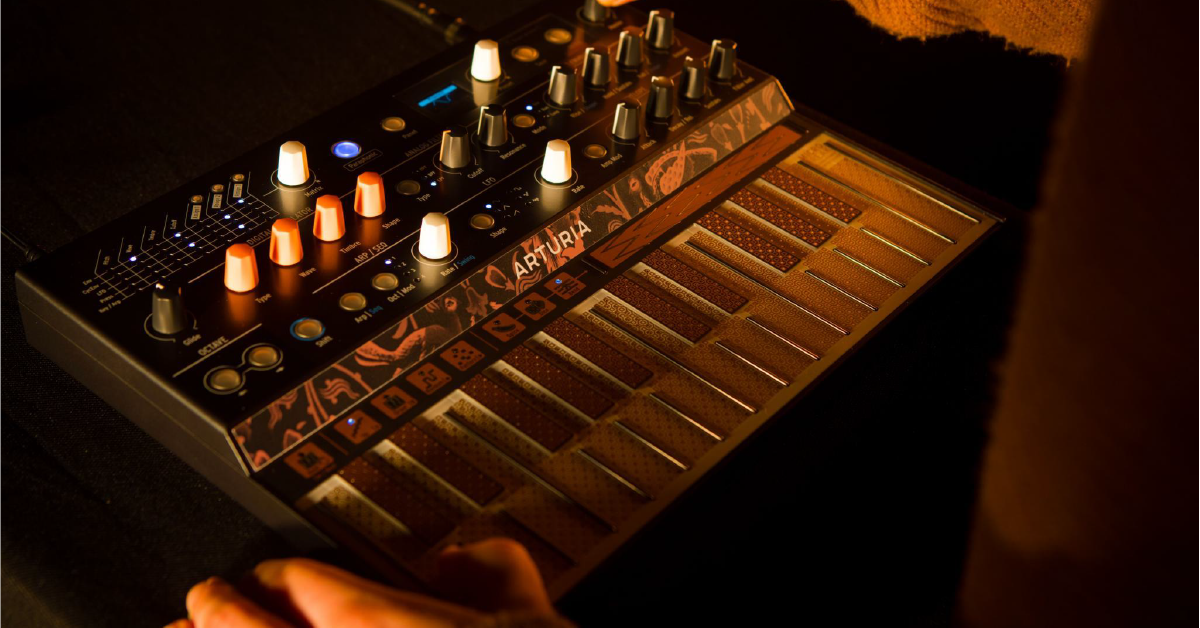
We’ve created this guide so you can start making music right away with the Arturia MicroFreak. You’ll learn how to register and set up the device, as well as how to navigate the synth. Follow the sections below to get started.
- Register the MicroFreak
- Navigating the synth
- MicroFreak setup & configuration
- Connect a microphone
Register the MicroFreak
Before we dive in, the first thing to do is register the device. You’ll need to create an account with Arturia and use the serial number and unlock code listed on the Quick Start card which came with your synth. Follow these steps to get your MicroFreak registered.
- Log in to your Arturia account. If you don’t have an account yet, you can create one on this page.
- Visit the registration page, and enter the serial number and unlock code located on the Quick Start card.
- Go to the MicroFreak resource page to download and install MIDI Control Center.
What is MIDI Control Center?
Arturia’s MIDI Control Center app is where you will perform firmware updates for Arturia hardware, and it will also allow you to manage presets and customize MIDI settings.
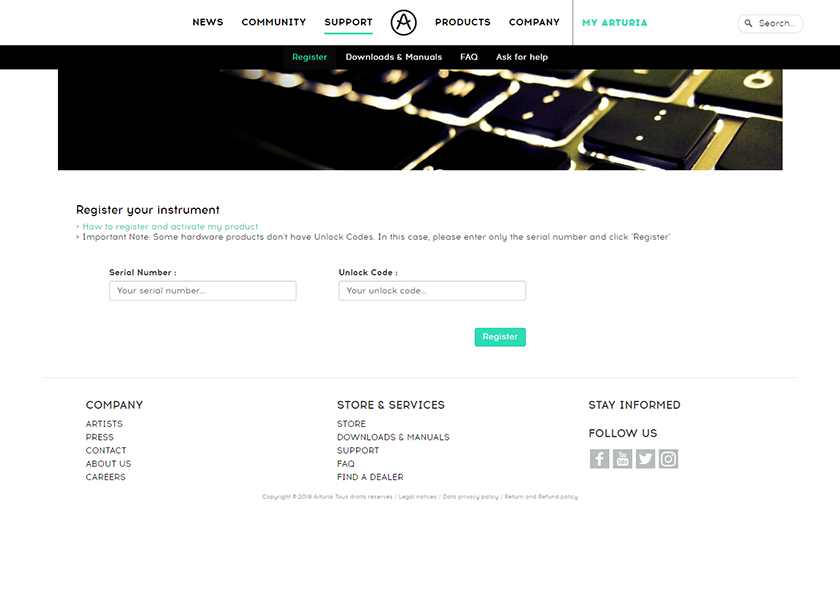
Click here to register your device.
Navigating the MicroFreak
The MicroFreak has three basic sections which include Master Controls, Synthesis Controls, and the Keyboard. You can further edit a patch’s behavior in the Preset options located in the Utility menu. For an in-depth look at each function, refer to the owner’s manual. Also, be sure to visit the MicroFreak cheat sheet for all of the device shortcuts.
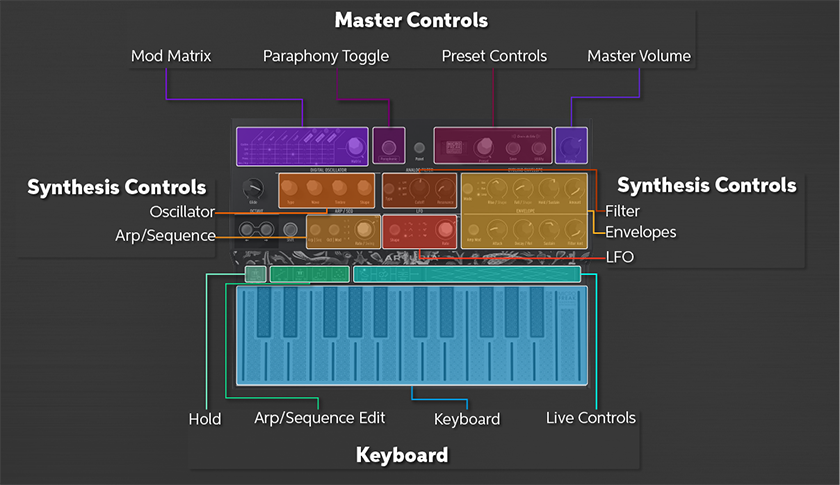
Sections of the MicroFreak. Click to enlarge.
Master controls
This section is where you will make changes to the global controls of the synth such as the volume, a patchbay routing matrix, and utility options.
- The Modulation Matrix is for patching a source such as LFO or key pressure to a destination like timbre or pitch. Rotate and press the Matrix knob to select the source, rotate it to adjust the amount, then press the knob to apply the change.
- Press the Paraphonic button to switch between playing one note at a time to playing four notes.
- The Panel button allows you to compare the difference between the preset settings and the physical position of the knobs.
- The Save button will save the changes you made to the patch, including any utility settings. Spice and Dice settings will not be saved. Please note that you will need to turn off Memory Protection to overwrite factory settings. This is found in the Misc menu of Utility mode.
- Utility mode is where you will change both patch-specific and global settings on the synth. For the complete list of settings, visit the chart here.
Tutorials | MicroFreak – Episode 1: Introduction
Tutorials | MicroFreak – Episode 2: Modulations
Synthesis controls
This is the primary section to alter the overall sound of the patch. It’s comprised of envelopes, filters, and twelve unique oscillators.
- Use the orange Type knob to switch between the twelve different types of oscillators, and then use the other three to fine-tune the wave, timbre, and shape.
- The Glide knob sets the smoothness of a pitch change from one note to the next.
- The Cycling Envelope is for when you want further control of the sound. This is unique because it’s a standard envelope which can become an LFO.
Keyboard
The touch capacitive PCB keyboard section allows you to access functions such as the arpeggiator, pattern generator, sequencer, and live controls.
- You can either have the keys respond to pressure (how much surface area your finger takes up) or velocity (how hard you strike the key). To change between the two, go into Utility mode, select the Preset menu, and navigate to Press mode.
- Spice and Dice allow you to randomize the arpeggio or sequence by altering gates, velocity, decay, and triggers. The Dice function will modify the sequence and the Spice will determine how much the Dice will alter it.
Tutorials | MicroFreak – Episode 3: Keyboard and Arpeggiator
MicroFreak setup and configuration
Besides using it as a standalone synth, there are many other ways you can use the MicroFreak. Connections are a breeze, and you can either configure the device via Utility mode or within the MIDI Control Center app.
Clock
You can connect to external devices such as drum machines or other synths using the Clock In/Out jacks. If you want to control the MicroFreak using an external machine, connect a 3.5mm cable from the CLOCK OUT of the external device to the CLOCK IN of the MicroFreak.
- TRS cables will provide clock and start signals. TS cables can only provide a clock signal.
MIDI
The MicroFreak can connect to any MIDI-capable device using a ⅛” to 5-pin MIDI adapter. Depending on how you connect the devices, you will need to change the MIDI settings in Utility mode or the Device tab of MIDI Control Center.
Trigger sounds of an external device on the MicroFreak
- Connect a MIDI cable from the external device’s MIDI IN to a ⅛” to 5-pin MIDI adapter, and connect it to the MicroFreak MIDI OUT.
- Navigate to the MIDI menu in Utility mode or the Device tab in MIDI Control Center and change the following settings:
- Output dest: MIDI or when connected to a computer, BOTH.
- Input and Output chan: Desired MIDI channel
- Local: OFF
- Knob send CCs: ON to control external device CC data.
Trigger sounds of the MicroFreak from an external device
- Connect a MIDI cable from the external device’s MIDI OUT to a ⅛” to 5-pin MIDI adapter, and connect it to the MicroFreak MIDI IN.
- Navigate to the MIDI menu in Utility mode or the Device tab in MIDI Control Center and change the following settings:
- Output dest: MIDI or when connected to a computer, BOTH.
- Input and Output chan: Desired MIDI channel
- Local: ON
- Knob send CCs: OFF
USB
TIP: While the MicroFreak can easily be bus-powered, it’s recommended to use the included power supply. Because the keyboard is capacitive, it requires suitable grounding in order to work correctly.
Not only can you use the MicroFreak as a hardware synth, but you can also connect it via USB and use it as a MIDI controller within your DAW. To learn how to set it up in a specific DAW, visit our guides here. You’ll also need to connect it via USB whenever you need to apply a firmware update to the synth, as well. To learn how to update the firmware, visit our guide here.
Tutorials | MicroFreak – Episode 5: Connectivity
Connect a microphone
If you have a standard MicroFreak, you first must upgrade the firmware to unlock this feature.
One cool feature is connecting a microphone and using it as a vocoder! The process is straightforward, too. You’ll need to make sure you have a microphone that has a TRRS connector. Most microphones made for mobile devices have a TRRS connector, but we recommend Arturia’s MicroFreak Gooseneck microphone to ensure compatibility.
- Connect a microphone with a TRRS connector to the 1/8″ headphone output jack on the back of the MicroFreak.
- Press the Utility knob, then select Mic Settings.
- Adjust Mic gain, then turn Mic Detection ON
- Connect the MicroFreak to your computer and make sure the firmware is up-to-date. If your firmware is out-of-date, update it before moving forward.
- Launch MIDI Control Center and proceed with the following:
- To import to the preset bank, Select a preset between 210 and 223, then click Send to MicroFreak. Once it’s sent to the MicroFreak, you can now use it with that specific preset.
- Simply select Vocoder mode on your MicroFreak and use the Type knob to use it independently.
Tutorials | MicroFreak – Episode 6: Vocoder Mode
Arturia resources
Related Articles
When you need help, Sweetwater has the answers!
Our knowledge base contains over 28,000 expertly written tech articles that will give you answers and help you get the most out of your gear. Our pro musicians and gear experts update content daily to keep you informed and on your way. Best of all, it’s totally FREE, and it’s just another reason that you get more at Sweetwater.com.

