
Superior Drummer 3 Quickstart Guide
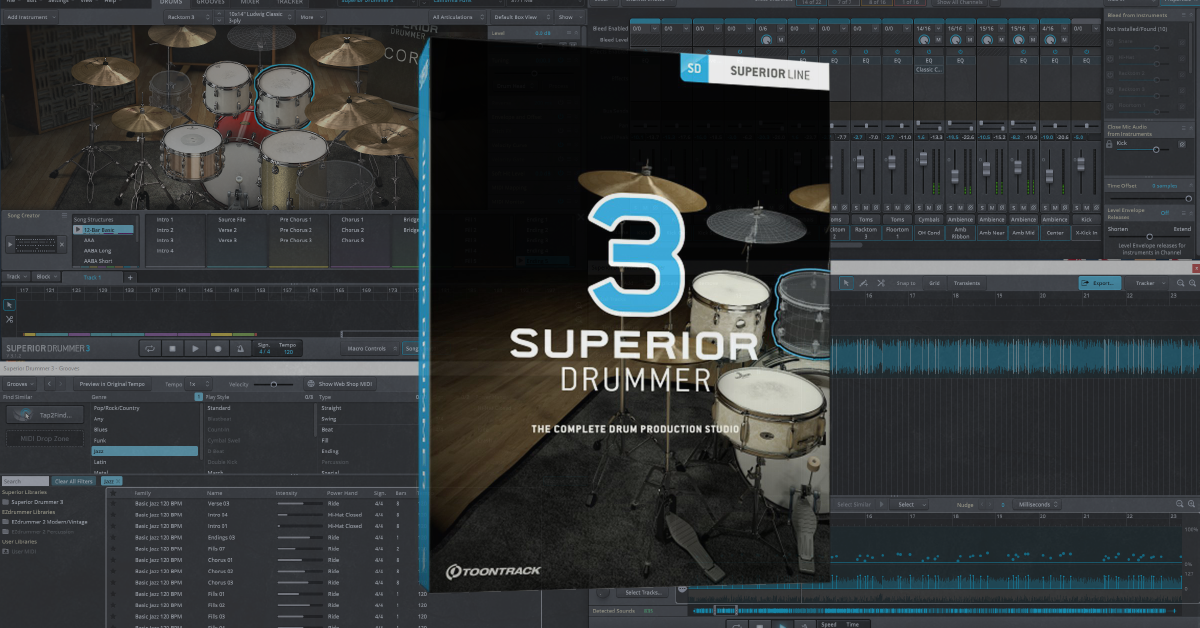
Getting started with Superior Drummer 3
In this guide, we will get you up and running in Superior Drummer 3. That means we’ll go through each section of the program, teach you how to create your own drum set, create songs, and how to record. Follow the sections below to get started. Also, be sure to check out the Superior Drummer 3 manual for more information!
- How to set up and navigate in Superior Drummer 3
- How to build kits in Superior Drummer 3
- Creating and arranging a song in Superior Drummer 3
How to set up and navigate in Superior Drummer 3
Toontrack’s Superior Drummer 3 is a virtual drum instrument that you can use either on its own (standalone) or as a plug-in within your DAW. After it’s registered and installed, you can launch the desktop app or load it as a virtual instrument track. All of the functions remain the same, both as a plug-in inside a DAW and standalone mode. If you want to practice along to some music or need to get a quick arrangement down, use standalone mode to save some time. However, if you plan on recording, consider using it as a virtual instrument within your DAW.
Setting up external hardware
If you’re using an electronic drum set or an external MIDI controller, now is a great time to set it up. This way, you won’t need to make any changes to settings in the future. Make sure that the audio and MIDI settings within Superior Drummer match those of your gear. First, you’ll need to connect it to your computer then configure it within Superior Drummer 3. Follow these steps to select, change, and create custom settings with your MIDI controller.
Preset MIDI mapping
- Navigate to Settings on the top toolbar, then select MIDI In/E-Drums.
- Click Select a MIDI Device… to bring up the Audio/MIDI settings window.
- Click MIDI Device, and select your MIDI controller. Click Apply to save the change.
- Click Use Preset, then Default, and locate your MIDI controller in the Manufacturer drop-down box. This will automatically assign the correct samples to the right pads.
Custom MIDI mapping
If your MIDI controller or electronic drum set isn’t showing up in the manufacturer presets or want to have a custom MIDI map for your controller, you can use the MIDI Learn function which assigns the sample to the pad of your choice. To do this, select the sample you wish to change in the MIDI In/E-Drums settings, click Learn, then hit a pad. For more information, visit the MIDI Mapping section of the Superior Drummer 3 manual.
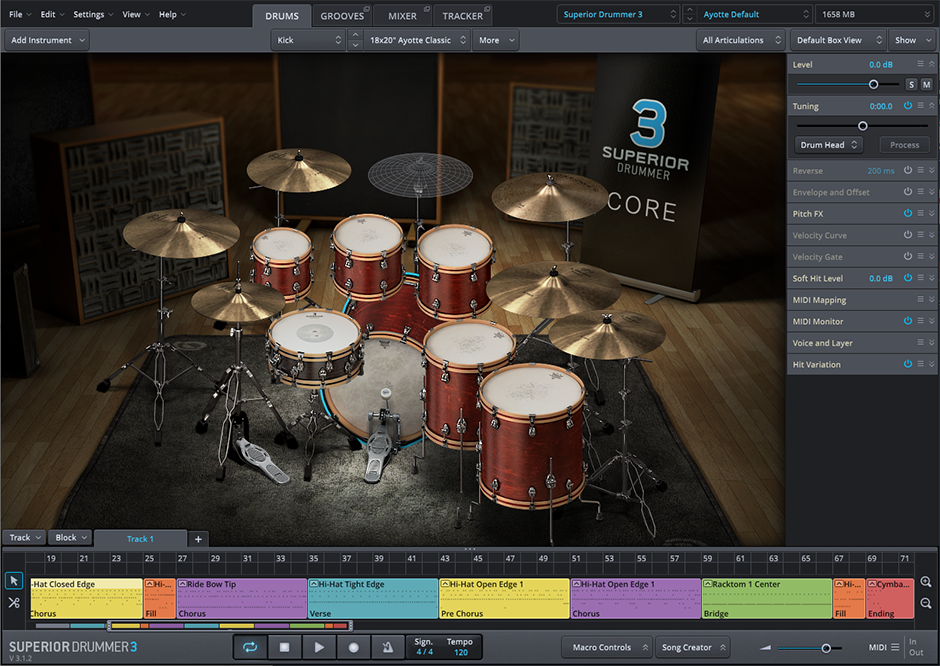
There are four primary tabs when you launch Superior Drummer 3: Drums, Grooves, Mixer, and Tracker. When you launch Superior Drummer, a drum kit is already preloaded and ready for you to play. If you want to load a loop, change levels, or build a song, however, you’ll need to use the tabs to get to the correct spot.
Drums
The Drums tab is where you will preview and change drum kits or samples. You can also adjust settings such as sample volume, pitch, and other MIDI and sample parameters.
Grooves
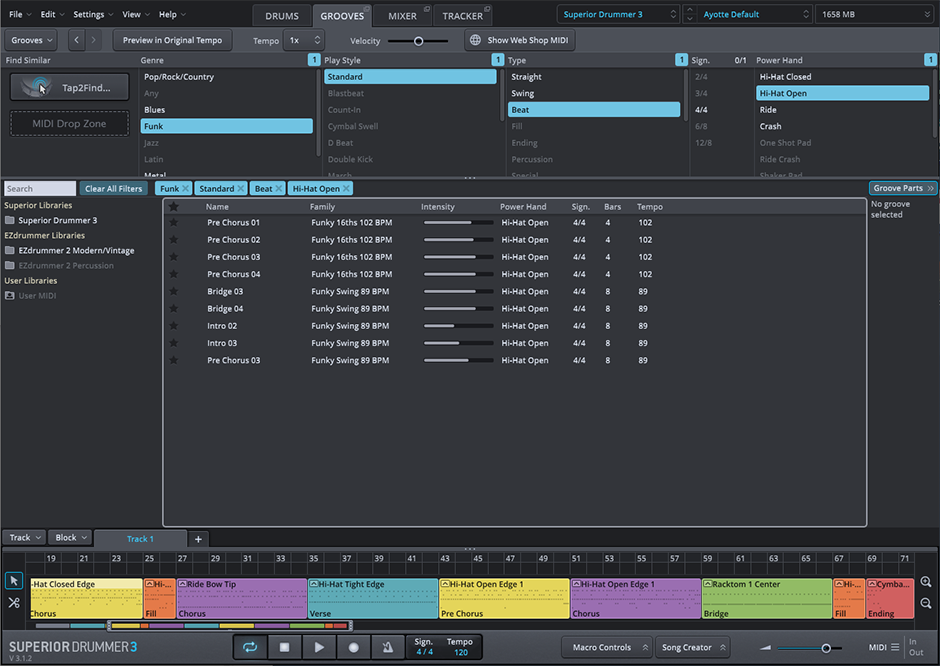
The Grooves tab is where you preview and add MIDI loops to your songs. You can also search and sort MIDI loops by Genre, Play Style, Type, and Time Signature. If you click Tap2Find… You can play a drum beat, and then Superior Drummer will list loops and fills which match yours most. You can also drag and drop MIDI loops into the MIDI drop zone.
Mixer
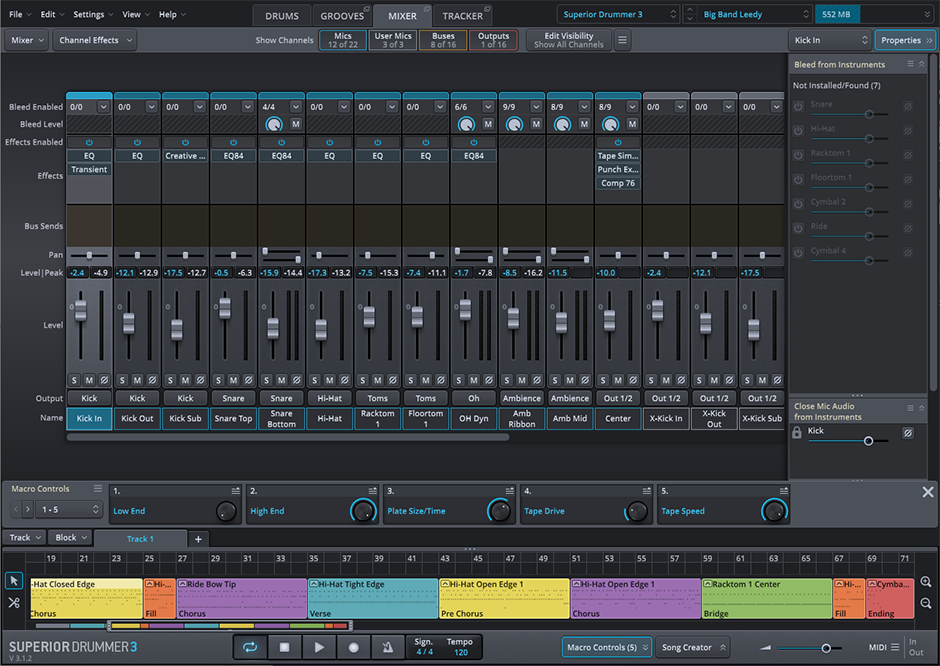
In the Mixer window, you can adjust each drum’s levels and panning, work with effects such as EQ and reverb, and route outputs of each channel to an audio or aux track within your DAW so you can print the tracks as audio or use additional plug-ins. If you click the Properties box, you can also customize Mic bleed for each drum.
Tracker
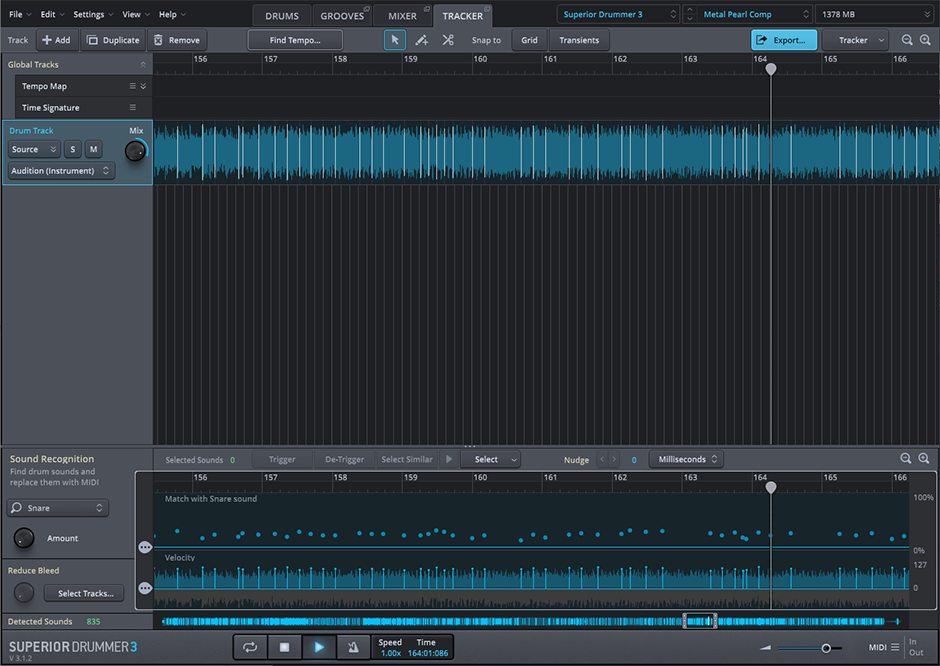
The Tracker allows you to import audio files where Superior Drummer will analyze then convert them into MIDI, which will trigger the samples. You can edit and fix any trigger issues, then export it as a MIDI track. This is particularly handy if you didn’t get the best sounding recording and want to clean it up using the samples.
How to build kits in Superior Drummer 3
There are a few ways you can load a drum kit or sample within Superior Drummer 3, but you first need to set the path where your libraries reside. You can either load a preset kit and change individual samples or create your own from scratch. Follow these steps to load a drum sample or kit. Also, be sure to check out the Superior Drummer 3 manual for detailed information on the parameters that can be changed.
How to add a library path
- Launch Superior Drummer in Standalone mode, navigate to Settings, then select Libraries.
- Click Browse for Library Path(s)…, and navigate to the folder in which your Superior Drummer libraries (SDX) are located. You’ll only need to do this if the library is on an external hard drive or on a computer where no previous library installation was installed.
- If you change the SDX location, click the Menu icon in the library’s section, select Edit Path, and then select the folder where the library is located.
Preset drum kits
- Navigate to the Sound Library Selection menu and select the Toontrack library where the preset kit is located.
- Select the preset kit of your choice by clicking the Library Preset Selection menu drop-down. All of the preset kits also have their own preset mixer settings.
- Navigate to the Mixer window if you wish to change any parameters.
Saving & loading custom kits in Superior Drummer 3
Once you’ve built a custom kit that you like, you can save it as a preset for future use. Click the Library Preset Selection dropdown box, then click Save As. To load the kit later, click the Library Preset Selection dropdown box, then navigate to User Presets to select the kit.
Want to change a sample?
In the Drum tab, right-click a drum or cymbal and select the sample you want. Alternatively, you can click the Instrument dropdown, then click Search for instrument to preview and choose any sample from any Toontrack library.
Drums
How to Customize Presets
Creating and arranging a song in Superior Drummer 3
The bottom part of the Superior Drummer 3 window is dedicated to song creation and arrangement. From here, you can drag and drop MIDI loops from the Grooves window, record your MIDI, and also arrange songs. For advanced instructions, check out the Superior Drummer 3 manual!
Recording tracks live
You can record your tracks by pressing the Record button then pressing the Play button in the Transport bar.
Using preset loops
Navigate to the Grooves window, locate the loop you want to use, then drag it to the song section “Drag MIDI song block here.” You can also drag and drop the preset MIDI loops within your DAW onto any MIDI or Instrument track.
Can I edit preset loops?
You can edit any preset loops within Superior Drummer 3! All you need to do is drag the loop into the Drag MIDI song block here section, then single-click it and press the P key on your keyboard to bring up the grid editor. From here, you can add, remove, and move any part of the beat you wish.

Grid editor window
Arranging a song
If you’re writing a song within Superior Drummer 3 and need to create an arrangement, there are a few options available. The Song Creator has preset song structures, which are useful if you need to get a basic groove down. You can also create and save custom arrangements that you can use in the future. Follow these steps to arrange a song with Superior Drummer 3.
Song creator
- Click the Song Creator button on the bottom of the transport section, then drag a MIDI loop from the Grooves window into the MIDI Drop Zone. This will populate a list of suggested loops, fills, and parts related to the loop you loaded.
- To preview an arrangement, press the Play button next to the Song Structures window’s preset song structure. To load that preset song structure, click and drag it to the song track section.
Create a custom arrangement
- Record some MIDI or drag and drop a preset loop into the song track section.
- Right-click the loop, select Song Part, and then choose the part of the song structure (i.e., verse, bridge, chorus).
- Save the arrangement by clicking the Song Creator menu button, then select Save Track as Song Structure.
Superior Drummer 3 manual
Importing Custom Samples
How to Convert Audio to MIDI
How to Stack Drum Samples
Mixer FX & Bus Routing
Related Articles
When you need help, Sweetwater has the answers!
Our knowledge base contains over 28,000 expertly written tech articles that will give you answers and help you get the most out of your gear. Our pro musicians and gear experts update content daily to keep you informed and on your way. Best of all, it’s totally FREE, and it’s just another reason that you get more at Sweetwater.com.

