
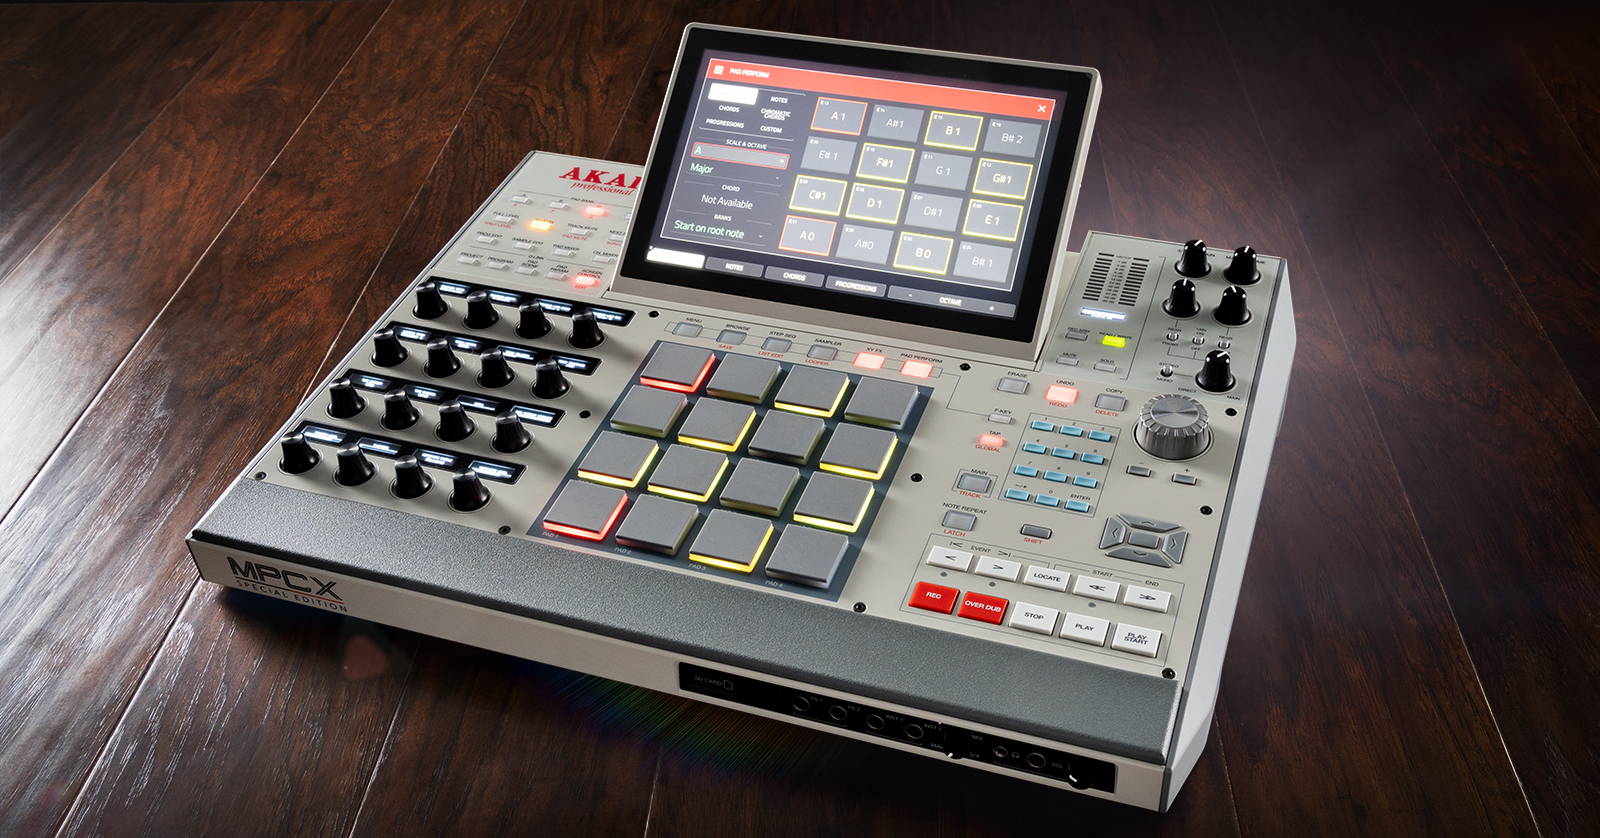
Getting Started with the Akai MPC X
The Akai MPC X is a powerful dual sampler and sequencer that can spark creativity at any time. In this guide, we’ll show you how to register, set up, and get started with the MPC X. Follow the sections below to get started, and check out the quickstart guide to learn more!
Register the MPC X
When you first take the MPC X out of the packaging, you will need to register the unit with Akai. Upon registration, you will get access to additional bundled software, drivers, and firmware.
- Log in to your Akai account. If you don’t have one, click Create Account, then fill out the necessary information.
- On your account home page, click REGISTER NEW PRODUCT and enter the serial number, which is located on the bottom of the unit or on the side of the box.
- Click CHECK SERIAL, fill out the required information, and click REGISTER YOUR PRODUCT.
- On your account home page, click View Downloads, select [START HERE] MPC X SOFTWARE MANAGER, and download both the Software Manager and the Synth Content Manager.
- Navigate to your Downloads folder. Locate and launch the Software Manager and Synth Content Manager installers.
- Once the Managers are installed, connect the MPC X to your computer, launch Software Manager, click Next, select what software you want to install, and click Finish.
- You will be prompted to enter your iLok account credentials. Once you do so, you will be taken back to the main Software Manager page.
- Download the MPC X driver. Reboot your computer.
MPC X Firmware Update
Akai will periodically release firmware updates that often add new features and address issues that may be present in the current version. Check out our Akai MPC Firmware Update Guide to learn how to update the MPC X firmware!
Setup and Connections
Now that your MPC X is registered and the firmware is updated, it’s time to get set up and connected. The Akai MPC X has plenty of connections available, which is great for expanding your rig.
USB
- The USB-B port is used to connect to a USB 3.0 port on your computer. When that is connected, you can send and receive audio and MIDI data. If the MPC X is in Controller Mode, you can also access any files stored on the device.
- The USB-A ports allow you to read and write data from connected external storage devices that are formatted in exFAT, FAT32, or EXT4. The USB-A ports can also power devices connected to them, and they can receive MIDI data.
MIDI I/O
- The MIDI ports are used to connect MIDI devices.
CV/Gate
- Use 1/8-inch cables to connect hardware to the CV/Gate ports. The MPC X will send control voltage output to the connected device.
Audio I/O
- Audio inputs 1–4 are for connecting gear via TRS.
- When you connect something via XLR, the mic preamp will engage. If you’re using 1/4-inch cables, the mic preamp will be bypassed.
- If you’re connecting gear via 1/4-inch TRS IN, use the switch and set it to Line.If you’re connecting gear via RCA, switch it to Phono.
- OUTPUTS 3–8 are used to connect to an external device, such as a mixer. The signal level sent from these outputs is 0dB.
How to Use the MPC X
Now that you know the setup and connections of the MPC X, visit our MPC 3 Quickstart Guide to learn how to use the MPC X.
- Although the MPC 3 Quickstart Guide features the MPC One Plus, it also applies to the MPC X, as they share the same features and operation protocols.
Installing Hard Drives in the MPC X
NOTE: You must use the four Phillips-head screws that were included in the MPC X packaging when you mount it to the mounting plate.
While the MPC X and the MPC X SE have 16GB and 48GB of storage space, respectively, you have the ability to expand that capacity by installing a 2.5-inch SATA SSD. Akai has made the process straightforward. Please note: the hard drive must be in the exFAT format!
- Flip the MPC X over, locate the rectangular plate, and remove the four Phillips-head screws.
- Place the MPC X down on a soft surface or wrap a towel around it so the display doesn’t get scratched.
- Locate and connect the SATA cable to the 2.5-inch SATA hard drive. Push the cable in until you hear it click.
- Line up the holes of the hard drive to the inner screw holes, screw the hard drive into place using the four screws included in the MPC X packaging, and reinstall the back plate. Don’t overtighten the screws!
- Connect the MPC X to your computer via the USB-B port. Power the unit on.
- On the MPC X, press New Project, press the MENU button, and tap the MPC memory chip icon at the top-right corner of the screen.
- Press CONTROLLER MODE. The computer will recognize the MPC X as an unformatted hard drive.
- Format the new MPC X hard drive like you would any other external hard drive.
- Once the MPC X is formatted, safely eject it from your computer, then enter back into Standalone mode.
When you need help, Sweetwater has the answers!
Our knowledge base contains over 28,000 expertly written tech articles that will give you answers and help you get the most out of your gear. Our pro musicians and gear experts update content daily to keep you informed and on your way. Best of all, it’s totally FREE, and it’s just another reason that you get more at Sweetwater.com.


Offer applies only to single-receipt qualifying purchases. Select manufacturers may require that only the manufacturer’s products qualify towards the minimum purchase amount needed to be eligible for promotional financing. Otherwise, an invoice that meets the minimum purchase amount and contains at least one qualifying manufacturer product is eligible for promotional financing. No interest will be charged on promo purchase balance, and equal monthly payments are required on promo purchase until it is paid in full. The payments equal the amount financed divided by the number of months in the promo period, rounded up to the next whole dollar. These payments may be higher than the payments that would be required if this purchase was a non-promo purchase. During the last month(s) of the promo period the required monthly payment may be reduced due to the prior months’ rounding. Regular account terms apply to non-promo purchases. New Accounts as of 07/31/2025: Purchase APR is 34.99%. Penalty APR is 39.99%. Min Interest Charge is $2. Existing cardholders: See your credit card agreement terms. Subject to credit approval.
Offer applies only to single-receipt qualifying purchases. No interest will be charged on the promo balance if you pay it off, in full, within the promo period. If you do not, interest will be charged on the promo balance from the purchase date. The required minimum monthly payments may or may not pay off the promo balance before the end of the promo period, depending on purchase amount, promo length and payment allocation. Regular account terms apply to non-promo purchases and, after promo period ends, to the promo balance. New Accounts as of 07/31/2025: Purchase APR is 34.99%. Penalty APR is 39.99%. Min Interest Charge is $2. Existing cardholders: See your credit card agreement terms. Subject to credit approval.
The estimated required monthly payment shown which excludes taxes and delivery equals the amount financed divided by the number of months in the promo period, rounded up to the next cent. During the last month(s) of the promo period the required monthly payment may be reduced due to this rounding. These payments apply only with the financing offer shown. If you make these payments by the due date each month, you should pay off this amount financed within the promo period, if it is the only balance you are paying off. If you have other balances on your account, this payment will be added to any other minimum monthly payments.
Applies only to select items from this manufacturer. Ask your Sweetwater Sales Engineer for more details.