
Everyone knows that changing out your pickups can give you new tones — but not everyone knows how to set up their pickups for the best possible tone, level, and sustain. This excerpt from Sweetwater Publishing‘s best-selling book, How to Record and Mix Great Guitar Tracks, explains the pickup-adjustment essentials you need to know.
Why Pickup Height Matters for Sustain
To generate the most output, many guitarists move their pickups up close to the strings. However, this reduces sustain. It’s often better to back off a bit from the closest position — let’s find out why.
In fig. 1, left, the “A” strums were 2mm away from the top of the pickup pole pieces. The “B” strums were 4mm away. The strings that were further away clearly produced less output.
In fig. 1, right, the peak levels of the “B” strums have been amplified to the same peak levels of the “A” strums. The “B” strums look “fatter” because there’s a higher average level, which results in more sustain. With the “A” waveforms, the average level drops off rapidly after the initial transient, which means less sustain.
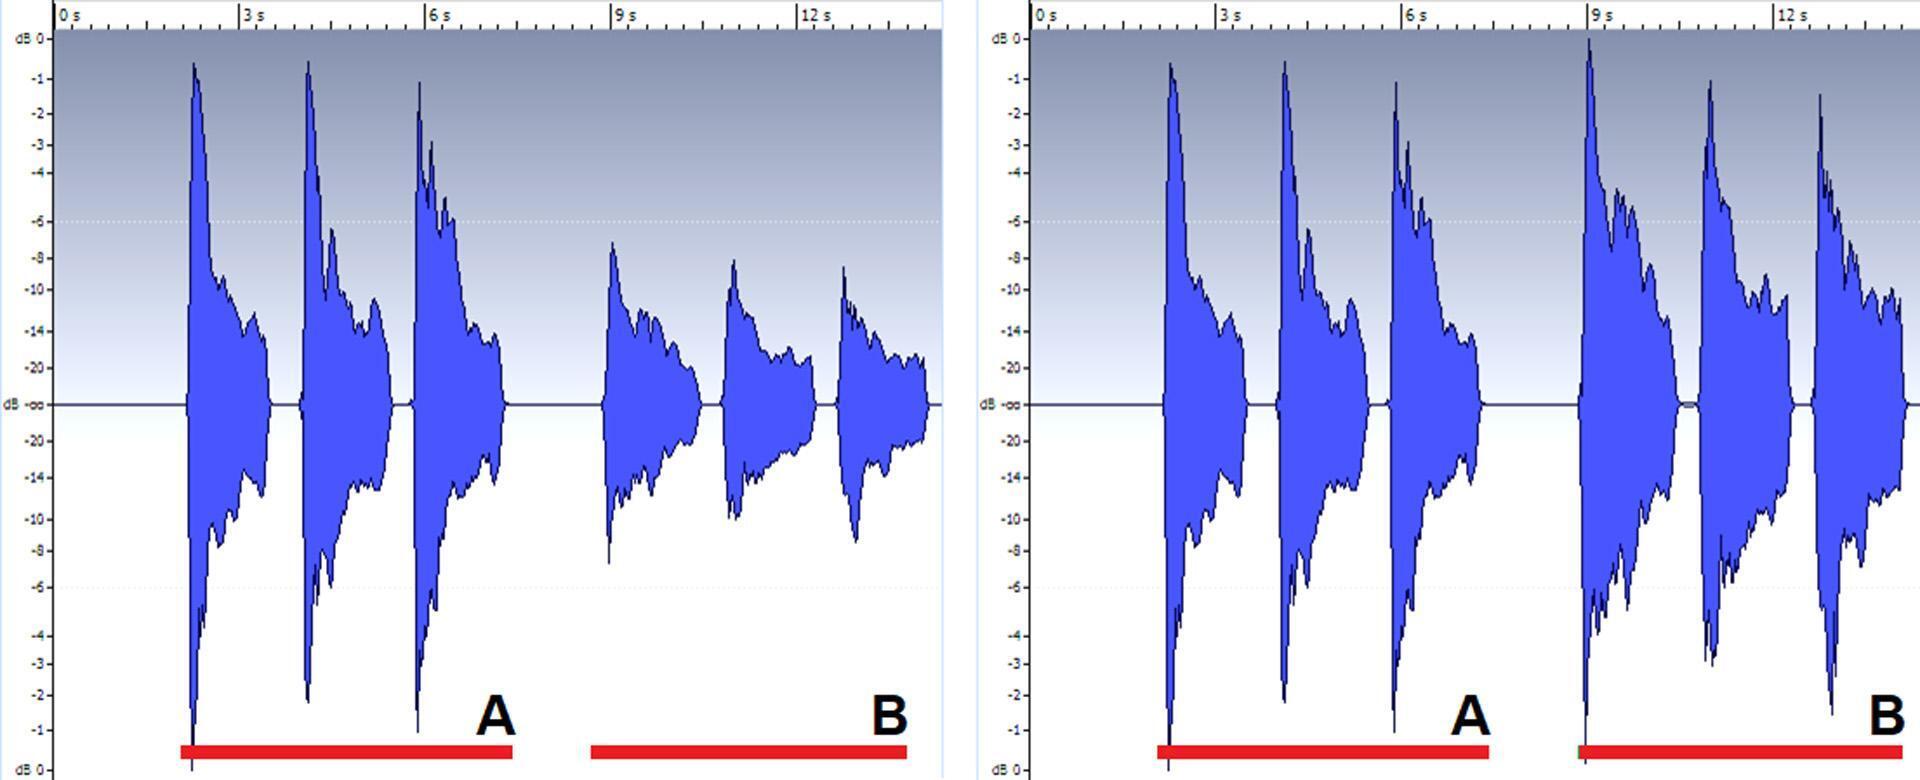
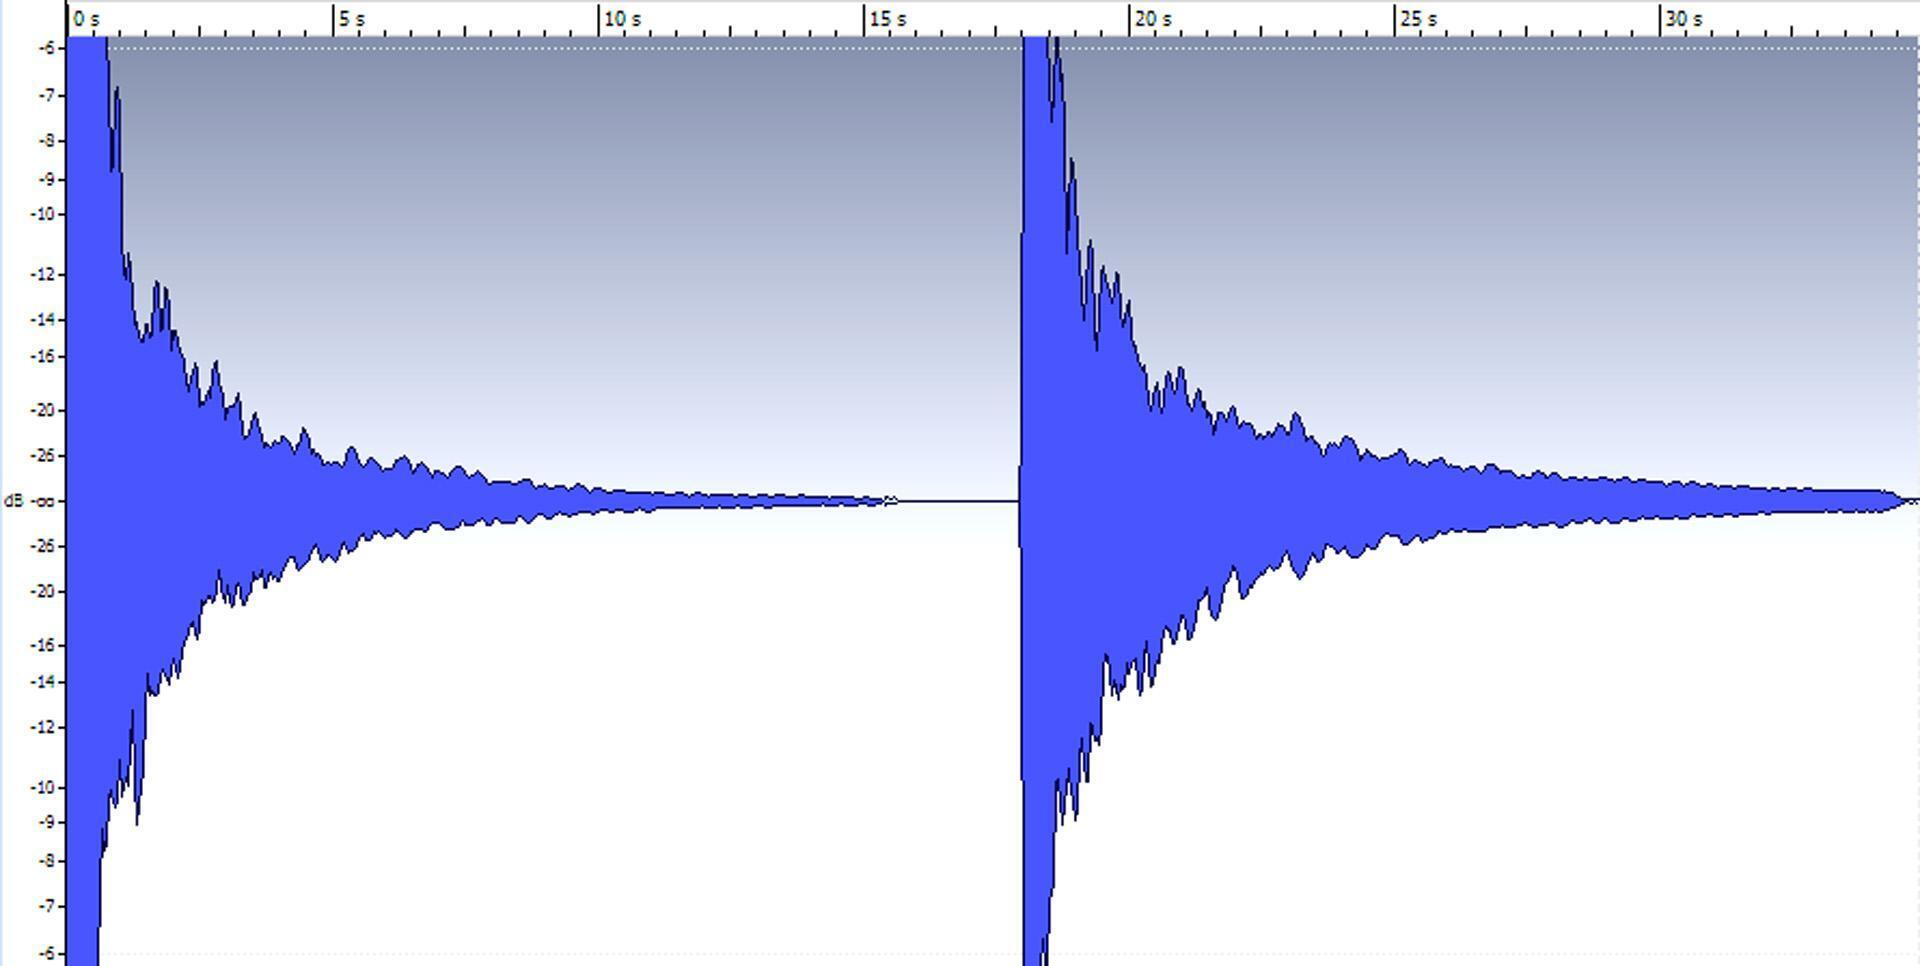
Fig. 2 shows how the decay sustains when you amplify the waveforms to the same peak value. The image on the left shows the pickup close to the strings. The image on the right shows the pickup further away from the strings. Note that there’s less sustain when the strings are close to the pickup because the magnets in the pickup’s pole pieces create “drag” on the strings.
However, there’s an output-level tradeoff for obtaining more sustain. If you’re playing live and want to push an amp hard, then you might want to trade off less sustain for more level. However, if you’re using any kind of pedals, there’s bound to be an output control where you can turn up the level to compensate — and get the best of both worlds. With recording, it’s easy enough to just turn up your audio interface’s input-level control.
How Pickup Height Affects the Guitar’s Attack
The first few milliseconds of a guitar’s attack have no pitch and high levels because the sound consists of string and pick noise. Tube amps tend to “absorb” these higher levels. Solid-state audio-interface inputs, and digital processors, do not. These high-level attack transients can cause clipping or require reducing input levels considerably to avoid clipping.
With the pickups further away from the strings, the initial transient’s level is lower compared to the average level. This often allows amp sims to distort more elegantly than if the pickups are moved up close to the strings, and, as mentioned previously, you can increase your audio interface’s input level to make up for the lower level.
Pickup Angle
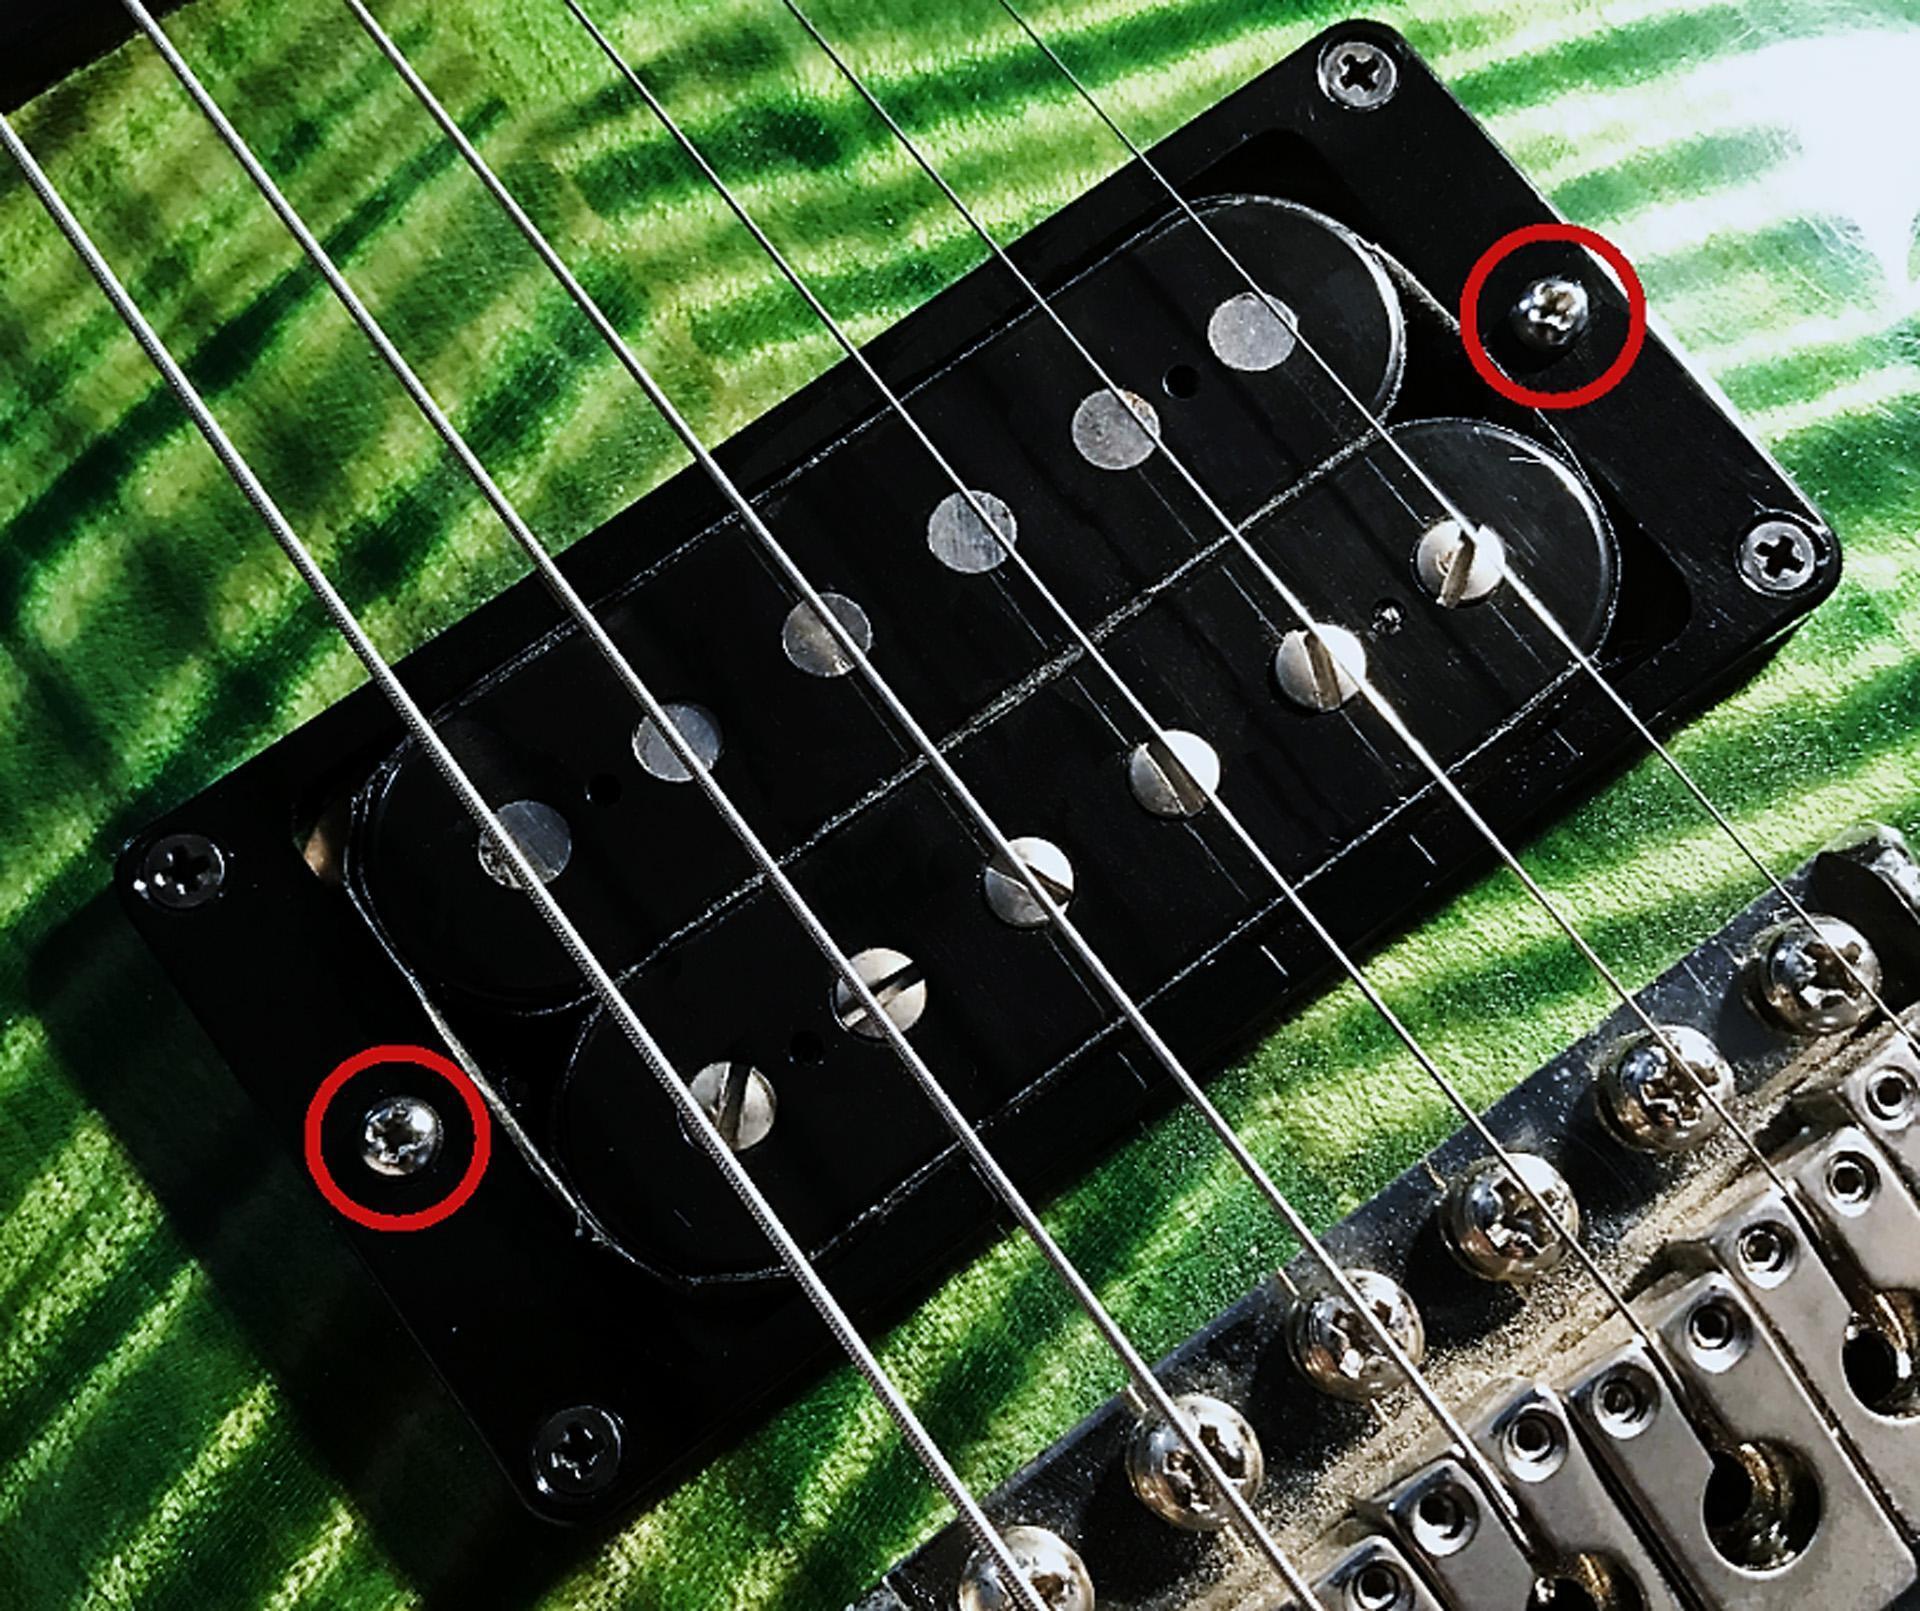
Adjust the pickup angle with the screws on either side of the pickup (fig. 3) so that the levels coming out of the high and low strings are evenly matched. Or change the angle to customize the response. For example, if you’re mostly into leads, angle the pickup closer to the higher strings. But, if you want beefy rhythm sounds, then more low-frequency output might be optimum. While adjusting, keep in mind the previous comments about pickup height, output, and sustain.
Pole Piece Adjustments
Pole pieces (like the lower row of screws on the pickup in fig. 3) are like a fine-tuning adjustment for pickup height because they adjust individual string outputs. Not all pickups include pole pieces, but, if yours do, it’s important to adjust the pole pieces correctly. Adjusting pole pieces is the last of the pickup adjustments you’ll need to make, after adjusting the height and angle.
Before making any adjustments, screw a pickup’s individual pole pieces so that they’re flush with the pickup shell. Listen carefully to determine which strings are louder and which are softer. It also helps to pluck each string with equal intensity (and mute the others) while you observe your DAW’s or interface’s level meters. You have three adjustment options:
- Determine which string is the loudest, and raise the pole pieces for strings that are softer to make them equally loud.
- Determine which string is the softest, and lower the pole pieces for strings that are louder to make them equally soft.
- Decide which strings are at a medium level, and raise or lower other pole pieces to compensate. I prefer this approach because it almost never requires readjusting the pickup height to compensate for changes in the pole piece adjustments.
After setting a rough balance, play on different parts on the neck. You may need to accept a compromise setting to provide roughly equal output for open strings, most fretted strings, and playing high or low on the neck.
Positioning Your Pickups As You Play
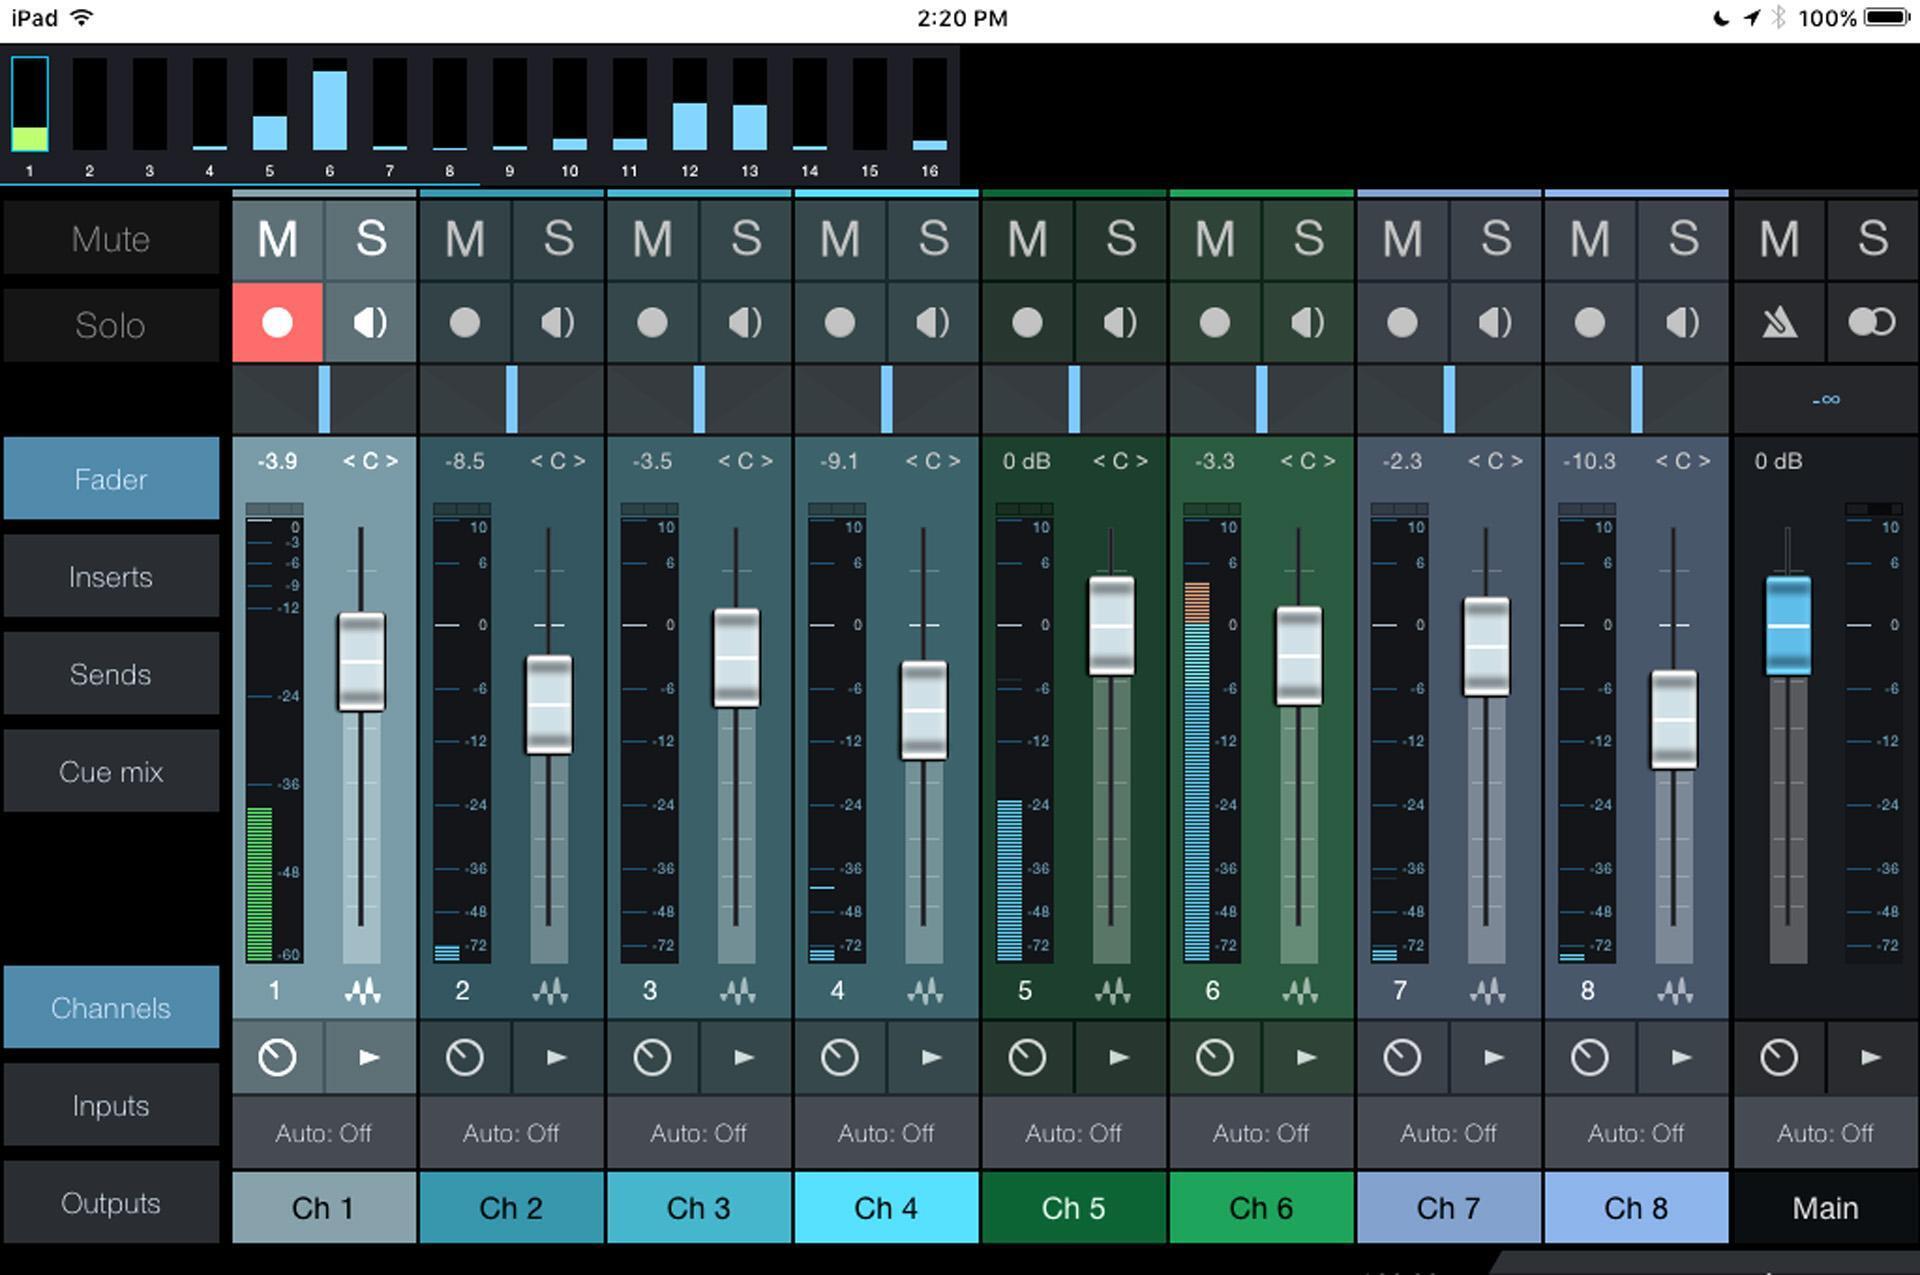
Guitar pickups can be sensitive to hum, transformers, fluorescent lights, electromagnetic radiation from computers, light dimmers, and the like. These may be low-level signals, but put them through high-gain distortion, and your tracks will have an unwelcome sonic intruder. Try different angles of your guitar. If your guitar picks up noise from your computer, then move away from the computer and control your DAW by using keyboard shortcuts with a wireless QWERTY keyboard. Also, some recording software has a companion smartphone or tablet app for wireless remote control (fig. 4). [NOTE: Be aware that guitar pickups are sometimes extremely susceptible to radiation from cell phones, which will result in noises entering your pickups, so you might be trading one sonic gremlin for another.]
Another way to minimize interference is using Fishman’s active Fluence pickups, whose pickup technology doesn’t involve traditional coils. Models are available to retrofit most guitars, and there are other benefits, like switchable tonal options.
But, whatever type of pickups you use, give them some love and set them up correctly — your tone, sustain, and playing will thank you for it.
Excerpted from How to Mix and Record Great Guitar Tracks – Chapter 01 “Get the Sound Right at the Source.” To purchase the entire book, please visit Sweetwater Publishing.
