Let’s start by getting something out of the way right up front. The biggest influence on the sound that comes out of John Mayer’s guitar on Slow Dancing in a Burning Room has everything to do with John Mayer — much more than any of his gear. Sure anyone can duplicate the gear that John Mayer uses but that doesn’t mean they can match the tone he gets.
But we started wondering: Could we match that tone? What gear would it take? Is it a fool’s errand? Why would we even try? Only one reason: because it’s beautiful and we are passionate about sound, just like you are. We love digging into mixes and exploring and figuring out how to get great-sounding tones. And we can get as geeky as anybody. Join us on our adventure as we try to match Mayer’s Slow Dancing tone. We had so much fun doing this we decided we’ll probably do more — recreating iconic vintage tones that we all know and love. So stay tuned.
But back to John Mayer. We decided to accept the challenge to duplicate the main Slow Dancing guitar tone. And by “we” I mean Don Carr on guitar, Shawn Dealey covering the engineering tasks, with me as an opinionated bystander. With the resources available at Sweetwater Studios and a whole warehouse full of gear, we were determined to come up with a “reasonable facsimile” to Mayer’s tone using just our gear (not his ’64 Strat). How hard would it be and how close could we get? We’ll see.
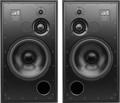
We pulled a copy of the song into Pro Tools so we could directly A/B with it and microscopically examine it, listening on the incredibly revealing $20,000 ATC SCM150ASL monitors in Sweetwater Studio A.
Step 1: Pick a Guitar
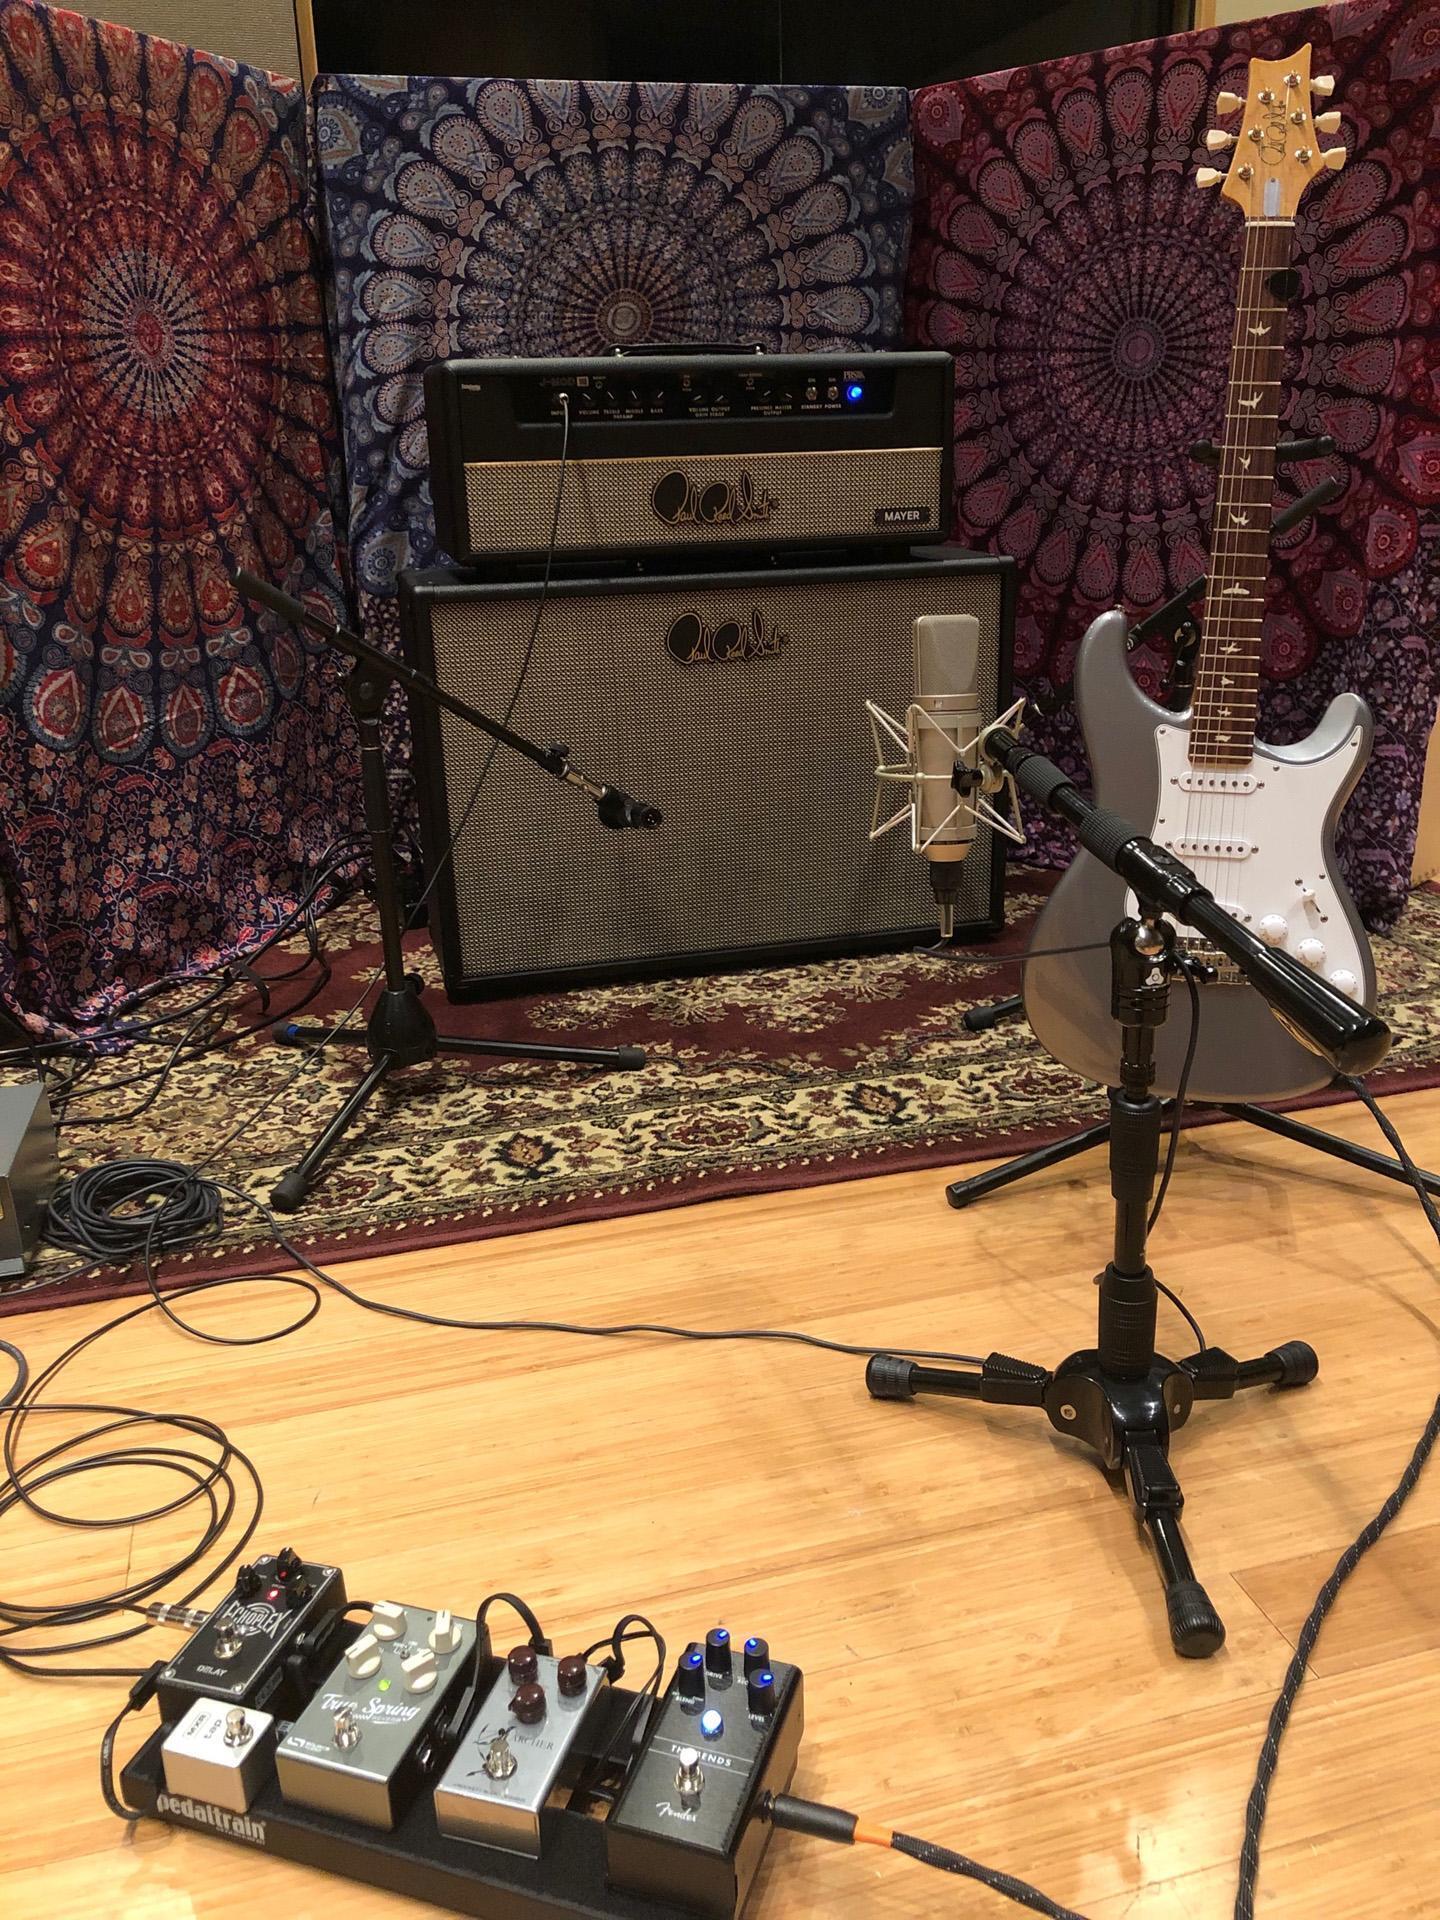
What guitar should we start with? Since we didn’t have John Mayer’s ’64 Strat, we decided to go for the obvious alternative. We reached for the PRS Silver Sky, designed by Paul Reed Smith and built to John Mayer’s specifications. This guitar was stock, as it came from the factory, but it had been through Sweetwater’s 55-point Inspection. The neck-middle pickup selection seemed to match the tone the best.
Step 2: Pick the Amplifier/Cabinet

Again, our first thought was to reach for the John Mayer collaboration with Paul Reed Smith for the guitar amp and cabinet. We weren’t married to that plan but thought we’d start there. We started with the PRS J-MOD 100 John Mayer Signature 100-watt tube head driving the PRS J-MOD 2×12-inch John Mayer Signature extension cabinet with Celestion G12-65 Heritage Series speakers. That combo did not disappoint, and, although we swapped out many other devices in the signal chain, we were very happy with the head/cab combo.
Don Carr: We tried turning down the guitar volume and tone controls but lost too much chime. We also tried every position on the amp’s mid and bass controls, eventually turning them down to reduce woofiness and mid complexity on the lower strings.
Step 3: Choose the Pedals

Don Carr: We started with a Fender The Bends compressor, a J. Rockett Archer, a Source Audio True Spring Reverb, and a Dunlop Echoplex Delay in that order. The first change was that the Strymon BigSky was swapped in to replace the True Spring to get closer to the reverb sound on the record. Then we changed the pedal order and put the BigSky last in the chain, after the Echoplex.
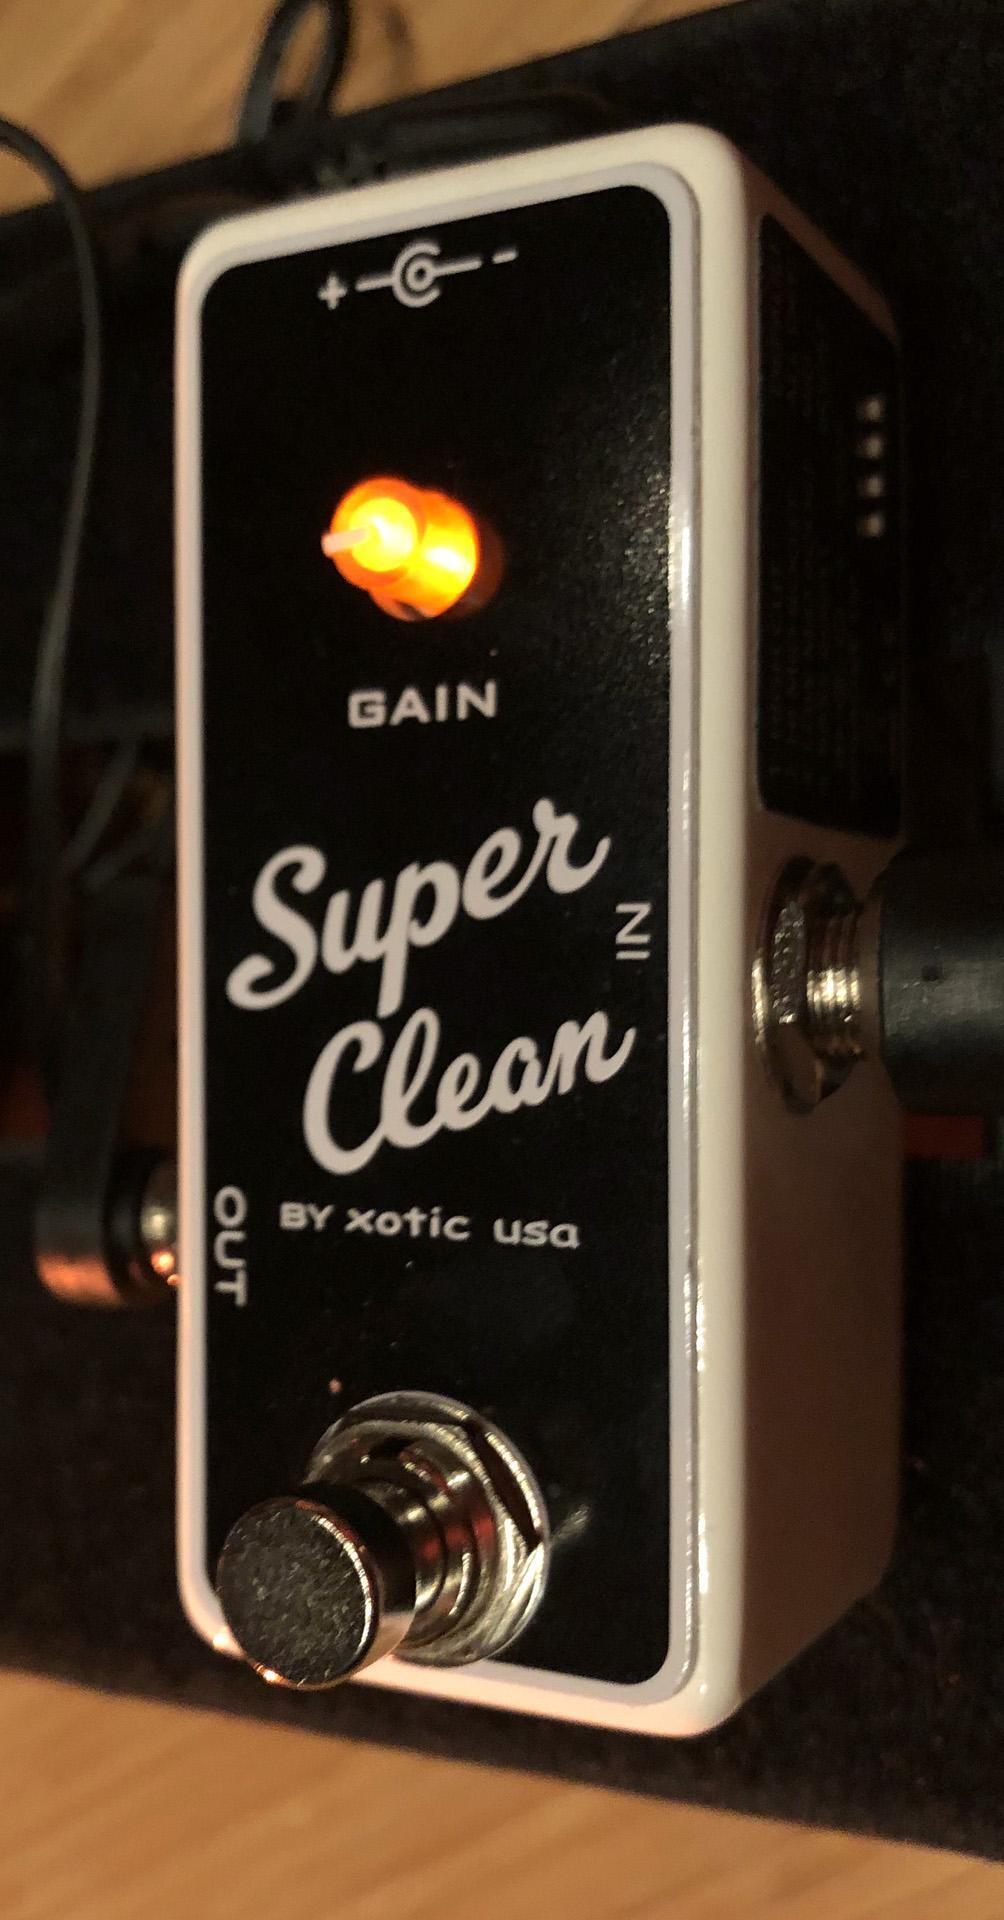
I replaced the Bends with an Xotic Super Clean boost. The comp was set extremely mild, just enough to provide some sonic glue, and the boost achieved the same effect with more attack. I copied John Mayer’s Klon settings on the Archer and tweaked from there, eventually turning the gain control lower.
Here are the settings that we ended up with (images below).


Step 4: Select the Microphones and Processing
Shawn had done some research on the internet about recording the song and had gathered a few pointers about the recording. So, we started with this miking setup.
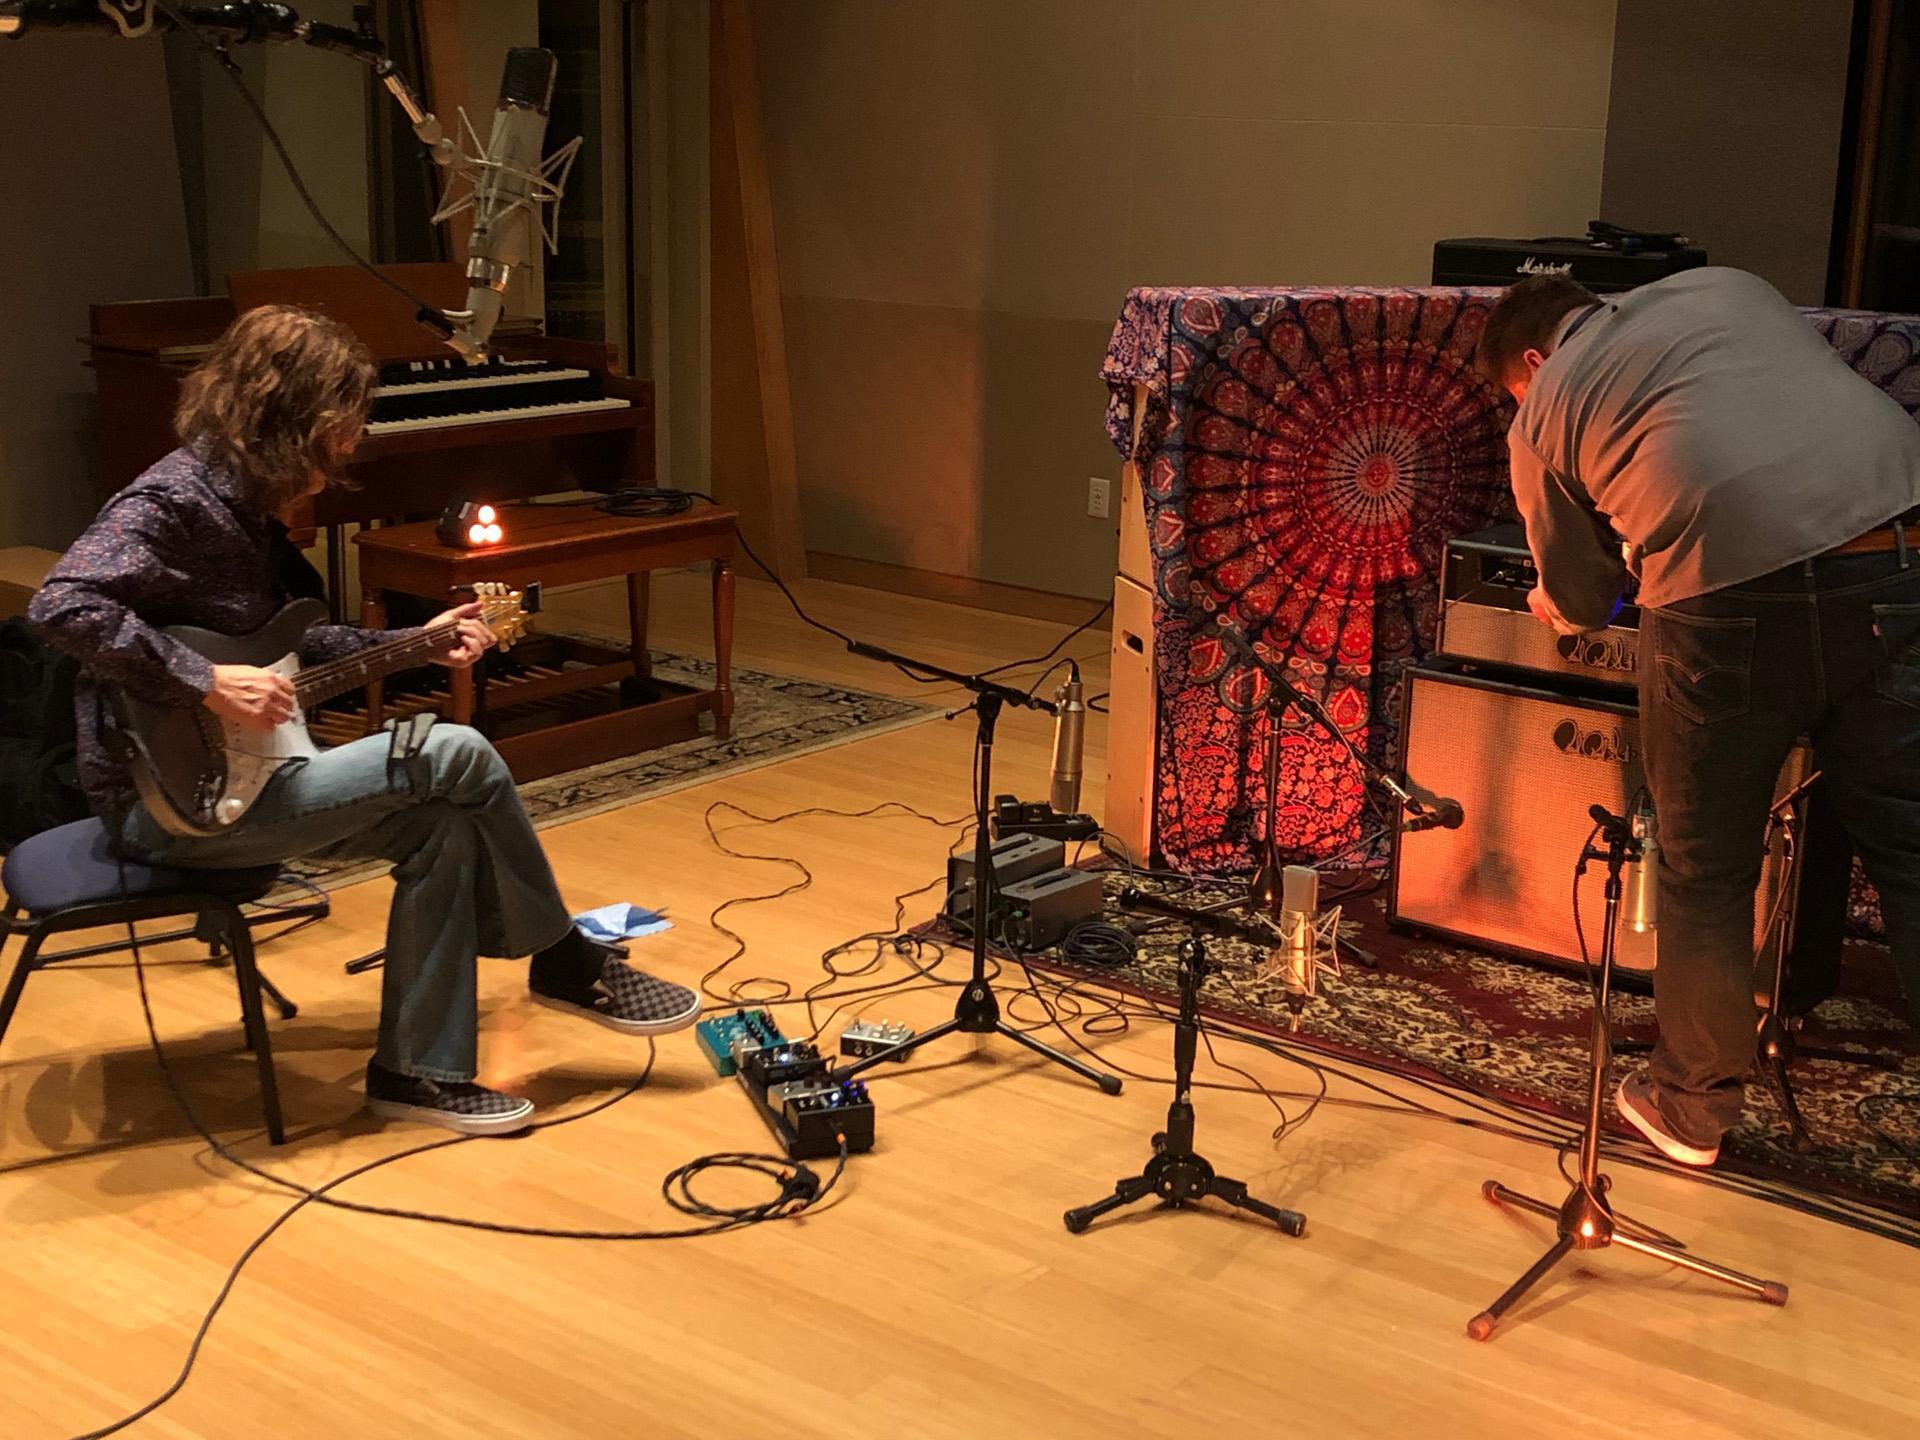

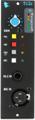
- Mic 1: Shure SM57 (cabinet close, right speaker) —> API 512c
- Mic 2: Beyerdynamic M 88 TG (cabinet close, left speaker) —> API 512c
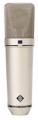
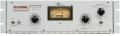
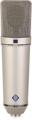
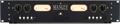
- Mic 3: Neumann U67 (3 feet away from amp, equidistant between two speakers) —> Rupert Neve Designs Shelford 5052 preamp/EQ —> Universal Audio LA-2A
- Mics 4 & 5: Pair of Neumann U87 Ai (3 feet away from amp, on the outside edges of speakers) —> Rupert Neve Designs Shelford 5052 preamp/EQ —> Manley ELOP+ compressor
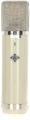
- Mic 6: Telefunken ELA M 251E (12 feet away from center of amp, 5 feet off floor) —> Rupert Neve Designs Shelford 5052 preamp/EQ
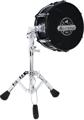
Once we had the balance dialed in with all six of these mics, we kept feeling like we were missing some low end. We tried turning up the bass in the preamp section on the amp, but that frequency was too high and just took out the clarity. Then we tried adding EQ to the mics but still weren’t happy with the result. We needed only oomph, just real “moving the legs of your trousers” kind of low end. Shawn had the idea to add a subkick in front of the cabinet, so we gave that a shot, adding an Avantone Pro Kick dynamic kick drum microphone into the Rupert Neve Designs Shelford 5052 preamp/EQ. That made us smile and did the trick.

Step 5: Try to Match the Performance
Once we had the tone dialed in, it was all about the performance. And once you get the tone right, then you can just play and enjoy it. So, that’s what we did.

Don Carr: I was having trouble matching a certain move in the original performance. Changing the amp EQ allowed me to play it in a different place on the neck. This changed the fingering and allowed the notes to connect better, which sounded closer to the original.
When we finally were satisfied with the sound, I went back and added up the gear we used to dial in the sound. We used a lot of gear — a lot more than even Mayer did. Wow. But, honestly, we were trying to re-create what we heard with the resources we had. It’s a lot different than just having an artist pick up their favorite guitar and play through their favorite amp.
Take a listen to our version and then the original Mayer guitar tone and see how you think we did.
Don Carr’s version:
John Mayer’s version:
We even put our individual tracks into a session so that you can download it and solo each mic to see what each contributed. You may have a different opinion about what works and what doesn’t — about which mic sounds the best and the balance among them all. That’s why making music is so much fun, because it’s so personal. Take a listen to the tracks we recorded and see what you’d have done differently. Download the Pro Tools session here.
Let us know what you think about how close we got. And what other songs and tones you’d like to see us pursue.
In Conclusion
We are passionate about sound just like you are. We love digging into mixes, exploring and figuring out how to get great-sounding tones. And we can get as geeky as anybody. Stay tuned because we plan to dig into and re-create even more iconic vintage tones in the near future.
After we finished recording, Shawn reached out to Chad Franscoviak to tell us about the original recording. Here are a few things he shared.
- John’s main guitar was a ’64 Strat.
- The main guitar part utilized a single Fender Deluxe close-miked with a 57 and a C 451 and a C 24 room mic.
- The main electric overdub was two Two-Rock amps, each miked the same way.
- The guitar solo was a Dumble Steel String Singer and a Marshall, each close-miked with a U67, an SM57, and an NS10. There were two sets of room mics, SM 69s and Coles ribbons.
- Guitars were all recorded at The Village in LA.
Quoting Chad: “It sounds like we recorded the solo in the auditorium on the second floor, using Studio D as the control room. Also, we recorded the pedal steel-sounding parts through an old Pioneer stereo. There were a few other guitar ODs. The main chorus chords were recorded through a Marshall Bluesbreaker. The rest were Deluxes and Two-Rocks. Minor flourish stuff.
I think that’s most of it. The rest is a few keyboards and acoustic guitars. Pretty straightforward.”
More Iconic Guitar Tones
Figuring out how to recreate iconic guitar tones is a fascinating exercise both from an engineering standpoint and guitarist’s perspective. We always learn about new (or old) gear, mic placement, even playing techniques. Here are other interesting articles in the Iconic Guitar Tones series that you may want to explore: