For home recordists, one of the most significant challenges we face is capturing a full-sounding drum recording in a small and often untreated or minimally treated space. It can be easy to give up the idea of recording drums at home and to rely solely on electronic drums and acoustic-drum software simulations. But, while those are both great options, there’s something special about recording live drums in a physical space, both in terms of performance and sonics.
As someone who has worked almost exclusively out of a small, one-room home studio for the entirety of his musical life, I understand this predicament intimately. And, for a long time, I stuck to in-the-box drum production. But, recently, I’ve challenged myself to get a workable drum sound at home, using a minimal kick-and-snare combo, hats, and cymbals recorded with just three microphones. It’s been fun and, at times, frustrating, but with some experimentation and by borrowing techniques from the pros, it is certainly achievable!
For this article, I recruited fellow Sweetwater copywriter and drummer Kevin Osborn to lay down the groove. And it has to be said that his technique had a lot to do with the tone we attained, which leans into an indie-rock aesthetic.
For background, my home studio is approximately 10-feet wide and 14-feet long with eight-foot-tall ceilings. The small amount of acoustical treatment is provided by six 2 x 4-foot DIY (do it yourself) Owens Corning 703 sound-absorbing panels. The drums were recorded with a Focusrite Scarlett OctoPre through a Universal Audio Apollo Twin MkII QUAD interface into Avid’s Pro Tools. The audio clips have all been level matched, so you can focus on the tonal changes of each step in the process rather than the changes in level.
So, here are 10 steps for crafting a big, punchy drum sound in a small room.
- Prepping the Drums
- Miking the Kit
- Getting an Initial Balance
- Phase and Time Alignment
- Notching Out Problem Frequencies
- Applying Track Processing
- Setting Up a False Room
- Applying Parallel Compression
- Adding Saturation
- Creating Width with Plate Reverbs
1. Prepping the Drums
It’s well worth it to spend time on the front end to get the drums to sound the way you want before ever setting up a microphone. That involves choosing the right heads, carefully tuning the drums, and applying dampening where needed.
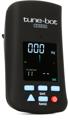
For the snare, I knew I wanted something fairly dry since the room is not large enough to do justice to a snare tone that rings out, but I wanted to retain the naturally vibrant character of my Pork Pie 6.5-inch x 14-inch Big Black brass snare drum. So, I started with a single-ply Aquarian Texture Coated drumhead on the batter side and a 3mil clear Evans drumhead on the snare side; and, using an Overtone Labs Tune-Bot Studio drum tuner, I tuned the snare to a fundamental frequency around A3 (220Hz). After some experimentation, this seemed to be a nice sweet spot for the Big Black. This combo of heads and tuning produced a snare sound with a fairly pronounced ring that was still harmonically pleasant.
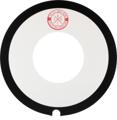
The next step was to dry out the tone using a Big Fat Snare Drum Steve’s Donut drum dampener. This supplied the focus I was looking for, and it was easier and more effective than other dampeners, such as a wallet, a tea towel, or any combination of drum gels.
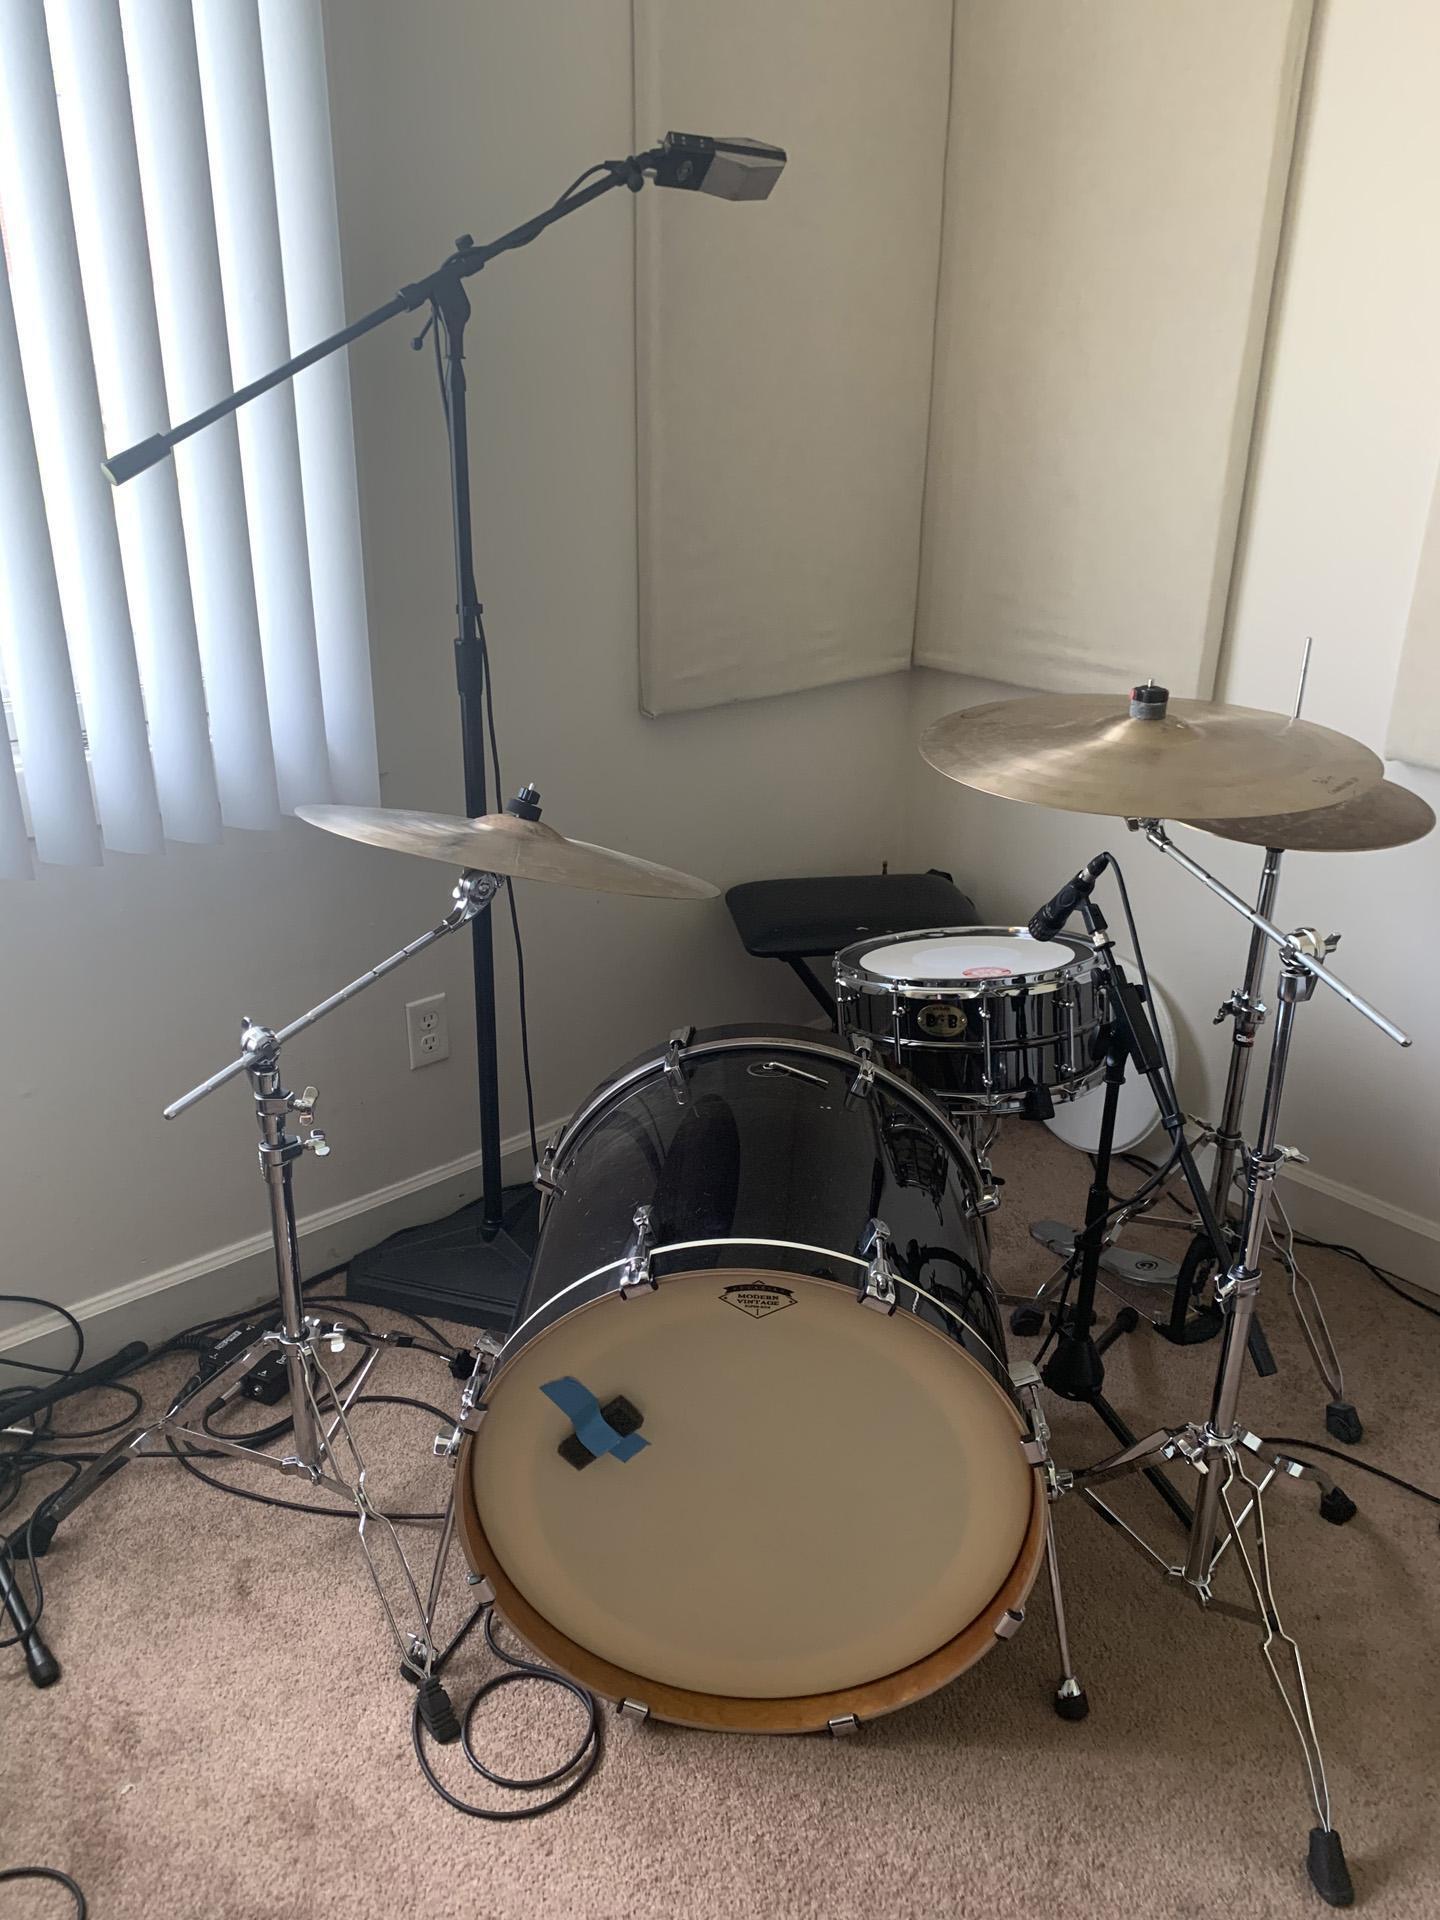
Moving on to the kick drum (mine is a discontinued 22-inch x 18-inch TAMA Silverstar), I was looking for something booming but tight, an equivalent kick tone to what was produced with the snare. For both the batter and the resonant head, I selected pre-dampened heads: an Evans EMAD Heavyweight clear batter head and an unported Aquarian Modern Vintage coated resonant head. Again using the Tune-Bot, I tuned the kick drum to a fundamental frequency of D1, or 35Hz, which sits at the very lowest end of the tuning range for that drum and serves up a satisfying thump.
When it came to cymbals, I just went with what was available — my set of 14-inch Sabian AA Apollo hi-hats (that are trashy in all the right ways) and a Dream ride and Dream crash/ride that Kevin provided.
You’ll notice there are no toms. Did I mention how small my room is? Adding a floor tom and a rack tom is definitely possible, but it would require some reconfiguration. Also, buying a new kit or adding to my kick-and-snare combo simply isn’t in the budget right now. So, I’m embracing the limitations and focusing on getting a big sound with minimal pieces.
2. Miking the Kit
As a home recordist on a fixed gear budget, I have a relatively small selection of microphones from which to choose. And, prior to recently upgrading my interface, I was limited to four inputs for many years. So, I’ve tried my best to make do with a three-microphone drum setup consisting of a mono overhead, a kick drum mic, and a snare drum mic.
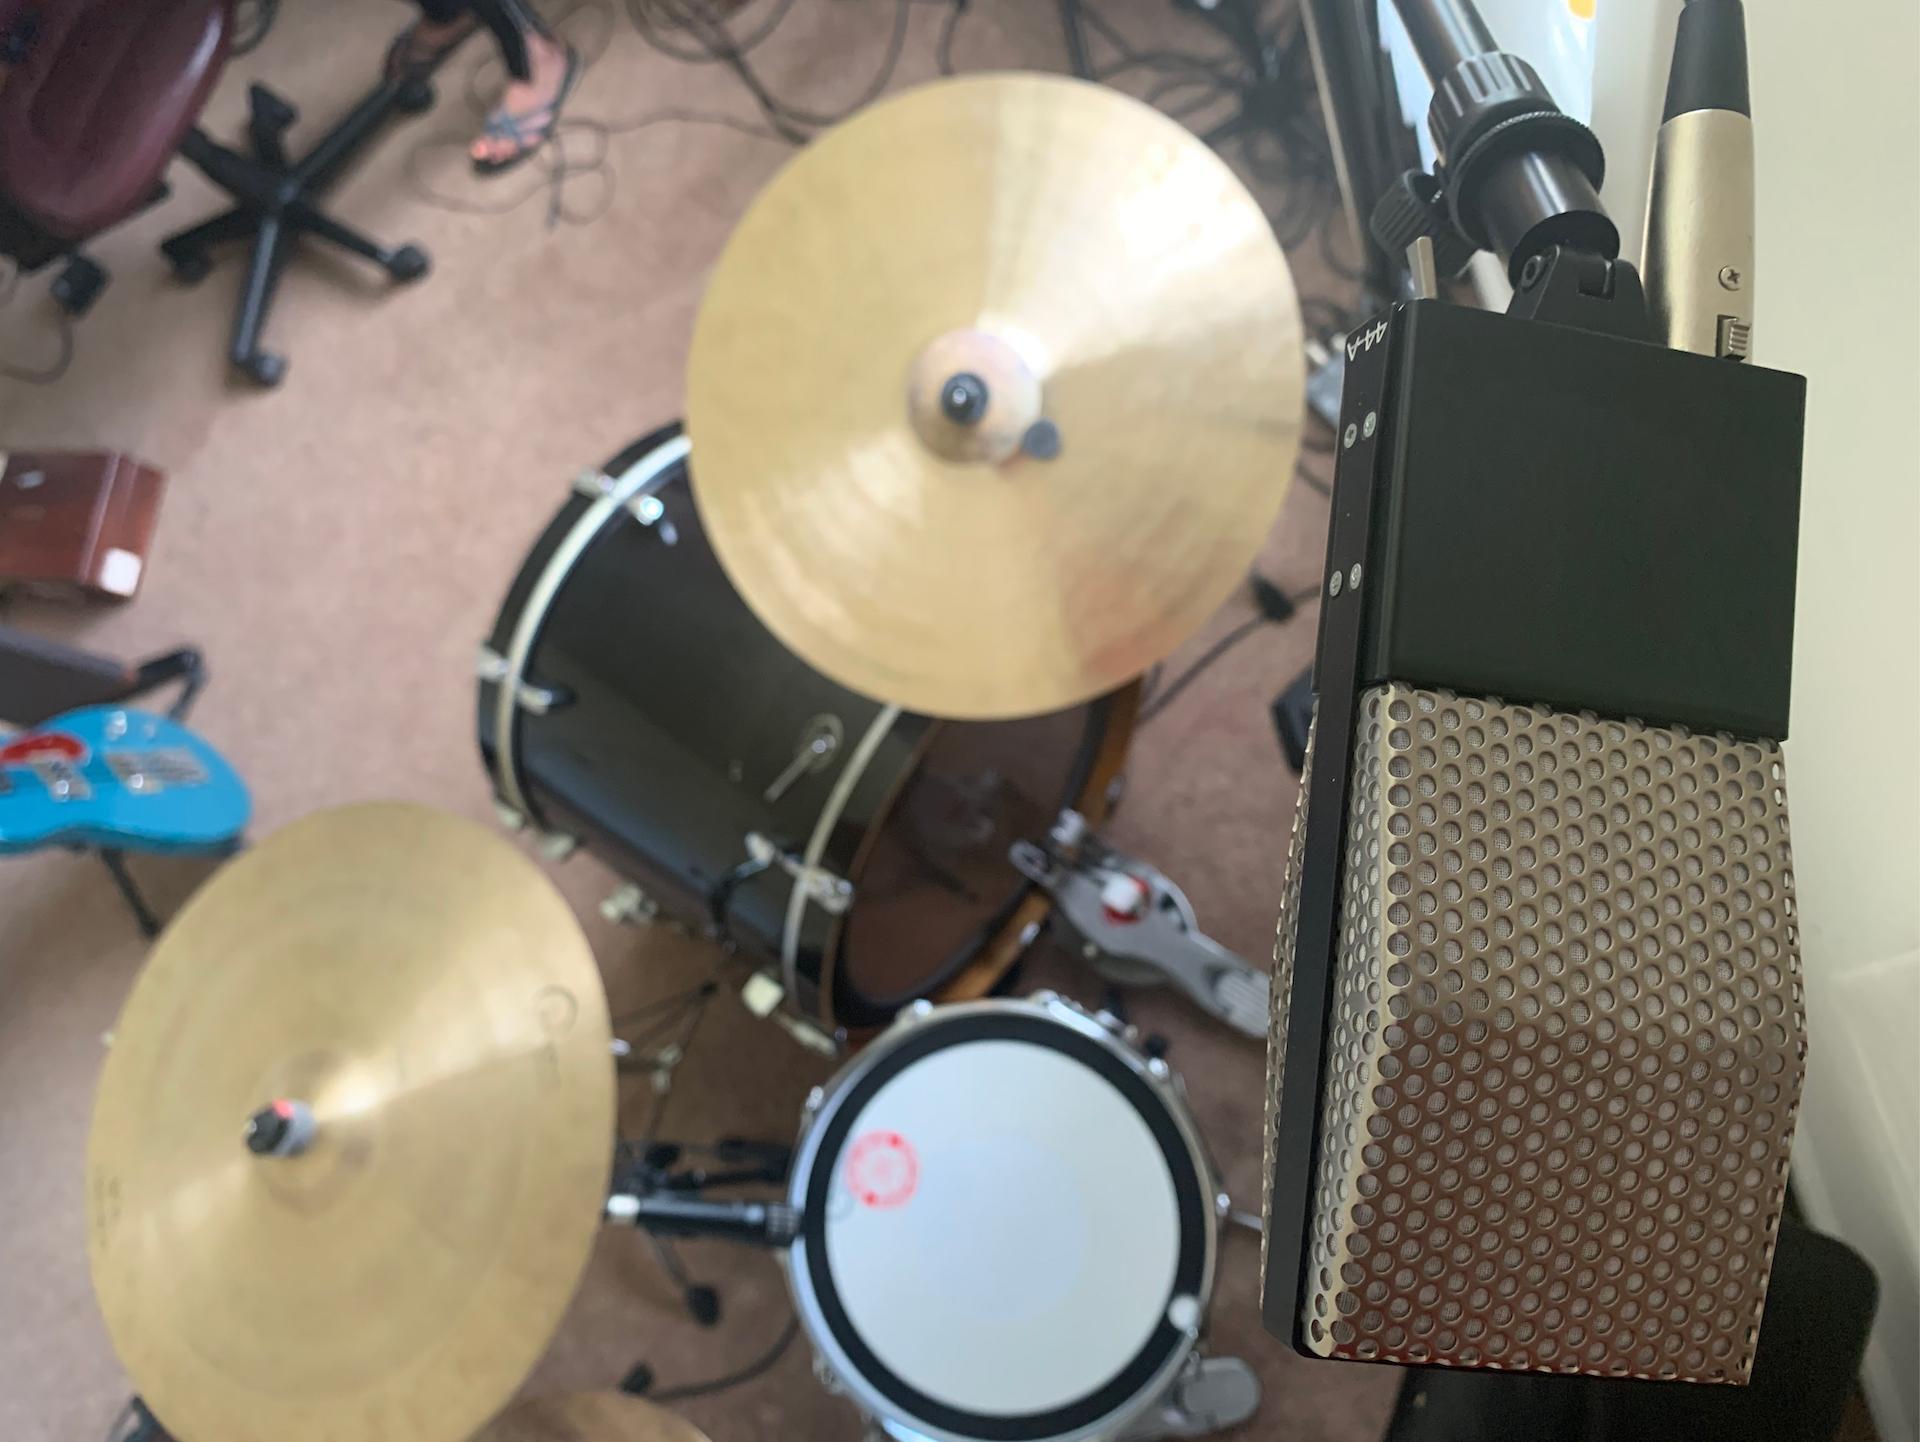
When it comes to overhead mics, I generally prefer ribbons. They have a dark, organic profile that is really pleasing on cymbals. For this session, I used a Cloud Microphones 44-A active ribbon microphone from Sweetwater. It definitely provided a sonic upgrade, but you can achieve similar results with even more affordable ribbon mics.
The position of the ribbon mic was untraditional and derived by trial and error in my room. It was placed just over the drummer’s right shoulder, about 18 inches up, and aimed at the center of the snare. This delivered a nice, full representation of the kit and minimized the effect of the room on the sound. Additionally, the back of the mic was aimed at an absorber panel to avoid picking up unwanted slap from the walls or ceiling.
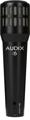
The snare drum mic was an Audix i5 dynamic microphone placed one-and-a-half inches above the rim, aimed at the center of the snare. The Audix i5 is a fantastic and affordable microphone with a clearer top end than other comparable dynamic mics, meaning it requires less post-processing EQ to brighten it up in the mix.

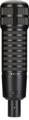
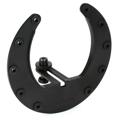
If you look closely at the first picture above, you’ll notice that there is no mic on the outside of the kick drum. Instead, the kick drum mic — an Electro-Voice RE320 dynamic microphone — is internally mounted using a Kelly SHU Composite kick drum mic shockmount. For this setup, form definitely follows function. Before installing the Kelly SHU, my kick drum mic stand jutted out from the front of the resonant head about a foot, not an insignificant amount when you’re working in a small room. Moreover, it was constantly getting knocked over when my dog came in to visit! The Kelly SHU took care of that issue, and, with an unported front head, the kit looks nice and clean in the corner. There are limited ways to run a cable to the microphone when using a Kelly SHU with an unported head, and some drummers choose to snake the cable through the kick drum’s air vent. I opted for a more permanent solution and installed an XLRM to XLRF panel mount adapter. You might gasp at the idea of drilling a hole in the shell of a kick, but I enjoy the convenience of it, and it has made no discernable difference to the tone of the drum. Now, bear in mind, I did pick up this kick drum for less than 100 bucks at a used-gear store. This would likely be a different story if we were talking about a custom DW kit! Next, it was time to start playing…


Electro-Voice RE320 cardioid dynamic mic internally mounted on a Kelly SHU kick drum mic mount.
3. Getting an Initial Balance
Once Kevin and I got a take we both liked, it was time to get an initial, static mix. With only three microphones, this was pretty straightforward! The overhead is supplying most of the sound and character of the kit, and the kick and snare mics are blended in to create a nice balance between those elements and the cymbals. In particular, the kick drum mic is adding attack since the bulk of the low end comes from the overhead mic. Ironically, we’re taking advantage of one of the common problems in a small room — low-frequency buildup. The corners of my room are extremely bass heavy, and I have yet to install bass traps. But it actually helps when recording drums because I get a ton of usable low end. It’s just an example of reimagining your constraints as opportunities in order to create desirable outcomes.
Here is the raw mix of the three-microphone drum recording setup:
As you can hear, at this point, it’s nothing to write home about. But it’s doing exactly what we need it to do at this stage in the process.
4. Phase and Time Alignment
The next step, and one of the most transformative, is to align the phase and timing of the three-microphones, the impact of which can’t be understated. When using multiple mics on a single source, such as a drum kit, the sound is reaching the separate microphones at different times and at different points in the cycle of its waveform. And those mismatches can suck the life out of the sound of the instrument due to phase cancellation, in the case of timing differences, or polarity cancellation, when one mic is moving the opposite direction from another. One of the most common examples of the latter is when using a top snare mic and a bottom snare mic, which will always have an inverse polarity relationship (because the top head is moving down toward the snare shell while the bottom head is also moving down but away from the shell), so they will sound hollow when mixed together because they are canceling each other. The solution is to simply flip the polarity of one of the microphone channels, and, voila, your full, deep snare sound is back!
Check out this article that explains polarity and when it really matters.

Polarity – Does It Really Matter?
Polarity: What is it? And does it matter…really? Can you tell if the polarity is correct just by listening, or do you need gear to tell you when it’s right?
However, polarity isn’t just important in multi-mic setups. Even when using a single microphone, it’s important to check polarity. For instance, in our session, you can see that the waveforms on the snare and overhead channels are starting at the bottom of their cycles.
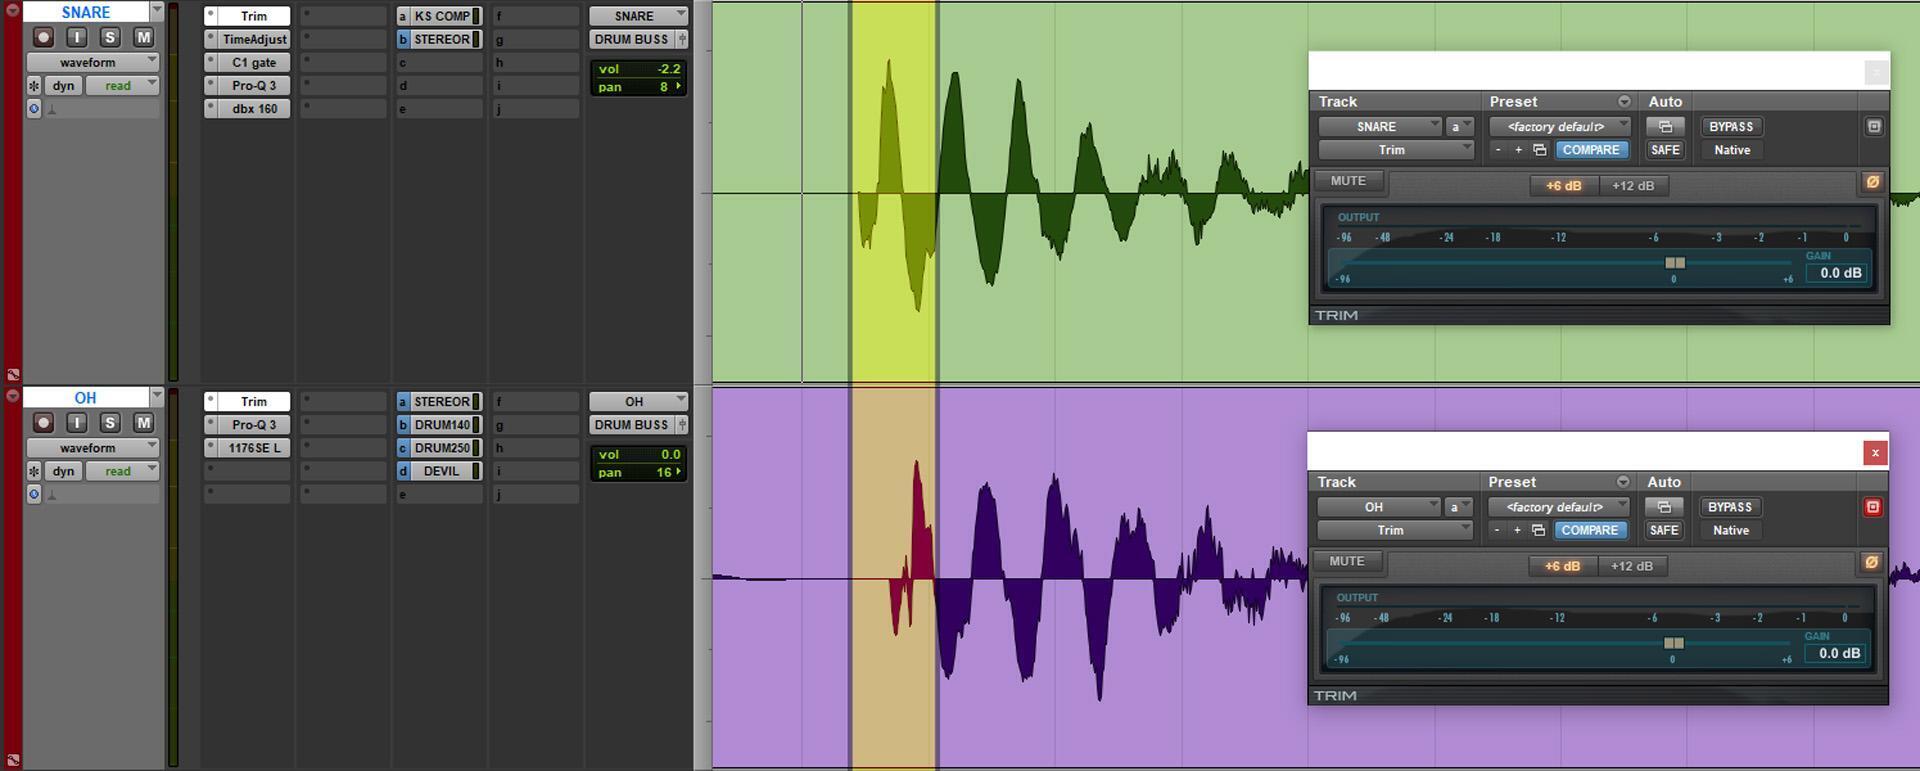
The physical effect is that the audio is pulling your monitor and headphone drivers instead of pushing them. It may not be immediately apparent when listening back, but flipping the polarity on those channels is going to result in a fuller, more impactful sound, especially as you add more and more tracks to a session. In our case, only the snare and overhead mics required a polarity adjustment; the kick polarity was fine.
Time alignment is another critical factor in getting a great drum sound. Thankfully, adjusting timing in any DAW is a breeze! For drums, the method I use is to tightly zoom in on the waveforms and measure the length between the start of a cycle on each of the tracks, using the overhead as the baseline.
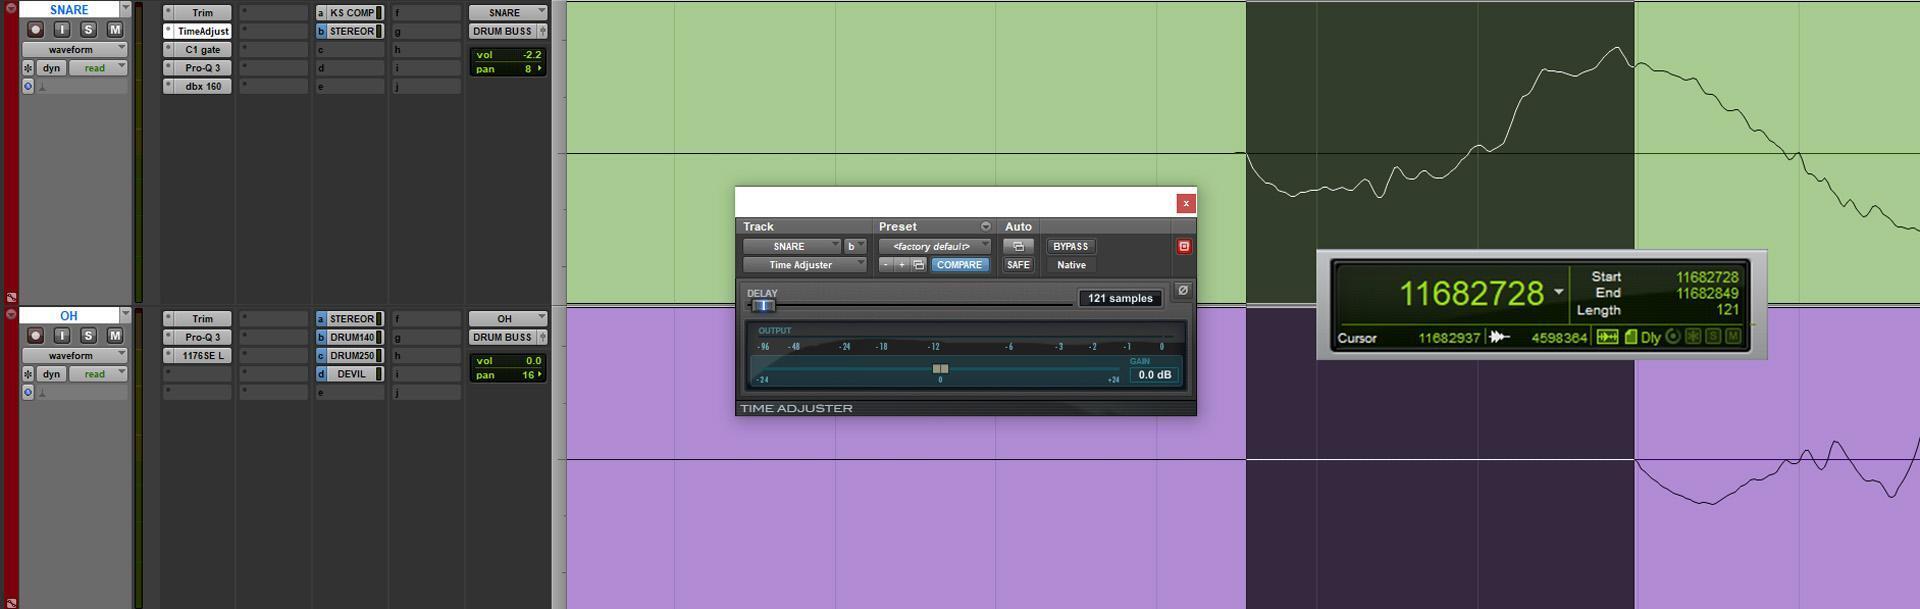
As you can see, the snare mic was 121 samples earlier than the overhead mic. So, I quickly made that adjustment with Pro Tools’ included Time Adjuster plug-in. Then, I checked the kick drum, which was around 146 samples earlier than the overhead, and adjusted it, too. These are quick and simple moves, but they make a world of difference!
5. Notching Out Problem Frequencies
Another problem with small, minimally treated rooms, when compared to acoustically optimized professional studios, is the preponderance of ugly room modes (or resonant frequencies), which can become very apparent when miking a source from a distance.

On the recording, the overhead mic was picking up a particularly nasty resonance centered around 270Hz and two others around 140Hz and 80Hz. I found these frequencies by using the FabFilter Pro-Q 3 EQ, which is really helpful for hunting down room modes since it provides visual feedback through a spectrograph and gives you the ability to solo an EQ band and sweep it until you find the offending resonance or resonances.
Here’s the mix with the room modes removed from the overhead:
6. Applying Track Processing
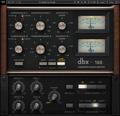
Now, we’re ready to do our primary dynamics and EQ processing. We’re going to be shaping the tone of the drums mainly through parallel processing, so none of this is too drastic. Because the kick and snare are being used to augment the overhead and not to provide the image of the kit, I applied a gate/expander to both. On the kick, the gate is set pretty hard with a high threshold and fast release so that we’re really just getting the attack. There’s no additive EQ, but I’m carving out a big, narrow chunk just under 200Hz that had some unpleasant blossoming. Then, the dynamics are reined in with around -3dB to -5dB of gain reduction with the UAD dbx 160 compressor/limiter to keep things consistent.
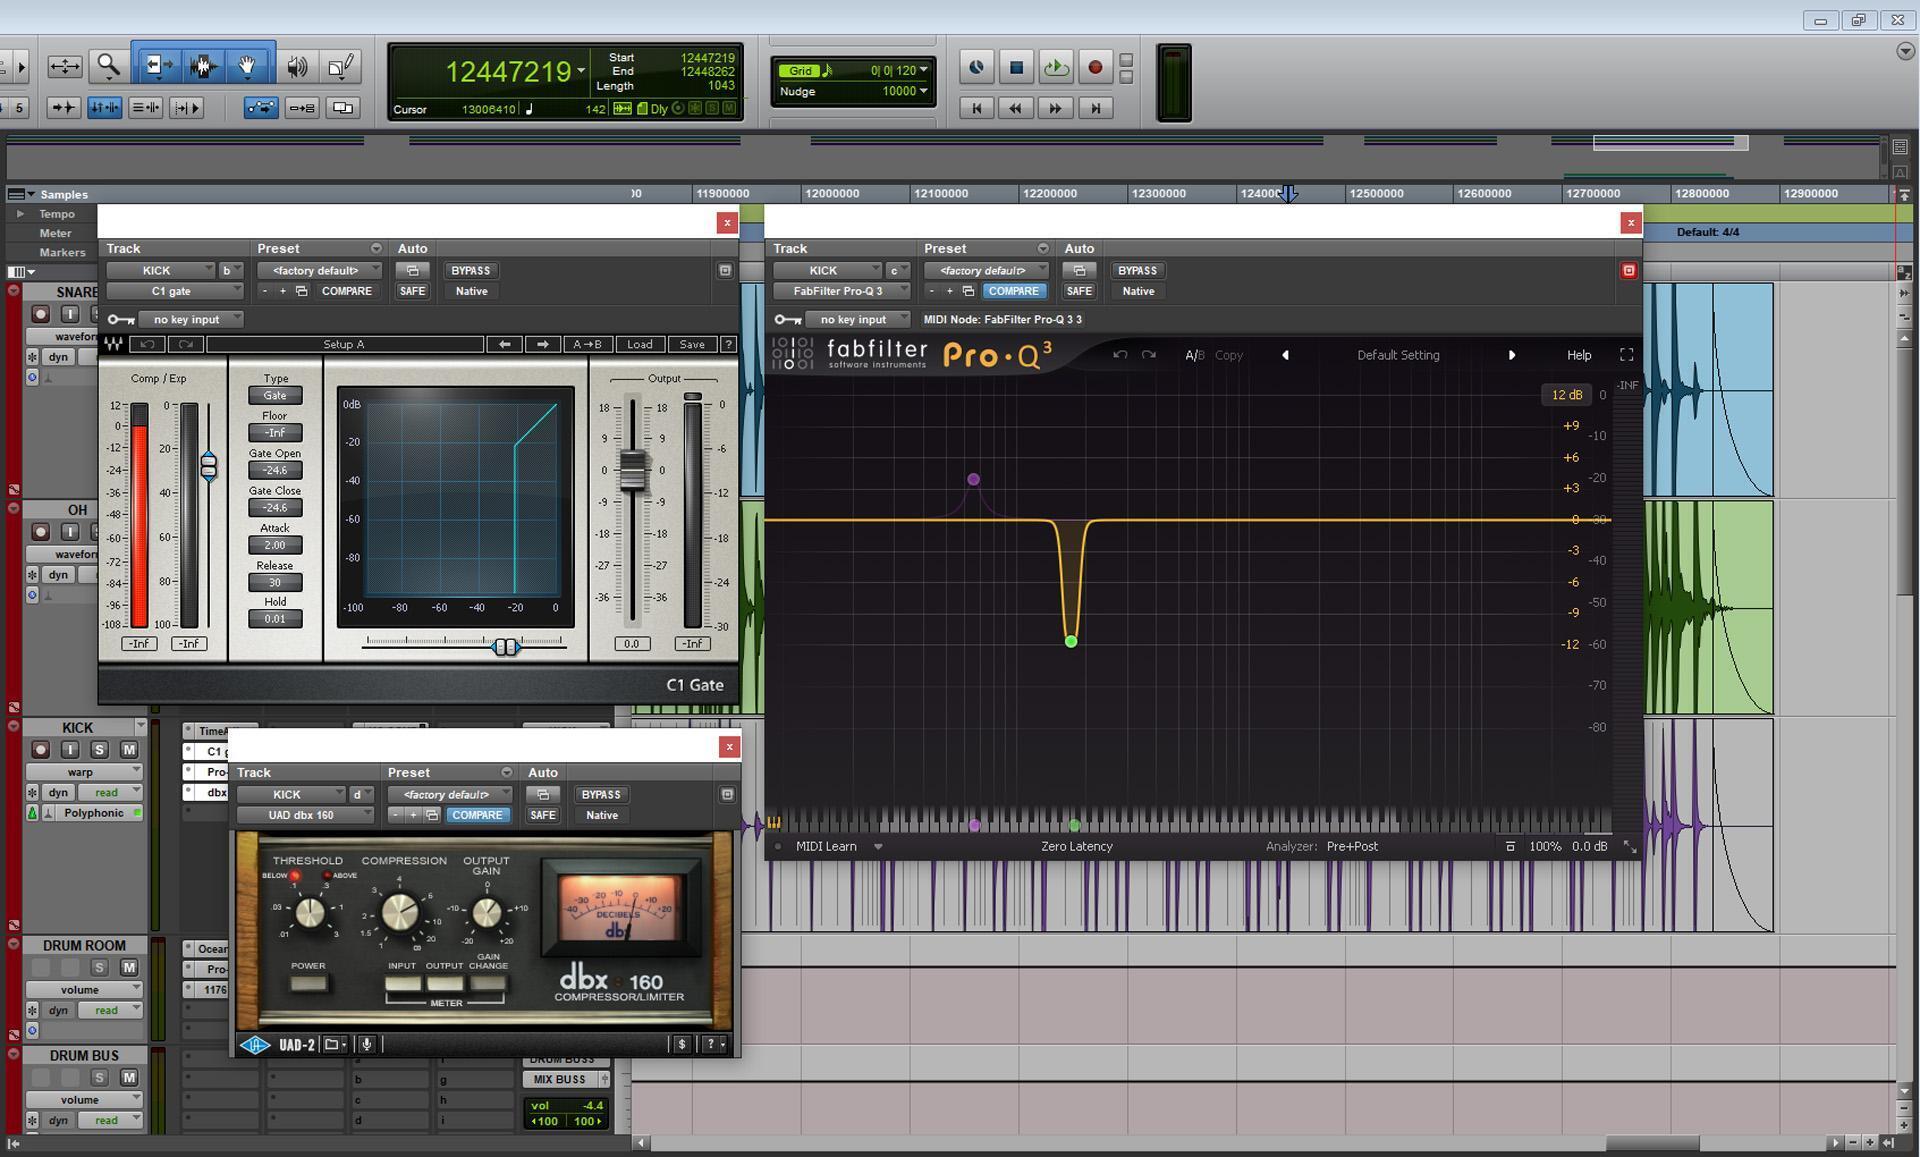
The gate on the snare is set up as an expander to pull the snare above the hi-hat, which allows me to bump up the crack of the snare with a fairly wide band centered around 5kHz without making the hi-hats strident. The compression is lightly applied just to tamp down the level during some of the fills.

7. Setting Up a False Room
With this recording setup, the attempt has been to circumvent the poor acoustics of a small, minimally treated room by keeping the miking tight. But a huge component of many classic studio drum sounds is the room. Fortunately, there is a host of impulse-response-based reverbs that can help us approximate the sound of a world-class live room in your home studio.
For this session, I used UAD’s stellar Ocean Way Studios plug-in set up on an aux channel that’s being fed by the overhead channel pre-processing. Why pre-processing? Because I’m going to treat this channel exactly like I would if it were an actual room mic used during tracking, so I want to be able to apply EQ and compression to it independently of what’s on the overheads.
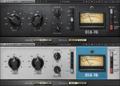
For processing, I’ve applied a highpass filter around 60Hz and have carved out some wonky resonance at 180Hz. It’s pretty common to compress a room mic “to tape” while tracking with a nice hardware compressor, so I’m mimicking that with a UAD 1176SE. I’m using UAD plug-ins a lot right now, but I also love the Waves CLA-76 compressor, set to the “Blue Stripe” mode, for this purpose.

For me, this is where things start to gel. Now, there is some ambience and a sense of place; yet, it doesn’t come off as transparently processed because we’re treating the room channel like an audio track rather than like a reverb. It’s a subtle shift in perspective, but it helps!
Check out the drum room soloed:
8. Applying Parallel Compression
I learned this trick from Andrew Scheps, one of the music industry’s top producers, engineers, and educators — using parallel processing as a way to add a lot of depth and dimension to a mix without overcooking it. Andrew stacks layers of parallel compression, saturation, and even EQ to achieve his huge signature sound. Parallel processing is extremely helpful for minimalist drum tracking and mixing, letting you make the most out of a small handful of tracks.
The kick, snare, overhead, and room tracks were routed to a drum bus and to a copy of the drum bus labeled “Drum Parallel.” On that channel, the drums — sent post-fader — are slamming against some pretty heavy compression, using the UAD Empirical Labs Distressor. However, they’re not completely squashed. They’re still moving, breathing, and interacting with the compressor. When you pull up the Drum Parallel channel and add just a bit of this compressed signal underneath the uncompressed drum bus, the Drum Parallel channel adds cohesion and stickiness without softening the transients and lessening the impact of the drums.
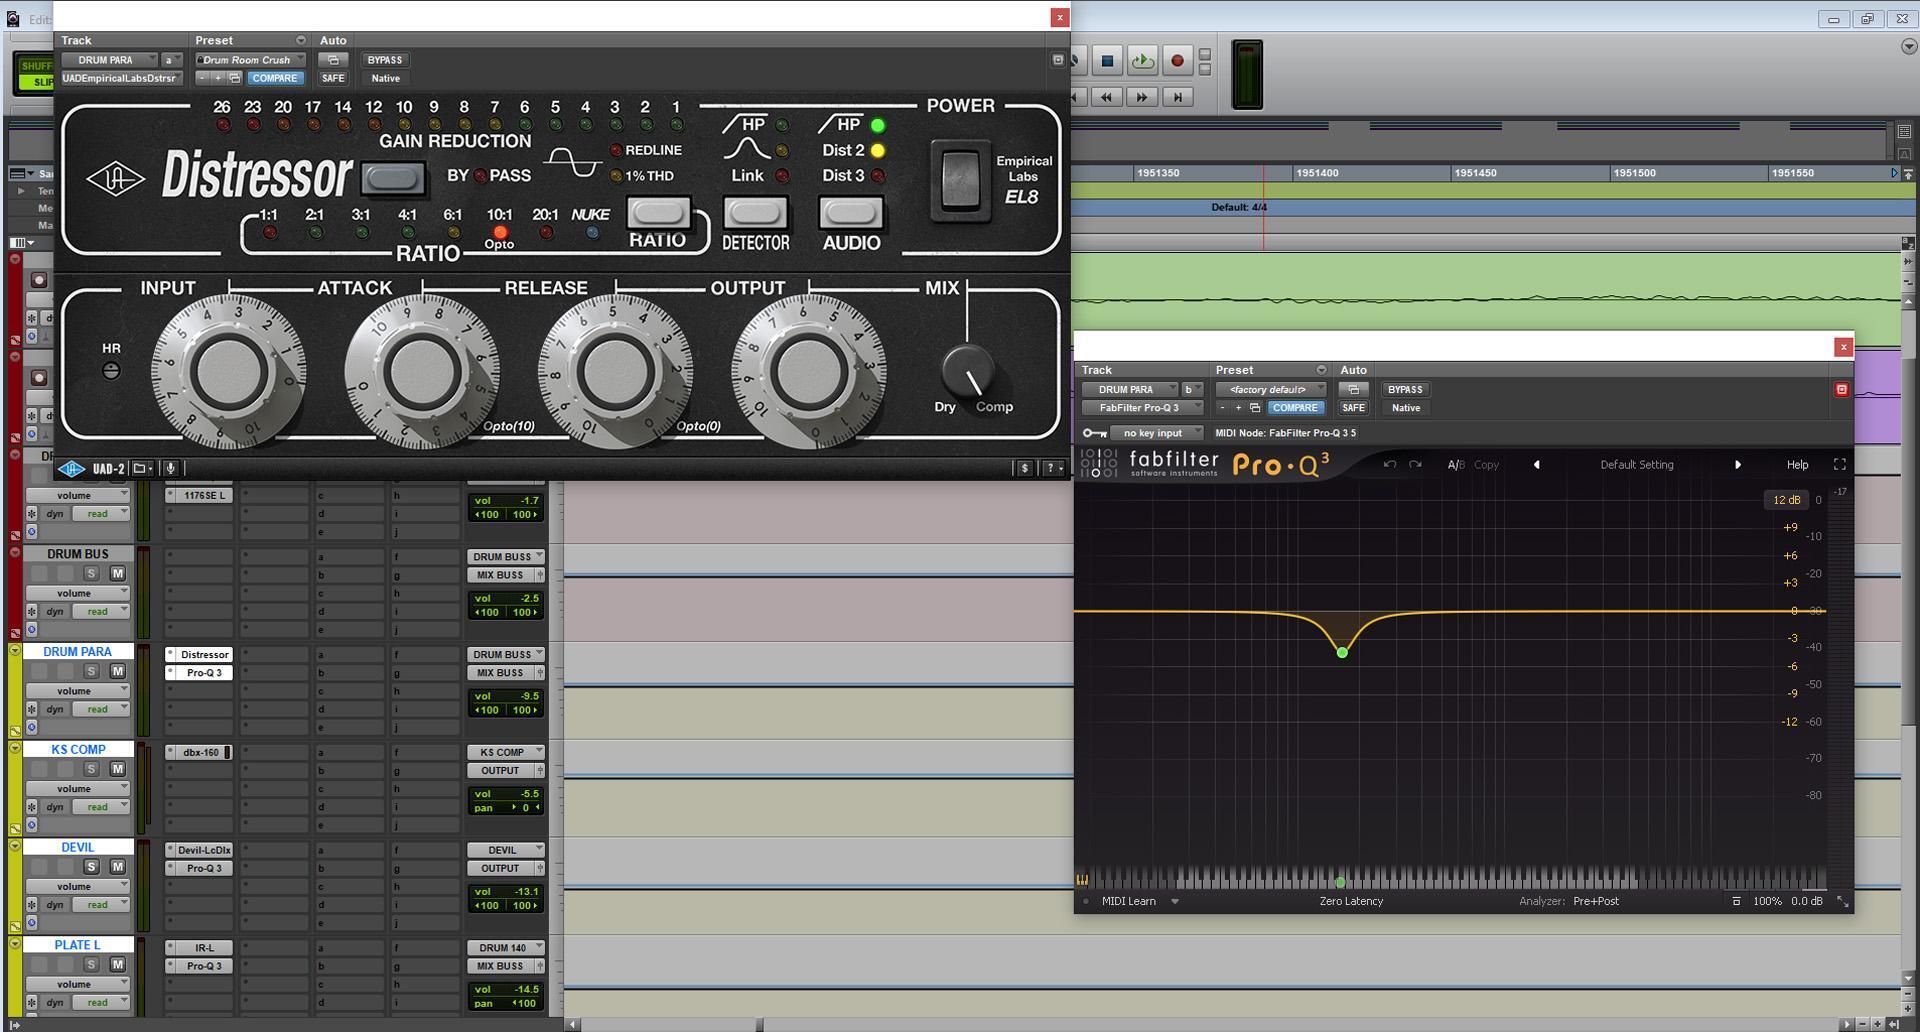
The same concept was applied to the kick and snare compressor aux (labeled “KS COMP”), which is a move straight out of the Andrew Scheps playbook. The kick and snare channels were fed to a Waves dbx 160 compressor and lightly compressed with the threshold set so the compressor was reacting to both inputs about equally. Again, this interaction has an energetic quality to it different than what you would achieve with a single drum bus compressor, reinforcing and fattening up the kick and snare while preserving tone and dynamics.

9. Adding Saturation
Another common and effective parallel-processing trick is to mix in a heavily saturated or distorted track underneath the drum mix. For this purpose, I like to use Soundtoys’ outstanding Devil-Loc Audio Level Destroyer. Based on the Shure Level Loc audio level controller, which has been used to great effect on drums by Tame Impala’s Kevin Parker, the Devil-Loc is snarling and aggressive.
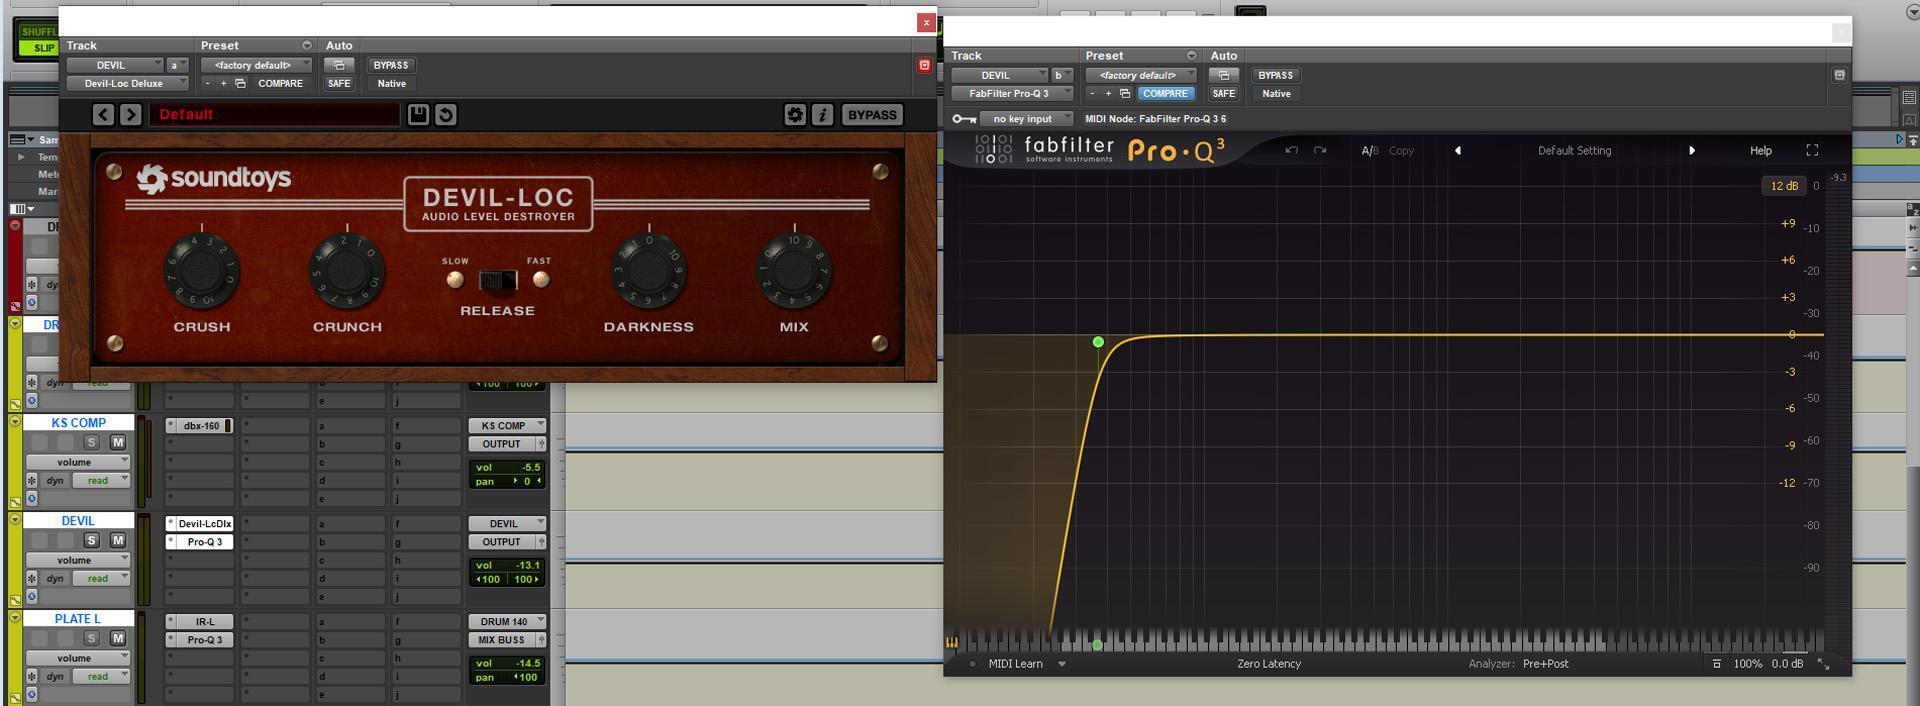
For this session, I ran the overhead pre-fader into the Devil-Loc on a separate aux. Folded into the mix, it adds undeniable low- and high-end excitement that makes the drums leap out of the speakers.
In the right context, you could almost just use the Devil-Loc processed drums on their own!
10. Creating Width with Plate Reverbs
The final step in crafting our outsized minimalist drum sound is to add some stereo width to our mono source tracks. In order to do this, I utilized an approach using two different mono plate reverbs panned hard left and hard right.
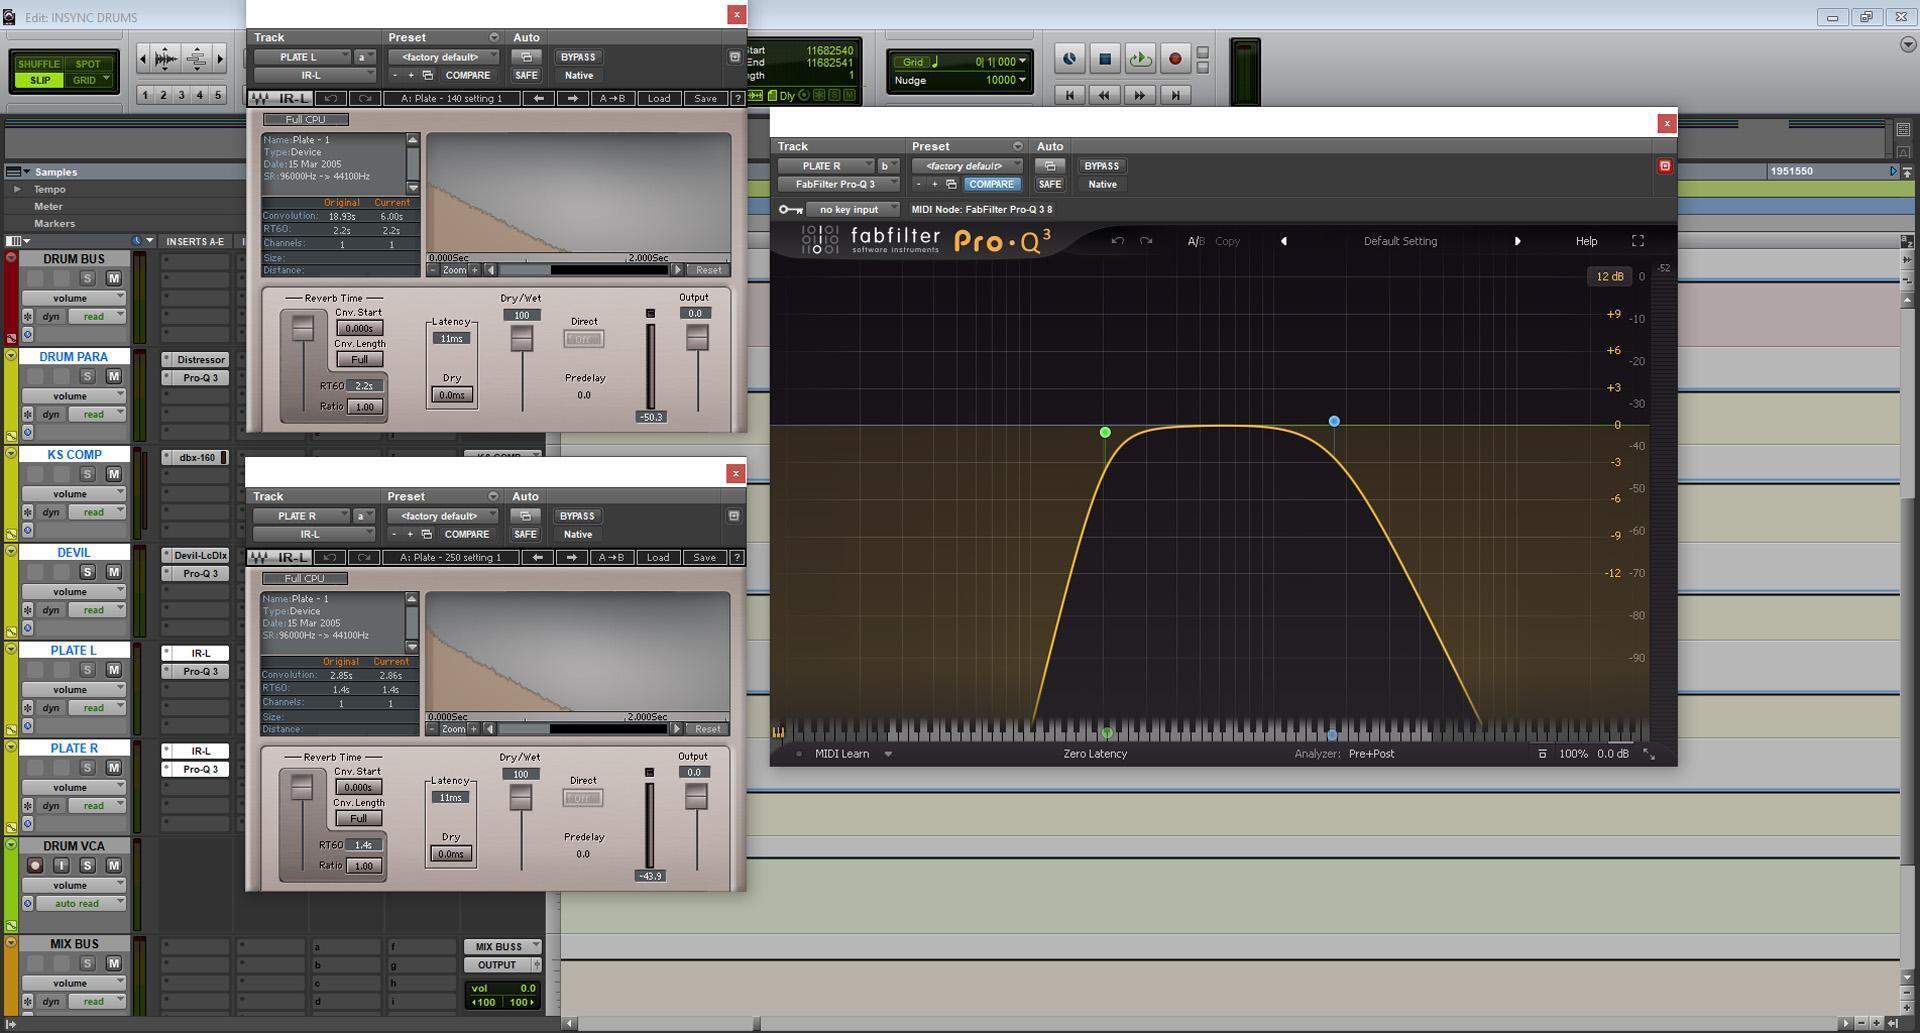
Like the Devil-Loc aux, these auxiliary channels (labeled “PLATE L” and “PLATE R,” respectively) are fed pre-fader from the overhead. They’re each loaded with different plate-reverb IRs from Waves’ IR-L convolution reverb plug-in — an EMT 140 on the left and an EMT 250 on the right. The types of plate matter less than the fact that you’re using two unique plates, which adds some variation to the sides and creates more movement in the stereo field. Additionally, there is a little bit of creative panning happening on our main tracks. The overhead is panned 16 degrees to the right, and the snare is panned eight degrees to the right. It’s very subtle, but it creates a slight lean in the stereo field — in respect to the snare and hi-hat specifically — that mimics the real-life physical positions of the components in the kit.
Here’s how the hard-panned plates sound soloed:
The Final Mix
For reference, here is where we started:
And here’s where we ended up — a groovy, vibey drum recording that would be right at home on a modern indie-rock or psych record:
For some musical context, I added some instrumentation on top of Kevin’s killer beat. It was crying out for some fuzz bass and crunchy, reverb-drenched guitars!
Conclusion
And there you have it. Not bad for three microphones in a minimally treated spare bedroom! Of course, this is only one set of methods for achieving big-sounding drum recordings in a home studio, but we hope it provides some useful tips and inspires experimentation!
What are your favorite techniques for recording drums at home? Give our Sweetwater Sales Engineers a call at (800) 222-4700 and let us know! We love sharing tricks, and we’re happy to help you figure out the best way to use your recording space, no matter how big or how small your space is!