
Neumann MT 48 Quickstart Guide
The Neumann MT 48 is a versatile and powerful interface with plenty of features, so in this guide, we will show you how to register, set up, and use the interface for the first time. Follow the sections below to get started. This article only scratches the surface, so check out the Owner’s Manual to learn more!
Register the MT 48
Taking new gear out of the box is always exciting, but before you start using the interface, you must register the MT 48 with Neumann. Upon registration, you’ll gain access to an extended warranty with Neumann and, more importantly, links to software updates and firmware files.
- Log into your Neumann account homepage and click REGISTER PRODUCT.
- If you don’t have an account, visit the Neumann Product Registration page and click Register Now. You will then be prompted to create an account.
- Use the dropdown boxes to select the MT 48, then enter the Serial Number at the bottom of the unit.
- Click Check to complete the registration process.

Download the MT 48 Toolkit
Once your MT 48 is registered with Neumann, you must download and install the MT 48 Toolkit, which is the necessary standalone software to access all the interface features. If you’re a Windows user, the installer also includes the driver so it works correctly.
- Go to the MT 48 download page and download the latest software version for your OS.
- Navigate to your Downloads folder, then locate and launch the Toolkit installer.
- Mac users: During installation, you will receive a ‘System extension blocked’ notification. Once prompted, navigate to your Security preferences to unlock the driver.
- After the installation is complete, restart your computer.

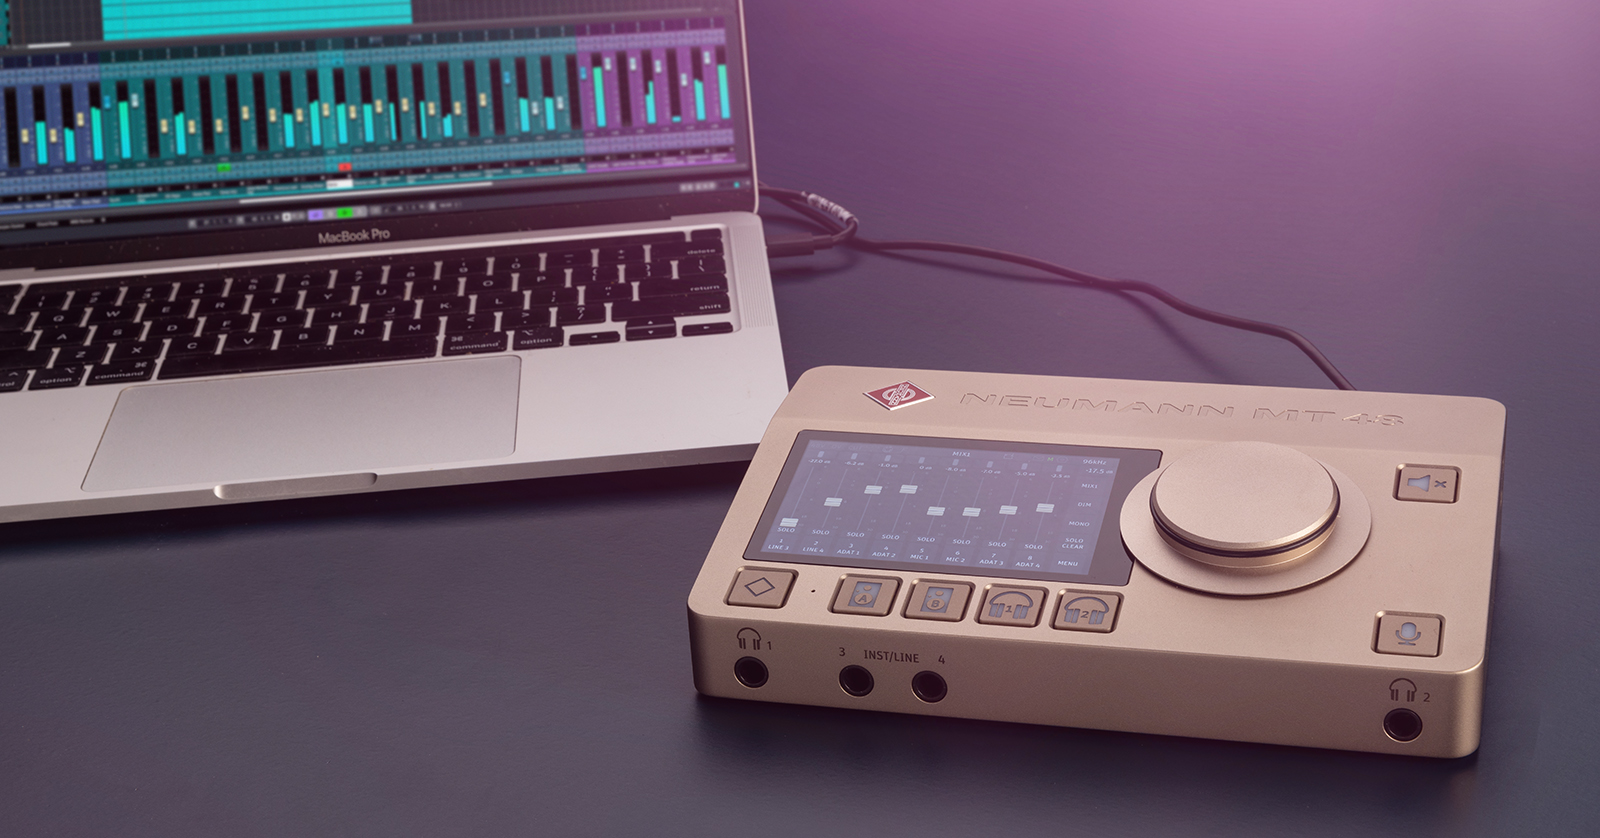
Connect Your Gear
After installing the Toolkit software, it’s time to connect your gear! The connections are straightforward. Depending on what’s connected, you may need to go into the MT 48’s routing settings, but we’ll review that in the Setup and Routing section.
IMPORTANT! Be sure the interface is on a flat and solid surface!
- Connect the included USB-C power adapter to the USB power jack on the back.
- You can also use any USB-C wall adapter.
- Use the included USB-C to USB-C or USB-C to USB-A cable to connect the MT 48 to your computer, then turn on the interface.
- Connect your monitors to the Main Outs in the back of the unit.
- If you have a pair of secondary monitors, connect them to Line Out 3–4.
- Connect your input devices.
- Only use XLR cables when using microphones.
- Connect mics and line-level devices to Inputs 1 and 2 and guitars and basses to Inputs 3 and 4.
- You must use the Neumann MT 48 MIDI Adapter Set when connecting your MIDI devices to the GPIO/MIDI jacks.
- To enable phantom power, press the box that corresponds to what input your condenser microphone is connected to, select PREAMP, then press 48V.
- Connect the microphone before turning on phantom power. Turn phantom power off before disconnecting your microphone.
The Interface is Getting Warm!
The MT 48 will warm up after a period of use, and the performance will drop if it gets too hot. If you begin to receive overload errors or poor performance, press MENU, select GENERAL, then scroll down until you see Cooling Mode, where you can increase or decrease the fan speed.
Setup and Routing
TIP: You can also access routing settings from the Toolkit software and the Remote Control app if connected to the Internet. To access the Remote Control app, locate the MT 48 Agent logo on your taskbar, then select LAUNCH REMOTE CONTROL APP.
The MT 48 has built-in routing capabilities that you can adjust directly from the touchscreen display. Neumann has also made the routing very intuitive, so you’ll spend less time navigating through menus upon menus and more time recording. In this guide, we’ll show you the basics, but check out the MT 48 Owner’s Manual for more advanced routing operation!
- Press MENU, press SETTINGS, then select USB I/O.
- Enable and disable the inputs that are routed to your computer. When you disable an input type (e.g., Analog In, Optical), the USB channel routing will automatically be updated.
- For example, if Analog In is assigned to USB channels 1–2 and Optical is routed to 3–4, and you disable Analog In, Optical will then switch to USB channels 1–2.
- Scroll down to Software Playback and update its settings.
- Disable any unused inputs, as you’ll get better quality sound and more optimized workflow while working in your DAW!
Sample Rate and Channel Count
To change the sample rate on your MT 48, press MENU, navigate to SETTINGS, select GLOBAL, then update the sample rate. Turn on Auto if you want the MT 48 sample to match that of your current DAW project automatically.
At a 48kHz sample rate, you can have up to 32 inputs and 16 outputs. When the sample is increased to 96kHz, the input channel count decreases to 16, and when running the interface at 192kHz, it is limited to 8.
When you need help, Sweetwater has the answers!
Our knowledge base contains over 28,000 expertly written tech articles that will give you answers and help you get the most out of your gear. Our pro musicians and gear experts update content daily to keep you informed and on your way. Best of all, it’s totally FREE, and it’s just another reason that you get more at Sweetwater.com.


Offer applies only to single-receipt qualifying purchases. Select manufacturers may require that only the manufacturer’s products qualify towards the minimum purchase amount needed to be eligible for promotional financing. Otherwise, an invoice that meets the minimum purchase amount and contains at least one qualifying manufacturer product is eligible for promotional financing. No interest will be charged on promo purchase balance, and equal monthly payments are required on promo purchase until it is paid in full. The payments equal the amount financed divided by the number of months in the promo period, rounded up to the next whole dollar. These payments may be higher than the payments that would be required if this purchase was a non-promo purchase. During the last month(s) of the promo period the required monthly payment may be reduced due to the prior months’ rounding. Regular account terms apply to non-promo purchases. New Accounts as of 07/31/2025: Purchase APR is 34.99%. Penalty APR is 39.99%. Min Interest Charge is $2. Existing cardholders: See your credit card agreement terms. Subject to credit approval.
Offer applies only to single-receipt qualifying purchases. No interest will be charged on the promo balance if you pay it off, in full, within the promo period. If you do not, interest will be charged on the promo balance from the purchase date. The required minimum monthly payments may or may not pay off the promo balance before the end of the promo period, depending on purchase amount, promo length and payment allocation. Regular account terms apply to non-promo purchases and, after promo period ends, to the promo balance. New Accounts as of 07/31/2025: Purchase APR is 34.99%. Penalty APR is 39.99%. Min Interest Charge is $2. Existing cardholders: See your credit card agreement terms. Subject to credit approval.
The estimated required monthly payment shown which excludes taxes and delivery equals the amount financed divided by the number of months in the promo period, rounded up to the next cent. During the last month(s) of the promo period the required monthly payment may be reduced due to this rounding. These payments apply only with the financing offer shown. If you make these payments by the due date each month, you should pay off this amount financed within the promo period, if it is the only balance you are paying off. If you have other balances on your account, this payment will be added to any other minimum monthly payments.
Applies only to select items from this manufacturer. Ask your Sweetwater Sales Engineer for more details.