
LEA Amplifier Quickstart Guide

We created this guide to get you up and running right away with your LEA Connect Amplifier. You will learn how to register it, update it, and set it up for the first time. Follow the sections below to get started.
- LEA Amplifier product registration and warranty
- Network setup and configuration
- LEA Amplifier input and output wiring
- Audio routing
- Smart Bridging and 70/100v options
LEA Amplifier product registration and warranty
Before getting started, we recommend registering your amplifier right away to qualify for the extended six-year warranty.
- Log in to your LEA account. If you don’t have an account yet, click Register New Account.
- Create a venue by clicking the + icon in the upper left.
- Name the venue and click Add Venue.
- Click the gear icon for the venue, then click + Add Amp.
- Copy the token number from the following page.
- Open a browser window to edit the amplifier by typing the IP address shown on the front panel.
- Click on the information icon on the amplifier and select + Connect Amp to Account.
- Paste the token code from your user account to finish the process.
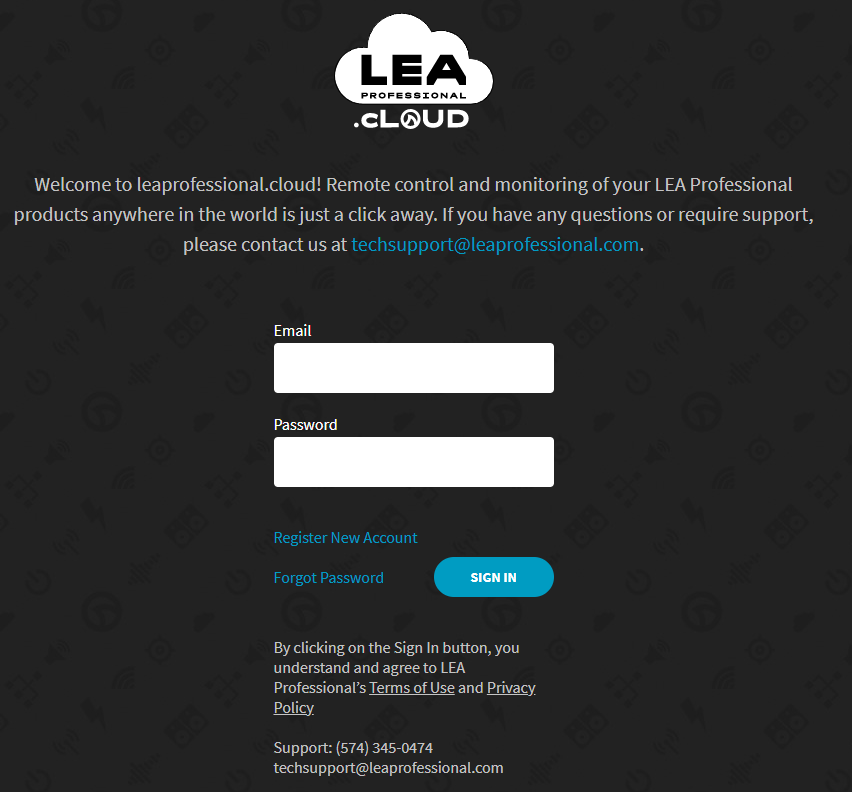
Click the image to register your LEA amplifier
Updating the firmware
Updating the firmware can be done from any computer connected to the amplifier network.
- Download the update file from the LEA Amplifiers download page.
- Unzip the file to any readable directory on your computer.
- Open your browser and navigate to your amplifier IP address.
- Select the Menu ⌸ icon in the upper right, then select Firmware Update.
- Tap on Choose Firmware File and navigate to the directory. Select the file ending with tar.xz.enc.
- The update takes around five minutes. Once complete, the front logo will cycle from blue to pink, then to green. The amp will restart automatically if the update is successful. Any failures in the update procedure will make the front logo glow red.

Click the image to download the amplifier firmware
Network setup and configuration
Connecting to a wired network
To set up the amplifier on a managed network, connect a network cable to the network port on the amplifier. Right out of the box, all LEA amplifiers use automatic network addressing (DHCP). Customize network settings from network options on each amplifier’s advanced options.
Note: For Dante-enabled models, the Dante ports only carry audio and are not managed through this port.
Connecting to the access point
Amplifiers not connected to a network use the wireless access point built into the amplifier to change the amp settings.
- Press the wireless access point button on the back panel of the amplifier to enable the access point.
- Connect to the access point listed on the front panel of the amplifier. Enter the password if prompted once connected.
- Open your web browser and type in the IP address shown on the front panel of the amplifier.
- Amplifiers with security settings may prompt an administrative password requirement.
- For added security, the access point can be disabled from the advanced network settings.
Using the HTML interface
Once connected to your wired or access point network, enter the IP address of the amplifier, shown on the front panel, into the web browser on your computer. From this page, you can see the status of your amplifier and other amplifiers if they are on a wired network. Click or tap on the amplifier to see more options. From the overview page, you can see the status of each channel and change settings.
LEA Amplifier input and output wiring
All analog inputs and outputs utilize Euroblock connectors. These connections lock into place with specialized connectors that use bare wires screwed to a terminal connector. For more details, see our article “Wiring a Euroblock Connector.”
Audio routing
TIP: Dante Connect models can share the analog inputs to other amplifiers via the Dante connections. This feature is assignable from Dante Control software.
All Connect Series amplifier channels have two input options available at all times. The secondary input is optional for redundant connections, secondary signals, and overriding the primary signal. With the redundancy option, the amp switches to the secondary channel when it no longer senses input.
- Select the amplifier input options icon from the selected amplifier screen, then choose the input for primary and secondary options with the dropdown list.
- All of the amplifier channels can optionally sum a stereo input using either analog or Dante input channels.
- The priority override option interrupts the primary signal to switch to the secondary input while present. The common uses for the secondary channel are paging, emergency alerts, and alarms.
Saving, loading, and making DSP changes
- To customize the settings of each channel on the amplifier, click on the information (i) icon for the amplifier.
- Next, select the icon for the options available for the amplifier and channel.
Saving and loading speaker tunings
TIP: Backing up your amplifier to copy settings to another amplifier or file for safekeeping is all done from the amplifier’s advanced options.
All LEA Connect Amplifiers can load tunings for major speaker manufacturers to optimize the performance for any space. The tunings are available from LEA’s downloads page. Download the speaker tunings and decompress the file to your computer. Open the amp channel to upload the custom tuning and apply it.

Smart Bridging and 70/100v options
Depending on your installation needs, configurations for the amplifier accommodate 70-volt and 100-volt systems or offer more power for higher-wattage speakers and subwoofers using Smart Bridging. All channels default to lo-Z for most PA speakers. Select the amplifier channel from the amplifier settings to enable 70- and 100-volt operation.
For speakers with a higher power requirement, enable Smart Bridging. Note: this is only available on any one channel on the amplifier. It does not disable any outputs but lowers the output power for the other channels.
Additional resources
When you need help, Sweetwater has the answers!
Our knowledge base contains over 28,000 expertly written tech articles that will give you answers and help you get the most out of your gear. Our pro musicians and gear experts update content daily to keep you informed and on your way. Best of all, it’s totally FREE, and it’s just another reason that you get more at Sweetwater.com.


Offer applies only to single-receipt qualifying purchases. Select manufacturers may require that only the manufacturer’s products qualify towards the minimum purchase amount needed to be eligible for promotional financing. Otherwise, an invoice that meets the minimum purchase amount and contains at least one qualifying manufacturer product is eligible for promotional financing. No interest will be charged on promo purchase balance, and equal monthly payments are required on promo purchase until it is paid in full. The payments equal the amount financed divided by the number of months in the promo period, rounded up to the next whole dollar. These payments may be higher than the payments that would be required if this purchase was a non-promo purchase. During the last month(s) of the promo period the required monthly payment may be reduced due to the prior months’ rounding. Regular account terms apply to non-promo purchases. New Accounts as of 07/31/2025: Purchase APR is 34.99%. Penalty APR is 39.99%. Min Interest Charge is $2. Existing cardholders: See your credit card agreement terms. Subject to credit approval.
Offer applies only to single-receipt qualifying purchases. No interest will be charged on the promo balance if you pay it off, in full, within the promo period. If you do not, interest will be charged on the promo balance from the purchase date. The required minimum monthly payments may or may not pay off the promo balance before the end of the promo period, depending on purchase amount, promo length and payment allocation. Regular account terms apply to non-promo purchases and, after promo period ends, to the promo balance. New Accounts as of 07/31/2025: Purchase APR is 34.99%. Penalty APR is 39.99%. Min Interest Charge is $2. Existing cardholders: See your credit card agreement terms. Subject to credit approval.
The estimated required monthly payment shown which excludes taxes and delivery equals the amount financed divided by the number of months in the promo period, rounded up to the next cent. During the last month(s) of the promo period the required monthly payment may be reduced due to this rounding. These payments apply only with the financing offer shown. If you make these payments by the due date each month, you should pay off this amount financed within the promo period, if it is the only balance you are paying off. If you have other balances on your account, this payment will be added to any other minimum monthly payments.
Applies only to select items from this manufacturer. Ask your Sweetwater Sales Engineer for more details.