
Korg microKORG 2 Quickstart Guide
The microKORG 2 is the faithful successor to the original microKORG. It’s packed with features and sounds that will spark creativity anywhere at any time. This guide will show you how to register, set up, and use the microKORG 2 for the first time. Follow the sections below to get started.
Register the Device
While it’s always exciting to plug in your new gear and start playing, you must first register the microKORG 2 with Korg. If you register the microKORG 2 within 90 days of purchase, you will receive an extended warranty. Keep your Sweetwater invoice handy; you must provide some information during registration.
- Go to the Korg account login page and enter your Korg account information. You will be prompted to enter a password if you don’t have a Korg account.
- Korg will send you an account confirmation email. If you don’t see it in your inbox, check your spam folder!
- Once you’re logged in, click Register a Product. On the next page, enter the necessary information, including the serial number, the purchase date, and the place of purchase (Sweetwater).
- Click Save to finish the registration process.

Click the image to register the Korg microKORG 2
microKORG 2 Firmware Update
After you have registered your microKORG 2, you must update the firmware. Updating the firmware will often add new features and optimize the device, so it’s best to update it before first-time use. Check out our Firmware Update Guide to learn more!
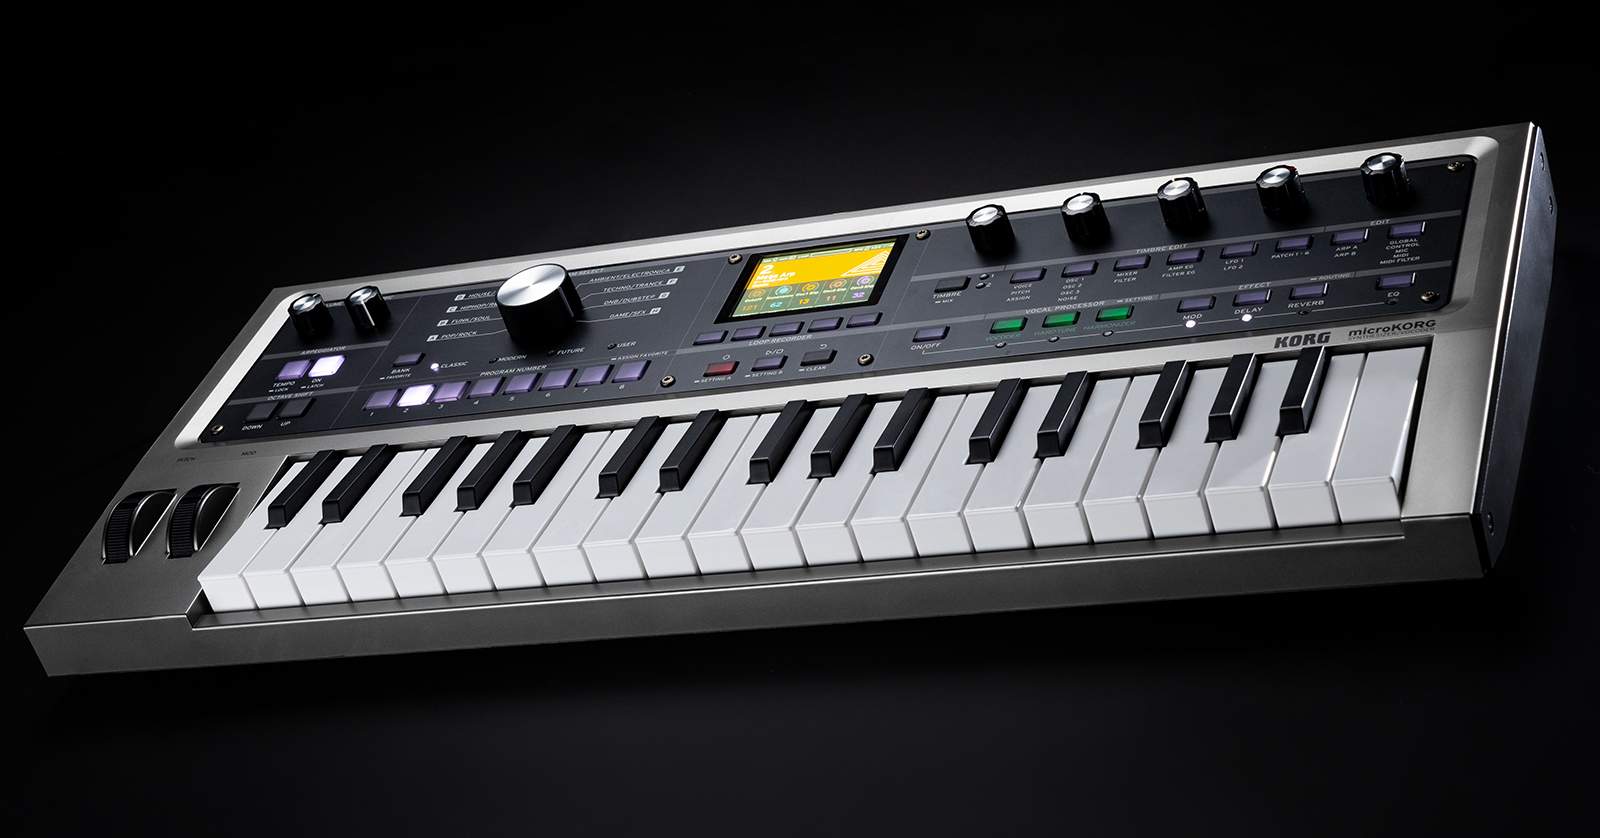
Navigating the microKORG 2
Navigating the microKORG 2 is straightforward. It has five 5-pin MIDI ports, a USB-C port for computer connectivity, a damper/switch port for foot pedals, stereo and headphone outputs, and both condenser and dynamic microphone ports. Here are some tips to get you up and running:
- Turn the mic level knob down whenever it’s not in use.
- Adjust the mic gain to a point where it clips slightly, then roll it back to get optimal sound.
- Make sure to connect the microphone to the correct mic jack (e.g., connect a condenser microphone to the condenser jack).
- Most ports have editable options, which you can access by pressing the GLOBAL button beneath the EDIT section on the front panel.
- The five FUNCTION buttons below the display control the actions labeled on the screen. For example, if you press the F3 (SCOPE)button, you will see the oscilloscope appear on the display.
- Press and hold F5 and press F3 to show a QR code that takes you to the Owner’s Manual.
microKORG 2 Programs
Presets on the microKORG 2 are called Programs. A Program stores all settings, such as the arpeggiator, effects, and timbre. It also stores any vocoder or microphone settings that have been adjusted.
Each Program Genre has two banks of eight program presets. To change the Program Genre, use the large encoder to the left of the display. You can then select the Program by pressing one of the eight PROGRAM NUMBER buttons below. Press the BANK button to access the additional presets in the selected Genre.
- Bank 4 of each Genre is an INIT (initialized/blank) Program.
Create a Program
TIP: If you see tabs at the top of the display, the selected function has multiple menus. If multiple options are underneath a button, additional settings are assigned to that button. For example, Voice, Pitch, and Assign are all assigned to the first TIMBRE EDIT button.
The Korg microKORG 2 has fantastic presets that are fully editable and available. Working with these is a terrific way to navigate through and become familiar with the controls. In this guide, let’s create a basic Program with a microphone effect.
- Use the Program Select encoder to select any Genre, then press the BANK button until the USER bank is highlighted. You will also see Init Program on the screen.
- Use the six TIMBRE EDIT buttons and turn the five Edit Controlknobs to change the Program’s tone.
- You can create two tones per Program. Press the TIMBRE button to switch between Timbre 1 and Timbre 2.
- Press and hold the vocal ON/OFF button. Choose Vocoder, Hard Tune, or Harmonizer to add vocal effects.
- You can layer the Hard Tune and Harmonizer effects together, but the Vocoder can only be used independently.
Adjusting microphone settings
- Connect the microphone to the microKORG 2, then turn the gain up approximately halfway.
- Press the GLOBAL EDIT button until you’ve entered the Mic menu.
- Begin singing or speaking at performance level. Adjust any settings using the Edit Control knobs. Use the fifth knob to send the microphone to a specific MIDI channel.
Saving Programs
Once you’ve created a sound you’d like to use, you can save it to an INIT slot. Alternatively, you can overwrite a factory preset. If you save Programs to INIT slots, you may find it easier to save them by genre. For example, if you have a bass sound you would frequently use on funk songs, save it as an INIT Program in the Funk/Soul genre.
- Press the F4 (WRITE) button, use PROGRAM SELECT to choose a genre, and use the BANK and PROGRAM NUMBER buttons to select the save location.
- Use the F1 (< CUR) and F2 (> CUR) to move the cursor; use the EDIT CONTROL 1–4 knobs to choose the character; and use the EDIT CONTROL 5 knob to select the background color.
- After you’ve named your Program, press the F4 (EXECUTE) button to save it.
Related Articles
When you need help, Sweetwater has the answers!
Our knowledge base contains over 28,000 expertly written tech articles that will give you answers and help you get the most out of your gear. Our pro musicians and gear experts update content daily to keep you informed and on your way. Best of all, it’s totally FREE, and it’s just another reason that you get more at Sweetwater.com.


Offer applies only to single-receipt qualifying purchases. Select manufacturers may require that only the manufacturer’s products qualify towards the minimum purchase amount needed to be eligible for promotional financing. Otherwise, an invoice that meets the minimum purchase amount and contains at least one qualifying manufacturer product is eligible for promotional financing. No interest will be charged on promo purchase balance, and equal monthly payments are required on promo purchase until it is paid in full. The payments equal the amount financed divided by the number of months in the promo period, rounded up to the next whole dollar. These payments may be higher than the payments that would be required if this purchase was a non-promo purchase. During the last month(s) of the promo period the required monthly payment may be reduced due to the prior months’ rounding. Regular account terms apply to non-promo purchases. New Accounts as of 07/31/2025: Purchase APR is 34.99%. Penalty APR is 39.99%. Min Interest Charge is $2. Existing cardholders: See your credit card agreement terms. Subject to credit approval.
Offer applies only to single-receipt qualifying purchases. No interest will be charged on the promo balance if you pay it off, in full, within the promo period. If you do not, interest will be charged on the promo balance from the purchase date. The required minimum monthly payments may or may not pay off the promo balance before the end of the promo period, depending on purchase amount, promo length and payment allocation. Regular account terms apply to non-promo purchases and, after promo period ends, to the promo balance. New Accounts as of 07/31/2025: Purchase APR is 34.99%. Penalty APR is 39.99%. Min Interest Charge is $2. Existing cardholders: See your credit card agreement terms. Subject to credit approval.
The estimated required monthly payment shown which excludes taxes and delivery equals the amount financed divided by the number of months in the promo period, rounded up to the next cent. During the last month(s) of the promo period the required monthly payment may be reduced due to this rounding. These payments apply only with the financing offer shown. If you make these payments by the due date each month, you should pay off this amount financed within the promo period, if it is the only balance you are paying off. If you have other balances on your account, this payment will be added to any other minimum monthly payments.
Applies only to select items from this manufacturer. Ask your Sweetwater Sales Engineer for more details.