
Flute Quickstart Guide
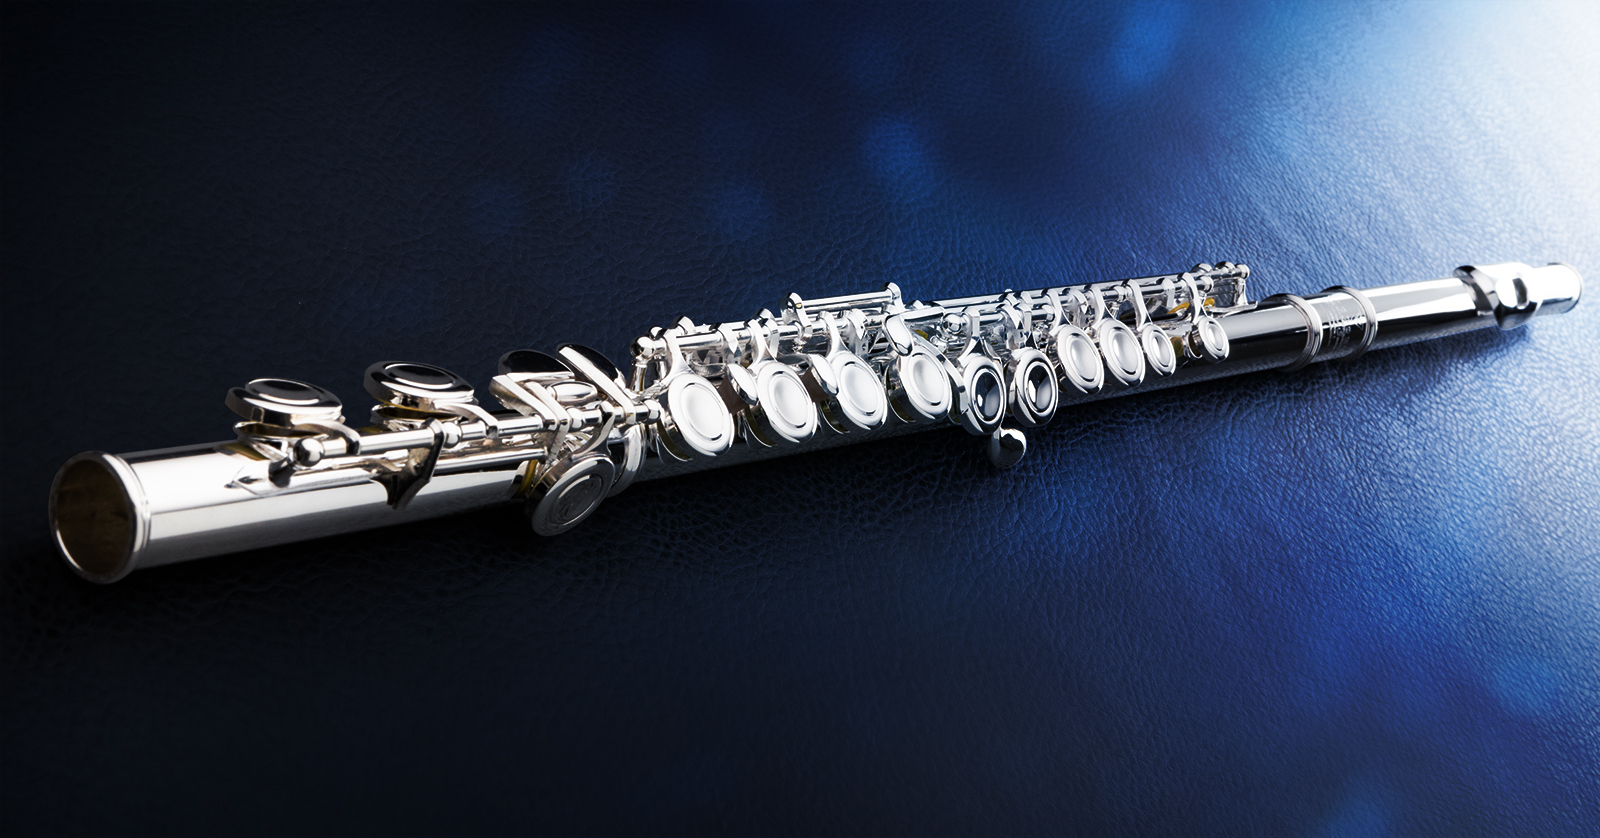
Congratulations on buying a flute from Sweetwater. Found in all cultures, the flute may be the oldest known musical instrument. Today the flute has a place in every kind of music, from classical to folk to R&B and rock, from Lizzo to James Galway.
If you are just getting started, let us help you with the basics.
TIP: In all things regarding your new flute, ask your private teacher or school band director. As they teach you how to play the instrument, they will be able to answer your questions and give you advice.
- Parts of a Flute
- How to Assemble Your Flute
- Proper Playing Technique for Flute
- How to Tune Your Flute
- Clean Your Flute When You Are Done
- Flute Care and Maintenance
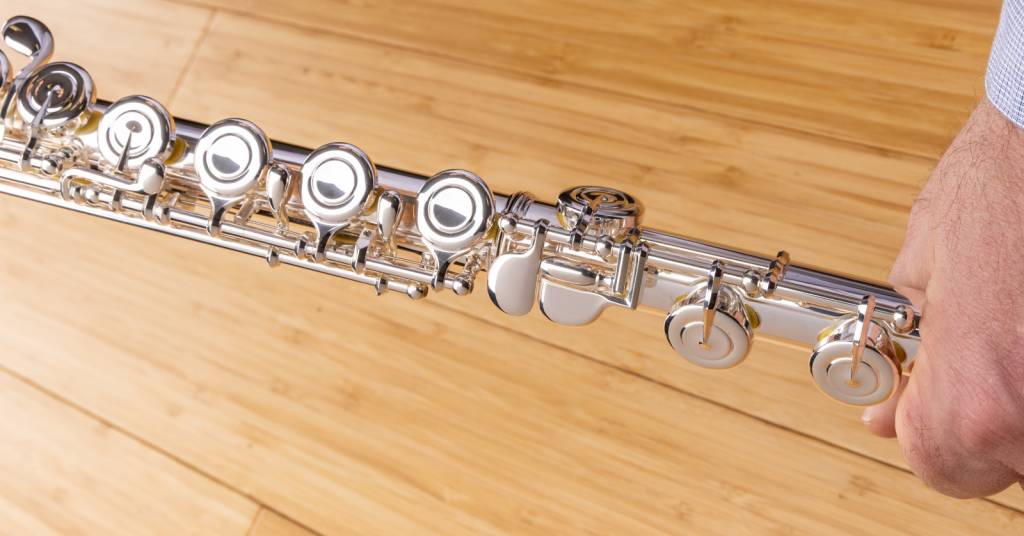
Parts of a Flute
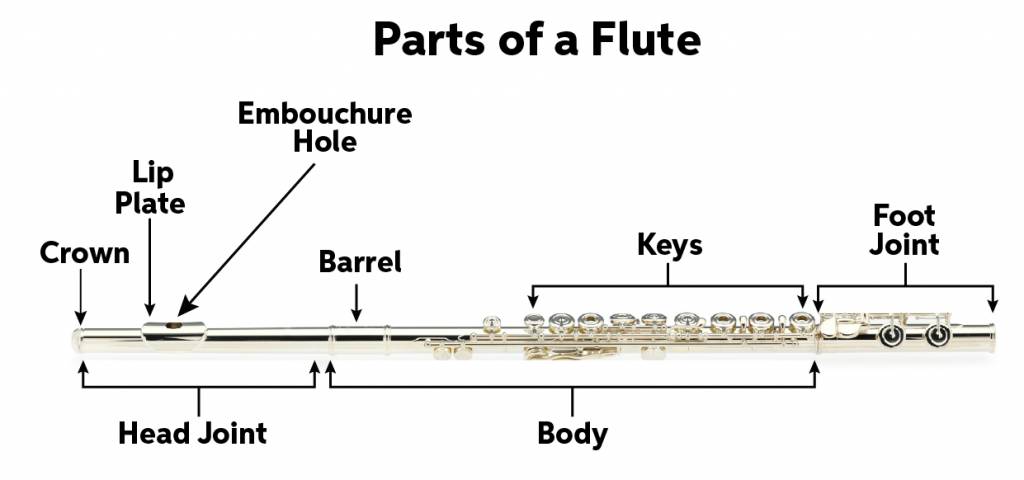
The flute is a woodwind instrument, as flutes in earlier centuries were made of wood. The modern flute is made of metal. Beginner flutes are made of “nickel silver,” which is actually an alloy of copper, nickel, and zinc. Intermediate and professional flutes are made from parts that incorporate silver and other precious metals.
You produce music on the flute by blowing air across the embouchure hole, controlling the vibration of a column of air.
The flute has three parts.
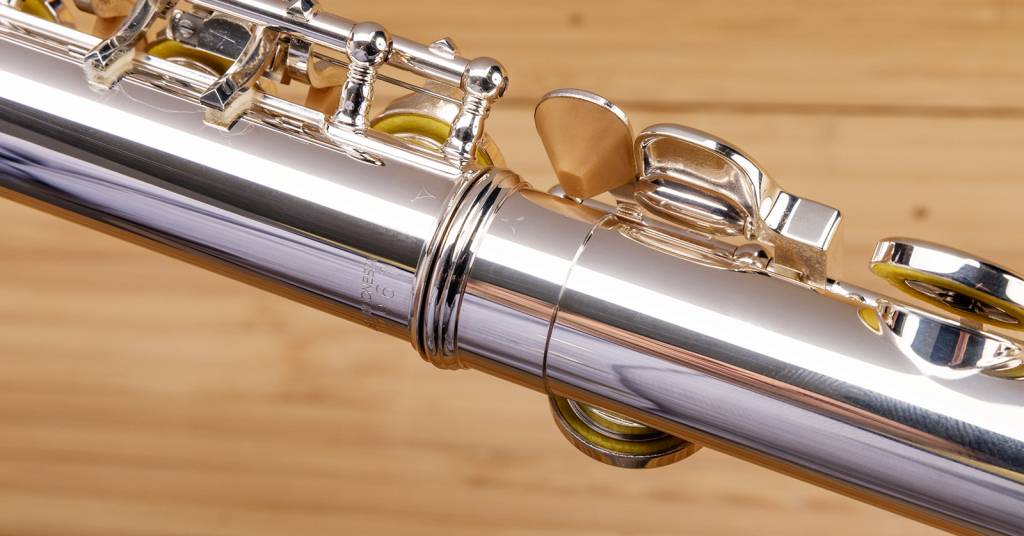
Head joint
The head joint contains the lip plate, where you blow into the embouchure hole. It also contains the crown, a screw that closes the end of the flute. On the inside, attached to the crown, is a cork that can be adjusted to make the flute play more in tune. (Don’t unscrew the crown. Your teacher will tell you if it needs adjusting.)
Body
The body of the flute starts with the barrel, where the head joint attaches to the body. The body contains tone holes. The player changes notes by using the fingers to press down on different combinations of keys which have pads that stop the tone holes. Beginner flutes have closed-hole keys, which are solid. Intermediate and advanced flutes have open-hole keys, which the player can learn to control to produce a wider range of tones.
Foot joint
The foot joint is the open end of the column of air of the flute. It contains the smallest number of keys. Beginner flutes have a C foot joint; advanced flutes have a foot joint with an extra B key.
About the Keys
The basic fingerings are the same for all modern flutes. However, different models have slightly different arrangements of keys and levers, what we call keywork. Your teacher will explain how your flute is keyed.
Here’s a Sweetwater article on the features and options found with different models of flute.
How to Assemble Your Flute
TIP: It would be best if you have your teacher show you how to assemble your flute for the first time.
IMPORTANT: Never use grease or oil on the joints of your flute. Many band and orchestra instruments need grease or oil, but the flute does not.
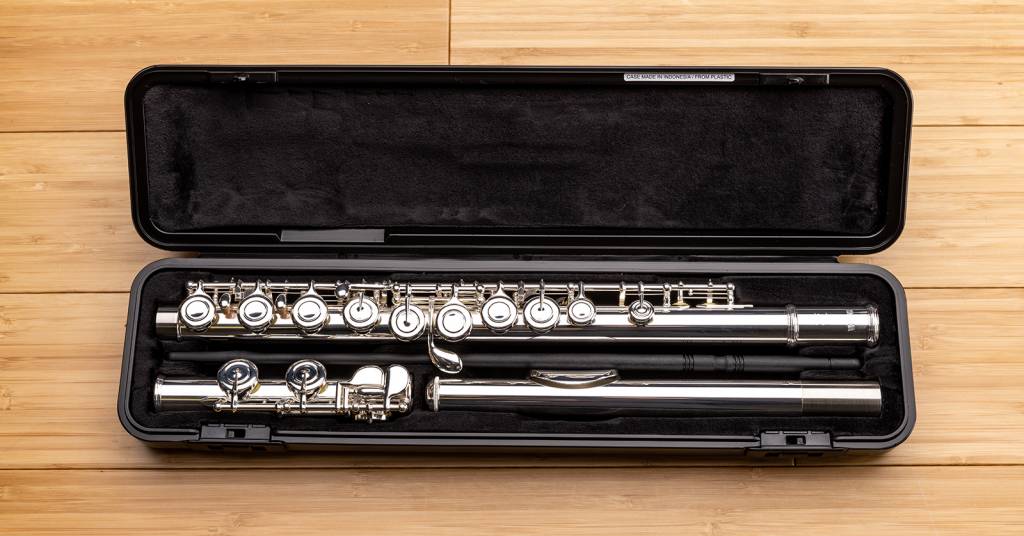
- Place your flute case right side up on a table with the logo on the lid facing up.
- Take out the flute’s body and grasp it by the barrel, where there are no keys.
- Take out the foot joint and hold it on the bottom where there are no keys.
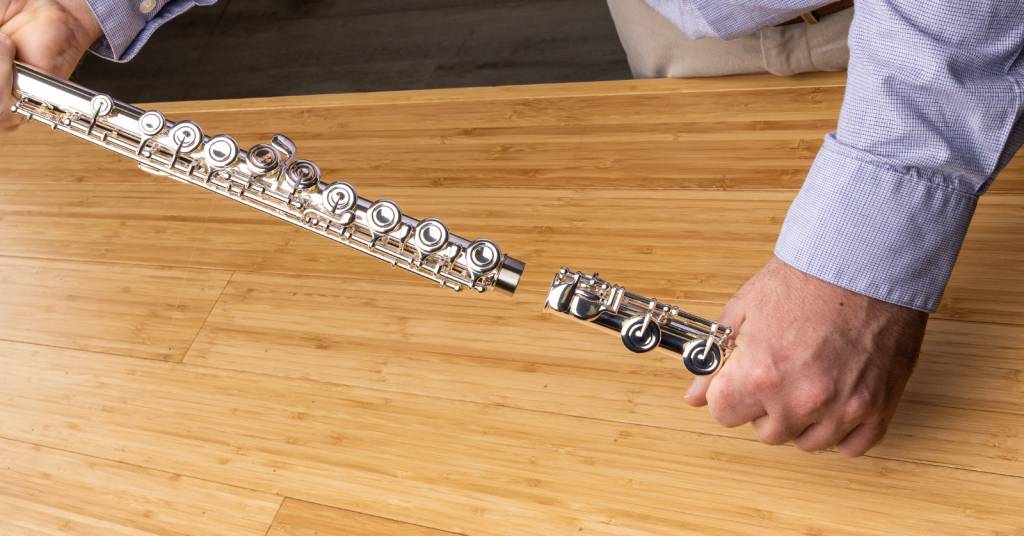
Insert the foot joint into the body, twisting it slightly to ease it in.
Align the post (the horizontal bar on the foot joint’s keywork) to the center of the lowest key on the body.
Some flutes have tiny arrows engraved on the joints to show you how to align them correctly.
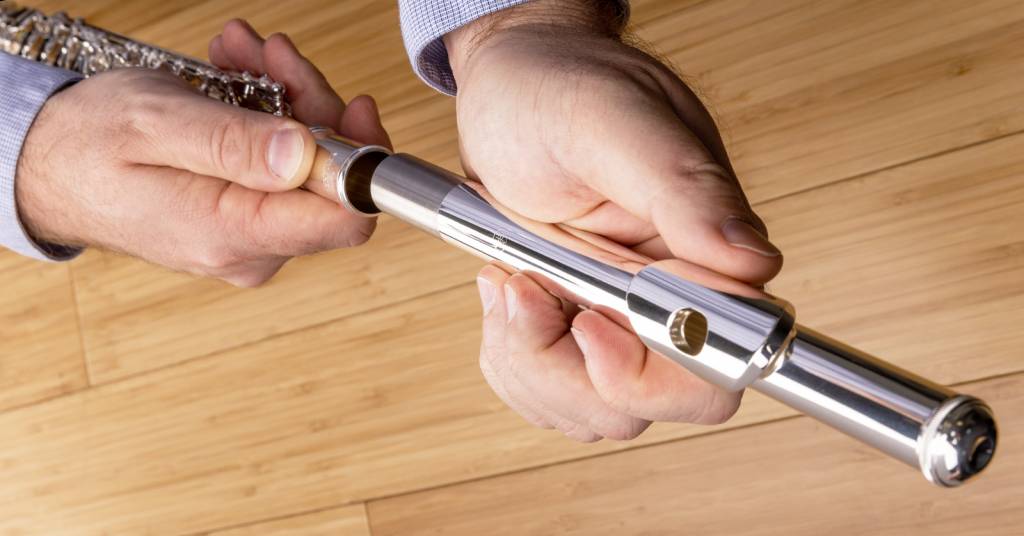
Take the head joint in your other hand and insert it into the body, rotating back and forth slightly to ease it in. Don’t insert it all the way; later on, we will discuss how to tune the flute, which you do by adjusting how far the head joint is inserted into the body.
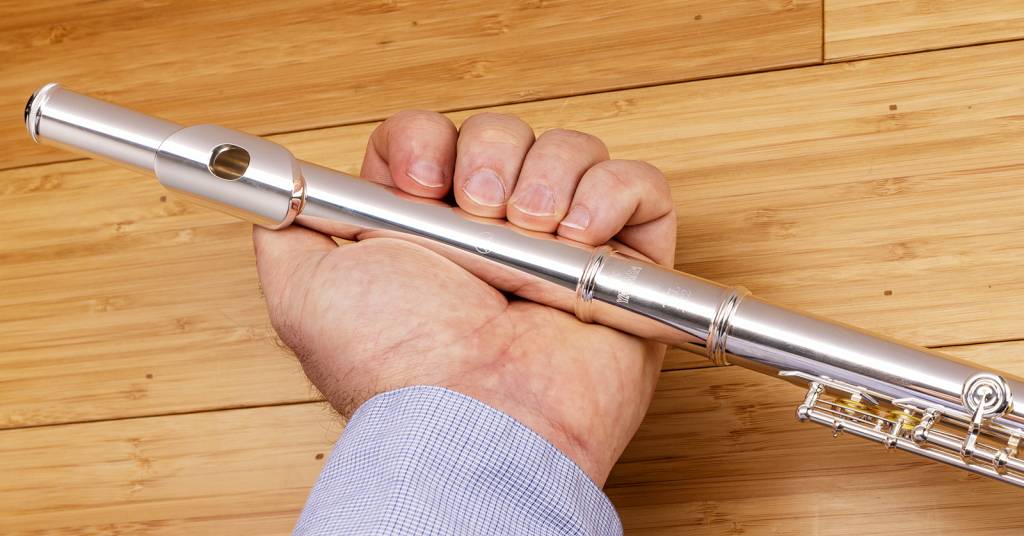
Position the head joint so the embouchure hole is in line with the first key on the body.
Here’s a video that demonstrates the process.
Proper Playing Technique for Flute
The first time you hold your flute in the proper position, it will feel awkward. Your teacher will help you sort it out.
Getting ready to play
You’ll be blowing air out of your mouth and into the flute’s embouchure hole, learning to control your breath. It’s important to start with a clean mouth. Don’t eat right before playing the flute. Brush your teeth and rinse out your mouth.
Wash your face and hands before you play. You don’t want oils from your skin and fingers tarnishing your flute.
Remove jewelry and rings so they don’t scratch or damage your flute.
Proper posture
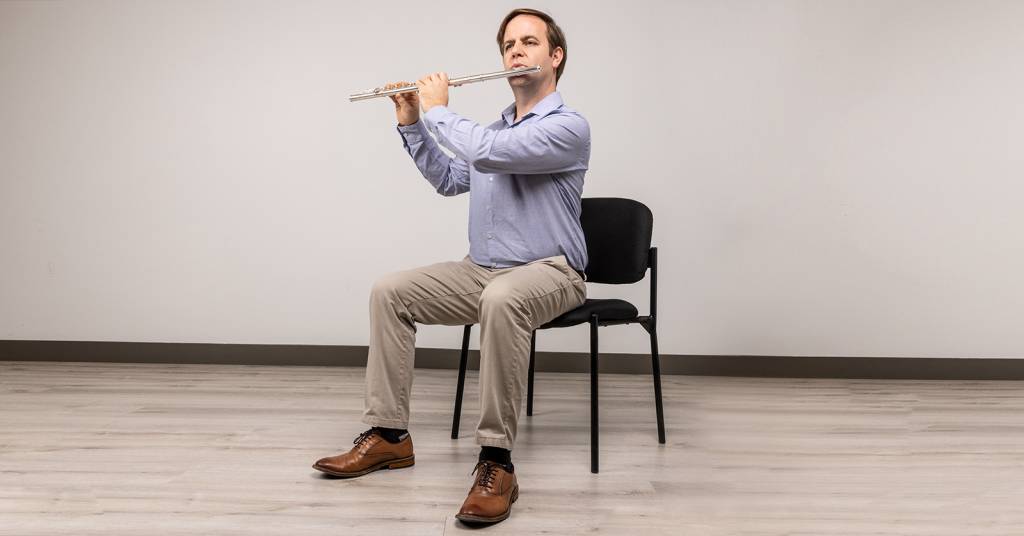
Musicians learn how to sit and stand while holding their body and the instrument in the proper posture to minimize tension and guard against fatigue. Don’t give yourself a pain in the neck, back, shoulders, or arms.
Sit in a firm chair with both feet flat on the floor. Sit forward in the chair with your back straight; don’t lean against the chair’s back, and don’t lean forward, either. Hold your head up high and roll it around a bit to make sure there isn’t any tension in your neck.
Your sound comes from your breath. Your teacher will teach you proper breath support, which also depends on good posture.
How to Hold Your Flute
You hold the flute on the right side of your body, positioning the head joint and the embouchure hole below your lips.
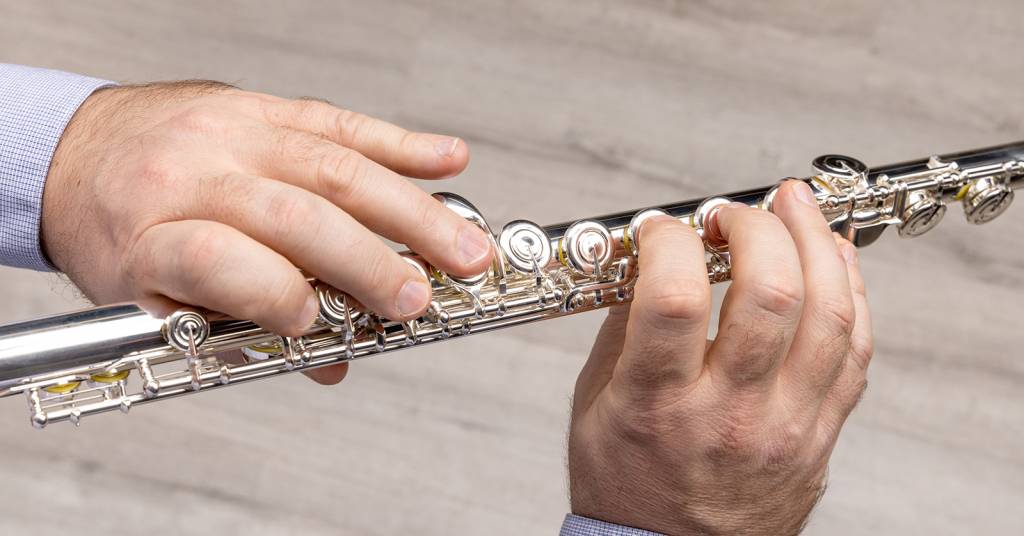
You bear the weight of the flute on the crook of the index finger on your left hand with your palm facing toward your right shoulder. Place your left thumb on the first key on the bottom of the flute, then curve your fingers around the front. Place your left-hand index, middle, and ring fingers on the second, fourth, and fifth keys. Your pinky touches the side key.
Your right hand holds the end of the flute with the hand positioned on the opposite side of the body from the left hand. The palm is held outward, and the fingers are wrapped around from the back. Rest your right index, middle, and ring fingers on the three bottom keys on the body. Your right pinky plays the first key on the foot joint.
Hold the flute parallel to the ground. If you let it drift downward, you won’t be able to produce a clear, strong tone.
Holding your arms, elbows, and wrists in the proper position to keep the flute horizontal while positioning the embouchure hole under your mouth as you blow into it is going to take practice. Be sure to take breaks.
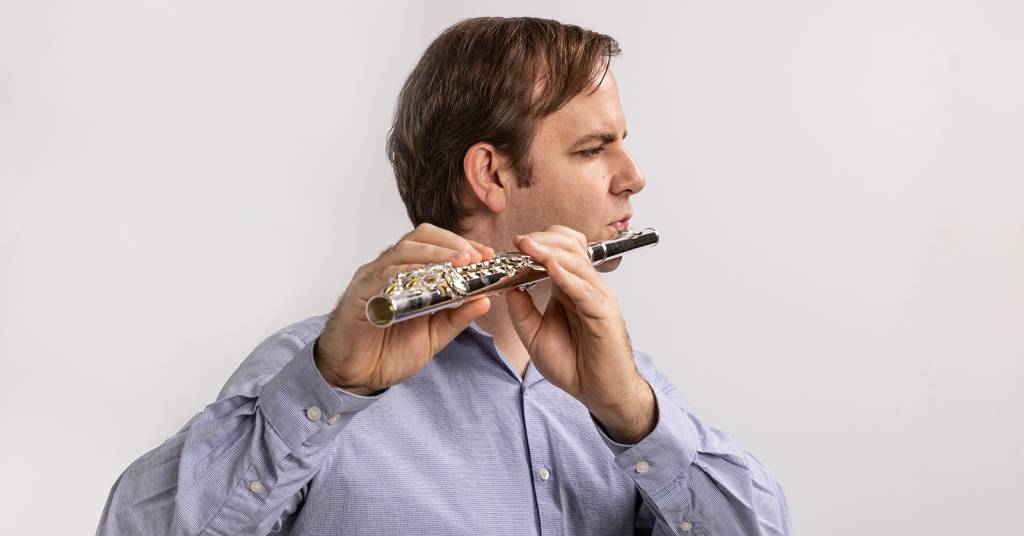
Embouchure for Flute
“Embouchure” means the way you hold your mouth when you blow air into the flute. Start by putting your lips together and pronouncing the word “too” as you blow out some air.
Position the flute so that your lower lip rests lightly against the lip plate. Breathe out toward the opposite edge of the embouchure hole. Rotate the position of the head joint slightly and find the exact position where your breath produces a sound.
Playing different notes on the flute, and playing them in tune, depends not only on the fingerings, but also on the way you control your breath. Your teacher will help you with this.
How to Tune Your Flute
Your teacher will show you how to tune your flute.
Unlike some other instruments, whether your flute notes are in tune depends less on how you adjust the instrument and more on how you control your embouchure. This will take practice. Understanding that, you can tune your flute by making small adjustments in the position of the head joint.
Get an electronic tuner for your flute
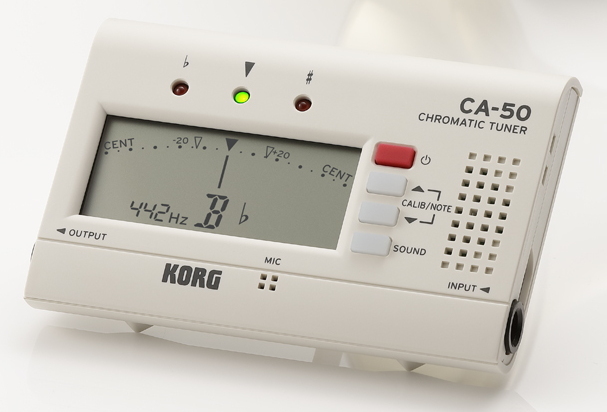
An electronic tuner senses the pitch of a note when you play it and displays whether the pitch is sharp, flat, or in tune.
There are a number of tuner apps for your phone that use the phone’s microphone.
A better choice is an electronic tuner device. Here are some examples:
Basic tuning for the flute
Ask your teacher to show you how to play the middle “G” on your flute.
When you play the note, the tuner’s display will indicate whether the pitch is too low (flat) or too high (sharp).
If the note is sharp, gently move the head joint out a tiny bit. By making the flute slightly longer, the pitch will go lower. Play the note again and look at the tuner’s display. If the note is flat, move the head joint inward a tiny bit, and the pitch will go higher.
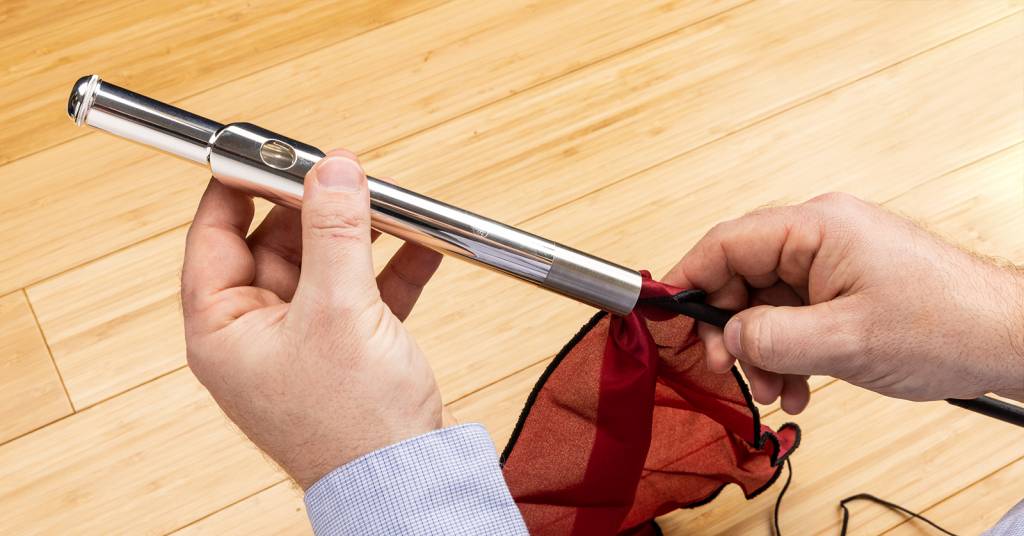
Clean Your Flute When You Are Done
It is not a good idea to keep the flute assembled after you are done playing it. You need to disassemble the parts, swab them out to remove all moisture, put the parts back in the case, and close the case.
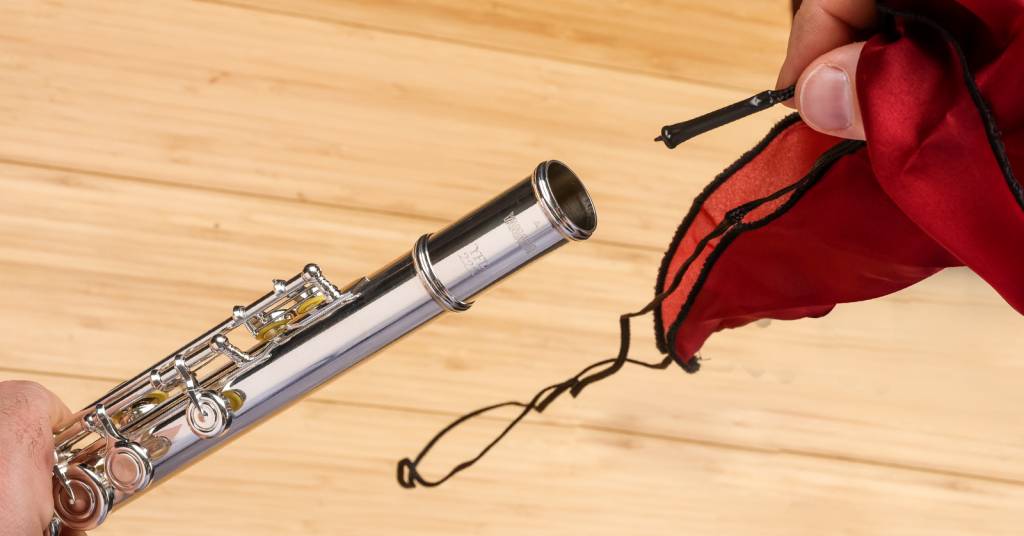
Inside your flute case is the cleaning rod. If your flute did not come with a flute cleaning swab, made of silk or microfiber, then you will need to get one.

The cleaning rod has a slot in the head into which you insert the swab.

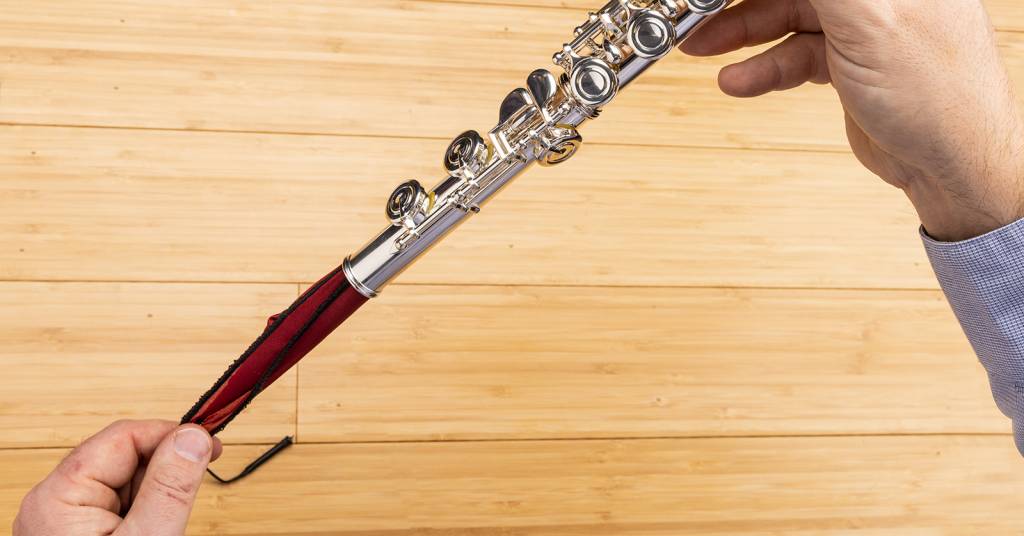
Wrap the swab around the head of the cleaning rod so that the head is not exposed, as it could scratch the inside of the flute.
Remove the head joint from the body.
Gently insert the cleaning rod and swab into the head joint’s open end and swab out the moisture. When you see the end of the cleaning rod and swab appear in the embouchure hole, don’t push any further. Pull the rod out.
Put the head joint back in the case.
Next, unwrap the swab from the cleaning rod. The swab will have a weighted thread attached to it.
Hold the body and foot joint vertically.
Drop the weighted thread into the body and feed it through and out the bottom.
Pull the thread, drawing the swab through the body to remove the moisture.
Disassemble the foot joint from the body and store the joints, together with the cleaning rod, back in your flute case, and close it.
Don’t put the wet swab inside the flute case. Let the swab dry out, and then store it separately.
Flute Care and Maintenance
We still need to teach you a few more things about cleaning and caring for your flute. Be sure to click on the link below and read our Flute Care and Maintenance Guide. There are steps you need to take to prevent damage and costly repairs. We at Sweetwater trust you will enjoy playing your flute for years to come.
When you need help, Sweetwater has the answers!
Our knowledge base contains over 28,000 expertly written tech articles that will give you answers and help you get the most out of your gear. Our pro musicians and gear experts update content daily to keep you informed and on your way. Best of all, it’s totally FREE, and it’s just another reason that you get more at Sweetwater.com.


Offer applies only to single-receipt qualifying purchases. Select manufacturers may require that only the manufacturer’s products qualify towards the minimum purchase amount needed to be eligible for promotional financing. Otherwise, an invoice that meets the minimum purchase amount and contains at least one qualifying manufacturer product is eligible for promotional financing. No interest will be charged on promo purchase balance, and equal monthly payments are required on promo purchase until it is paid in full. The payments equal the amount financed divided by the number of months in the promo period, rounded up to the next whole dollar. These payments may be higher than the payments that would be required if this purchase was a non-promo purchase. During the last month(s) of the promo period the required monthly payment may be reduced due to the prior months’ rounding. Regular account terms apply to non-promo purchases. New Accounts as of 07/31/2025: Purchase APR is 34.99%. Penalty APR is 39.99%. Min Interest Charge is $2. Existing cardholders: See your credit card agreement terms. Subject to credit approval.
Offer applies only to single-receipt qualifying purchases. No interest will be charged on the promo balance if you pay it off, in full, within the promo period. If you do not, interest will be charged on the promo balance from the purchase date. The required minimum monthly payments may or may not pay off the promo balance before the end of the promo period, depending on purchase amount, promo length and payment allocation. Regular account terms apply to non-promo purchases and, after promo period ends, to the promo balance. New Accounts as of 07/31/2025: Purchase APR is 34.99%. Penalty APR is 39.99%. Min Interest Charge is $2. Existing cardholders: See your credit card agreement terms. Subject to credit approval.
The estimated required monthly payment shown which excludes taxes and delivery equals the amount financed divided by the number of months in the promo period, rounded up to the next cent. During the last month(s) of the promo period the required monthly payment may be reduced due to this rounding. These payments apply only with the financing offer shown. If you make these payments by the due date each month, you should pay off this amount financed within the promo period, if it is the only balance you are paying off. If you have other balances on your account, this payment will be added to any other minimum monthly payments.
Applies only to select items from this manufacturer. Ask your Sweetwater Sales Engineer for more details.