
Arturia DrumBrute Quickstart Guide

Getting started with the Arturia DrumBrute
In this guide, we’ll show you how to get started with the Arturia DrumBrute. You’ll learn how to register the DrumBrute, download and install Arturia’s MIDI Control Center, and use it for the first time.
This article only scratches the surface, so to unlock your DrumBrute’s full potential, be sure to check out the DrumBrute’s user manual for more information! We’ve also included some useful videos from our friends at Arturia to get you up and running. Follow the sections below to get started.
- Register the DrumBrute
- Download and install Arturia MIDI Control Center
- How to create a pattern with the DrumBrute
- Using the DrumBrute with external gear
Register the DrumBrute
The first thing you’ll want to do is register the DrumBrute with Arturia before you get started. Upon registration, you’ll receive a code for a free copy of Ableton Live Lite, the DrumBrute manual, and download links for the Arturia MIDI Control Center application. Follow these steps to register the Arturia DrumBrute.
- Log in to your Arturia account. If you don’t have an account yet, create one here.
- On your account page, click the green Register New Product button.
- Enter the Serial Number and Unlock Code located on the sticker on the underside of the Arturia DrumBrute.
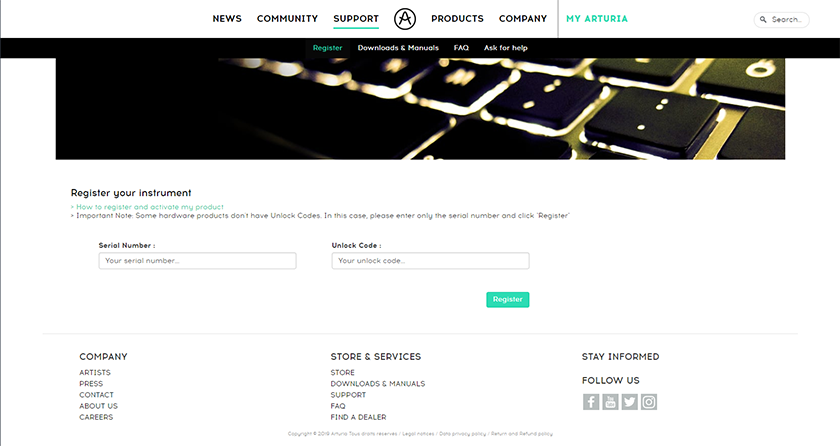
Click the image to register your DrumBrute.
Download and install Arturia MIDI Control Center
After registering the DrumBrute, the next step is to download and install Arturia MIDI Control Central, which allows you to create and customize settings and sequences, but more importantly, perform firmware updates. Follow these steps to get the software.
- Download the Arturia MIDI Control Center application here.
- You’ll learn how to update the firmware later in this guide, so while you’re on that page, download the firmware file if your computer will be offline.
- Open your Downloads folder and double-click the .exe file (PC) or .pkg file (Mac) installer file and follow the on-screen instructions.
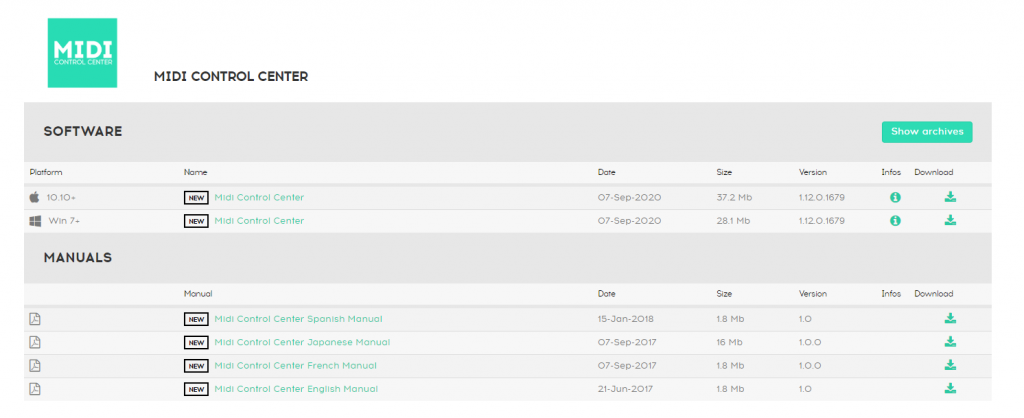
Click the image to download Arturia MIDI Control Center.
How to create a pattern with the DrumBrute
IMPORTANT: If you power cycle the unit, you’ll lose any unsaved data. So be sure to press the Save button once you’ve completed your pattern.
Creating beats using the Arturia DrumBrute is very simple. You can make up to 64 patterns, and each pattern can have up to 64 steps. These steps can be entered in three different ways: enter steps manually, record in real-time, or use the Roller/Step Repeater touchpad (located underneath the Master Volume knob). All three methods are simple, so follow these steps to create a pattern.
- Set the tempo of your pattern using the Tempo knob. By holding the Shift button while turning the Tempo knob, you can fine-tune the tempo even further.
Enter the steps manually
Manually entering steps is the best if you’re going for a straightforward beat or if you need to edit a specific instrument’s pattern without having to re-record. This is particularly useful for extended patterns.
- Press the instrument pad you want to trigger.
- Press one of the 16 Step pads above to add them to your pattern. Press the Step pad again to remove it.
Record in real time
The 12 instrument pads are velocity-sensitive, so recording patterns in real-time are great if you want a more dynamic pattern. The recorded instrument will be quantized to the closest step, so if it sounds a little off, press that step to erase it, then press the Step pad you wanted to trigger.
- Press the Record pad to record enable the pattern, then press the Play/Pause pad to begin recording.
- Enter the beat using the instrument pad you want to trigger.
- Once you’re finished, press the Stop pad.
Use the Roller/Step Repeater
The Roller/Step Repeater touchpad is easily the best way to record repetitive instruments, hi-hats being the most common. You can get creative with this because you can change the value while recording in real-time. This is perfect for intricate hi-hat patterns, often heard in trap music and other electronic genres.
- Press the Record pad to record enable the pattern, then press the Play/Pause pad to begin recording.
- Press and hold both the instrument and note value you want to record.
- Slide your finger back and forth on the Roller/Step Repeater pad to change note values in real time.
- Once you’re finished, press the Stop pad.
Transfer DrumBrute patterns to MIDI Control Center
You can transfer and edit any DrumBrute sequence you recorded using the MIDI Control Center. This is especially useful if you want to record more than 64 patterns or when you need to back up your patterns.
- Connect the DrumBrute to your computer, then launch MIDI Control Center.
- Use the dropdown box located under Device and select DrumBrute.
- Click the Recall From button.
- If you want to transfer patterns back to the DrumBrute, click the Store To button.
Episode 1 – Entering Steps
Using the DrumBrute with external gear
Clock IN/OUT works by sending pulses per quarter note (PPQN); a unit of time used for sequencing and automation. For the DrumBrute to control your external gear via analog clock, you will need to connect a 3.5mm TRS cable from the Clock OUT jack on the DrumBrute to the Clock IN of the other synthesizer.
TIP: ⅛-inch TS cables will only send a clock pulse. ⅛-inch TRS cables will send both clock pulse and start/stop.
You can synchronize gear such as sequencers and synths with the DrumBrute. The 3.5mm TRS Sync jacks can be used to connect to external synths via analog clock. Another option is using the 5-pin MIDI jacks, which can connect not only to external synths but to a MIDI interface for DAW synchronization, as well.
Alternatively, connect the cable from the Clock OUT jack on the external synth to the Clock IN of the DrumBrute if you want the external synth to be the master.
DrumBrute sync modes
Depending on your setup, you may need to change the Sync mode. This can be done by pressing the Sync button.
- INT: The DrumBrute is the MAIN source through USB, MIDI & Sync out.
- USB: The DrumBrute is RECEIVING the clock being sent from MIDI-USB.
- MIDI: The DrumBrute is receiving the clock being sent via MIDI-Din.
- CLOCK: Allows you to set the clock source from analog clock connections.
How to change PPQN on the DrumBrute
If you’re connected via the Clock IN/OUT of the DrumBrute, you’ll need to use MIDI Control Center to change PPQN. The most common synth setting is 24 PPQN, but you can change it to 1step (one pulse per step), 2PPQ (Standard for Korg Volca devices), 24PPQ, and 48PPQ. If you aren’t sure of the PPQ sync for your external device, please consult its Owner’s Manual for more information.
DrumBrute individual outs
One nifty feature of the DrumBrute is having individual outputs for each instrument. Even the metronome has one! Using these is particularly useful if you want to connect it to a mixer or an interface. You can get creative too, and even connect them to guitar pedals for really unique effects!
Just remember that when an individual output is used, that specific instrument will be removed from the main mix output and that the individual outputs are mono connections.
Additional resources

DrumBrute User Manual
DrumBrute Video Tutorial Series
Arturia DrumBrute Introductory Tutorial
DrumBrute Tutorials Episode 1 – Entering Steps
Episode 2 – Live Performances
Episode 4 – Adding Feel
Episode 3 – Polyrhythm
Episode 5 – The Metronome
When you need help, Sweetwater has the answers!
Our knowledge base contains over 28,000 expertly written tech articles that will give you answers and help you get the most out of your gear. Our pro musicians and gear experts update content daily to keep you informed and on your way. Best of all, it’s totally FREE, and it’s just another reason that you get more at Sweetwater.com.


Offer applies only to single-receipt qualifying purchases. Select manufacturers may require that only the manufacturer’s products qualify towards the minimum purchase amount needed to be eligible for promotional financing. Otherwise, an invoice that meets the minimum purchase amount and contains at least one qualifying manufacturer product is eligible for promotional financing. No interest will be charged on promo purchase balance, and equal monthly payments are required on promo purchase until it is paid in full. The payments equal the amount financed divided by the number of months in the promo period, rounded up to the next whole dollar. These payments may be higher than the payments that would be required if this purchase was a non-promo purchase. During the last month(s) of the promo period the required monthly payment may be reduced due to the prior months’ rounding. Regular account terms apply to non-promo purchases. New Accounts as of 07/31/2025: Purchase APR is 34.99%. Penalty APR is 39.99%. Min Interest Charge is $2. Existing cardholders: See your credit card agreement terms. Subject to credit approval.
Offer applies only to single-receipt qualifying purchases. No interest will be charged on the promo balance if you pay it off, in full, within the promo period. If you do not, interest will be charged on the promo balance from the purchase date. The required minimum monthly payments may or may not pay off the promo balance before the end of the promo period, depending on purchase amount, promo length and payment allocation. Regular account terms apply to non-promo purchases and, after promo period ends, to the promo balance. New Accounts as of 07/31/2025: Purchase APR is 34.99%. Penalty APR is 39.99%. Min Interest Charge is $2. Existing cardholders: See your credit card agreement terms. Subject to credit approval.
The estimated required monthly payment shown which excludes taxes and delivery equals the amount financed divided by the number of months in the promo period, rounded up to the next cent. During the last month(s) of the promo period the required monthly payment may be reduced due to this rounding. These payments apply only with the financing offer shown. If you make these payments by the due date each month, you should pay off this amount financed within the promo period, if it is the only balance you are paying off. If you have other balances on your account, this payment will be added to any other minimum monthly payments.
Applies only to select items from this manufacturer. Ask your Sweetwater Sales Engineer for more details.