Recording live acoustic drums can be a lot of fun, but it can also be a bit nerve-wracking. A drum kit is a complex instrument with tons of moving parts, any one of which can throw a monkey wrench into the recording process by creating unwanted noises that will be recorded by the microphones. There are, however, things you can do to get your drums ready for recording, and many of them can be done without spending a lot of money. Let’s take a look at a few of these gremlins you’ll want to avoid.
Nuts and Bolts
A good place to start is to check the screws and bolts that hold lugs and other fittings onto the drum shell. Loose screws can be a source of noise, and if one comes off in the middle of a recording session, then it could bounce around inside the drum, ruining a take. Metal snare drums often use cup washers around the screws (fig. 1), and they can create buzzing or rattling sounds if they are loose.

If you’re working with a drummer who is a particularly hard hitter and you’re concerned with screws backing out during the session, then apply a small amount of low-strength thread-locking fluid to each screw or bolt.
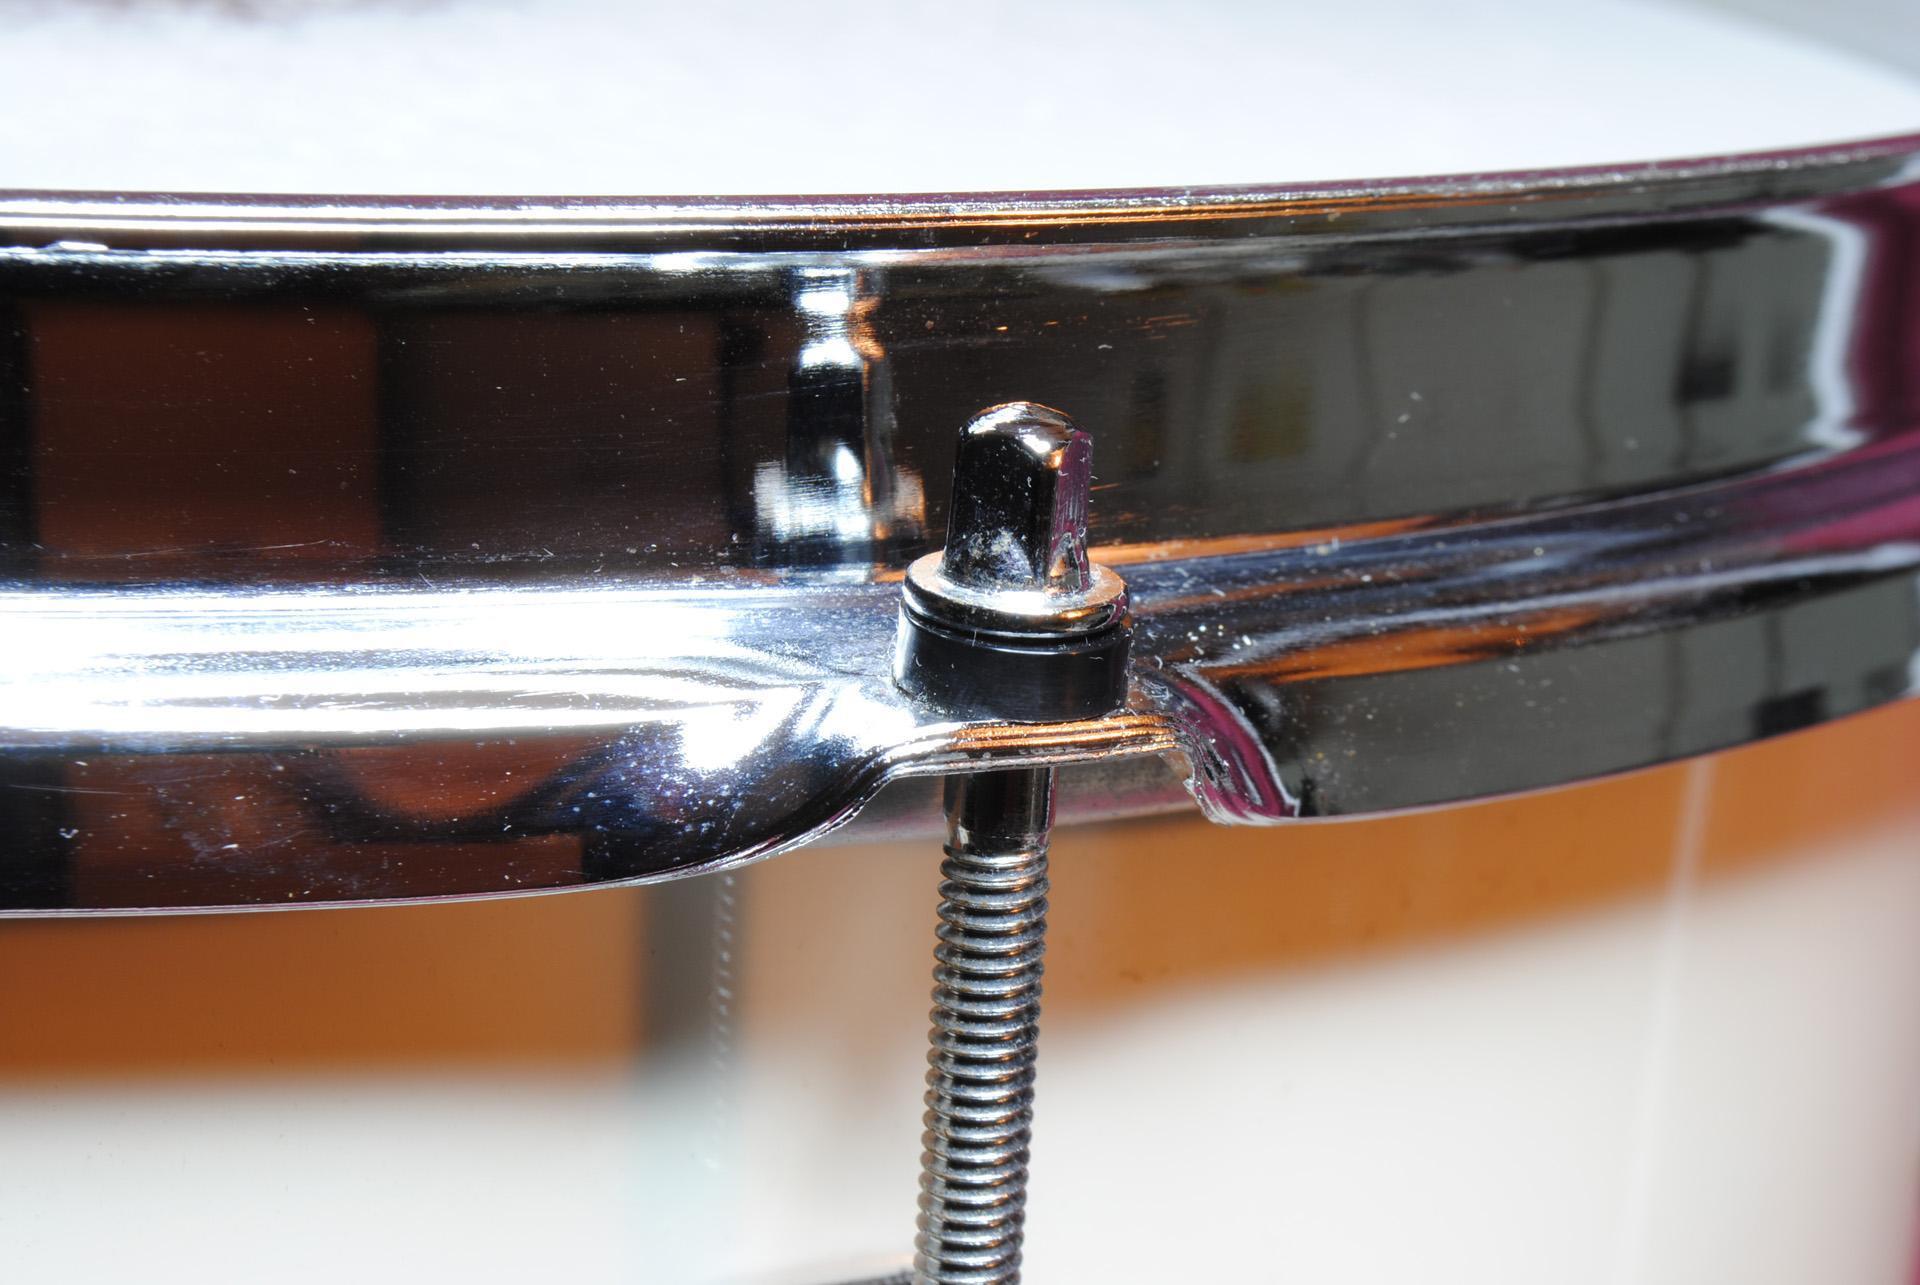
Tension rods are the long bolts that hold the hoops onto the drum shell (fig. 2). There’s usually a metal washer between the head of the tension rod and the hoop, and that metal-on-metal contact can cause noise.

To prevent this, replace the metal washer with a plastic or nylon washer (fig. 3). Some drummers like to stack the metal washer on top of the plastic one, which prevents the tension rod from digging into the nylon washer and splitting it.
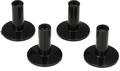
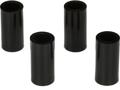
Sweetwater carries a variety of tension-rod washers, such as PDP nylon washers and Danmar tension-rod washers (fig.4), which actually form a sleeve around the tension rod and prevent it from touching the hoop, further reducing noise.

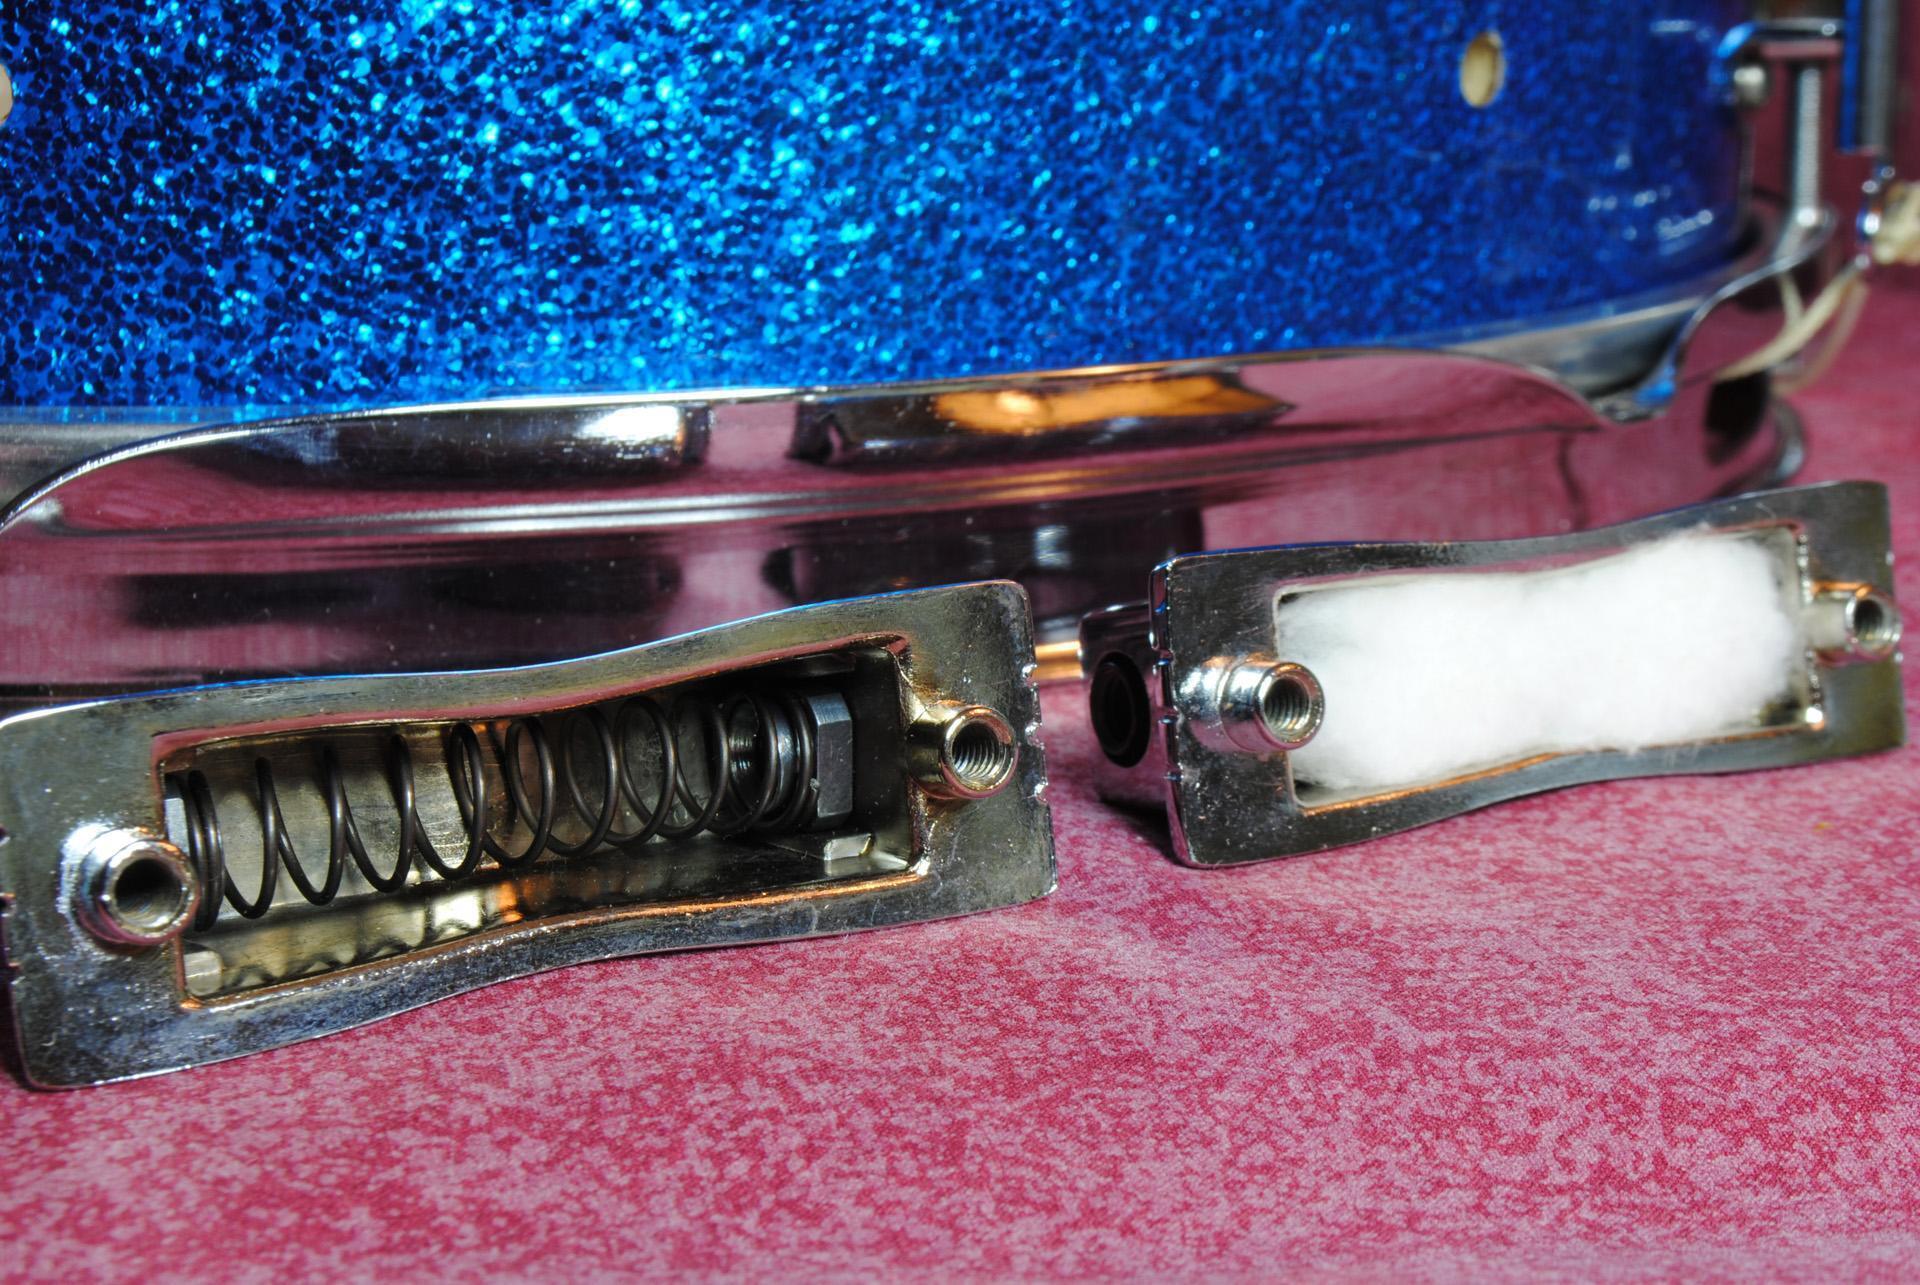
Another source of unwanted noise can be the tension casings. Tension casings (also called lugs) have internal receiving nuts that accept the tension rods, and, in most cases, these nuts have some play to make it easier to thread the rod into the nut even when they aren’t perfectly aligned. Older drums used springs inside the lugs to hold the receiving nuts in place (fig. 5); and those can be a source of noise, but there’s an easy fix.
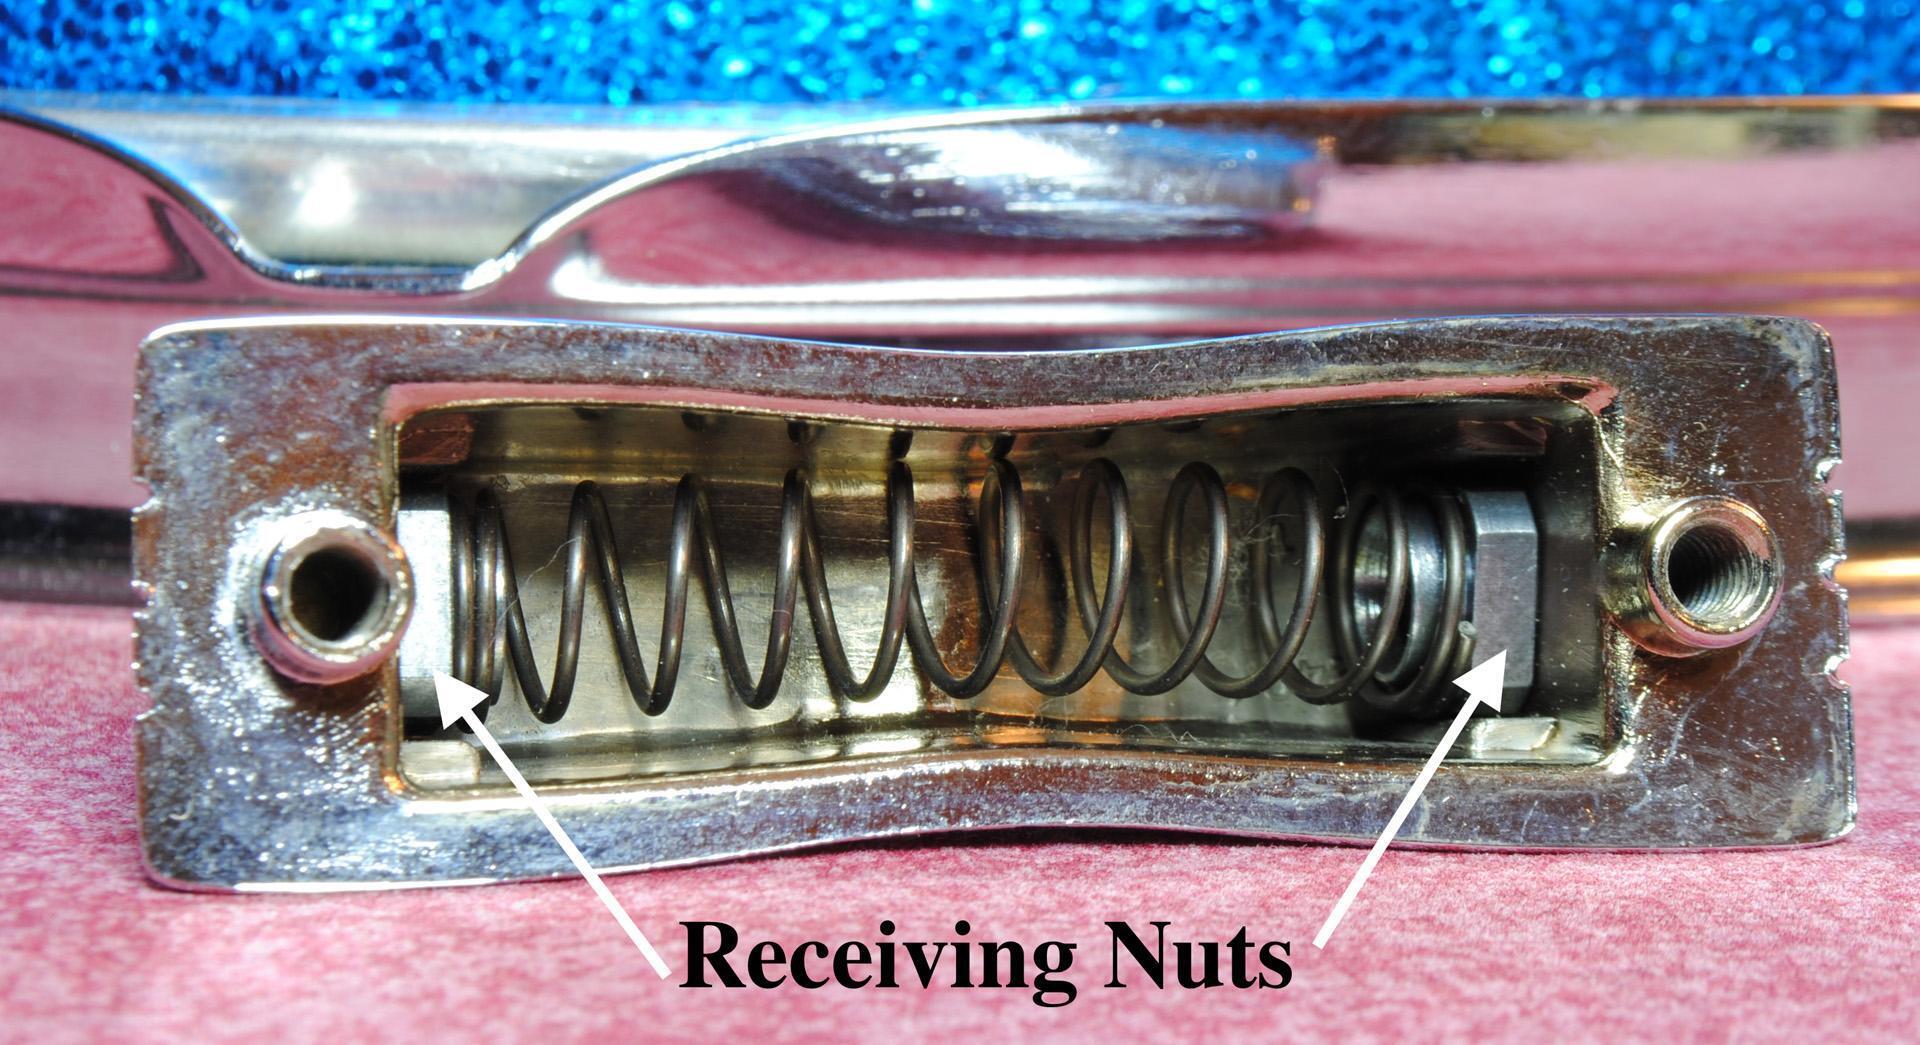
Remove the tension casing from the shell, pack it with cotton or foam, and reattach it (fig. 6). Beware that certain types of open-cell foam can rot over time, leaving behind a sticky residue.
Muzzle That Muffler!
A feature found on many older drums is an internal “muffler,” or tone-dampening control (fig. 7). Mufflers can reduce excessive ring, but they also impede the natural motion of the head by pushing up against it. A loose muffler can rattle, so it might be a better idea to remove it and use a piece of Moongel to dampen the head. If it’s a vintage drum that would be judged on its “original condition,” then be sure to keep the muffler in a safe place so you can reattach it if you decide to sell it!

One issue that many drum manufacturers have addressed is to isolate the tension casings from the drum shell with rubber or plastic gaskets (fig. 8). This is particularly important for snare drums with metal shells because it prevents metal-on-metal contact.
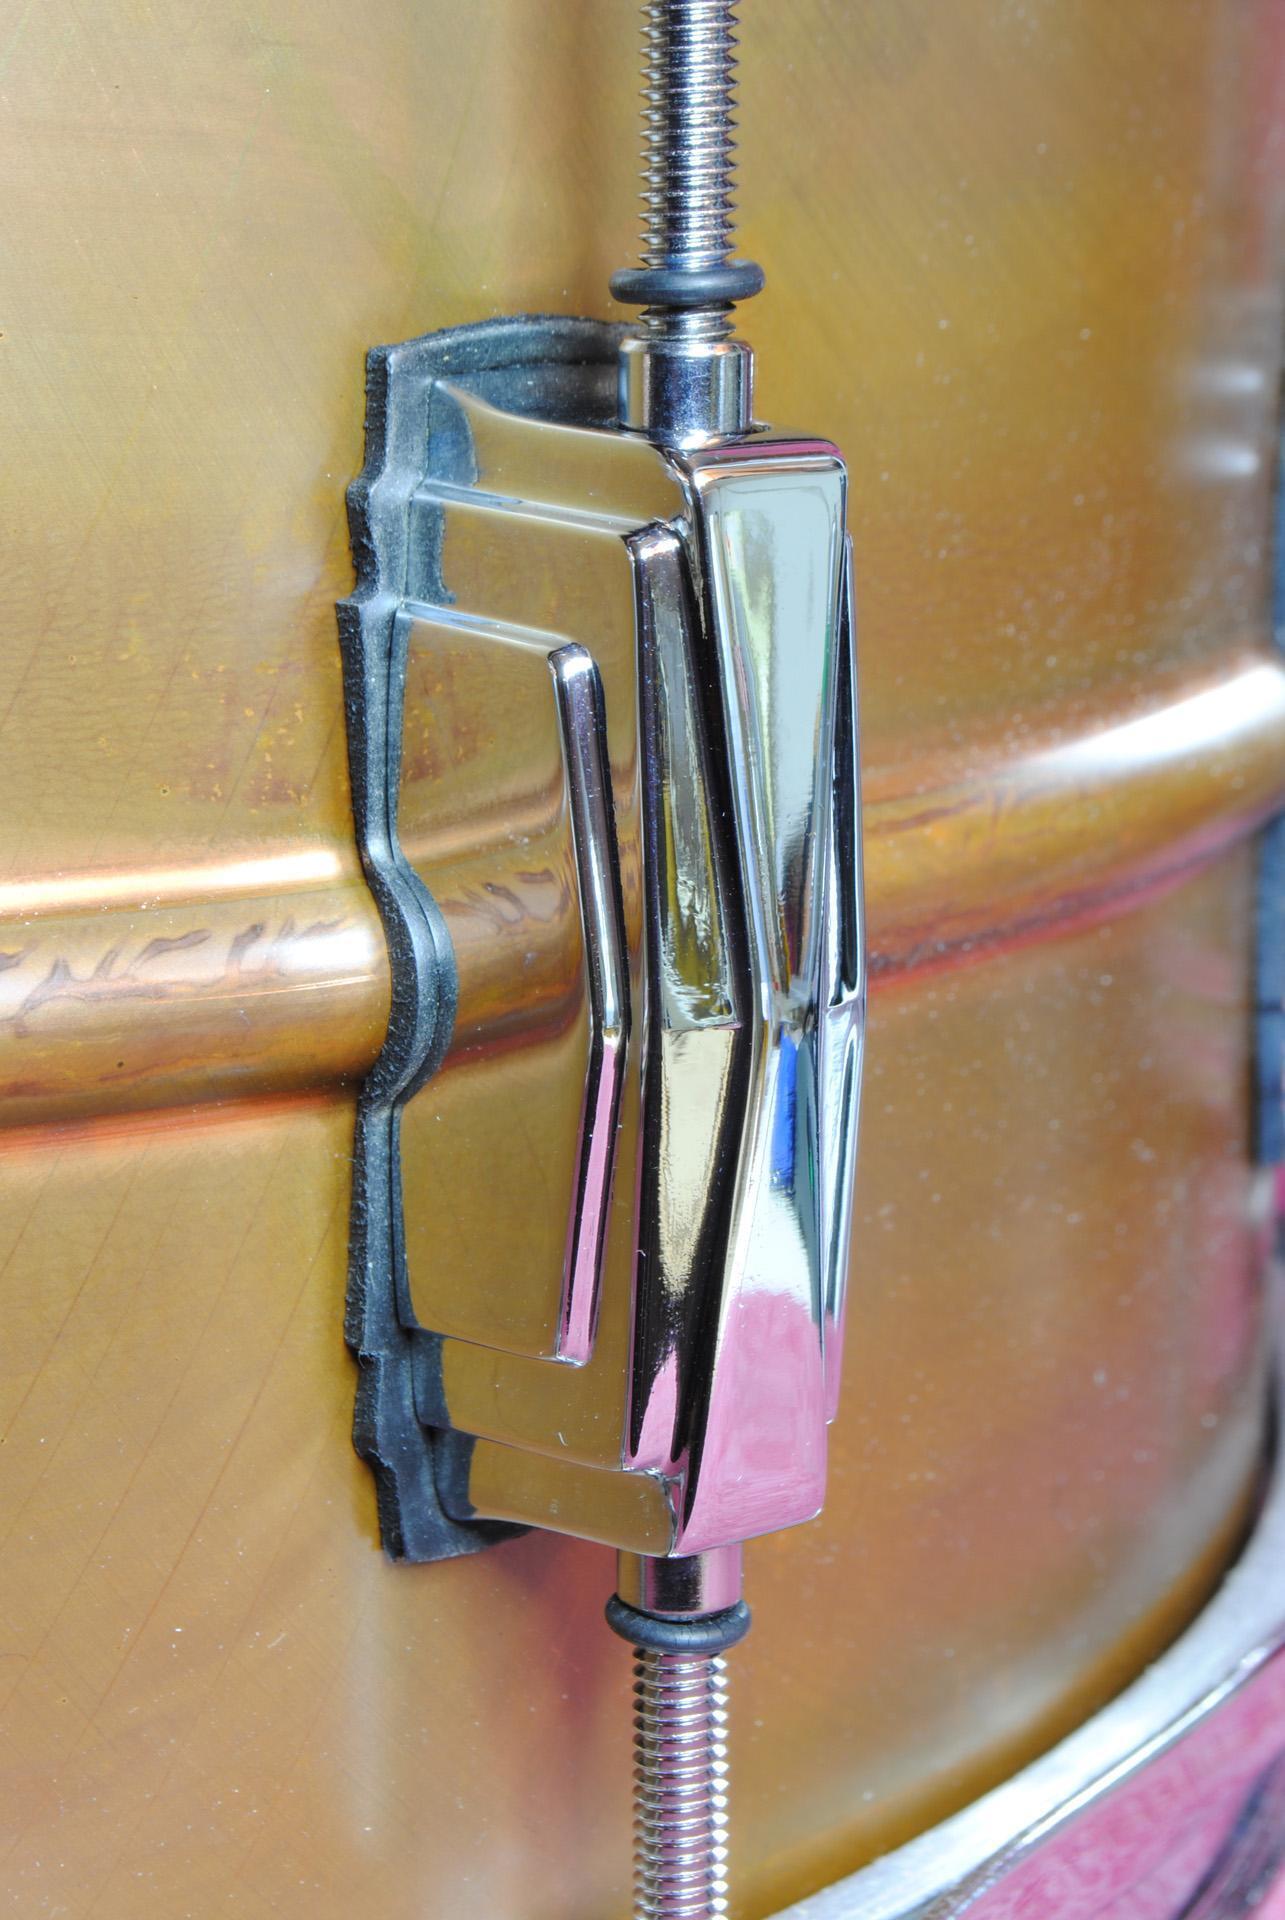
If your drums don’t have these gaskets, then you can make your own using 1/16-inch felt or thin rubber from a craft store — but don’t use material that’s much thicker than that, or you may find that the screws used to secure the tension casings aren’t long enough to pass through the gasket and properly screw into the lug. There’s debate among drummers regarding whether or not gaskets dampen the resonance of the shell, so you may want to listen to the drum with and without them installed.
Your Cymbals Are Guilty, Too
Metal cup washers underneath cymbals are a no-no; they vibrate and cause noises that will be captured by sensitive microphones. Replace metal washers with plastic, nylon, or rubber ones, and be sure to install felts between the washers and the cymbal (fig. 9). The mounting hole on a cymbal can rub against the stand, not only producing unwanted buzzing but also grinding away at the cymbal hole and causing “keyholing.” Cymbal sleeves available from Gibraltar prevent this, as do Gibraltar flanged-base cymbal sleeves and DW cymbal felts, which use a one-piece plastic sleeve and washer. A less elegant solution is rubber tubing available from hardware or surgical supply stores.

Use Your Heads
When you’re getting ready to record, inspect the drumheads to see if they need replacements. Heads that have tears or deep pock marks should be changed, and that includes the resonant heads. Snare drum heads in particular take a lot of abuse and can lose their elasticity, making them difficult to tune. If you have any doubts — change the head. Choosing which drumheads to use is a very personal choice complicated by the fact that certain combinations of heads can sound good on one kit but not on another, so you may need to experiment.
While you have the heads off the drum, check the bearing edge. This is the thin edge of the shell that contacts the head. It should be smooth and free from bumps, dents, and damage, or the drum could be difficult to tune. Fixing a bearing edge is beyond the scope of this article, but, if you spot a damaged bearing edge, then at least you’ll know why the drum is not tuning up as it should. See our drum tuning guide for more tips on tuning.
In Closing
These fixes seem like small details, but, when combined, they’ll help ensure that your drums are making only the kinds of noises you want them to. If your kit sounds good from the get-go, then you’ll have an easier time making a great recording.
If you need any help with drum accessories to make your kit sound its best, call one of our Sales Engineers at (800) 222-4700. They know all about drums and can not only provide knowledgeable answers but also get you exactly the parts you need in a timely fashion.
Here are other articles that will help you get the best recordings of your drum kit.
- How to Mic a Drum Kit
- How to Mic a Kick Drum by Sweetwater
- How to Mic a Snare Drum
- How to Mic Drums for Recording, Part 1 — Two Microphones
- How to Mic Drums for Recording, Part 2 — Four Microphones
- How to Mic Drums for Recording, Part 3 — Multiple Microphones
Steve La Cerra is a freelance engineer, drummer, author, and educator based in New York. He is currently the front-of-house engineer and tour manager for Blue Öyster Cult and has worked with artists including Wess Meets West, Joe Jackson and Robert Fripp. Steve also teaches Music Production at Mercy College in Dobbs Ferry, NY and has written many articles on pro audio technology.