For many of us, our computers are our instruments. They are our drum machines, audio recorders, and processors. Their very general-purpose nature makes them capable of covering all that ground. It also means that we spend a lot of time configuring applications to get them into the appropriate arrangements for our needs.
Using your DAW’s template function can shorten the time you spend in setup and enable you to make music faster and more efficiently. Since so many of the processes we do on our computers are repetitive, using a template can also increase the long-term quality and quantity of the output we create!
Avid Pro Tools
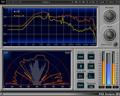
I tend to use Pro Tools much like a console and a recorder. Setting up the mixer is pretty critical to my workflow. I lay out processing on my audio channels and create sends to a small reverb, a long plate, and a delay to complement those tracks. A piano track and a virtual instrument track for pads round out a setup that covers about 90 percent of the recordings that I create. I also like to have an analyzer like the Waves PAZ set up so I can see phase response as I work.
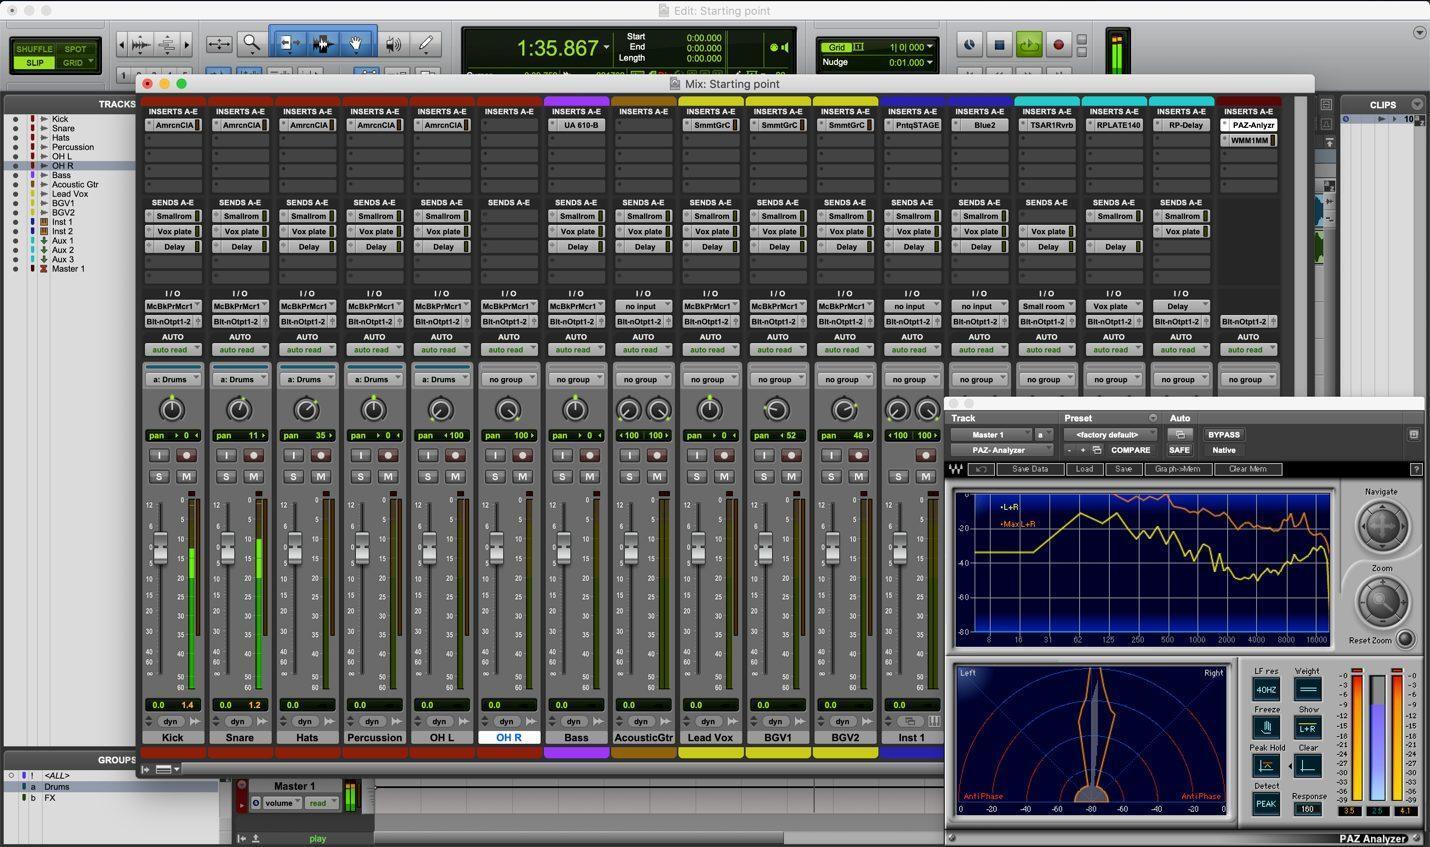
Since I often use the same microphones on the same sources, I even save EQ and compression settings as a part of this setup. This consistency of approach actually increases the quality of my recordings because I can tweak my approach over time and get it configured perfectly!
Once the session is laid out appropriately, you can pull down the File menu in Pro Tools and choose “Save as Template.” If you name your template with a numeral at the front, it will force it to the top of the list of existing templates.
The next time you launch Pro Tools, you will have the option to create a new session from that template, which means all of your basic settings will be preconfigured, and you’ll be ready to start recording. Make sure that the “Create from Template” box is checked at the top of this dialog box.

Ableton Live
Because everyone I know uses Ableton Live two or three different ways, templates can be a huge benefit to working in Live. Setting a single default template is pretty simple.
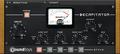
Fix up your Live Set with all your basic settings. These may be MIDI tracks with instruments, or they may be audio tracks with processing. A great place to start is your last project. Below, I have a couple of instruments set up and also the Soundtoys Decapitator to add some grunge to a guitar track that is a little too clean.
Making this a part of an ongoing setup is easy. Open up your Set, delete the audio and MIDI tracks, and then pull down the main menu for Live and select “Preferences.” On the left side of this window, select the File/Folder tab, and at the top you will see a dialog that reads, “Save Current Set as Default.” After you click this, any new Set you create will have this configuration, including any plug-ins or instruments that you have set up, as the starting point for your new Set.

But, most of us need a couple of different templates, depending on application. For creating tracks, I will often start with Rob Papen’s RP-Punch virtual drum plug-in and Softube’s delightfully quirky Modular synth plug-in with a couple of modules. Luckily, Live gives you a path to this as well.
If you have the Browser sidebar closed, open it by clicking on the triangle directly under the Link button in the upper left-hand corner of Live. Click on your “User Library” in the “Places” section at the bottom of the left column in this window. If the directory tree does not have it already, create a folder and name it “Templates” in this window by right-clicking in the blank space below the directory.

Any Sets that you store in this folder become templates, and if you double-click on one, it will open up a new Set with that configuration but under the default “Untitled” name so you don’t accidentally save over something you meant to keep!
PreSonus Studio One
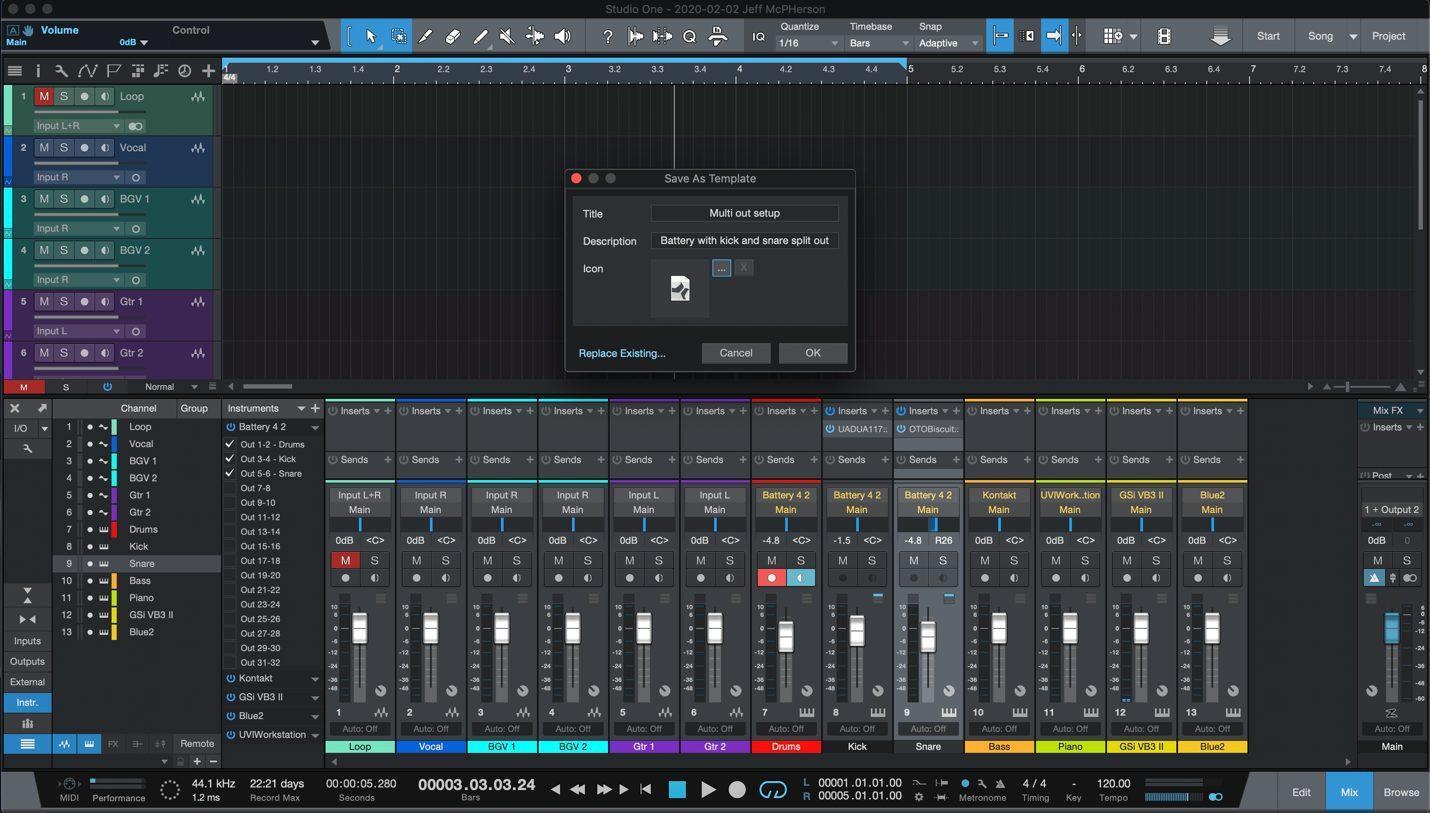
PreSonus’s Studio One has experienced explosive growth in its 10 years of development. Its tight integration makes it a powerful combination with PreSonus interfaces. I find that I tend to use complex virtual instruments such as NI’s Battery and Kontakt (included in Komplete 12) that really benefit from using multiple outs so that I can process things differently with some of my favorite plug-ins. Some 8-bit goodness from the OTO Biscuit gives me some throwback crunch, but I want to limit that to just the snare track.
While it isn’t difficult to set up the routing to do this, it is way faster to set it up once and save it as part of a template. Once you have created the perfect setup, pull down the “File” menu, select “Save As Template,” and give it a name and description that will help you remember what you set up.
When you create a new song in Studio One, the templates window opens automatically, but you will need to select the “User” tab at the top to see the templates that you have created. This can set up your mixer and processing, but also it can make it smoother to switch between multiple interfaces when you need to use different hardware.
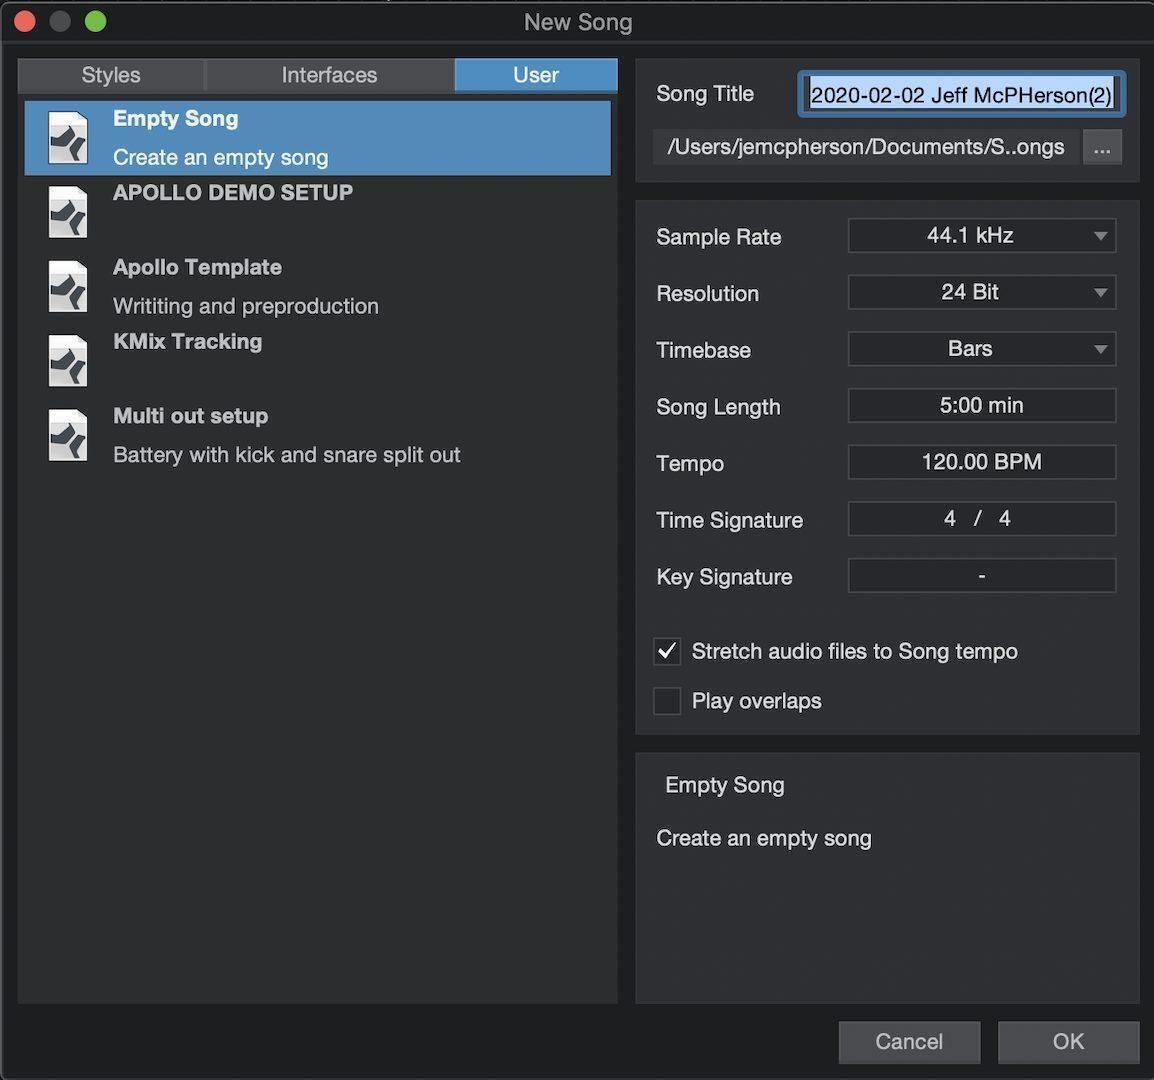
Image Line FL Studio
Like Ableton Live, Image Line’s FL Studio is a DAW that is balanced between pattern-based and linear modes of creation. This makes it even more valuable to have the ability to start a project with some basic routing and a layout in place that can change based on what you are working on.
Once you get a project set up how you want, saving a template file is pretty simple if you know where the directory is located. Default on the Mac is in your Documents folder and inside the Image Line folder. Saving a project file into the Templates folder will allow you to use any project you create as the starting point for your work.

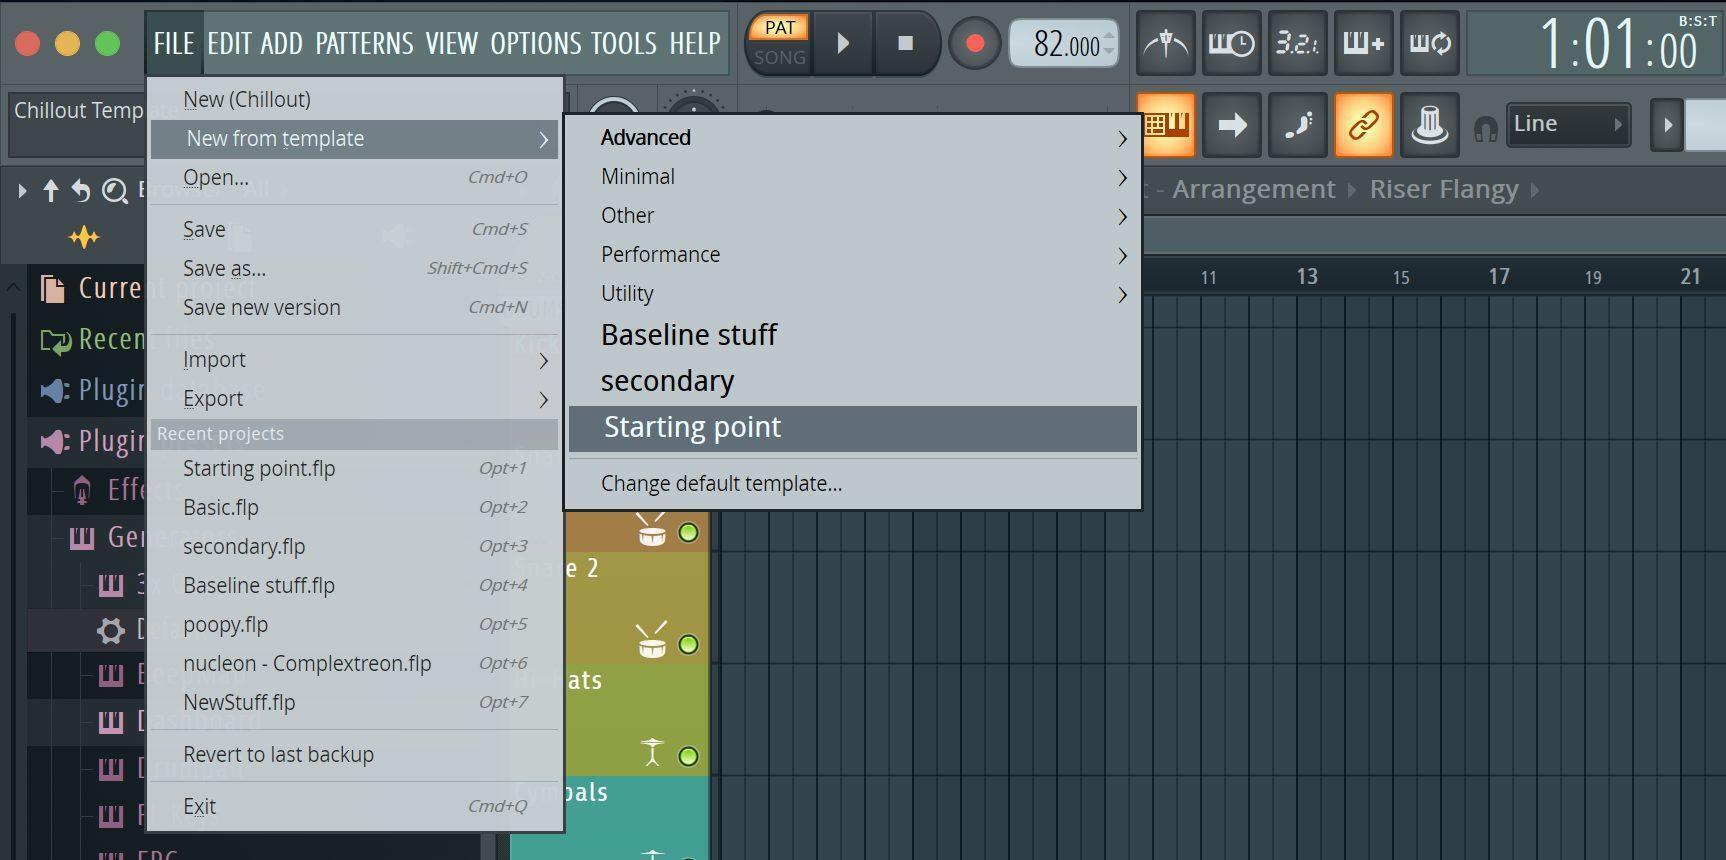
You can set your newly saved template as your starting point by going into the Preferences settings and going to the General tab within this window. The lower right-hand corner of this menu features a drop-down menu that allows you to choose any file in this Templates folder as your default setup for a new session. You should note that a new Template file will not be visible until after you have saved it and restarted the program. The arrangment that you have created will also be available in the “New from template” choice in the File menu after you have restarted.
All of these applications give you power to spare for your production needs. The secret is finding ways to spend less time clicking a mouse to configure things so that you can spend more time being creative and making music.
If you have seen something in these apps that will make you more productive, then give your Sweetwater Sales Engineer a call at (800) 222-4700, and they can connect you with the exact DAW, plug-in, or virtual instrument for that perfect touch on your next recording.