
As guitar players, we always seek the ultimate tone — and in the studio, re-amping provides a huge advantage for shaping tone. The hardware-based approach is simple: instead of committing to the sound of a particular amp, you record the guitar’s direct sound. Then when it’s time to mix, you play the dry guitar track back through any amp and record the sound of that amp. Can’t decide whether you want to use a Marshall JCM800 head, Fender ’65 Twin Reverb, PRS Archon 25, or Vox AC30C2? Try them all — no problem.
With a software-based approach involving amp sims and DAWs, amp sims are always re-amping. This is because your recorded guitar signal is dry, and because the amp sim is a plug-in, it processes your guitar sound on playback. Like hardware re-amping, you can change the amp sim sound at any time. To commit to a particular amp sound, render or bounce the guitar to incorporate the effect as part of the audio.
So we’re done, right? Well, not necessarily. Let’s look at today’s re-amping options.
Tip 1: Traditional Re-amping
Re-amping used to involve kludging together cables, splitters, and adapters, but no more: simple hardware boxes like Radial’s Reamp ProRMP (fig. 1) do the work for you.
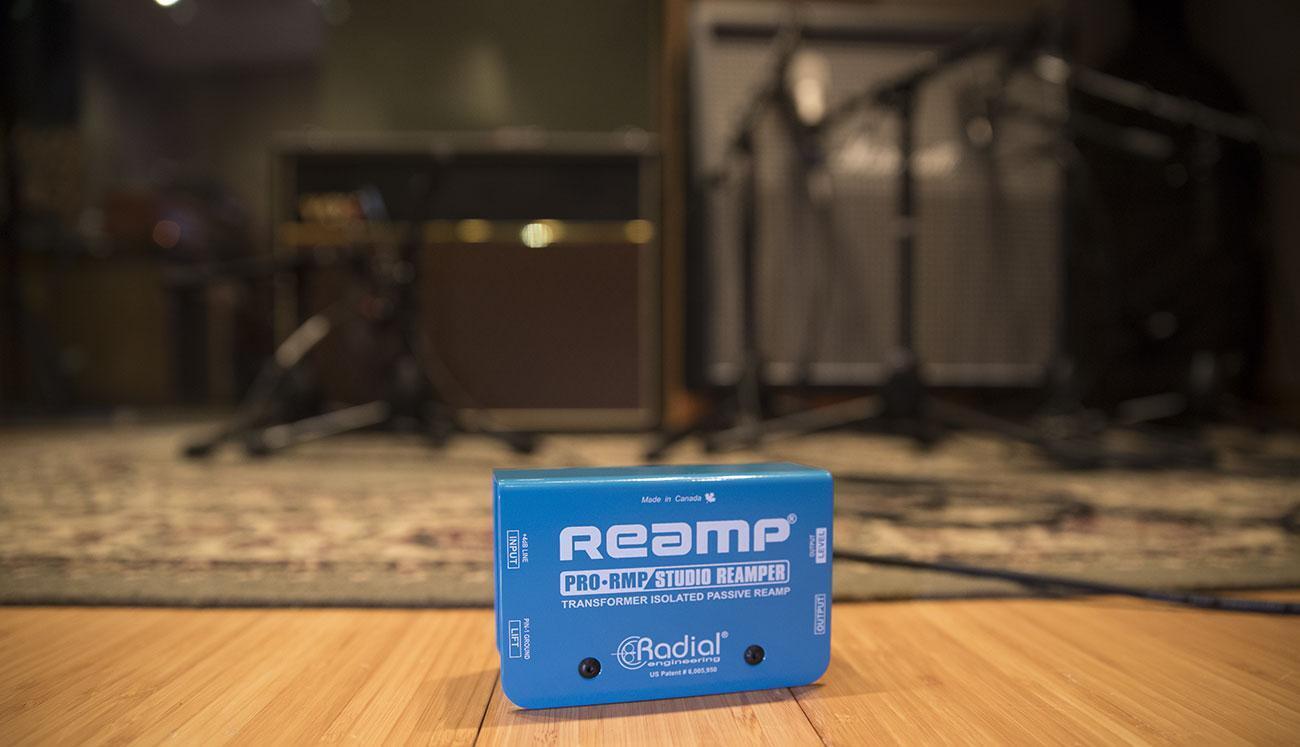
Send your previously recorded guitar track to an audio interface or mixer line output, and patch that into the ProRMP’s input. (The input is XLR, but if your interface has TRS line-outs, you can always use a TRS-to-XLR adapter.) Patch the ProRMP output to your guitar amp (or pedalboard), adjust the level control for the right amount of drive, then mic up the guitar amp and feed the mic’s output into your DAW.
Note that although the ProRMP is less expensive than active re-amping boxes, you probably don’t need to pay extra. The ProRMP needs to reduce levels, not raise them, so it uses passive circuitry that adds no noise or distortion (and of course, doesn’t need power). One of the ProRMP’s most important features is that it uses a custom-wound transformer. This converts the low-impedance line output to the kind of high impedance your amp input wants to see but also provides electrical isolation to prevent ground loops.
Tip 2: Incorporate Sustain and Feedback with Amp Sims
If you record direct into an interface’s instrument input, you won’t get sustain and feedback, because that depends on an amp. So instead of re-amping after the fact, which won’t give you sustain either, consider involving an amp in the recording process. Split your guitar with a splitter like Radial Engineering’s Shotgun (fig. 2), which can send your guitar to four separate outputs.

The basic application is sending one output to your DAW and the other to an amp. Now you can record the dry guitar sound into your DAW for re-amping through an amp sim, while getting the visceral feel of playing through an amp as you record. Furthermore, if the amp drives the guitar into sustain, then the clean sound will capture the sound of sustaining strings, which the DAW will record. In addition, you can mic and record the amp sound, which you can then mix in with the amp sim to enhance the stereo imaging or achieve a layered sound.
And there’s more: because the Shotgun has four outputs, consider setting up an additional small practice amp (like the Peavey Backstage). By touching the headstock to the amp cabinet, you can drive the guitar into feedback. Another option is to drive two amps for stereo and record them to supplement the dry sound.
Tip 3: Inside-the-box Re-amping — the Next Level
As mentioned, when recording into a DAW, you’re always re-amping, because you’re always playing a dry track through an amp sim. But why stop there? Instead of inserting an amp sim into your guitar track, insert pre-fader sends into your guitar track and create buses for different amps. Here are some of the possibilities.
- Stereo imaging. Insert two buses and a send for each bus. Insert different amps in the two buses. Pan the buses left and right to give a big stereo image.
- Layering. Insert a bus and a send for each amp you want to layer — like a bass amp for the lows, a Marshall stack-like amp, and a clean amp for the highs. Adjust the balance of each one to create the ultimate “composite” amp, or combine this with the previous tip to enhance layering and imaging.
- Multiband re-amping. Referring to figure 3, Track 1 goes through four pre-fader sends to four buses (Low, Low Mid, High Mid, and High). Each bus has a multiband compressor inserted, set to four bands and no compression, so each compressor acts like a crossover — solo the low band for the Low bus, the lower mid band for the Low Mid bus, etc. Each bus also has a different amp sim, with each one optimized for the band’s specific frequency range. The four amps then go through their own sends to a Guitar Output bus so you can change the levels of all amps easily. For more information on creating multiband splits, see the article Multiband Processing: The Next Big Thing in Effects?

However, you may not need to go through this kind of effort for multiband processing. Some amp sims, like Line 6’s Helix Native and Native Instruments’ Guitar Rig (included in Komplete 12) can do multiband processing internally.
Oh, One More Thing…
Note that due to computer latencies and the time it takes for sounds to travel through air, miking a guitar amp, and layering it with a sound recorded direct into your DAW that’s processed through an amp sim, may lead to a timing offset that causes some frequencies to be out of phase. This is more of an issue with bass, but it’s easy to check whether there’s a problem: set your DAW’s output to mono, hit Play, and listen to the dry and re-amped sounds simultaneously. If the sound is thinner, advance the miked sound somewhat on the timeline so it’s a bit earlier. When the combined sound is at its fullest without seeming “doubled,” you’ve hit the right spot and can return to monitoring in stereo.
If you have any other questions about re-amping, give your Sales Engineer a call at (800) 222-4700.