Learning anything new is overwhelming. Whether you’re learning new skills for a job or simply trying to learn how to fix something around the house — it can be a daunting task. Trying to learn new software can bring on those same feelings.
I often hear from people learning Ableton Live for the first time that they feel overwhelmed and not sure where to start. I’ve found throughout years of using and teaching Live that learning five things in Live will help you quickly get up to speed and unlock a world of possibilities.
Read on to learn how to unlock and get going quickly with Ableton Live.
Understand Session/Arrangement View
Live consists of two main views where you can work: Session View and Arrangement View. I’ve seen people struggle with understanding Ableton Live because they don’t fully understand both views and when to use them.
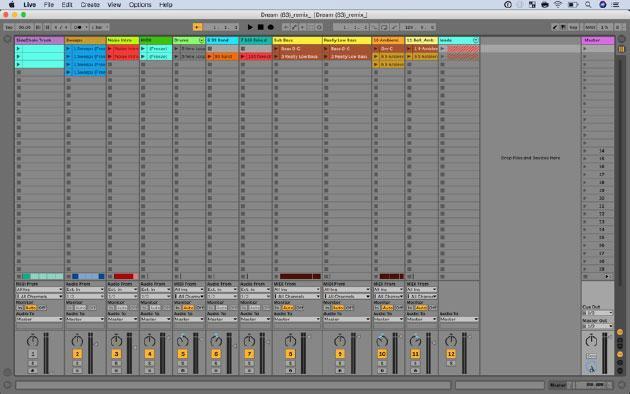
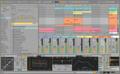
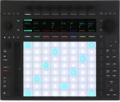
Figure 1: Session View window.
By default, Ableton Live opens in Session View (fig. 1). This is Live’s vertical view. The tracks run top to bottom. I once heard a friend say it looks like a musical Excel spreadsheet. Excel has never been this much fun — but I like that description. Session View excels (see what I did there?) at clip-based, nonlinear recording and performance. It’s a perfect view for songwriters or DJ-style performances.
If you’re writing a song, you shouldn’t need to fuss with knowing exactly what’s next. You shouldn’t have to record the intro before the verse. In Session View, you can record the bridge as a clip, and then intro, switch to bass, then drums, and sort out the arrangement later.
If you’re using Ableton in a live setting, Session View is great at performing songs without a linear structure. A “looping” performance. “I’m going to start on this 8-measure phrase, and then when I’m ready to move on, I’ll choose another section.” If you’re working with more linear content, i.e., most bands playing with stems, then you’ll want to switch to Arrangement View (fig. 2).
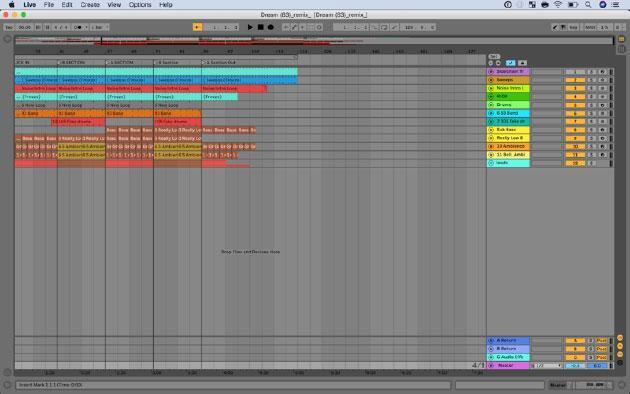
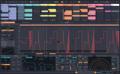
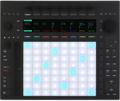
Figure 2: Arrangement View window.
Press tab or use the View Selector buttons in the upper right-hand corner of Live’s screen to switch to Arrangement View. Arrangement View is Live’s horizontal view. The tracks run left to right. It’s linear in nature and likely the view you’re most used to working in if you’re coming from another DAW.
It’s perfect for recording clips from Session View into Arrangement View to build your arrangement. It’s perfect if you’re recording a full band or want to capture audio or MIDI in a linear format.
But don’t let linear make you think “restricted.” By adding locators in Arrangement View, you now have incredible flexibility and freedom when using stems live. Repeat sections, jump to another section — but at the core, you’re still operating in a linear structure. If you have an idea about your song structure (e.g., intro, verse, etc.) you should start in Arrangement View.
Disable Auto-warp Long Samples
If you’re using Live onstage and working with stems, you’re going to want to make sure you’ve disabled Auto-warp Long Samples. This will keep Ableton from trying to guess at the tempo of your tracks, which can cause issues when you’re first getting started with tracks.
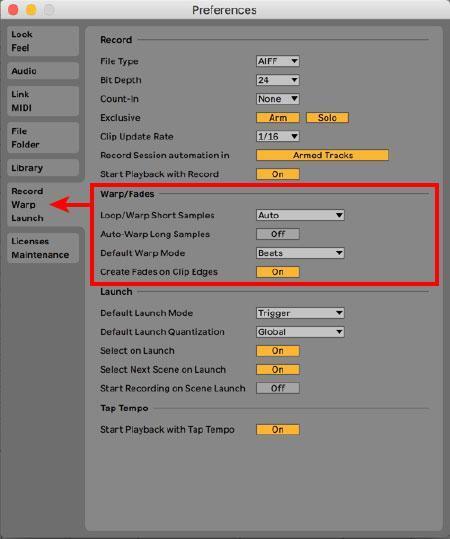
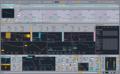
Figure 3: Preferences window.
Open Live’s Preferences (fig. 3) and navigate to the Record, Warp, Launch tab. Under the Warp/Fades section, make sure Auto-warp Long Samples is set to off.
Now when you drag your stems in Live, they will play at their original tempo, unaffected by tempo changes in Ableton. Eventually, you’re going to want to change tempo and key, and you’ll then want to learn more about warping — but that’s a different article.
Sharing Files

Figure 4: Make sure you save the proper files with the project.
Are you collaborating on a project between you and a friend? Make sure to properly save your files so you can share with your friend and keep track of sounds and samples.
When you choose to “Save Live Set As,” make sure you don’t save your Live set in the previous Live project you were working on. I always use the menu to back out to my desktop or to a special folder I created for the project.
After I save the project, I use “Collect All and Save” to make sure any referenced sounds or samples are included in the Live project folder.
Next, I make sure to compress/zip the project folder (not the live set) that includes the samples and the live set into a folder. Then I share that file.
That procedure ensures we always have the samples used in the project we’re working on.
Use Live’s Browser
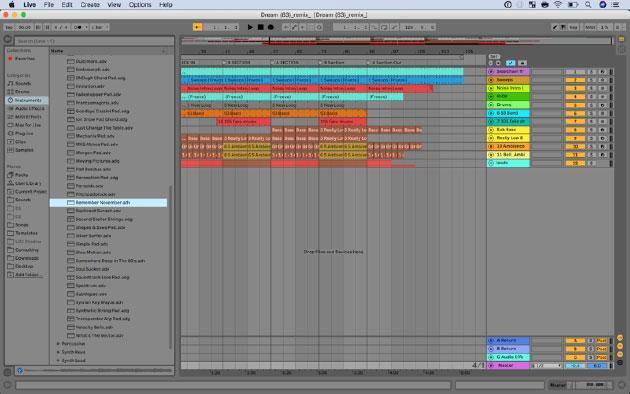
Figure 5: Use the Ableton Live browser, seen on the left side of the screen.
You’re going to be moving files in and out of Ableton Live a lot. Stop using Cmd+Tab, and use Live’s browser to speed up the process.
Use the Show/Hide button in the upper left-hand corner or Cmd+Option+B to open the browser. You can browse the sounds and instruments included in your version of Live, create a collection of sounds you’ve tagged (if you’re using Live 10), browse additional packs available to download, and add your own files and folders to the browser using places.
Add the folder that you store your stems and songs in for easy access. Tag your favorite sounds to get quick access via collections. Drag tracks from other Live sets into your current set. If you’re working with stems, make sure to hold down Command to put each stem in its own track.
Use Info View

Figure 6: Turning on Info View will reveal a button’s function when you hover over it.
I’ve taught for years that Info View is the most important place in Ableton Live. I really mean it!
If you’re getting started with Live or have recently upgraded, it’s an incredibly useful tool to get up to speed quickly.
Not sure what that new box-shaped button in Live 10 is? Open Info View using the Show/Hide button in the bottom left-hand corner of the screen, and hover your mouse over anything in Live. You’ll learn what that button does and if there’s a keyboard shortcut for it. It’s like having Live’s manual at your fingertips at all times.
Use Info View to learn what you’re looking at in Live. Learn the buttons at the top of the screen and work your way around the screen. As you come to something and you’re not sure what it is — open Info View and figure it out!
Bonus: Keep Learning and Trying
Keep searching for information and knowledge on how to best use Ableton Live. Go through the built-in tutorials in Live, connect with a friend that has used it longer, watch tutorials, read the manual, and most importantly keep trying! You’ll find that once the light bulb comes on, you’ll be working effortlessly in a DAW that gets out of your way and allows you to work quickly!