
Zoom G1 FOUR Quickstart Guide
In this guide, we will show you how to set up, connect, and use a Zoom G1 FOUR series multi-effects pedal. Follow the sections below to get started.
Register and update firmware
Before getting started, you should first register your G1 FOUR with Zoom. Doing so will extend the Zoom manufacturer’s warranty by one year. You’ll need the serial number handy, which should be located at the bottom of the unit.
- Go to the Zoom product registration page.
- Fill out the required information, including the serial number, located on the bottom of your pedal, and then click Submit.
Update the firmware
IMPORTANT: You must launch the Firmware Updater software with Administrator privileges and, any audio or MIDI devices connected to your computer via USB must be disconnected.
Before performing an update, check which firmware version you’re currently on and compare it to the latest listed on the Zoom G1 FOUR download page. If the installed firmware version is the same as the one listed on the download page, skip this section and continue to Setup and connections.
- Press and hold the RHYTHM button while turning on the G1 FOUR. The display will show you the firmware version that’s currently installed.
- Connect your G1 FOUR to your computer.
- PC users: If you connect the pedal to a different USB port than the one previously used, the driver will be reinstalled.
- Go to the Zoom G1 FOUR download page, scroll down to Software, then click on the latest firmware downloader for your OS.
- Navigate to your Downloads folder and then extract the Zoom Firmware Updater.
- Launch the Firmware Updater software, use the dropdown box, select ZOOM G Series, and then click Execute.
- Once the firmware has been installed, disconnect the USB cable and turn off the G1 FOUR.
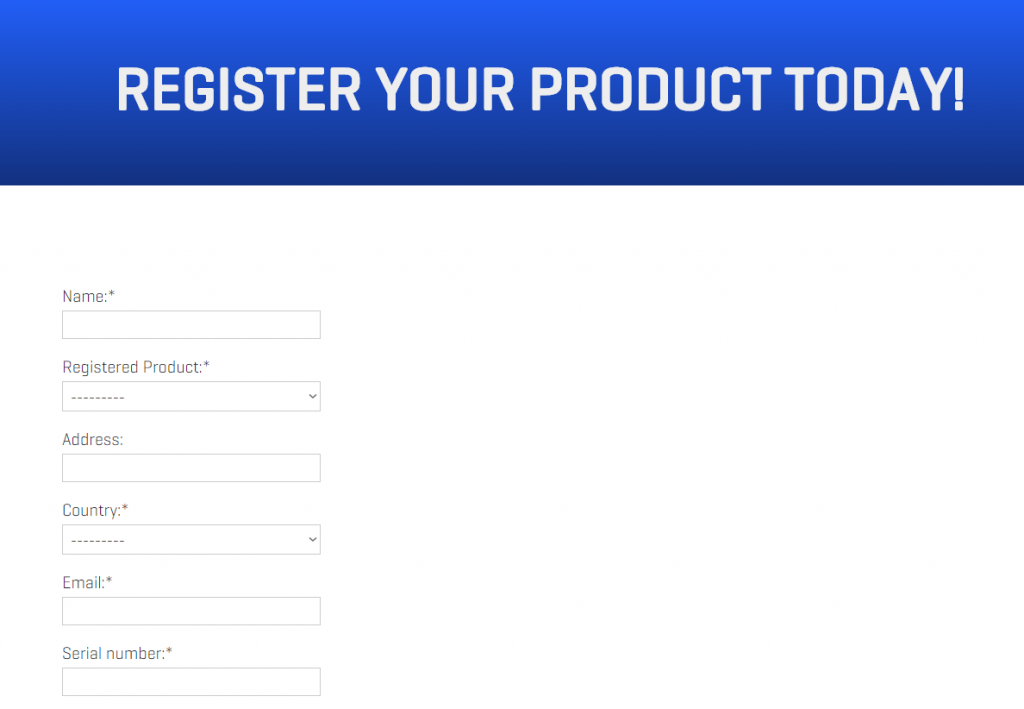
Click the image to register your G1 FOUR series pedal
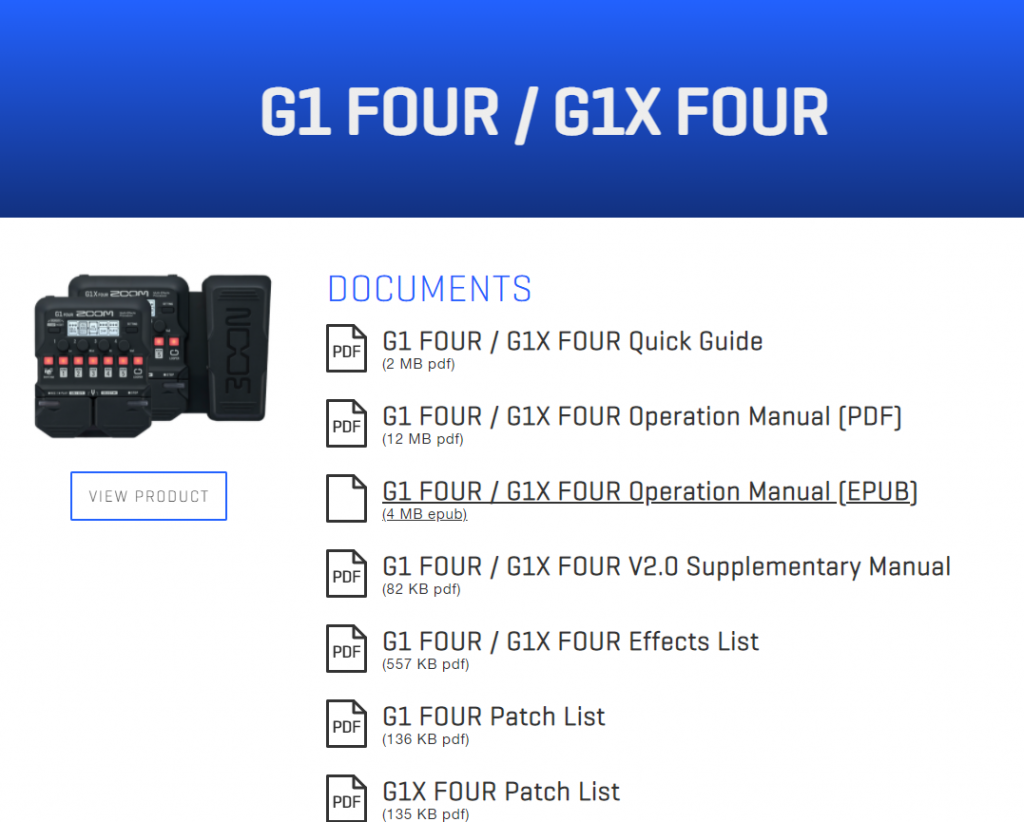
Click the image to download the G1 FOUR series firmware
Setup and connections
Connecting the G1 FOUR is straightforward, which is great because you’ll be up and running in just a matter of minutes! Here are a few tips about setting up and connecting your G1 FOUR.
- Turn down your guitar amp volume before connecting G1 FOUR and keep the pedal disconnected from the amp.
- If you’re using batteries, connecting your guitar will turn the pedal on.
- Connect external devices like a tablet or other mobile device to the AUX IN and play along with your favorite songs!
- Once the guitar is connected, you can then plug your headphones or guitar amp into the OUTPUT jack.
- After everything is connected, play your guitar while raising your guitar amp volume until you find a reasonable level.
Adjust the expression pedal sensitivity and torque (G1 FOUR X users only)
You can adjust the sensitivity and torque of the expression pedal to suit your needs. Follow the instructions below to adjust both settings. If you’re a G1 FOUR owner, skip this section and skip to Working with the pedal.
Sensitivity
Adjusting the pedal sensitivity is something that may have to be performed if the pedal has little effect, too much effect even with the lightest touch, and also if you receive an error on the display.
- Hold the Setting button while powering on the pedal.
- Follow the display instructions, using the two footswitches to switch between options.
- After it has been completed, power cycle the pedal.
Torque
IMPORTANT: Make minor adjustments at a time. Also, take note that loosening or tightening the pedal too much can cause damage.
Each guitar player is different, so you may find that the expression pedal feels too tight or loose. If this is the case, you can adjust the torque to accommodate your playstyle. All you have to do is insert a 5mm hex wrench into the adjustment screw located on the side of the pedal.
Turn the screw clockwise to tighten the pedal and turn it counterclockwise to loosen the pedal.
Working with the pedal
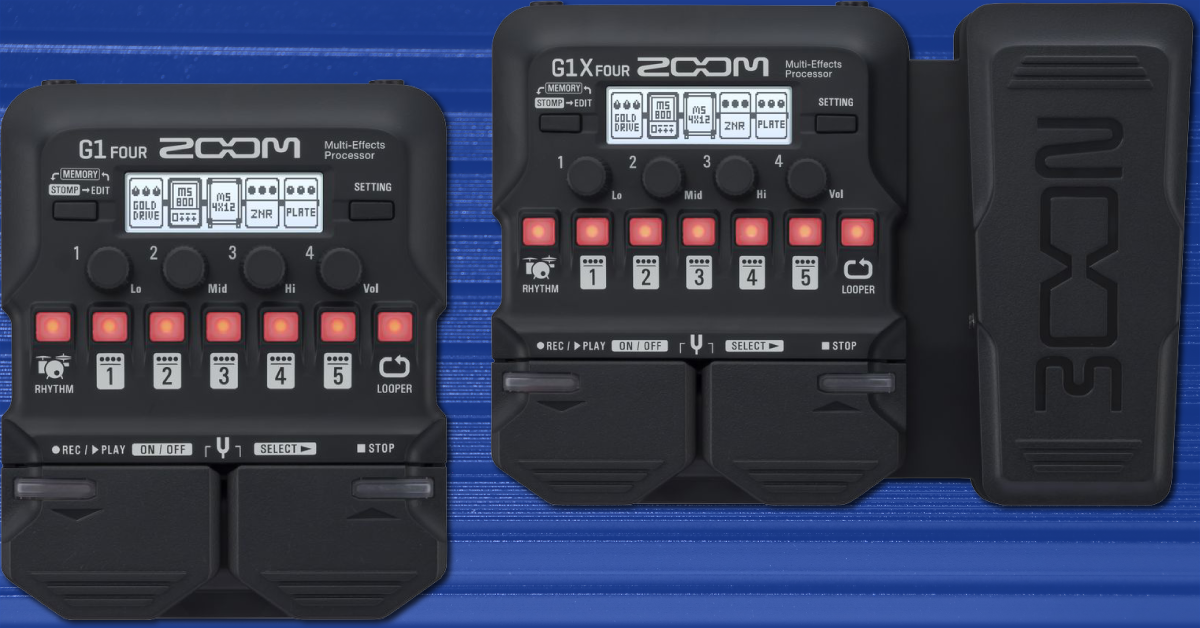
The G1 FOUR series is a compact yet powerful pedal to have with your guitar rig. From live shows to practicing in the bedroom, it’s perfect for any situation. There are plenty of features available, so we’ll show you the basics of how to use them.
Effects
There are three different modes you can use on the pedal: Stomp, Memory, and Edit. Depending on the mode you’ve selected will depend on how the buttons and footswitches operate.
Stomp mode
When you’re in Stomp mode, the right footswitch will scroll through the five effects currently loaded. Once you have a specific effect selected, you can then toggle it on and off using the left footswitch. You can also use the number button associated with the effect to toggle them on and off, as well.
Memory mode
Memory mode is where you’ll select banks and patches. The patches are saved within the banks. To switch banks, you’ll press the number button associated with the effect. You can then use the two footswitches to change the patch within the selected bank.
Edit mode
IMPORTANT: If you receive a Process Overflow error, you’ll need to change the effect.
Lastly, there is Edit mode. This is where you can tweak the settings of your effects (e.g., gain, boost, tone). To edit, you just need to press the number button associated with the effect and then use the four knobs to change the parameters. To change pedal categories, hold the left footswitch and press the right footswitch.
How to change the pedal order
You can change the order of the pedals on any patch selected. This is particularly useful if you’re looking to dial in just the right tone. All you need to do is press the Setting button and then press the 1 button. From there, select the pedal you want to move, then press the number button where you wish to send it.
Understanding Pedal Order
Rhythm
The G1 FOUR series has over 50 rhythm patterns that you can use to jam out or use it with the looper. Playing back rhythms couldn’t be easier! You just need to press the RHYTHM button, use the four knobs to adjust the parameters, then press the left footswitch to begin playback.
Looper
The looper is self-explanatory. You’re able to record up to 30 seconds of audio, then loop playback or overdub your recording. You can even change patches and place it before (pre) or after (post) your effects while the loop is being played back! For even more information, check out page 47 of the Operation Manual.
- Press the REC button to “arm” the recording, then press the left footswitch to begin recording. Press the right footswitch to stop.
- Play back the phrase by pressing the left footswitch. Follow the same process for overdubbing.
- Use the four knobs to change the looper settings.
How to Use a Looper Pedal
Additional resources
When you need help, Sweetwater has the answers!
Our knowledge base contains over 28,000 expertly written tech articles that will give you answers and help you get the most out of your gear. Our pro musicians and gear experts update content daily to keep you informed and on your way. Best of all, it’s totally FREE, and it’s just another reason that you get more at Sweetwater.com.


Offer applies only to single-receipt qualifying purchases. Select manufacturers may require that only the manufacturer’s products qualify towards the minimum purchase amount needed to be eligible for promotional financing. Otherwise, an invoice that meets the minimum purchase amount and contains at least one qualifying manufacturer product is eligible for promotional financing. No interest will be charged on promo purchase balance, and equal monthly payments are required on promo purchase until it is paid in full. The payments equal the amount financed divided by the number of months in the promo period, rounded up to the next whole dollar. These payments may be higher than the payments that would be required if this purchase was a non-promo purchase. During the last month(s) of the promo period the required monthly payment may be reduced due to the prior months’ rounding. Regular account terms apply to non-promo purchases. New Accounts as of 07/31/2025: Purchase APR is 34.99%. Penalty APR is 39.99%. Min Interest Charge is $2. Existing cardholders: See your credit card agreement terms. Subject to credit approval.
Offer applies only to single-receipt qualifying purchases. No interest will be charged on the promo balance if you pay it off, in full, within the promo period. If you do not, interest will be charged on the promo balance from the purchase date. The required minimum monthly payments may or may not pay off the promo balance before the end of the promo period, depending on purchase amount, promo length and payment allocation. Regular account terms apply to non-promo purchases and, after promo period ends, to the promo balance. New Accounts as of 07/31/2025: Purchase APR is 34.99%. Penalty APR is 39.99%. Min Interest Charge is $2. Existing cardholders: See your credit card agreement terms. Subject to credit approval.
The estimated required monthly payment shown which excludes taxes and delivery equals the amount financed divided by the number of months in the promo period, rounded up to the next cent. During the last month(s) of the promo period the required monthly payment may be reduced due to this rounding. These payments apply only with the financing offer shown. If you make these payments by the due date each month, you should pay off this amount financed within the promo period, if it is the only balance you are paying off. If you have other balances on your account, this payment will be added to any other minimum monthly payments.
Applies only to select items from this manufacturer. Ask your Sweetwater Sales Engineer for more details.