
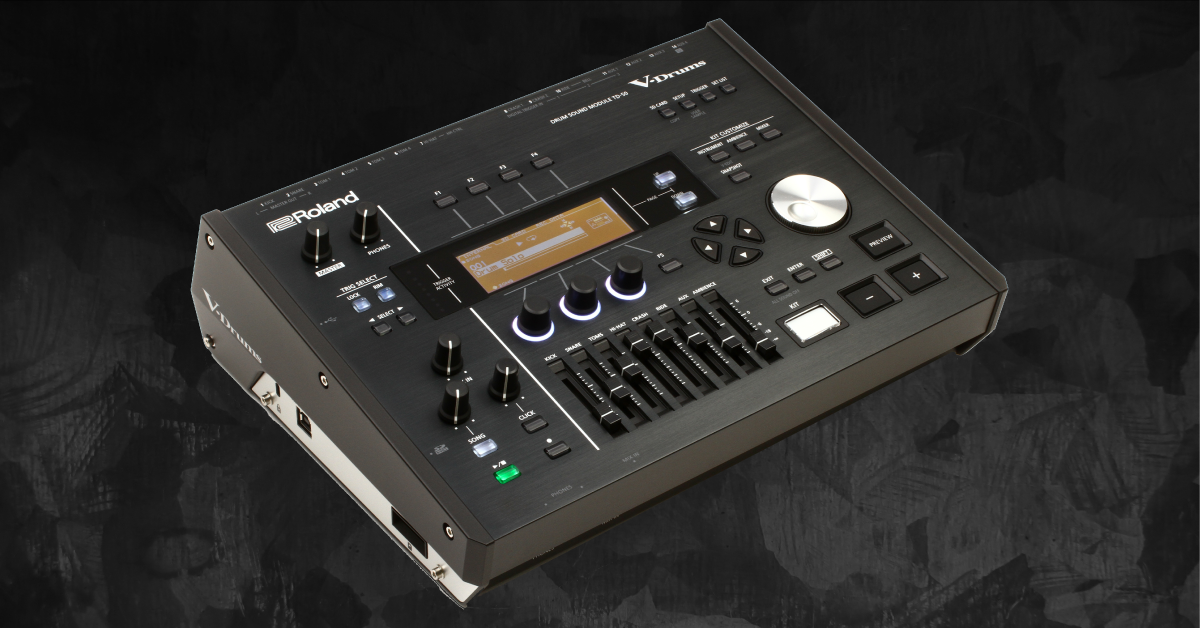
Roland TD-50X Upgrade Installation Instructions
IMPORTANT: Any custom kit data and kits you created before installing the TD-50X upgrade will not be able to be loaded back onto the TD-50. Before moving forward, visit our guide before moving forward for more information.
In this guide, we will show you how to activate, download, and install the Roland TD-50X onto your TD-50 module! Follow the instructions below to get started.
- Check the TD-50 firmware version
- Create a Roland Cloud account
- Activate and download the upgrade
- Format, back up, and factory reset
- Install the upgrade
Check the TD-50 firmware version
Before you perform the upgrade, you first need to check what firmware version your module is running on. If you don’t have the latest version running, you must update before installing the upgrade. Press the Setup button and navigate to Info.
If the module is running version 1.09, you can continue below. If you’re running on firmware below 1.09, update it now. Check out Roland’s TD-50 download page to download the TD-50 firmware and for instructions on how to perform a firmware update on your module.
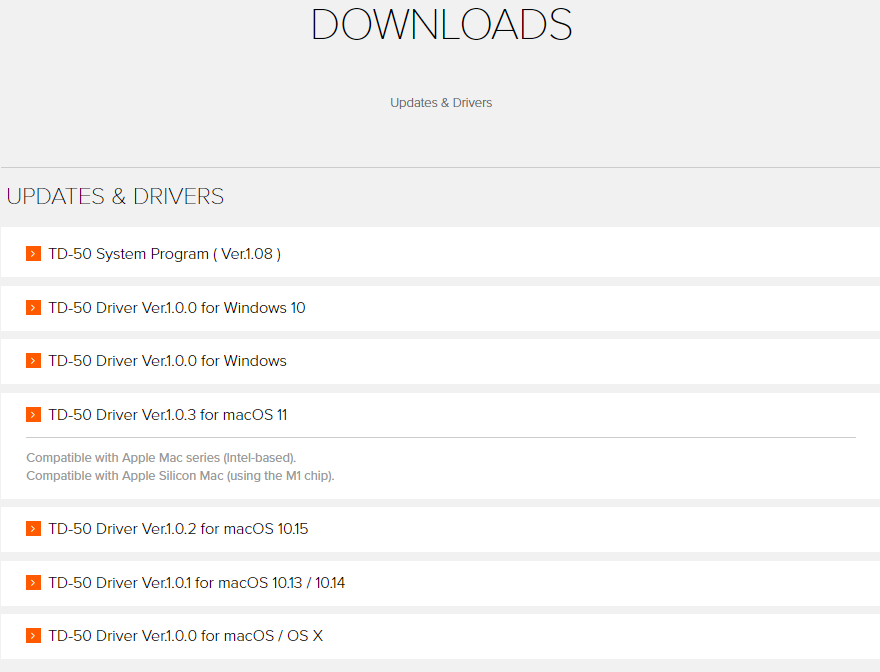
Click the image to download TD-50 firmware
Create a Roland Cloud account
The first step in the activation process is to create a Roland Cloud account. Once created, you’ll download Roland Cloud, where you’ll access the downloads for your TD-50 update. Follow the sections below to get started.
- Log in to your Roland account. If you don’t have one, you can create one here.
- Once logged in, click the blue Roland Cloud Manager button.
- On the next page, click Downloads, then choose click Download for the OS you’ll use.
- Navigate to your Downloads folder and launch the installer.
- PC: Double-click the Roland-Cloud-Manager-Installer .exe file and follow the on-screen instructions.
- Mac: Double-click the .dmg file, double-click the .pkg file, then follow the on-screen instructions.
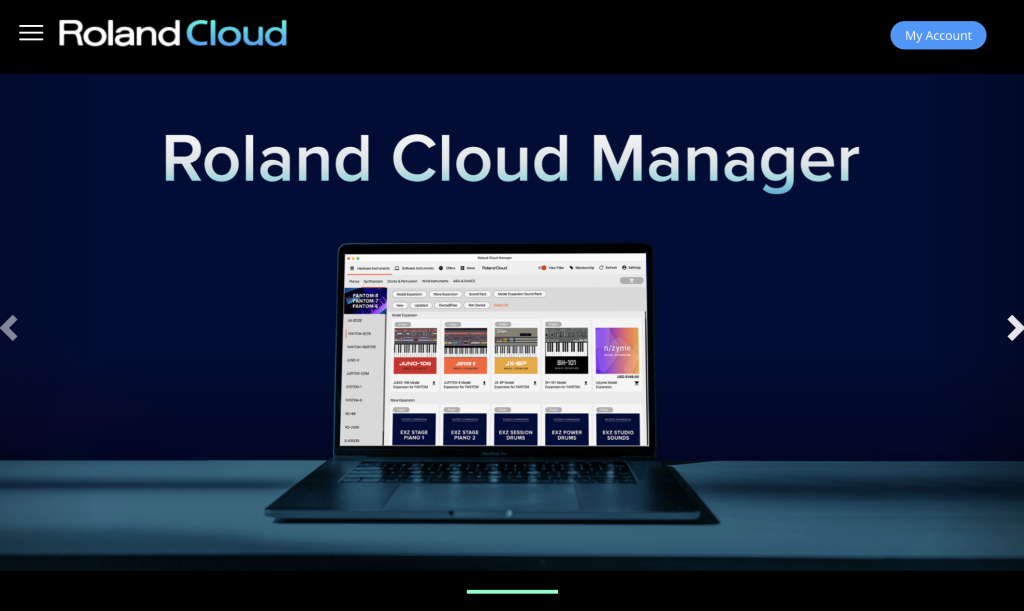
Click the image to sign in and download Roland Cloud Manager.
Activate and download the upgrade
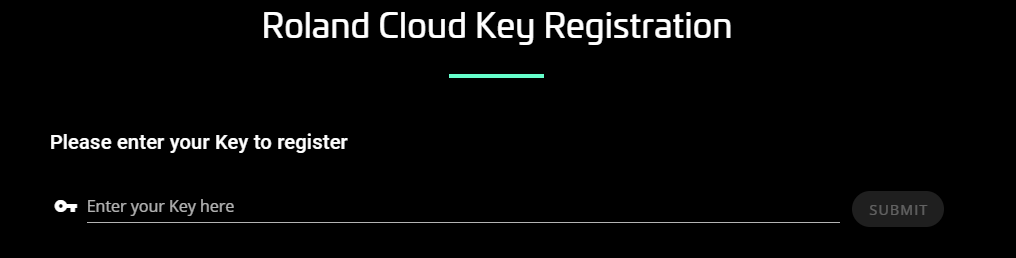
Now that you’ve created an account, the next step is to register the TD-50 upgrade activation key on the Roland Cloud website. Please note that you must be logged in to your account to register your product.
- Go to the Registration page, then enter the serial number you received from your Sweetwater Sales engineer.
- Click Submit, then launch the Roland Cloud Manager app.
- Click Hardware, then at the top of the app, click V-Drums.
- Locate TD-50X Upgrade, then click the Download button.
- If you don’t see the Download button, click Library, select Access, and see if it’s unlocked.
- If it’s not showing up after registering your serial number, restart Roland Cloud to see if it fixes the issue.
- Navigate to your Downloads folder, locate, then extract the firmware upgrade file.
Format, back up, and factory reset
The last few things you’ll need to do before installing the upgrade are to format the SD card, back up any user content, and perform a factory reset of the module.
Format the SD card
IMPORTANT: Any existing data on the SD card will be erased when you format it, so be sure to back everything up on your computer beforehand.
You will need to format the SD card directly from the TD-50 module for the upgrade to be installed correctly.
- Press the SD Card button, use the PAGE DOWN button to navigate to FORMAT, then press Enter.
- Press the F5 button, select CONFIRM, and then press the ENTER button to format the SD card.
Back up user data
If you ever want to downgrade back to the original TD-50 software or if you have custom samples you want to load after installing the upgrade, the next thing you’ll want to do is back up your user data onto the newly formatted SD card.
- Press SD CARD, then select SAVE.
- Highlight and check With User Sample, press the F5 button, and then choose OK.
- Once the display shows “Complete,” remove the SD card.
Perform a factory reset
To perform a factory reset, you just need to press the SETUP button, use the PAGE DOWN button to navigate to Factory Reset, and then press ENTER.
Install the upgrade
IMPORTANT: The upgrade takes approximately 45 minutes to complete. Do NOT turn the module off at any point. If it does get powered off at any point during the update, you’ll brick the module, and it will need to be sent to Roland for repair.
Now that the module is back to its original settings, the final step in the process is to install the software upgrade to your TD-50 module.
- Insert the SD card into your computer, go to your Downloads folder, and then extract the TD-50 upgrade folder.
- Open the newly extracted folder, then copy and paste every file besides the upgrade guide .pdf file onto the root directory of the SD card.
- With your TD-50 module powered off, insert the SD card, then hold the REC button while powering on the module.
- Press the REC button two more times to begin the upgrade.
Is the upgrade failing?
If you’re having issues with the upgrade being installed and you had to upgrade the firmware, Roland recommends to downgrade to the original firmware version, and then update from 1.07 to 1.08, then 1.08 to 1.09.
Roland V-Drums TD-50X Upgrade: How to Upgrade Your TD-50 Module with Roland Cloud
When you need help, Sweetwater has the answers!
Our knowledge base contains over 28,000 expertly written tech articles that will give you answers and help you get the most out of your gear. Our pro musicians and gear experts update content daily to keep you informed and on your way. Best of all, it’s totally FREE, and it’s just another reason that you get more at Sweetwater.com.

