
Roland SPD-SX Pro Setup and Connections
The Roland SPD-SX Pro is a one-of-a-kind controller with unlimited possibilities, so in this guide, we will show you how to set up, connect, and use the multipad for the first time. Follow the sections below to get started.
Register the SPD-SX Pro
Before you get up and running, you’ll need to register the SPD-SX Pro with Roland. After registering the multipad, you’ll get access to Roland’s product support, an extended warranty, training videos, and clinic information. Follow the steps below to register the device.
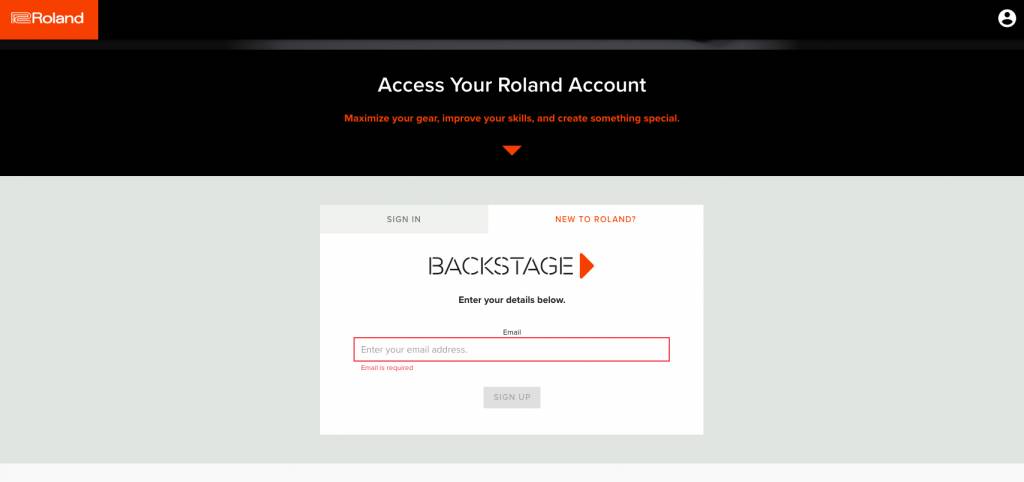
- Log in to your Roland Backstage account. If you don’t have one yet, you can create one here.
- Roland will then send an account activation email to the registered email address so you can complete the account creation process.
- Check your spam folder if you don’t see the email.
- On your account home page, click My Gear and select Register a Product.
- Fill out the required information, including the serial number on the multipad, and click Register.
- Keep your Sweetwater invoice handy, as you must enter your purchase date, purchase method, and Dealer (Sweetwater).
Download the driver
You can always use the SPD-SX Pro with your computer without downloading the driver. However, you will only be able to transmit MIDI data. You must install the dedicated driver software if you want to send both audio and MIDI.
- Go to the Roland SPD-SX Pro Update and Driver page, then locate and download the latest driver for the SPD-SX Pro.
- Navigate to your Downloads page, launch the installer, and follow the on-screen instructions.
Download the editor software
The SPD-SX Pro Editor app is a game changer. Unlike other multipads, where you have to make all your kit and sample changes directly on the hardware, you can connect your SPD-SX Pro directly to a computer, launch the software, then create, edit, and upload samples.
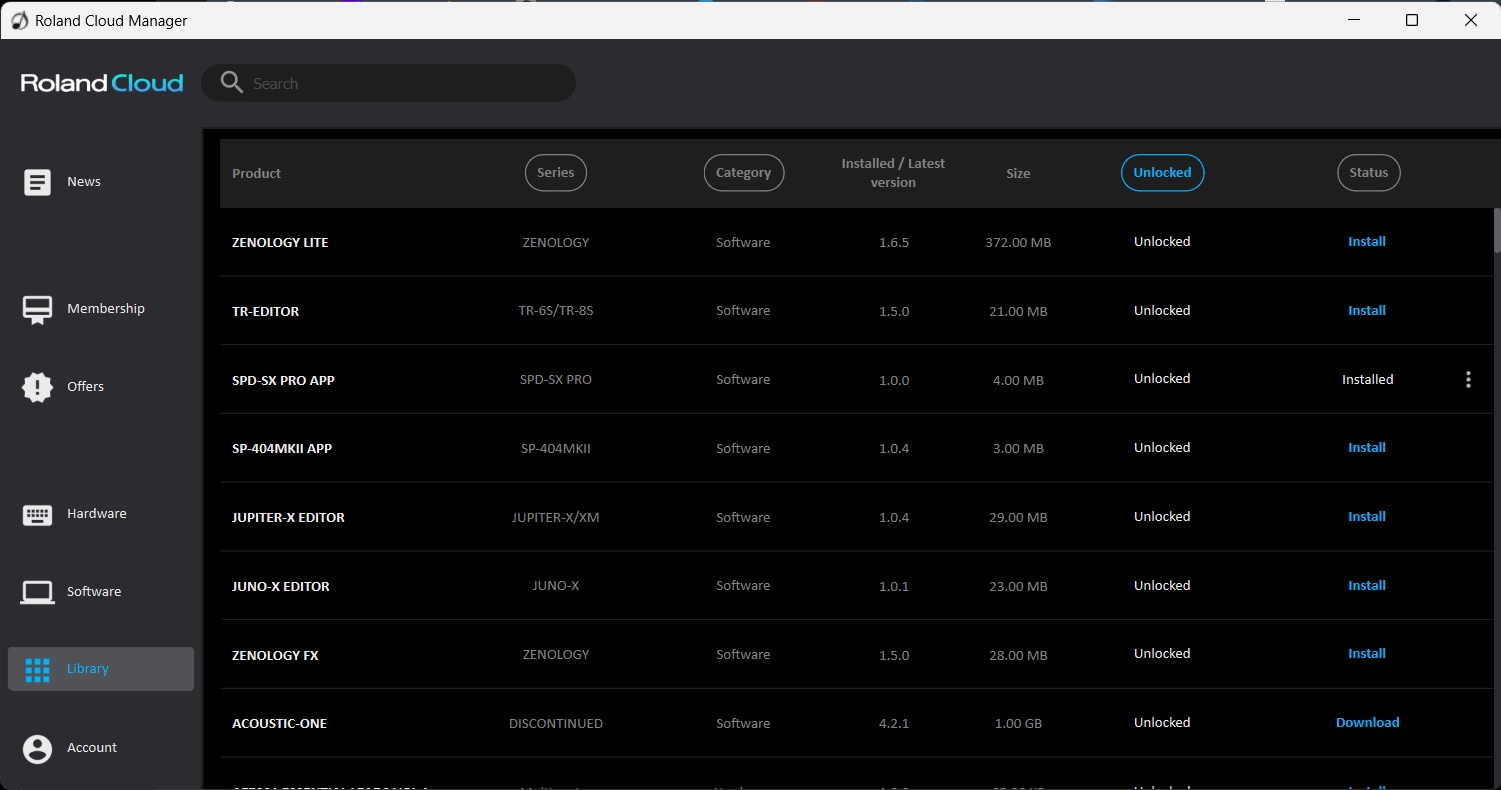
- Go to the SPD-SX Pro App page, scroll down, and download the latest version of Roland Cloud Manager.
- Navigate to your Downloads folder, then locate and launch the Cloud Manager installer.
- Once installed, the app should launch, and you’ll be prompted to enter your Roland account credentials.
- Click Library, locate SPD-SX PRO APP, then click Install.
Setup and Connections
The SPD-SX Pro has many connections available, making it an integral part of your studio and live setup. From audio to MIDI and computer, the possibilities indeed are endless. Let’s cover some essential tips for setting everything up.
External pads
Here are a few tips to get you up and running if you plan on using external pads.
- Press MENU and use the Value knob to scroll to System. Use the ARROW buttons to navigate to Control Setup, where you canturn on master effects, turn the click on and off, etc. Select the pad you want to trigger the parameter and adjust the behavior of.
- Select Pad/Trig In from the System menu, strike the pad/trigger you want to work with, and change its Input Mode and Trig Type.
- If you have anything connected to your MIDI ports, navigate to the System menu, select MIDI, and update the port settings.
- Only use FD-8, FD-9, VH-10, and VH-11 hi-hat and expression pedals. Using third-party expression and hi-hat pedals may cause the multipad to malfunction.
Setting up the hi-hat pedal
TIP: Only use FD-8, FD-9, VH-10 and VH-11 hi-hat and expression pedals. Using third-party expression and hi-hat pedals may cause the multipad to malfunction.
You must go through an additional setup if you have an electronic hi-hat or expression pedal and want to control the closed hi-hat sound.
- Connect the pedal to the HH CTRL jack, press MENU, then use the arrows to select PAD EDIT.
- Hold SHIFT, press the UP button until you see Play Type Template, then use the VALUE knob to select HI-HAT.
- Assign LAYER A to the closed hi-hat sound you want and assign LAYER B to the open hi-hat sound.
- The closed hi-hat sound will trigger when your foot is off the pedal.
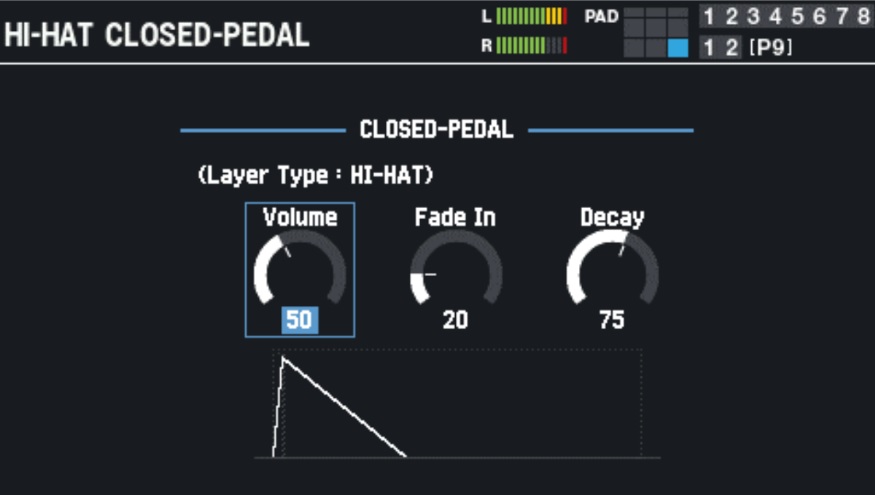
- Press the MENU button, navigate to and select FOOT CLOSE, then change values as necessary.
Computer
TIP: If you plan on recording, turn on the SPD-SX Pro before launching your DAW. Be sure to use a USB 2.0 high-speed cable.
If you want to use your SPD-SX Pro within your DAW to record MIDI or to trigger virtual instruments, or if you’re going to use the SPD-SX Pro app, you will need to connect it to your computer. Depending on what you want to do with the controller, you may need to change the driver mode.
- If you haven’t already, download the driver outlined in this article. If you didn’t download the driver, you cannot send audio out of the multipad.
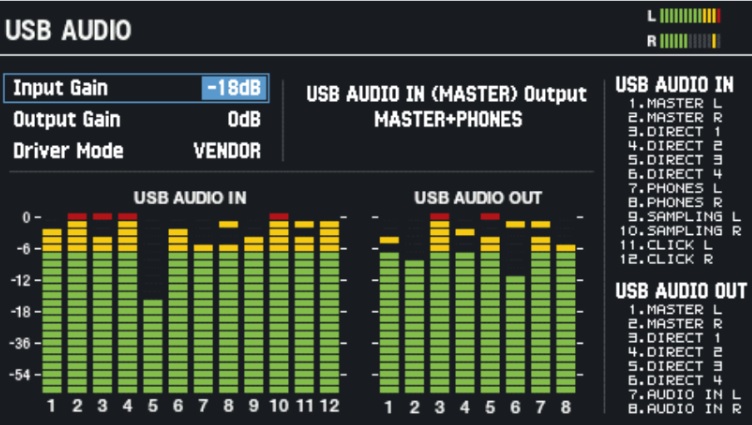
- On the SPD-SX Pro, press MENU, navigate to the System tab, and select USB Audio.
- Highlight Driver Mode and use the VALUE knob to switch to Vendor or Generic.
- Vendor: USB audio and MIDI can be transmitted.
- Generic:Only USB MIDI can be transmitted.
- If necessary, you can adjust any USB audio routing from this menu.
When you need help, Sweetwater has the answers!
Our knowledge base contains over 28,000 expertly written tech articles that will give you answers and help you get the most out of your gear. Our pro musicians and gear experts update content daily to keep you informed and on your way. Best of all, it’s totally FREE, and it’s just another reason that you get more at Sweetwater.com.

