
Roland SPD-SX Pro Working with Samples
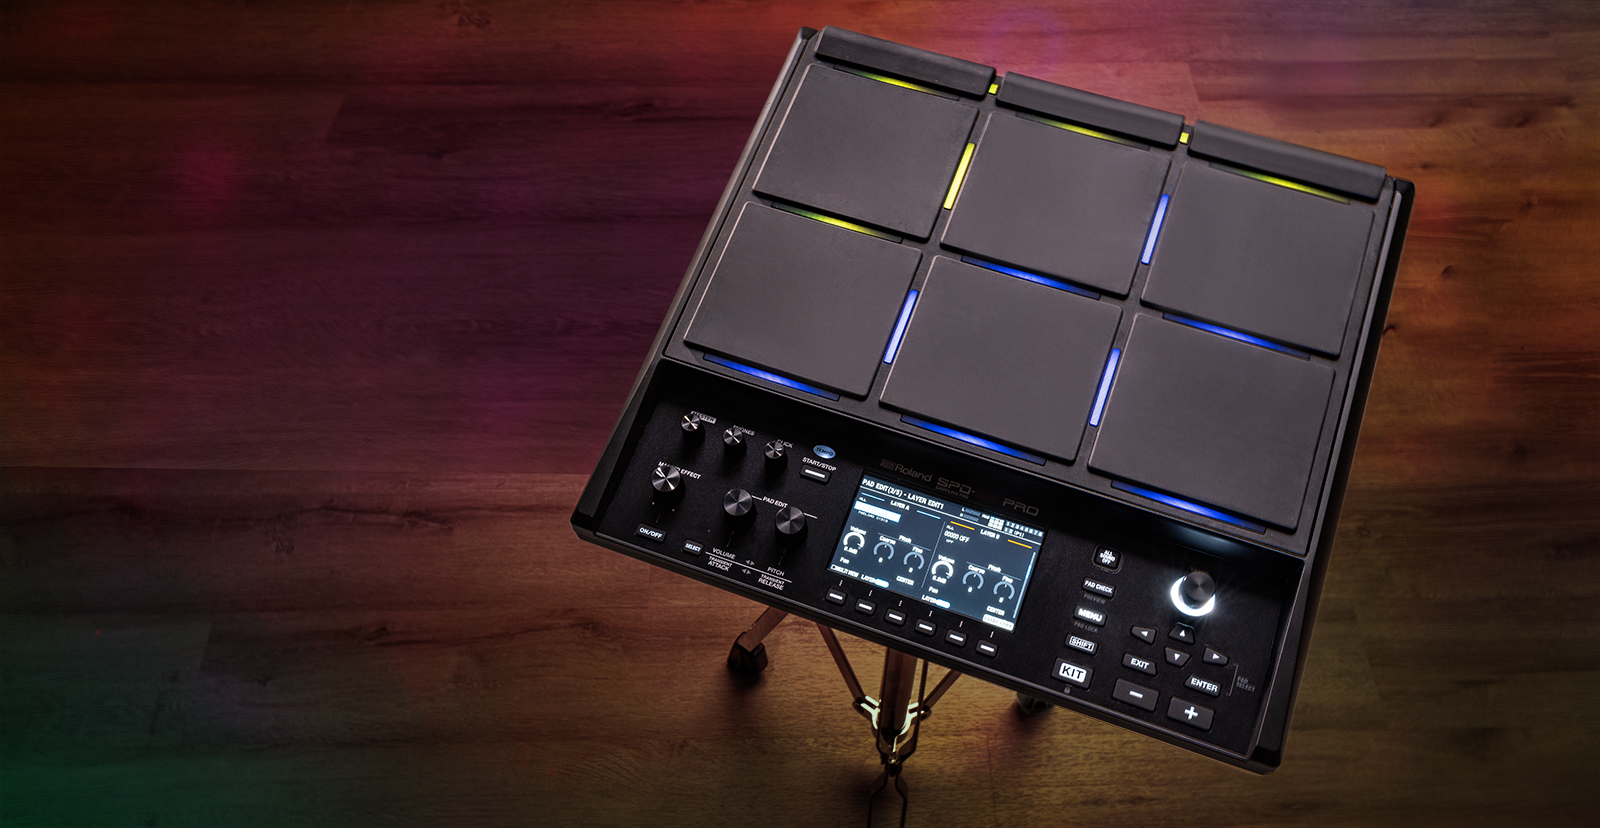
In our previous guide, you learned how to set up and connect the Roland SPD-SX Pro. This guide will show you the ins and outs of how to use it. This article only scratches the surface, so be sure to check out the Reference Manual for more information! Follow the sections below to get started.
Assign and Layer Samples
The SPD-SX Pro has hundreds of samples to work with and manipulate so you can get a truly unique sound. From layering to adjusting the playback mode, the possibilities are endless.
Assign samples
Assigning samples to pads couldn’t be easier. It’s just a matter of striking the pad, going to the sample edit menu, then selecting the sample.
- Strike the pad where you want to assign the sample.
- Press MENU, navigate to the KIT EDIT1 page, then highlight and select PAD EDIT.
- Press the UP button to change the category of sounds (the default is set to ALL).
- ALL: Both factory and user samples
- USER:Any samples you imported
- PRELOAD: All factory preset sounds
- Use the VALUE knob to scroll through the samples. Continue to strike the pad to preview each sample.
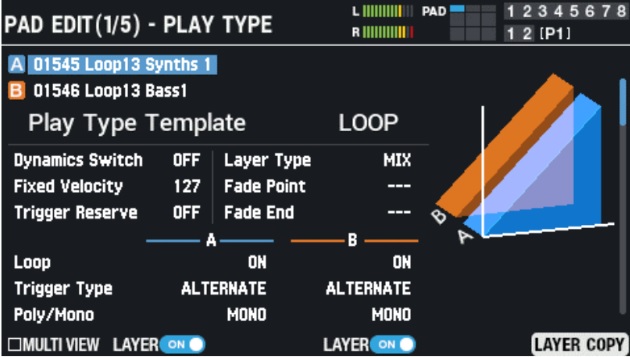
Layer samples
You can layer samples to get a unique sound. You just need to make sure you turn on LAYER.
- While in PAD EDIT mode, use the RIGHT arrow to select LAYER B and the VALUE knob to scroll through samples.
- Once a sample is selected, press the DOWN arrow and use the VALUE knob to adjust the volume and pitch.
- Hold SHIFT and use the UP and DOWN arrows to adjust additional parameters such as EQ, transience, and Play Type (loop, one shot, poly/mono, etc.).
Import and Record Custom Samples
The Roland SPD-SX Pro has 32GB of internal storage and supports 32GB of external memory with a USB thumb drive formatted to FAT32, so the number of custom samples you can play with is endless.
Import samples
IMPORTANT: You must format USB thumb drives directly on the multipad before transferring samples.
While the SPD-SX Pro has some great samples already built in, you can also import custom samples with a USB thumb drive. Please note that the sample you import must be WAV, AIFF, or MP3.
- Connect a USB thumb drive to the multipad.
- Press MENU, navigate to the PAD EDIT menu, then select FORMAT.
- Please note that any data stored on the thumb drive will be erased when formatting, so be sure to back up anything you need beforehand!
- Once formatted, connect the USB thumb drive to your computer, locate the samples you want to load, then transfer them over.
- Safely eject the thumb drive from your computer and reconnect it to the SPD-SX Pro.
- Press MENU, navigate to the WAVE menu, then select IMPORT.
- Highlight the sample you want to import, press CHECK (F1), then select IMPORT.
- Highlight the sample and press PREVIEW to preview the sample.
- Once imported, you can assign it to a pad, as outlined above.
Record samples
TIP: We recommend waiting for a second or two after pressing the record button. This will make it easier to set the start point if you plan on editing the sample afterward.
You can record samples directly from the unit, from external sources via the Line In jack, or a mixture of both! What’s more, you can edit the sample after you’ve recorded it.
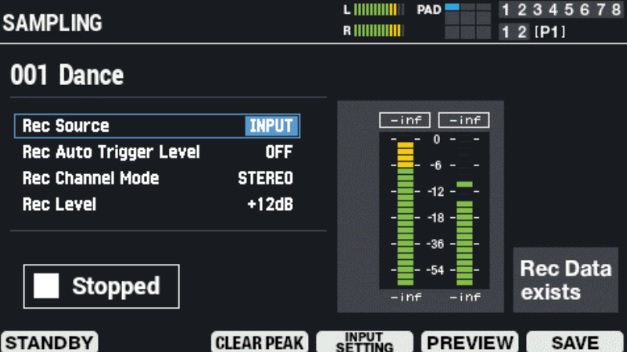
- Press MENU, navigate to WAVE, then select SAMPLING.
- Set the Rec Source to one of the following:
- INPUT: Samples only the audio of the input device
- PAD: Sample only what you play on the instrument
- INPUT+PAD: A combination of both
- Set the Rec Auto Trigger Level. This is the input threshold where the sample is triggered.
- Set the Rec Channel Mode to Stereo or Mono.
- Set the Rec Level. This will set the recording level for the sample.
- Once the settings are updated, press STANDBY (F1), then press START (F2) to begin recording. Press it once more after you have finished.
Editing samples
If you want to trim the sample after recording, press WAVE EDIT (F6).
- Use the LEFT and RIGHT buttons to switch between the Start and End points, then use the VALUE knob to adjust the beginning and end of a sample.
- Press PREVIEW (F5) to preview the sample at any time.
- Press RENAME (F4) to rename the sample. Once you’ve renamed the sample, press EXIT (F6) to return to the Edit screen.
- Once you’re happy with the result, press SAVE (F6).
- After you’ve saved your sample, you can tag it, making it easier to locate when searching for sounds. Check out the SPD-SX Pro User Manual to learn more!
Export Samples
IMPORTANT: You cannot export factory sounds.
After you have recorded and edited your sample, the final thing you’ll want to do is export it to a USB thumb drive to transfer it into your DAW or to your computer as a backup in case you need to perform a factory reset.
- Connect a USB thumb drive to the SPD-SX Pro, press MENU, then go to the BACKUP options.
- Select FORMAT, press ENTER, then press FORMAT (F6).
- When prompted, select OK and press ENTER.
- Do not power off the device or disconnect the thumb drive during the formatting process.
- Once formatted, you’ll receive a confirmation message.
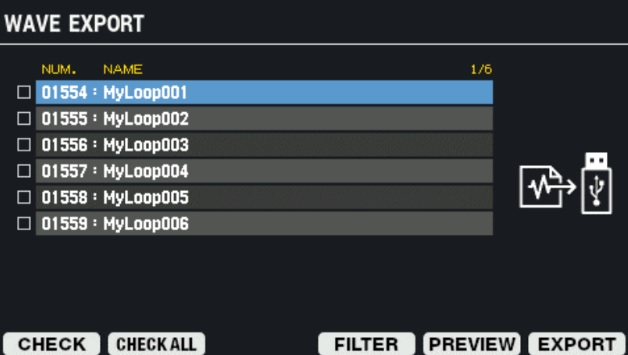
- After the USB thumb drive has been formatted, press MENU, then navigate to the WAVE options.
- Select Export, then press ENTER. All user recorded samples will be listed.
- Highlight the sample(s) you want to transfer, then press CHECK (F1).
- If you want to export all samples, press CHECK ALL (F2).
- Press EXPORT (F6) to export the sample(s).
When you need help, Sweetwater has the answers!
Our knowledge base contains over 28,000 expertly written tech articles that will give you answers and help you get the most out of your gear. Our pro musicians and gear experts update content daily to keep you informed and on your way. Best of all, it’s totally FREE, and it’s just another reason that you get more at Sweetwater.com.

