

PreSonus ioStation 24C Setup Guide
Getting started
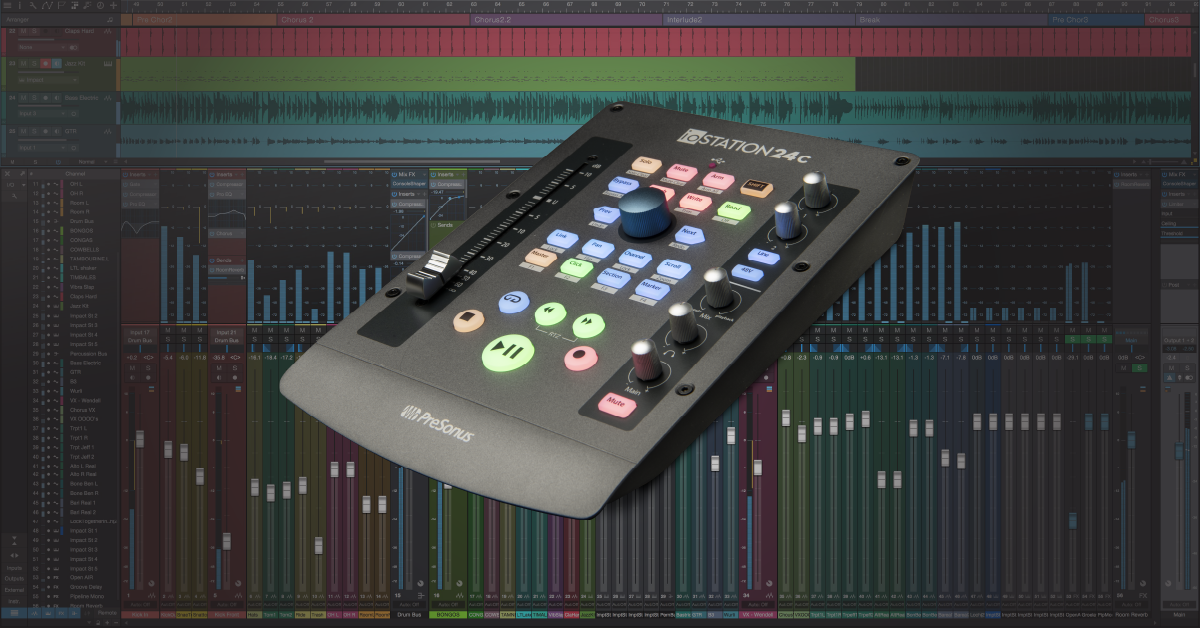
In this guide, we will show you how to get up and running with your PreSonus ioStation 24-C. This means you’ll learn how to register, connect, and use the interface for the first time. Follow the sections below to get started.
Register the ioStation
Before you can start recording with your new interface, you’ll first want to register the interface with PreSonus. After registration, you’ll get a free copy of Studio One Artist, as well as the Studio Magic Plug-in Suite, which includes virtual instruments and effects plug-ins from leading software manufacturers.
- Log in to your PreSonus account. If you don’t have an account yet, you can create one here.
- On your account home page, click Register a product, then select Hardware in the drop-down box.
- Enter the purchase date and serial number. The serial number is located on the bottom of the interface, as well as the side of the box.
- After registering the hardware, click My Products on the top of the PreSonus page, click Software under My Products to download and register the software.
- Check out our registration guide for instructions on how to download and activate and register Studio One.
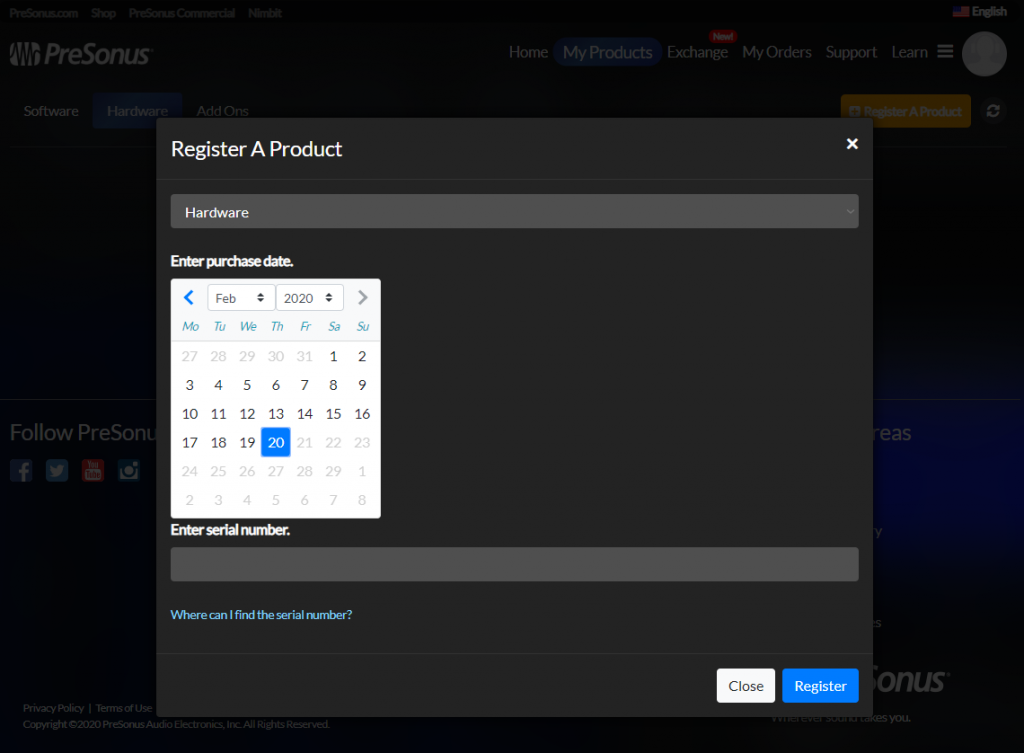
Click the image to register your PreSonus ioStation
Download and install Universal Control
After registration, the next step is to download and install Universal Control for your OS. All drivers are included in the installer, so there is only one file you’ll need to download. While the ioStation is class-compliant on Mac, you will still need to install the app to perform firmware updates, and also update settings such as the buffer size (block size), sample rate, and clock source.
- Click the Hardware tab in the My Products section of your account, click View More Details, then click Download Installer.
- If you need to download the app for a different OS, click View Other Systems.
- Go to your Downloads folder and run the Universal Control installer.
- Windows (PC) Users: Double-click the .exe file to begin the installation process.
- Mac Users: Double-click the .dmg file then double-click the .pkg to begin the installation process.
Which drivers should I install?
If you’re using Windows, you will be prompted to select which drivers you’d like to install. Uncheck all of the boxes except for ioStation, then continue to complete the installation.
Setup and connections
After registration and installation, it’s time to connect the ioStation. When you first connect the device to your computer, you will want to open the Universal Control app to update the firmware and interface sound settings.
Update the firmware
PreSonus will release firmware updates periodically. These often include new features and bug fixes to the device’s internal software.
- Turn the unit on, then launch the Universal Control app.
- If the firmware is out-of-date, click Update Firmware and follow the on-screen instructions.
- The firmware update takes approximately 3-5 minutes to complete, so be sure not to turn the unit off during this time.
- When prompted, restart the device.

Updating the ioStation firmware
DAW controller setup
Not only is the ioStation an interface, but you can also use it as a DAW controller, as well. The controller functionality is just like the PreSonus Faderport. For it to work correctly in your DAW, you must select the correct Operation Mode. By default, the ioStation is configured for use in Studio One, but if you’re using another DAW, you will need to change the mode.
- Press and hold the Next button while turning it on. Let go of the Next button and wait for the pads to start flashing.
- Press the button corresponding to your DAW below to change the Operation Mode.
- Touch – Pro Tools (HUI protocol)
- Bypass – Cubase (MCU protocol)
- Mute – Logic (MCU protocol)
- Arm – Ableton Live (MCU protocol)
- Solo – Studio One
- Launch your DAW and set it up as a MIDI device. If this is your first time using a DAW controller, check out our guides on how to set it up in your DAW.
Studio One users
If the ioStation isn’t showing up as a listed external device, be sure that your version of Studio One is updated to version 4.6.1 or higher.
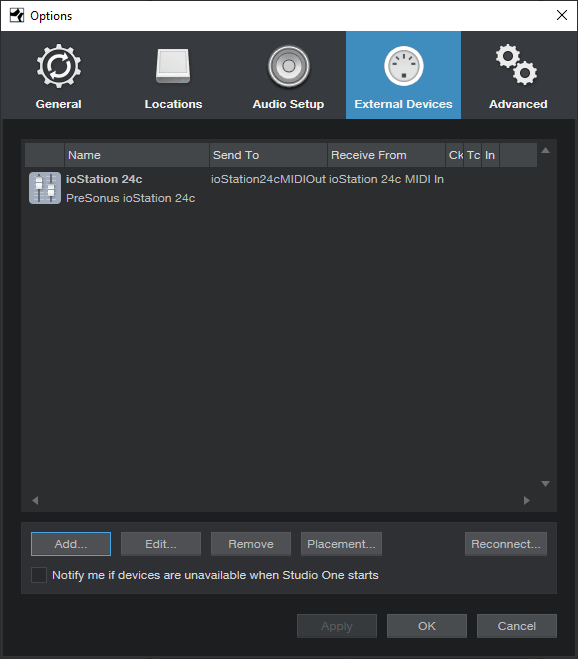
Adding an external device in Studio One
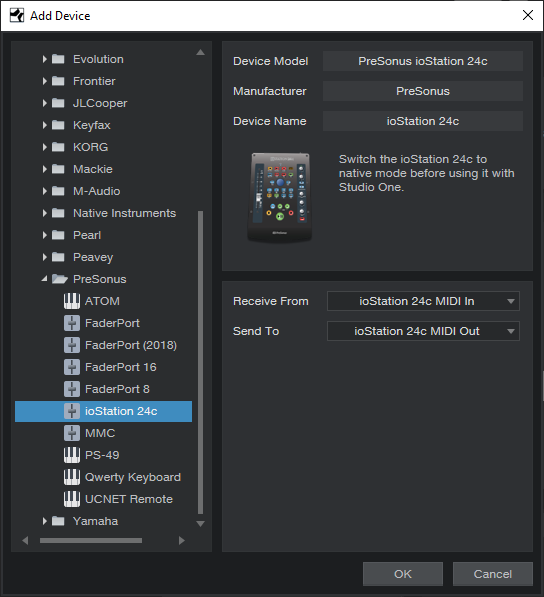
Select the ioStation as an external device
Related content
Additional resources
PreSonus 101: MIDI Device Setup in Studio One
How to Use the FaderPort
Recording in Studio One: Interface Setup
When you need help, Sweetwater has the answers!
Our knowledge base contains over 28,000 expertly written tech articles that will give you answers and help you get the most out of your gear. Our pro musicians and gear experts update content daily to keep you informed and on your way. Best of all, it’s totally FREE, and it’s just another reason that you get more at Sweetwater.com.


Offer applies only to single-receipt qualifying purchases. Select manufacturers may require that only the manufacturer’s products qualify towards the minimum purchase amount needed to be eligible for promotional financing. Otherwise, an invoice that meets the minimum purchase amount and contains at least one qualifying manufacturer product is eligible for promotional financing. No interest will be charged on promo purchase balance, and equal monthly payments are required on promo purchase until it is paid in full. The payments equal the amount financed divided by the number of months in the promo period, rounded up to the next whole dollar. These payments may be higher than the payments that would be required if this purchase was a non-promo purchase. During the last month(s) of the promo period the required monthly payment may be reduced due to the prior months’ rounding. Regular account terms apply to non-promo purchases. New Accounts as of 07/31/2025: Purchase APR is 34.99%. Penalty APR is 39.99%. Min Interest Charge is $2. Existing cardholders: See your credit card agreement terms. Subject to credit approval.
Offer applies only to single-receipt qualifying purchases. No interest will be charged on the promo balance if you pay it off, in full, within the promo period. If you do not, interest will be charged on the promo balance from the purchase date. The required minimum monthly payments may or may not pay off the promo balance before the end of the promo period, depending on purchase amount, promo length and payment allocation. Regular account terms apply to non-promo purchases and, after promo period ends, to the promo balance. New Accounts as of 07/31/2025: Purchase APR is 34.99%. Penalty APR is 39.99%. Min Interest Charge is $2. Existing cardholders: See your credit card agreement terms. Subject to credit approval.
The estimated required monthly payment shown which excludes taxes and delivery equals the amount financed divided by the number of months in the promo period, rounded up to the next cent. During the last month(s) of the promo period the required monthly payment may be reduced due to this rounding. These payments apply only with the financing offer shown. If you make these payments by the due date each month, you should pay off this amount financed within the promo period, if it is the only balance you are paying off. If you have other balances on your account, this payment will be added to any other minimum monthly payments.
Applies only to select items from this manufacturer. Ask your Sweetwater Sales Engineer for more details.