
Novation Launchpad Setup Guide
How to use the Novation Launchpad
In this guide, we will show you how to use Novation Launchpad for the first time. You’ll learn how to register and navigate the Launchpad software, and also how to set it up for the first time. Follow the sections below to get started.
- Registration and bundled Launchpad software
- How to set up the Novation Launchpad
- How to use the Launchpad with Ableton
- Novation online setup guide
Registration and bundled Launchpad software
The Novation Launchpad comes bundled with Ableton Live Lite, as well as virtual instruments, effects plug-ins, and a two-month membership to Splice Sounds. To get access to the Launchpad software, you first need to create an account with Novation and register the device.
- Log in to your Novation account. If you don’t have one, you can create it here.
- Once logged in, click My Hardware, and select Register A New Product.
- Use the drop-down list to select your version of the Launchpad.
- Fill out all of the necessary information, including the serial number which can be found on the back of your Novation Launchpad.
- The serial number can also be found on the back of the box, as well as in the Online Getting Started Guide.
- Go to the My Software section of your Novation account to access the bundled software. You will also need to download the latest Novation USB driver here to ensure full connectivity.
How to set up the Novation Launchpad
Once the Launchpad is registered, you can connect the controller to your computer. The Launchpad uses a USB-C cable and runs on the USB 2.0 protocol for maximum compatibility. The Launchpad is bus-powered, which means it receives power via the USB cable instead of a standard power adapter. It’s recommended to connect the controller directly to the computer because sometimes USB hubs cannot provide enough power.
Connecting Launchpad to iOS devices
To connect a Launchpad to an iOS device, you’ll need an Apple Lightning to USB adapter, a powered USB hub, and spare USB cable. The iOS device must run on 10.12 or later. You also must follow specific connection instructions, or you might receive an error stating that it’s not supported or that it uses too much power.
- Connect the included USB cable from the Launchpad to a powered USB hub.
- Connect the spare USB cable from the powered hub to the Lightning to USB adapter.
- Connect the adapter to the iOS device.
Changing settings on the Launchpad
You can change various preferences of the Launchpad by entering the Settings menu on the device. Just hold the Session/Mixer pad down briefly until you see the letters blue and white LED letters appear. You can then navigate through the different options using the first four Scene pads on the right hand side of the device. For a detailed list of what settings you can change, visit the Launchpad User Guide.
- LED (blue and white): The overall brightness of the pads, LED internal/external feedback which toggles whether or not pads light up in Custom Modes. You can also toggle LED brightness within the Bootloader menu.
- VEL (orange and white): This turns the velocity sensitivity on or off, and also allows you to adjust the velocity curve.
- AFT (purple and white): Adjusts aftertouch. You can choose between channel pressure, polyphonic aftertouch, or disabling aftertouch.
- FAD (teal and white): Enables or disables velocity sensitivity while in Fader mode.
What is MSD mode?
When you connect the Launchpad to a computer for the first time, it will appear as a Mass Storage Device, just like a USB thumb drive. You cannot transfer files to it, however. While it’s not necessary, you can turn MSD mode off at any time by entering the Bootloader Menu. Follow these steps to enable and disable MSD mode.
- Hold down the Capture MIDI pad while connecting the Launchpad to your computer to enter the Bootloader menu.
- Press the bright yellow pad on the right-hand side of the device. Onboarding > On/Off will scroll across the pads.
- Press the green pad on the bottom right to restart the device.
How to use the Launchpad with Ableton
When you first launch Ableton Live 10 for the first time, the Launchpad will be automatically detected and ready to use. If, however, it doesn’t respond, follow these steps to configure the Launchpad with Ableton.
- Navigate to Options in the top toolbar, click Preferences, and then select Link/MIDI.
- In the MIDI section, select the Launchpad as the Control Surface, and set the Input and Output to the Launchpad as well.
- Turn on the MIDI ports for both Launchpad MIDI inputs and outputs to complete configuration.
Custom modes
You can make your own modes for the Launchpad by using the Components web app. This allows you to create your own custom layouts which you can then upload to your Launchpad. To create a custom mode, you will need a WebMIDI enabled internet browser such as Opera or Google Chrome.
- Go to the Components web page and select your Launchpad.
- If you’re prompted to update the firmware, click Yes, update my firmware and then click Update My Launchpad Firmware.
- Click Create Custom Mode and drag the Widgets from the right side of the screen to the pads you wish to assign them to.
- Once complete, click Send to Launchpad and select the Custom Mode number you wish to save it to to complete the transfer.
Using the Novation Components web app.
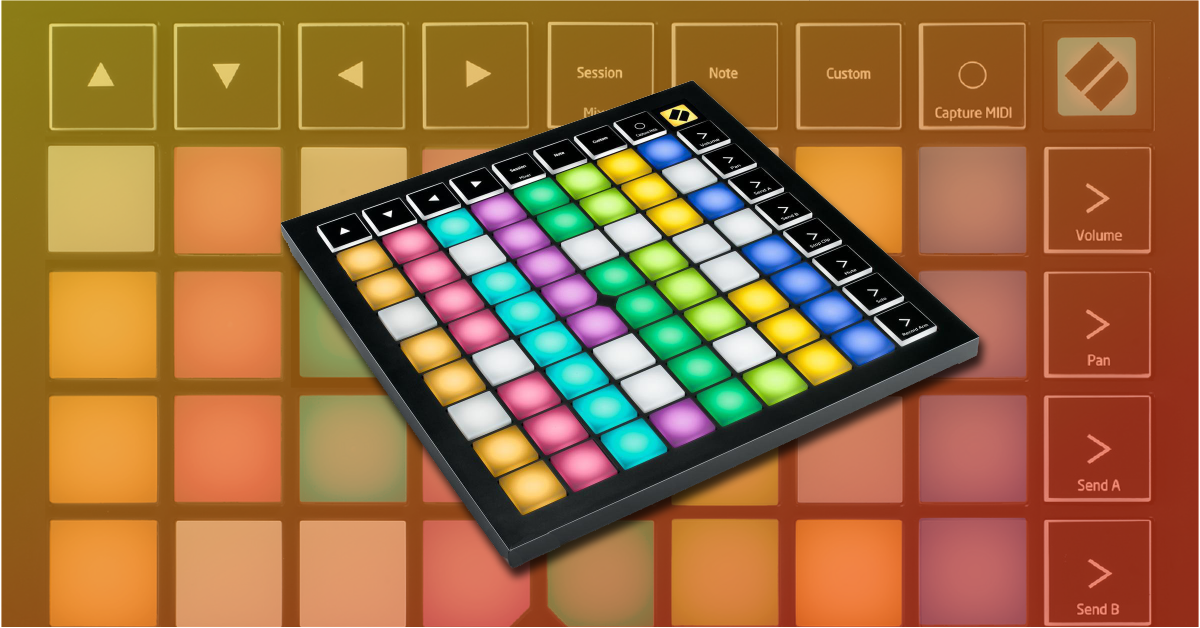
Novation online setup guide
Novation has made an online setup guide so you can get started fast with your Launchpad. It walks you through the Launchpad registration process and also has videos for setting up and how to use the Launchpad with the bundled version of Ableton Live Lite. Click the image below to get started and enjoy using your new Launchpad!
- Connect your Novation Launchpad controller.
- In the window that opens, double-click Click Here To Get Started to launch the online getting started guide.
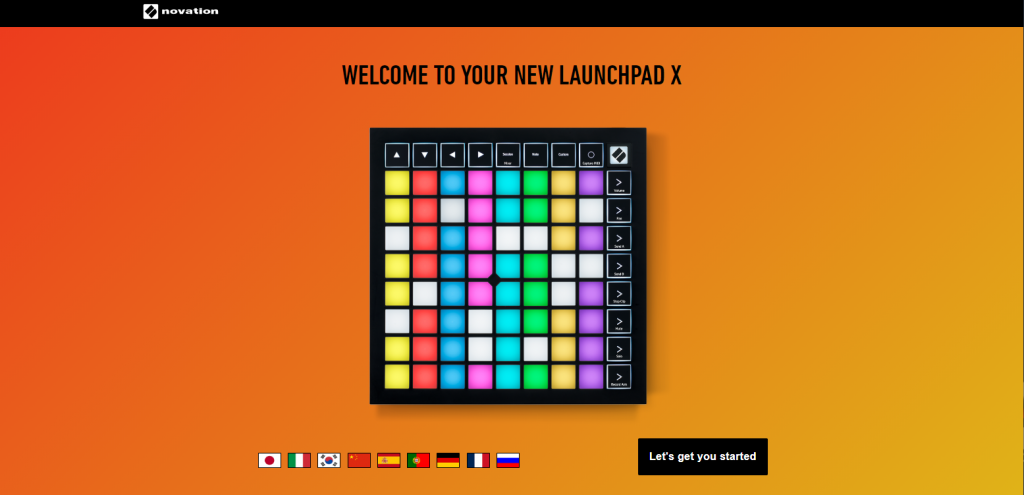
Click here to open the online Getting Started guide.
Additional resources
Setting up your Launchpad in Live 10
Making Music with your Launchpad in Live 10
When you need help, Sweetwater has the answers!
Our knowledge base contains over 28,000 expertly written tech articles that will give you answers and help you get the most out of your gear. Our pro musicians and gear experts update content daily to keep you informed and on your way. Best of all, it’s totally FREE, and it’s just another reason that you get more at Sweetwater.com.


Offer applies only to single-receipt qualifying purchases. Select manufacturers may require that only the manufacturer’s products qualify towards the minimum purchase amount needed to be eligible for promotional financing. Otherwise, an invoice that meets the minimum purchase amount and contains at least one qualifying manufacturer product is eligible for promotional financing. No interest will be charged on promo purchase balance, and equal monthly payments are required on promo purchase until it is paid in full. The payments equal the amount financed divided by the number of months in the promo period, rounded up to the next whole dollar. These payments may be higher than the payments that would be required if this purchase was a non-promo purchase. During the last month(s) of the promo period the required monthly payment may be reduced due to the prior months’ rounding. Regular account terms apply to non-promo purchases. New Accounts as of 07/31/2025: Purchase APR is 34.99%. Penalty APR is 39.99%. Min Interest Charge is $2. Existing cardholders: See your credit card agreement terms. Subject to credit approval.
Offer applies only to single-receipt qualifying purchases. No interest will be charged on the promo balance if you pay it off, in full, within the promo period. If you do not, interest will be charged on the promo balance from the purchase date. The required minimum monthly payments may or may not pay off the promo balance before the end of the promo period, depending on purchase amount, promo length and payment allocation. Regular account terms apply to non-promo purchases and, after promo period ends, to the promo balance. New Accounts as of 07/31/2025: Purchase APR is 34.99%. Penalty APR is 39.99%. Min Interest Charge is $2. Existing cardholders: See your credit card agreement terms. Subject to credit approval.
The estimated required monthly payment shown which excludes taxes and delivery equals the amount financed divided by the number of months in the promo period, rounded up to the next cent. During the last month(s) of the promo period the required monthly payment may be reduced due to this rounding. These payments apply only with the financing offer shown. If you make these payments by the due date each month, you should pay off this amount financed within the promo period, if it is the only balance you are paying off. If you have other balances on your account, this payment will be added to any other minimum monthly payments.
Applies only to select items from this manufacturer. Ask your Sweetwater Sales Engineer for more details.