
macOS 12 Monterey: Time Machine Backup Guide
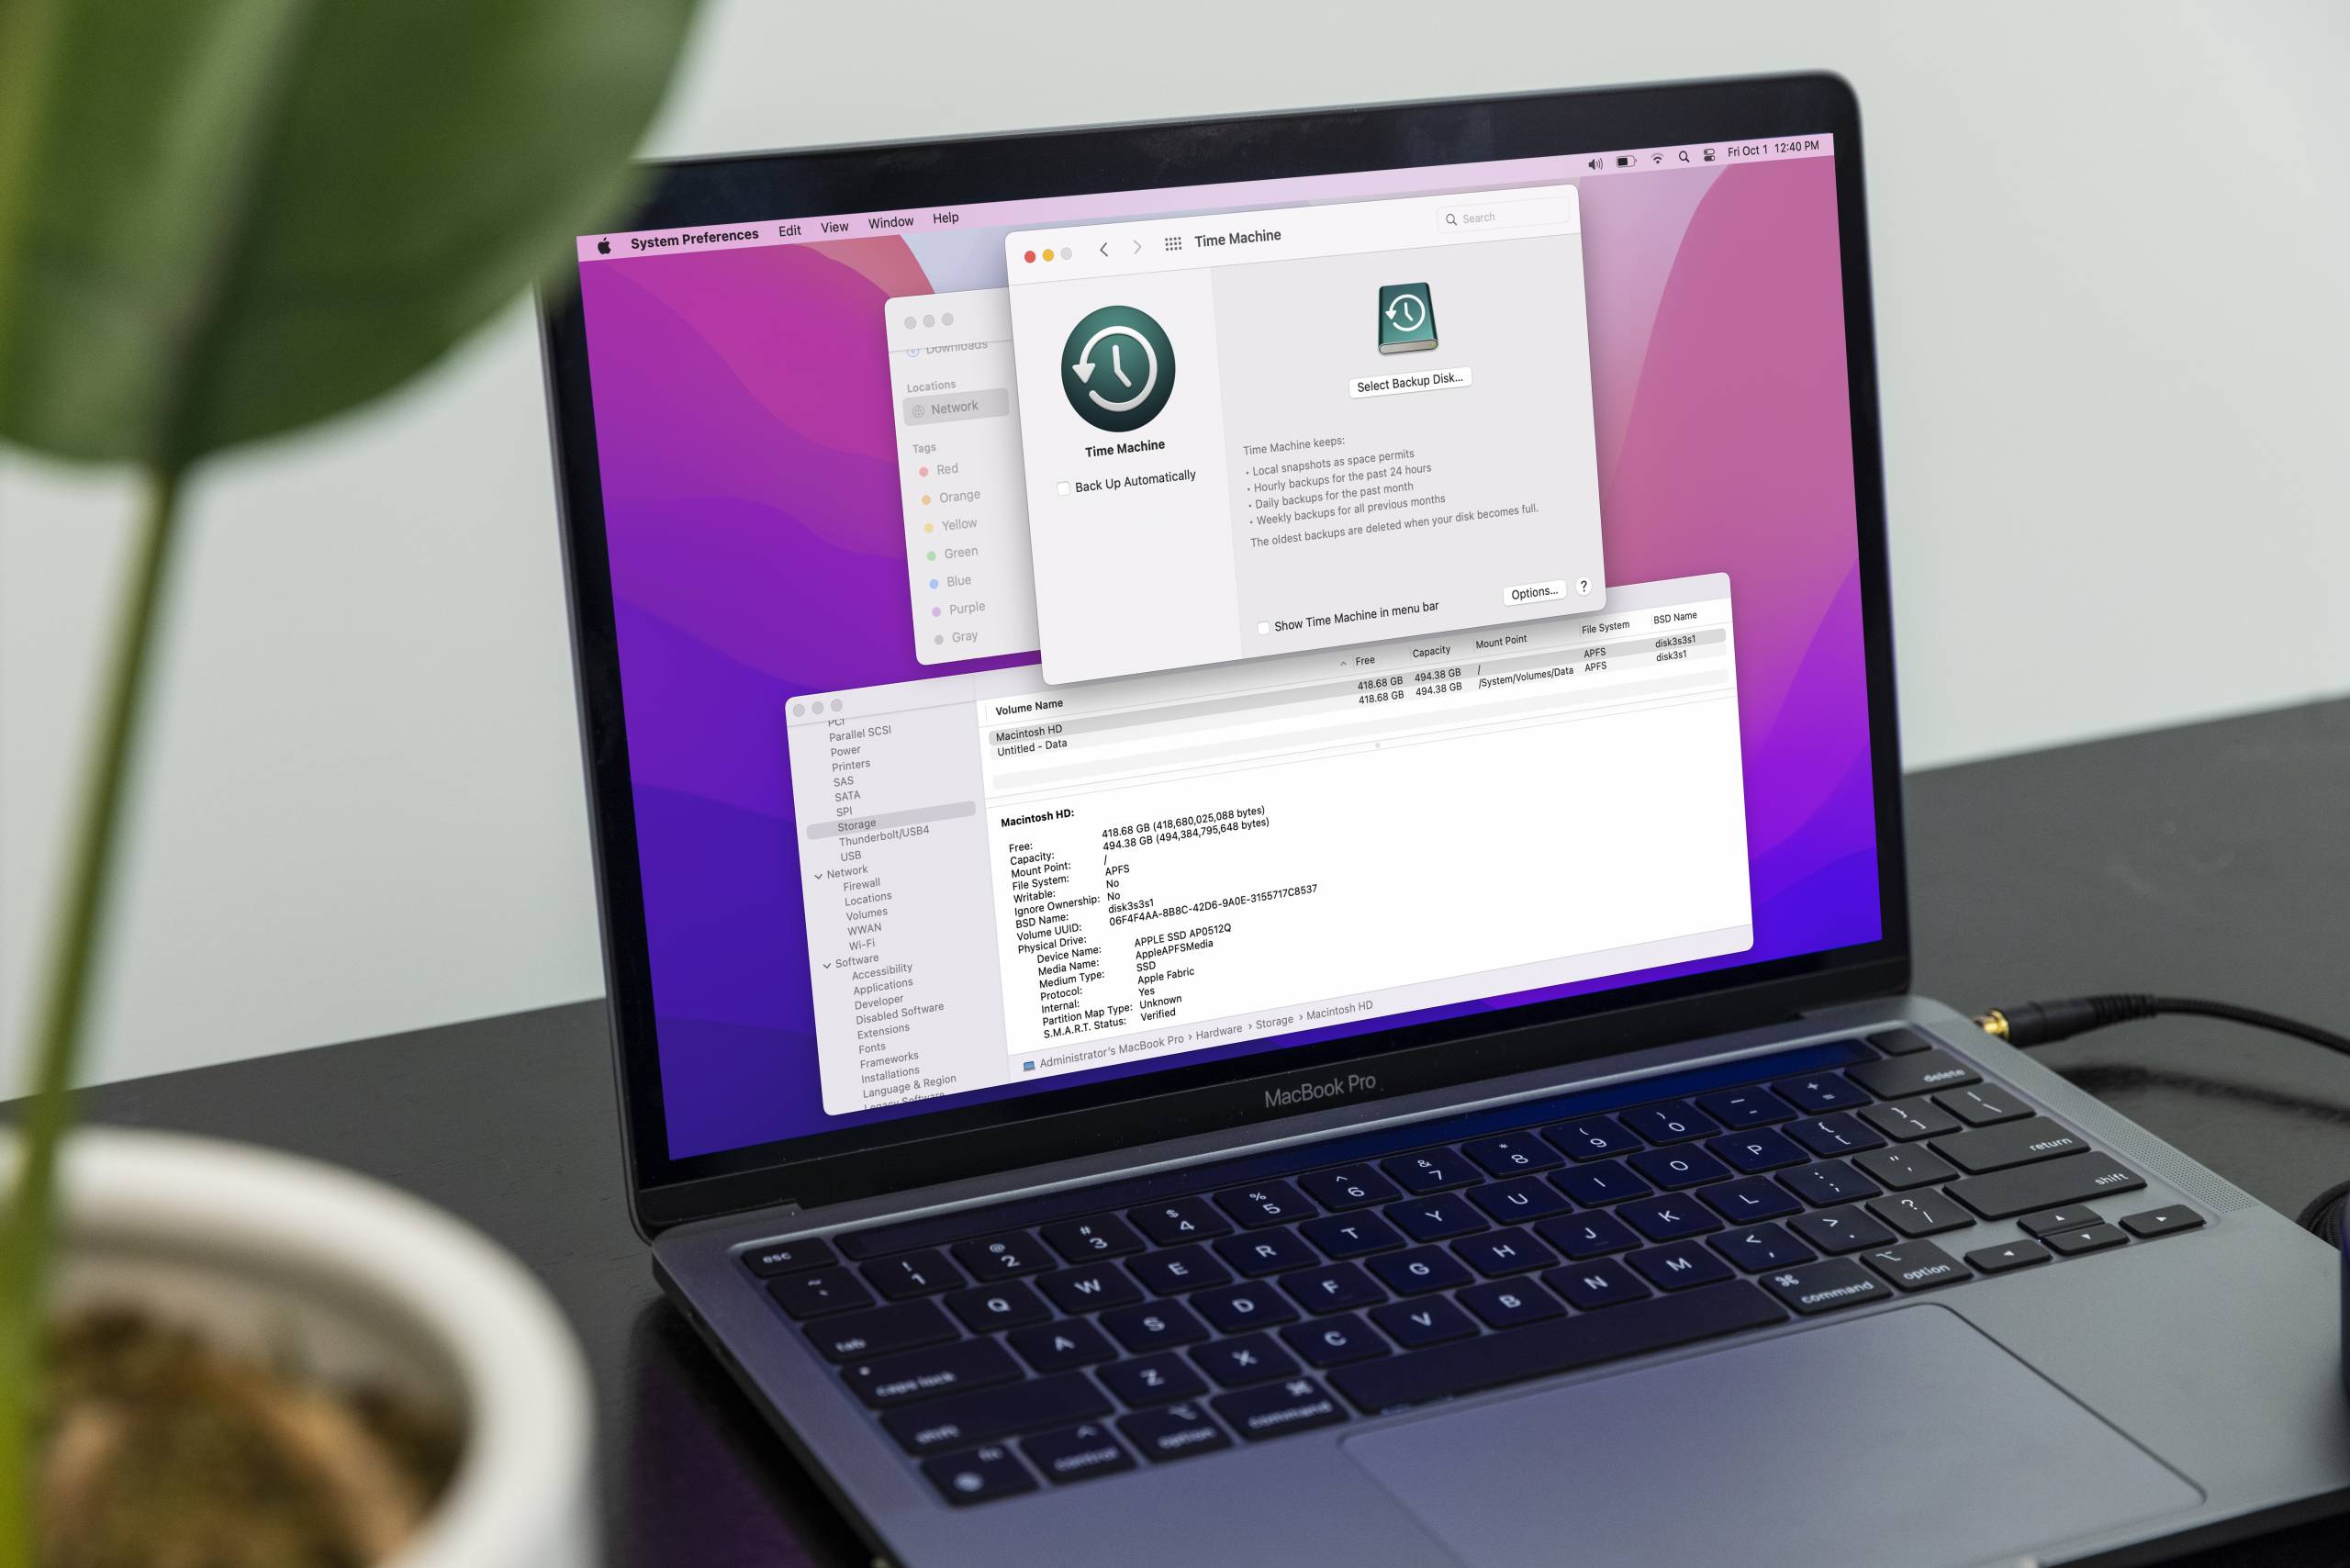
How to back up your Mac
Backing up your Mac essentially means copying your files to another hard drive, thus creating a “backup.” The classic way to back up files is by copying them to an external hard drive or cloud storage service. You can either back up each file individually or place them all in a single, contained folder (and possibly zip it). This method is useful for backing up specific files or creating archives but isn’t as complete as actually backing up your Mac.
Apple’s cloud storage solution is iCloud, a built-in macOS service that lets you back up photos, documents, and contacts from your Mac and other Apple devices. Portable USB flash drives or other cloud storage services (Google Drive, Dropbox, etc.) also have convenient backup options. Learn more on Apple’s iCloud page.
Back up your Mac with Time Machine
The best way to back up your Mac is by saving your files to an external hard drive as a Time Machine backup. Creating a Time Machine backup will copy every file on the Mac’s hard drive to the dedicated backup drive. Once initially backed up, Time Machine will perform routine backups by saving any changes made since the last backup. After a file is saved, it doesn’t get saved again until it’s modified, making subsequent backups quicker than the first. Time Machine backups can be automatic or performed manually, allowing you several options for restoring your Mac. Follow the steps below or learn more from Apple about how to back up your Mac with Time Machine.
What kind of hard drive do I need?
A dedicated external hard drive is best for Time Machine backups. The drive should have at least as much storage space as your Mac’s hard drive, although double or more is recommended if you plan on working with a lot of different large files or saving multiple backups. Spinning disk drives may not be as quick as solid-state drives, but they do offer more storage space for the value. Learn more from Apple about which backup disks you can use with Time Machine.
Create a Time Machine Backup
Format external hard drive for macOS
Backing up a Mac with Time Machine requires an external hard drive formatted for macOS. Formatting the drive will erase everything on it and configure it for macOS. After formatting the drive, if prompted to back up with Time Machine, select Use as Backup Disk. This will open the Time Machine preferences window and start your first backup. Follow the steps below to format your hard drive for Time Machine.
Reusing another hard drive
If you don’t have a dedicated Time Machine drive, you can either get a new external hard drive or use one you already have. Any files on the drive will be erased when reformatted for Time Machine. If you’re using a drive that already has files on it, back them up if necessary. Since hard drives can be formatted for NTFS (Windows) Mac OS Extended (macOS), and now APFS, you may need a Windows PC to back up hard drives formatted for NTFS, which is a Windows-exclusive format. Drives formatted for ExFat are compatible with both operating systems.
- Launch Disk Utility (Applications > Utilities > Disk Utility).
- Select the hard drive device and click Erase (erases everything, cannot be undone).
- Name your drive (e.g., “Time Machine Backup”), select the APFS format, and click Erase.
Create Time Machine backup
After connecting a new or reformatted external hard drive, macOS will ask whether or not you want to use the drive for Time Machine backups. Selecting Use as Backup Disk in the pop-up will open the Time Machine window and start the initial backup. If you are not prompted or want to select another drive, then open Time Machine preferences (System Preferences > Time Machine) and click Select Disk…. Follow the steps below to back up your Mac with Time Machine. The initial backup will take the longest, but check these Apple solutions if a Time Machine backup takes longer than you expect.
Automatic backups
Backups will begin right away if the Back Up Automatically feature is enabled (default). Since Time Machine takes some valuable processing power, we recommend disabling this feature while recording audio or using a DAW. When automatic backups are disabled, start a backup by clicking Back Up Now from the Time Machine taskbar menu.
Turn off Time Machine when recording
Time Machine is great for backing up your Mac but not for recording audio. When you’re working in your DAW, either turn Time Machine off or eject the drive so your computer can focus its processing power.
- Launch Time Machine and click Select Disk….
- Select your backup drive or newly formatted hard drive and click Use Disk.
- To start a backup, click the Time Machine taskbar icon and select Back Up Now.
Recover macOS from a Time Machine backup
If you created a Time Machine backup right before upgrading to Monterey, you are in luck because your Mac can be restored exactly as it was. That includes your files, apps, version of macOS, and more. With the macOS Time Machine and Migration Assistant utilities, you can restore your apps, files, and settings from a Time Machine backup. That can even include the operating system if you are rolling back your version of macOS. Learn more from Apple about how to move your content to a new Mac.
- Power on your Mac and then press and hold the Command and R keys at the same time. Keep holding them until the Apple icon appears. You’ll see macOS Utilities when in macOS Recovery.
- In the macOS Utilities window, click Restore from Time Machine Backup.
- Select your Time Machine backup disk and then find the date and time of the backup you want to restore.
- Select the disk to install the Time Machine backup. The drive will be erased, so make sure to select the correct drive (Macintosh HD) for your Mac.
Restore from a Time Machine Backup
When you need help, Sweetwater has the answers!
Our knowledge base contains over 28,000 expertly written tech articles that will give you answers and help you get the most out of your gear. Our pro musicians and gear experts update content daily to keep you informed and on your way. Best of all, it’s totally FREE, and it’s just another reason that you get more at Sweetwater.com.

