
How to Use the Roland AIRA Compact J-6
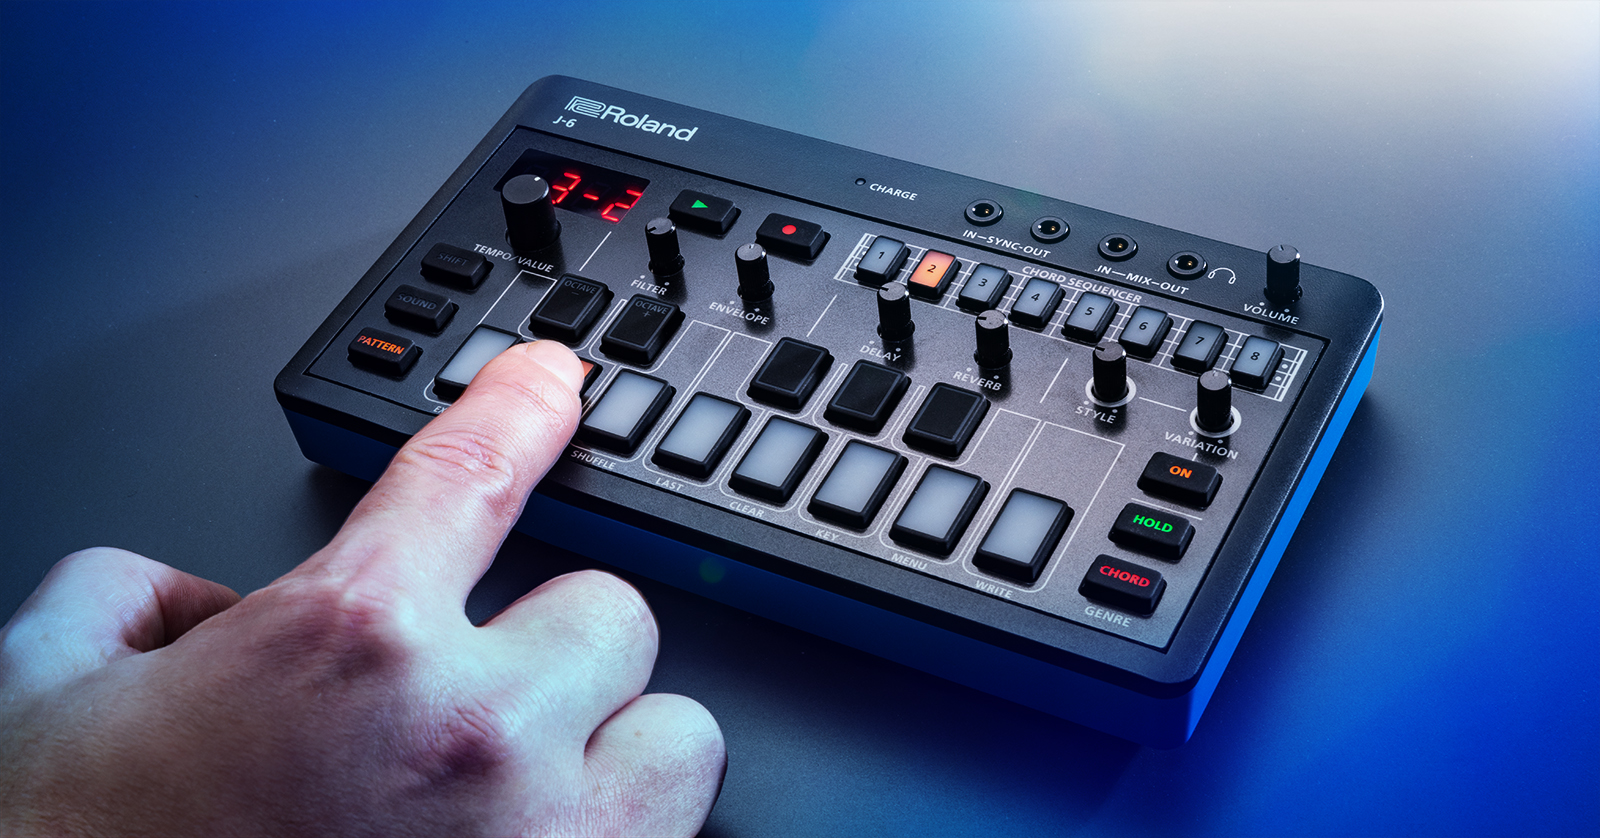
The Roland AIRA Compact J-6 is a fun synthesizer to play with on the road and at home. There are plenty of features available, and with it being modeled after the Juno-60, you’ll get inspired in no time! So, in this guide, we will show you how to get up and running! This article only scratches the surface, so check out its Owner’s Manual to learn more.
Selecting Sounds
The Roland AIRA Compact J-6 is packed with fantastic sounds: six banks of eight sounds, to be exact. With that many available, you can get some unique tones. Selecting sounds is straightforward, too.
- Press SOUND, then use the TEMPO/VALUE knob to scroll through the patches. Once you’ve found the patch you like, press the SOUND button.
- Alternatively, press and hold the SOUND button, select the bank you want to go to (1–8), then use the TEMPO/VALUE knob to select the patch.
Selecting Chords
The J-6 has hundreds of chord sets that range across many genres. Just press the CHORD button to turn on chord mode. If you want to change the chord set, press and hold the SHIFT button, then press CHORD. Check out page 25 of the Owner’s Manual for a complete list of genres and chords available.
With both buttons flashing, you can use the TEMPO/VALUE knob to scroll through one of the 100 preset chord sets available.
- Press the PHRASE/STYLE button, then use the STYLE and VARIATION knobs to change the behavior of the current phrase.
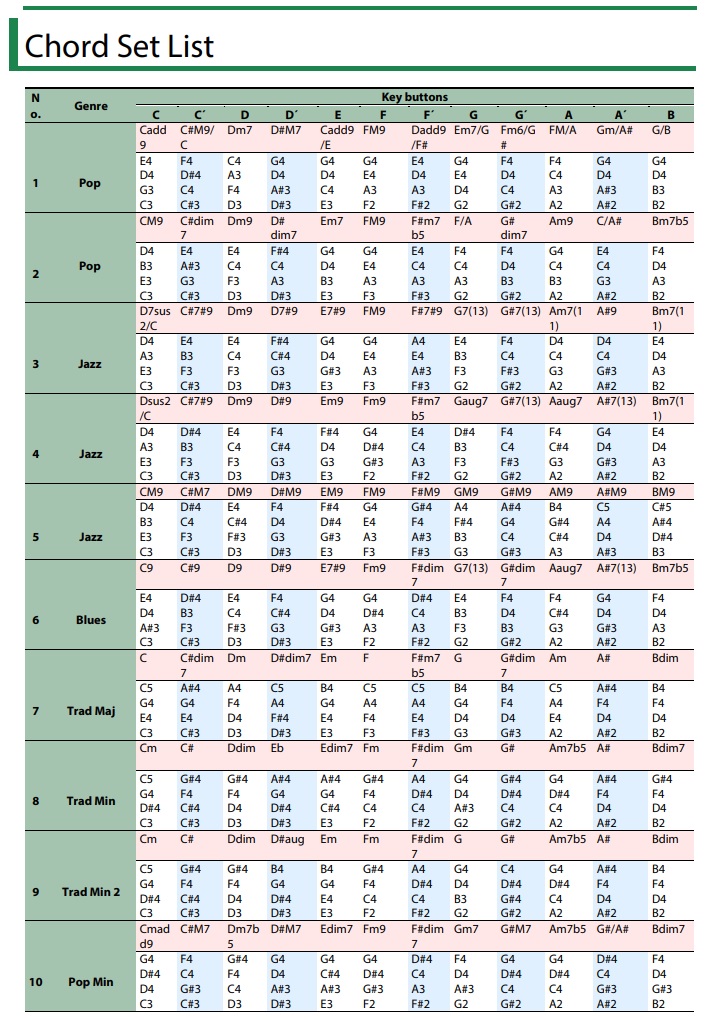
Click the image to view the full list of genres and chords available on the J-6.
Create a Pattern
NOTE: Pattern banks 1–2 are preset patterns. This guide will show you how to create a pattern from scratch.
While plenty of preset patterns exist on the J-6, you can also create your own. You can use preset chords or create your own chords note by note. Please note that you are limited to four notes per chord!
- Press and hold PATTERN and press 3. The display will now flash 3 –.
- Let go of the PATTERN button, then press 1. You have now selected an empty pattern (Bank 3, measure 1)
- Press 1. You should now see St.01 on the display.
- To enter a preset chord, press CHORD, then select the note.
- If you want to create your own chord note by note, press the notes you want to be included in your chord.
- Once the chord is entered, press 2 to move to the next measure.
- Follow steps 4 and 5 until you’ve reached the desired pattern length.
- Press and hold SHIFT and press the EXIT button to exit Pattern Edit mode.
- To save the pattern, press and hold SHIFT, press WRITE, then press ENTER.
Backup and Factory Reset
There may be a time when you run into an issue with the J-6, and you need to perform a factory reset. Before the factory reset, however, you need to back up your data, as anything saved on the unit will be erased during the reset.
Factory Reset
There may be a time when you run into some issues or want a fresh start. To do so, you must perform a factory reset. The process is simple, so follow these steps to perform a factory reset on your Roland AIRA J-6.
- With the unit powered off, press and hold the HOLD button.
- Turn on the unit. Once you see FACt on the display, let go of HOLD and press the flashing CHORD button.
- You will see the progress of the factory reset via the 1–8 buttons.
- Once the factory reset is complete, all buttons will begin flashing, and you will see d0nE on the display.
- Power cycle the unit to complete the factory reset.
Backup and Restore
When you perform a factory reset, you must back up your data. Once the factory reset is complete, you can restore any user data.
Backup
- With its power off, connect the J-6 to your computer.
- Once connected, press and hold the PLAY button while turning it on. The J-6 will now appear as an external drive.
- Open the J-6 drive, open the BACKUP folder, locate the files you want to back up, then copy and paste them to your computer.
- Once all of the desired files are backed up, safely eject the J-6 from your computer, then turn the device off.
Restore
- With its power off, connect the J-6 to your computer with its power off.
- Once connected, press and hold the PLAY button while turning it on. The J-6 will now appear as an external drive.
- Open the J-6 drive, locate the files you backed up, then copy and paste them into the RESTORE folder.
- Once all of the desired files are backed up, safely eject the J-6 from your computer, then press the CHORD button to restore the data.
- Turn the device off to complete the process.
Getting to Know Roland AIRA Compact Series
Related Articles
When you need help, Sweetwater has the answers!
Our knowledge base contains over 28,000 expertly written tech articles that will give you answers and help you get the most out of your gear. Our pro musicians and gear experts update content daily to keep you informed and on your way. Best of all, it’s totally FREE, and it’s just another reason that you get more at Sweetwater.com.

