
How to Install Strap Locks and Buttons
How to install guitar strap buttons and strap locks
If you’ve got some experience with a drill, installing a guitar strap button or strap lock on your guitar is a pretty easy job. If you’re learning how to install strap locks, the process is essentially the same as installing regular guitar strap buttons (like acoustic guitar strap buttons). This article’s content will apply just the same, but make sure to also read our Tips for Installing Strap Locks section for additional info. We’ve broken the process down into a few easy steps:
- Determine where to install guitar strap locks and strap buttons
- Drill a pilot hole
- Install the strap button
- Tips for installing Strap Locks
Aside from the guitar and a strap button, you’ll need a drill, drill bit, and some masking or gaffer tape.
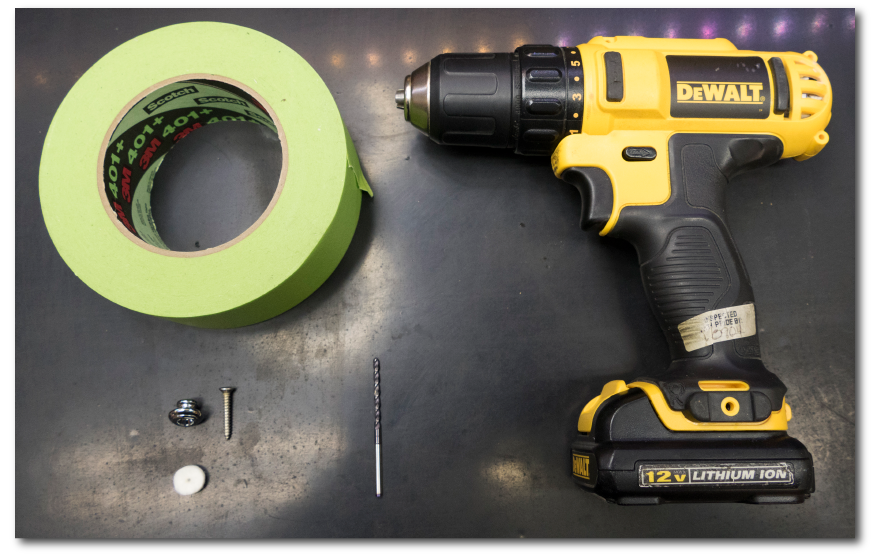
Tools you need to install strap locks and guitar strap buttons
Where to install guitar strap locks and strap buttons
Once you’ve got your tools together, you need to decide where to install your strap locks or strap button. Once you’ve decided where to put your strap button (like acoustic strap buttons), it’s a good idea to mark the location off in one of two ways:
- Mark right on the instrument with a pencil or other writing utensil.
- Cover the area with your tape and mark on that if you would like to protect the finish.
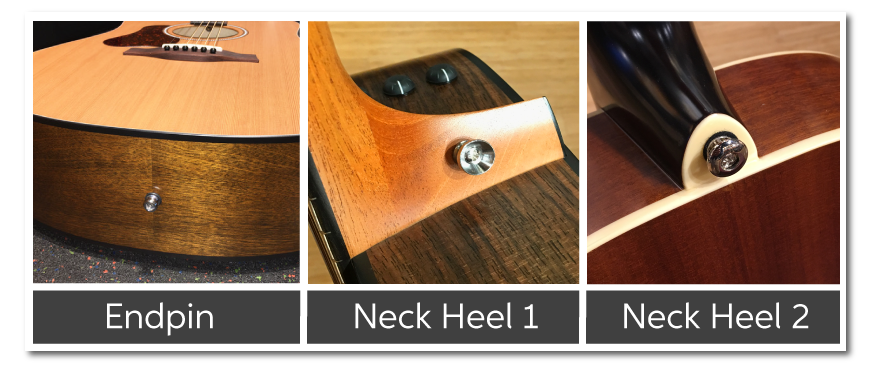
Determine the location of where to install the strap button or strap lock
Neck heel
If you’re going to install the guitar strap button to the guitar’s neck heel, similar considerations apply. You’ll want to install the strap button in an area where the screw has enough material to grip the wood of the neck without poking through the other end of the heel. A typical spot to install a guitar strap button is on the treble side of the heel. If you frequently play on the higher frets, the strap button is often placed on the heel’s back edge, which can be out of the way.
Endpin
If you’re going to install the strap button as an endpin (at the bottom of the body), you’ll want to make sure your drilling location is centered correctly. This looks nice and ensures that you are drilling into a secure location on the body.
- There is a wooden block here on the inside of the guitar that the screw will attach to.
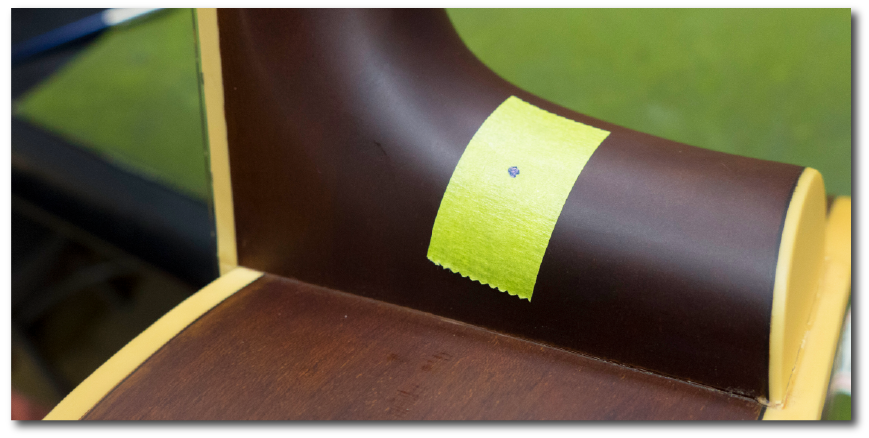
Mark the location of the strap lock or strap button
Drill a pilot hole
With our location marked off and our tools at hand, we can now drill our pilot hole. It’s critical to choose an appropriately sized drill bit. Too small, and it will be difficult to screw in your strap button screw. Too big and the screw may not have enough wood for the threads to grip, or may be too small for the hole.
It’s also a good idea to use a piece of tape as a depth guide for your drill bit. To do this, wrap a small piece of tape around the bit at the depth you should stop drilling. You can easily determine the proper depth by comparing your guitar strap button screw and drill bit side by side.
Be careful and don’t rush when drilling your pilot hole. Careless drilling may result in the drill slipping and damaging your guitar, or a misaligned hole from your target.
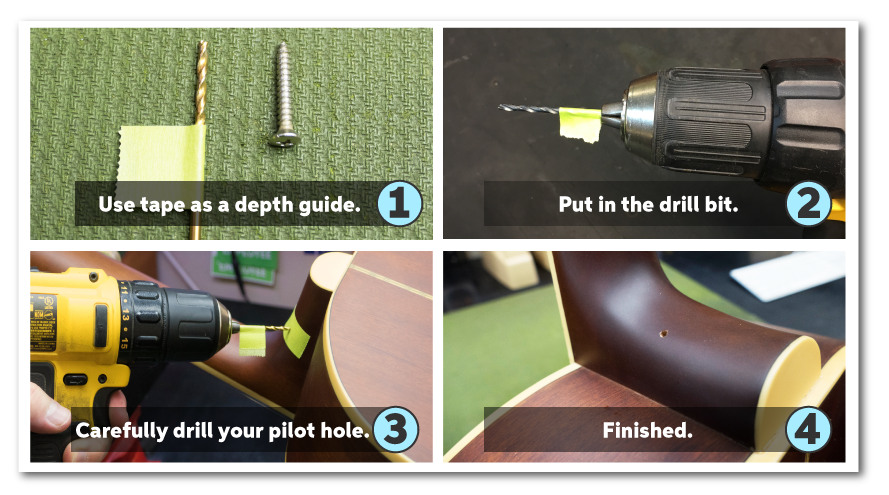
Drilling the pilot hole.
Install the strap button
Once your pilot hole is drilled, you can now install your strap button or strap lock onto the guitar. Hand tightening this screw is recommended instead of using the drill because it can prevent the drill from slipping and damaging the guitar, or over-tightening the screw.
If you are having trouble tightening this by hand, your pilot hole may be too small. Assuming you’ve used the correct size drill bit, hand tightening your screw down shouldn’t be too difficult. Follow the instructions below:
- Place the screw through the button and felt (if included).
- With a screwdriver, screw the strap button into the drilled hole.
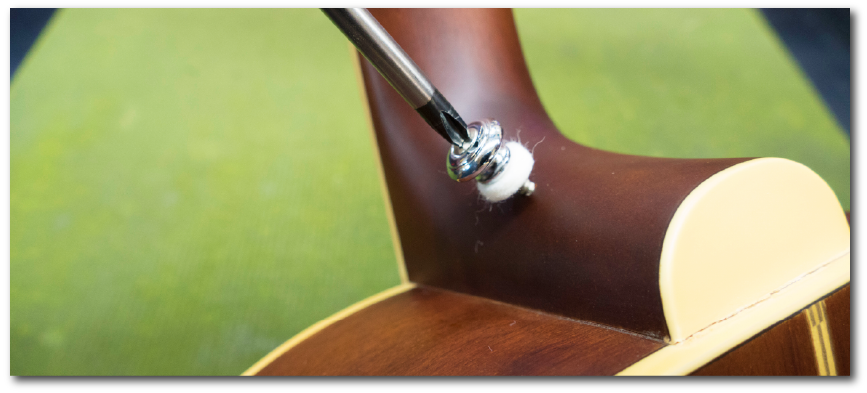
Installing the strap lock button
Tips for installing strap locks
Here are a few great tips for when you’re installing strap locks or strap buttons.
It’s all the same!
If you are installing strap locks on your guitar, the same rules apply as a regular strap button. Chances are, you are replacing a set of preexisting buttons with strap locks rather than drilling new holes. If this is the case, installing strap locks is as simple as unscrewing the old buttons and screwing the new ones in.
When you’re replacing screws
If you are replacing the screws themselves with the ones that came with your strap locks, be mindful of any size difference between these two sets of screws.
- Most strap button screws have a standard size, so further modification should not be needed.
- If you notice a drastic size difference, you may need to drill your hole a bit bigger to match the new screw.
- If the new screw is too small for the hole, you may need to consider using your original screws to fit the hole properly. Otherwise, you will need to fill and redrill the hole.
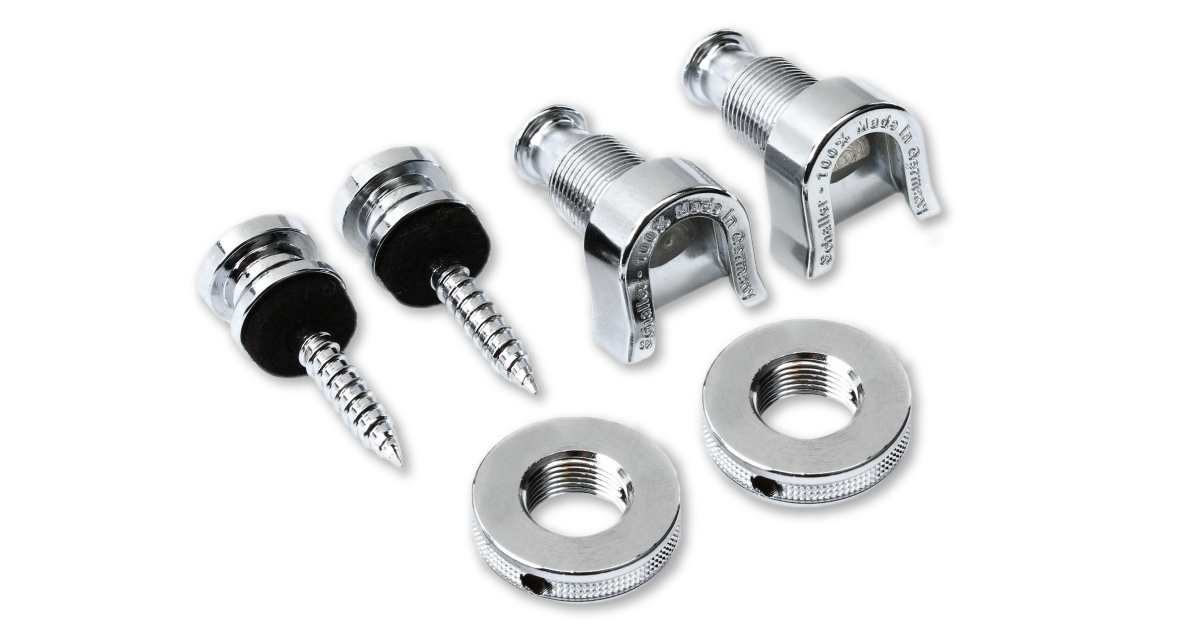
Choose a dedicated strap
With your new strap lock buttons installed, don’t forget to choose a dedicated strap that you’ll attach the locking pieces to. On most strap locks, there are additional metal pieces that attach to your chosen strap. This may differ depending on the brand of strap lock, but the metal strap attachment typically can be separated into two pieces via unscrewing a nut or a button release.
The end of the strap will be sandwiched in between each half and locked into place. Do this on both ends of the strap. Once in place, you can attach your strap to your new locking buttons.
Wrapping up…
If you’ve read through this tutorial and feel that you’d rather have a professional handle installing strap buttons or strap locks on your instrument, please reach out to our Guitar Workshop. One of our experienced luthiers can handle this or any other modification or repair to your instrument at a fair price.
Helpful Links
- How to Change Strings on a Bass
- Adjust Strat Pickup Height
- Guitar Setup: What is the radius of my guitar’s fretboard?
- Guitar Setup: What is the correct string height for my guitar?
- Acoustic Guitar Recording Techniques of the Pros
When you need help, Sweetwater has the answers!
Our knowledge base contains over 28,000 expertly written tech articles that will give you answers and help you get the most out of your gear. Our pro musicians and gear experts update content daily to keep you informed and on your way. Best of all, it’s totally FREE, and it’s just another reason that you get more at Sweetwater.com.

